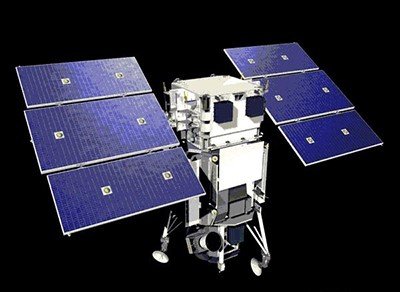
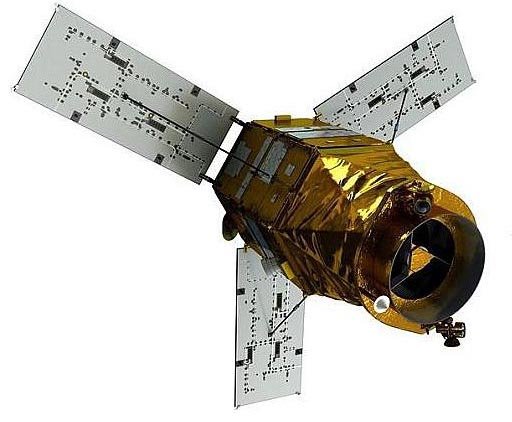
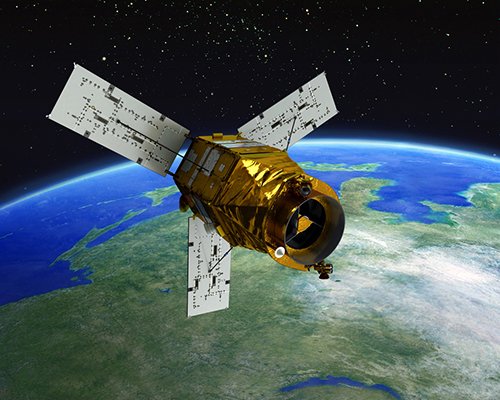
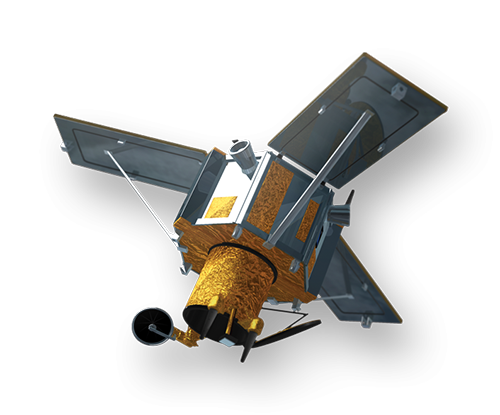
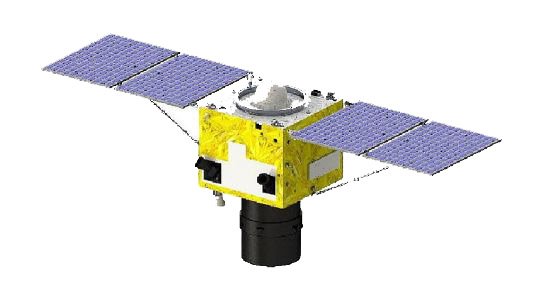
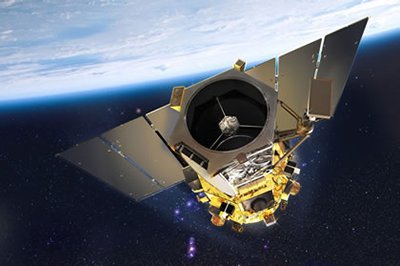
WorldView-1 Satellite Sensor
(0.50m)
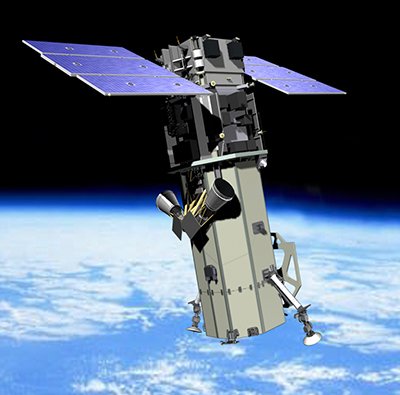
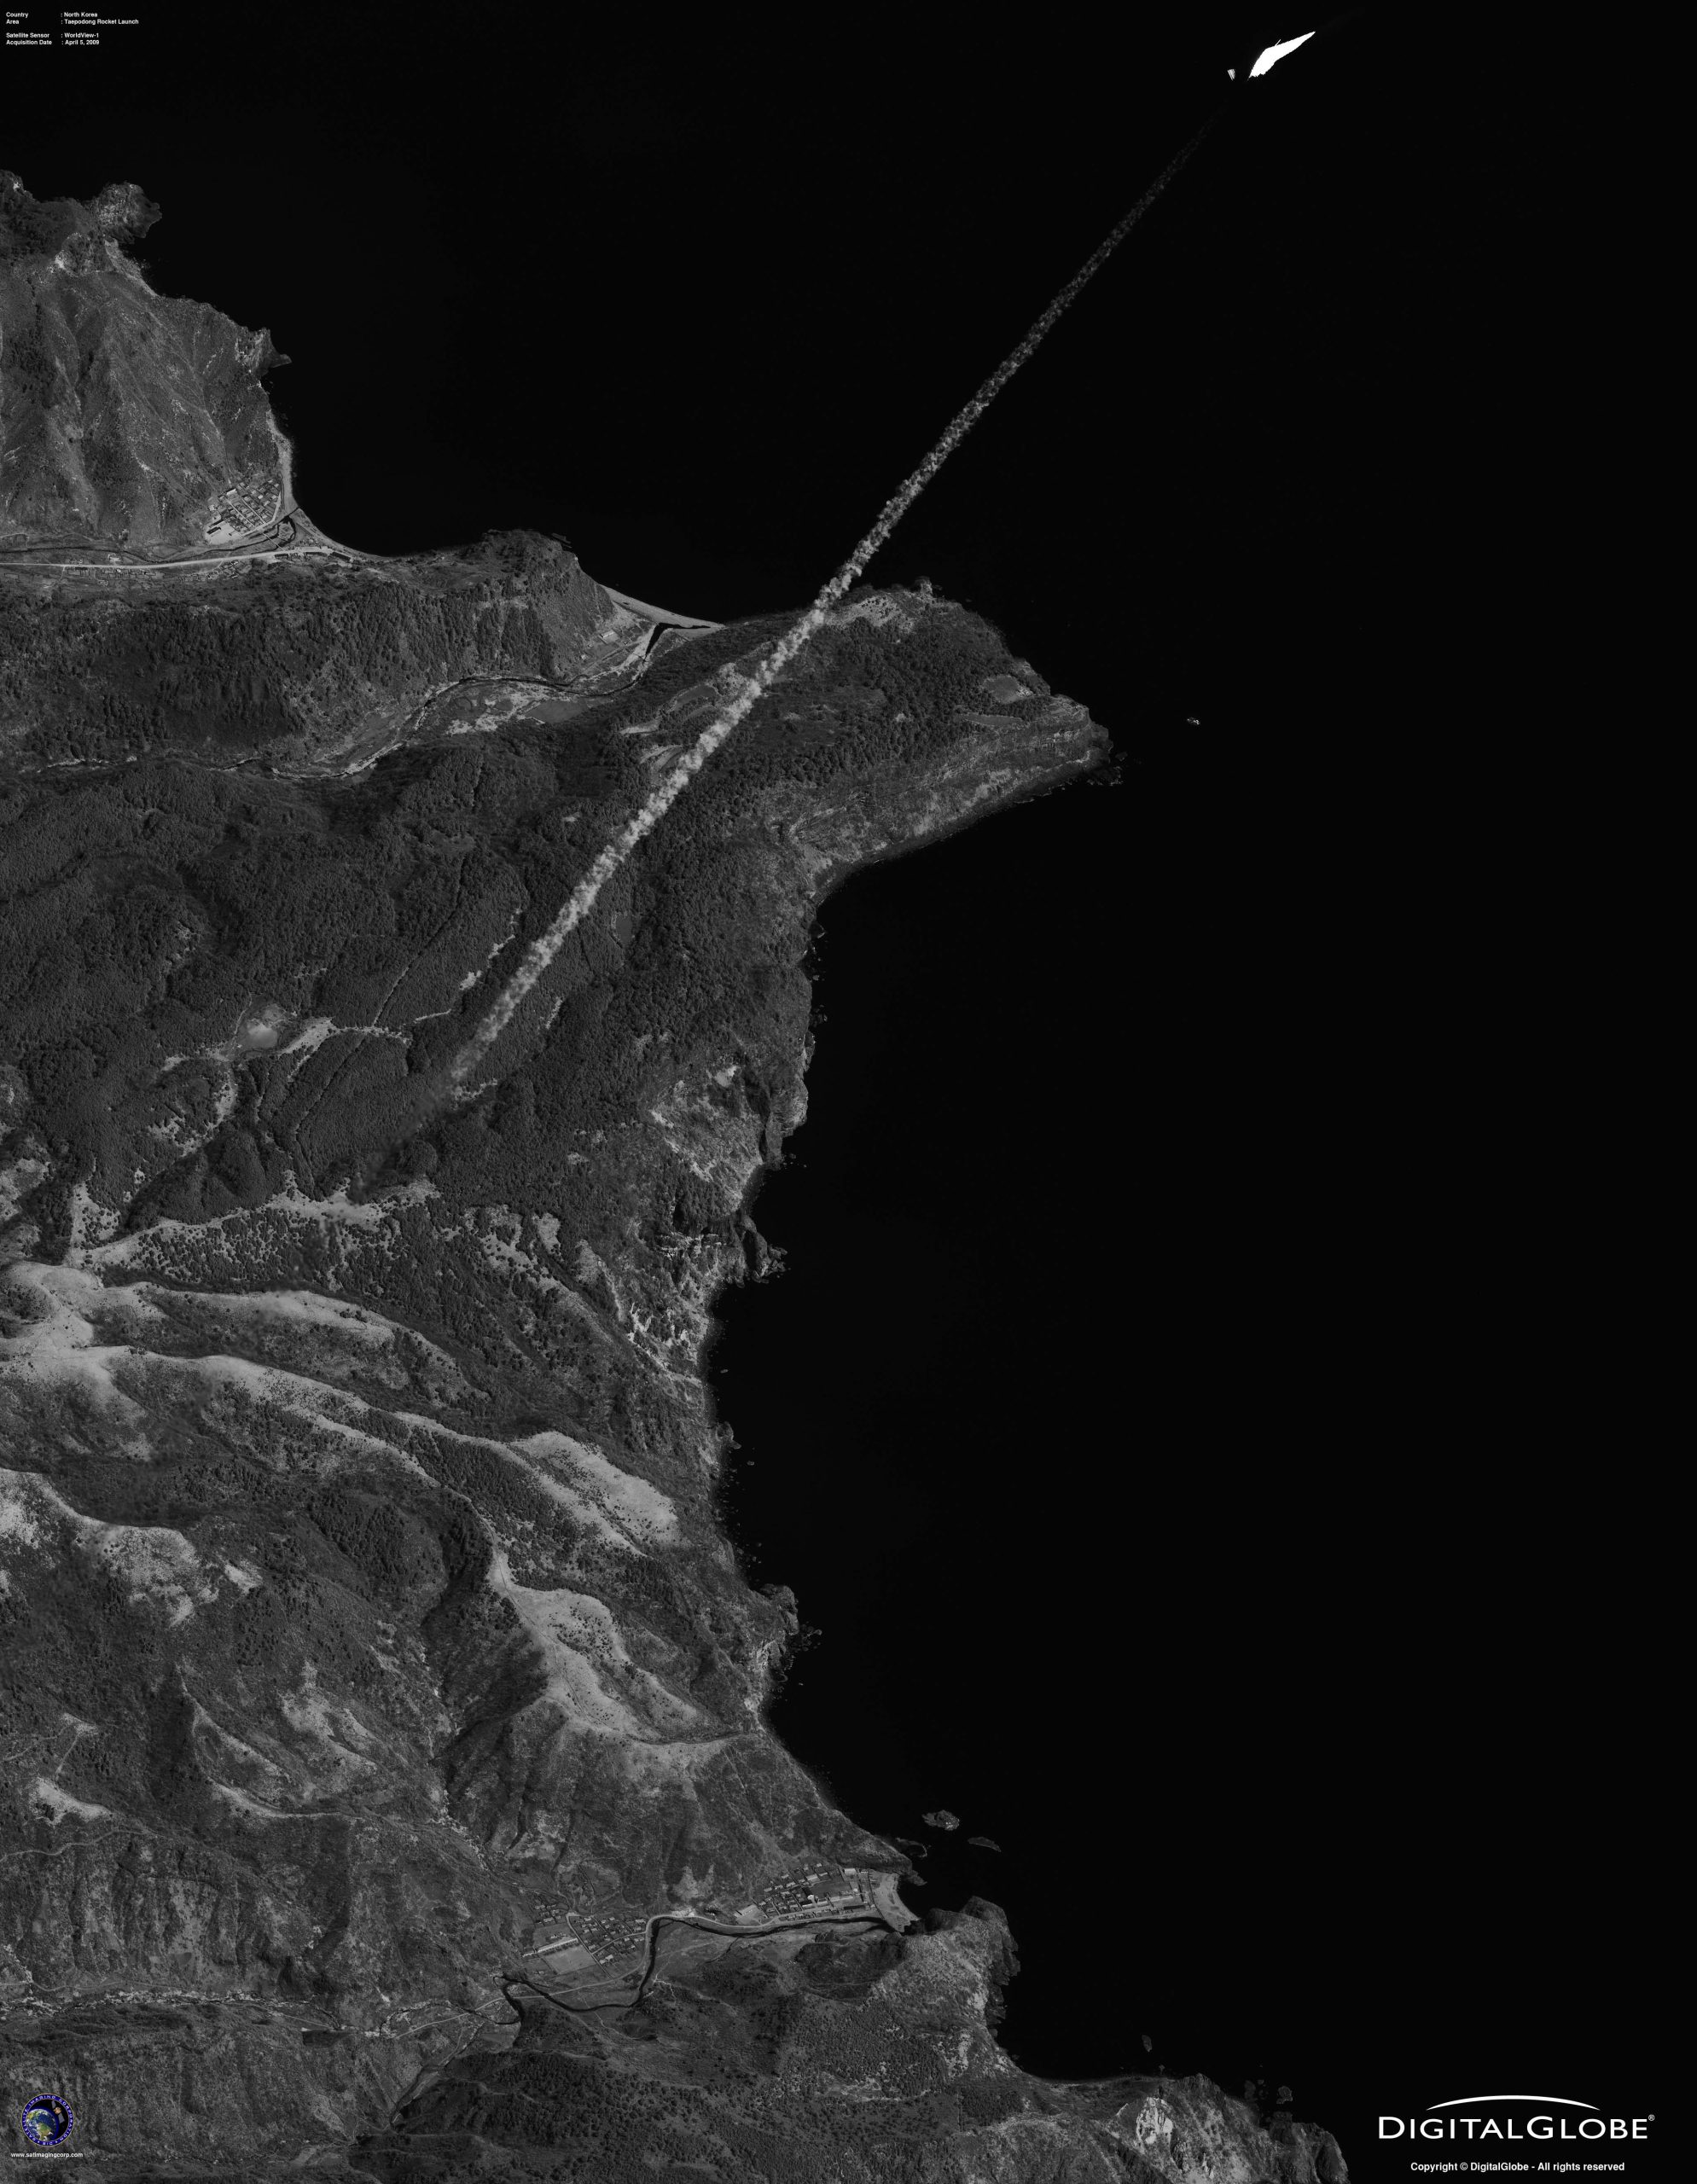
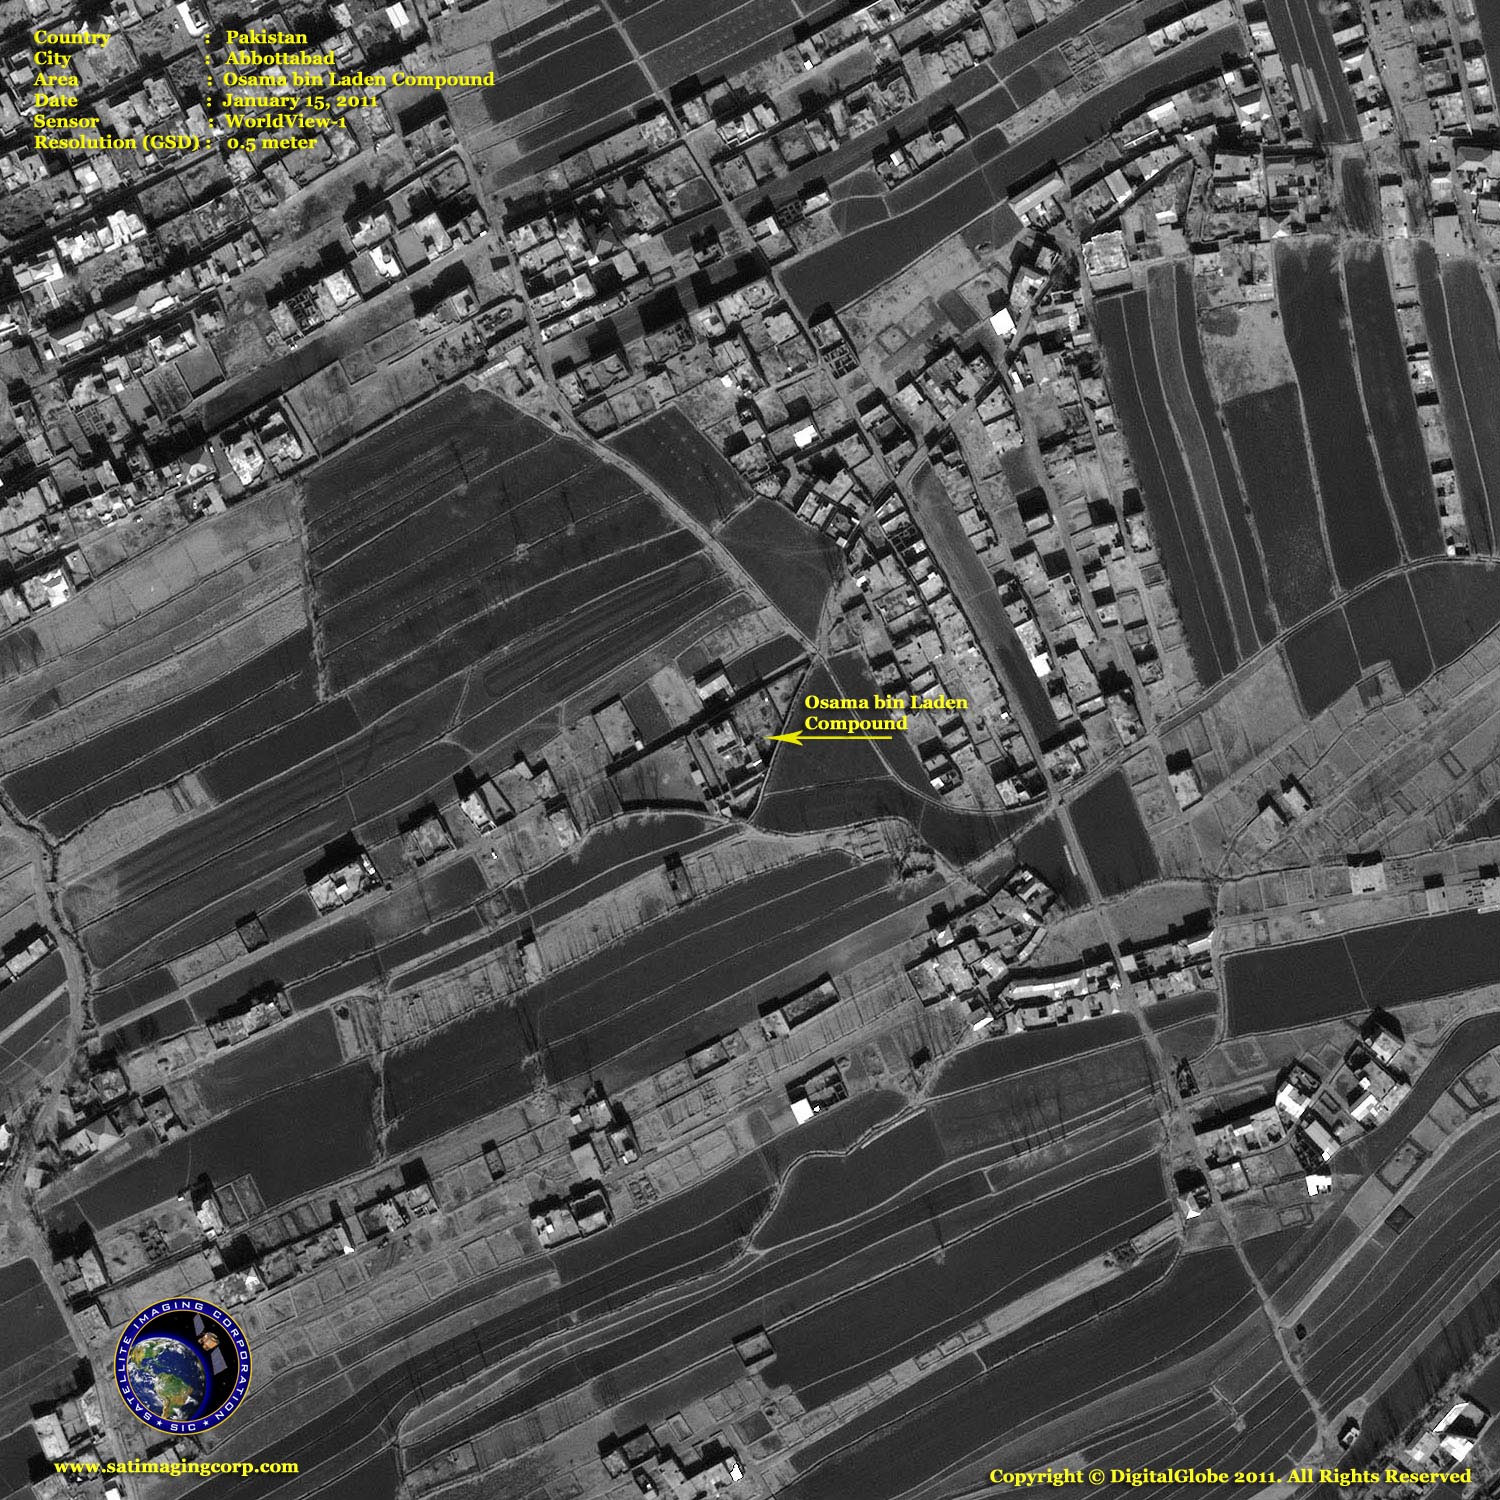
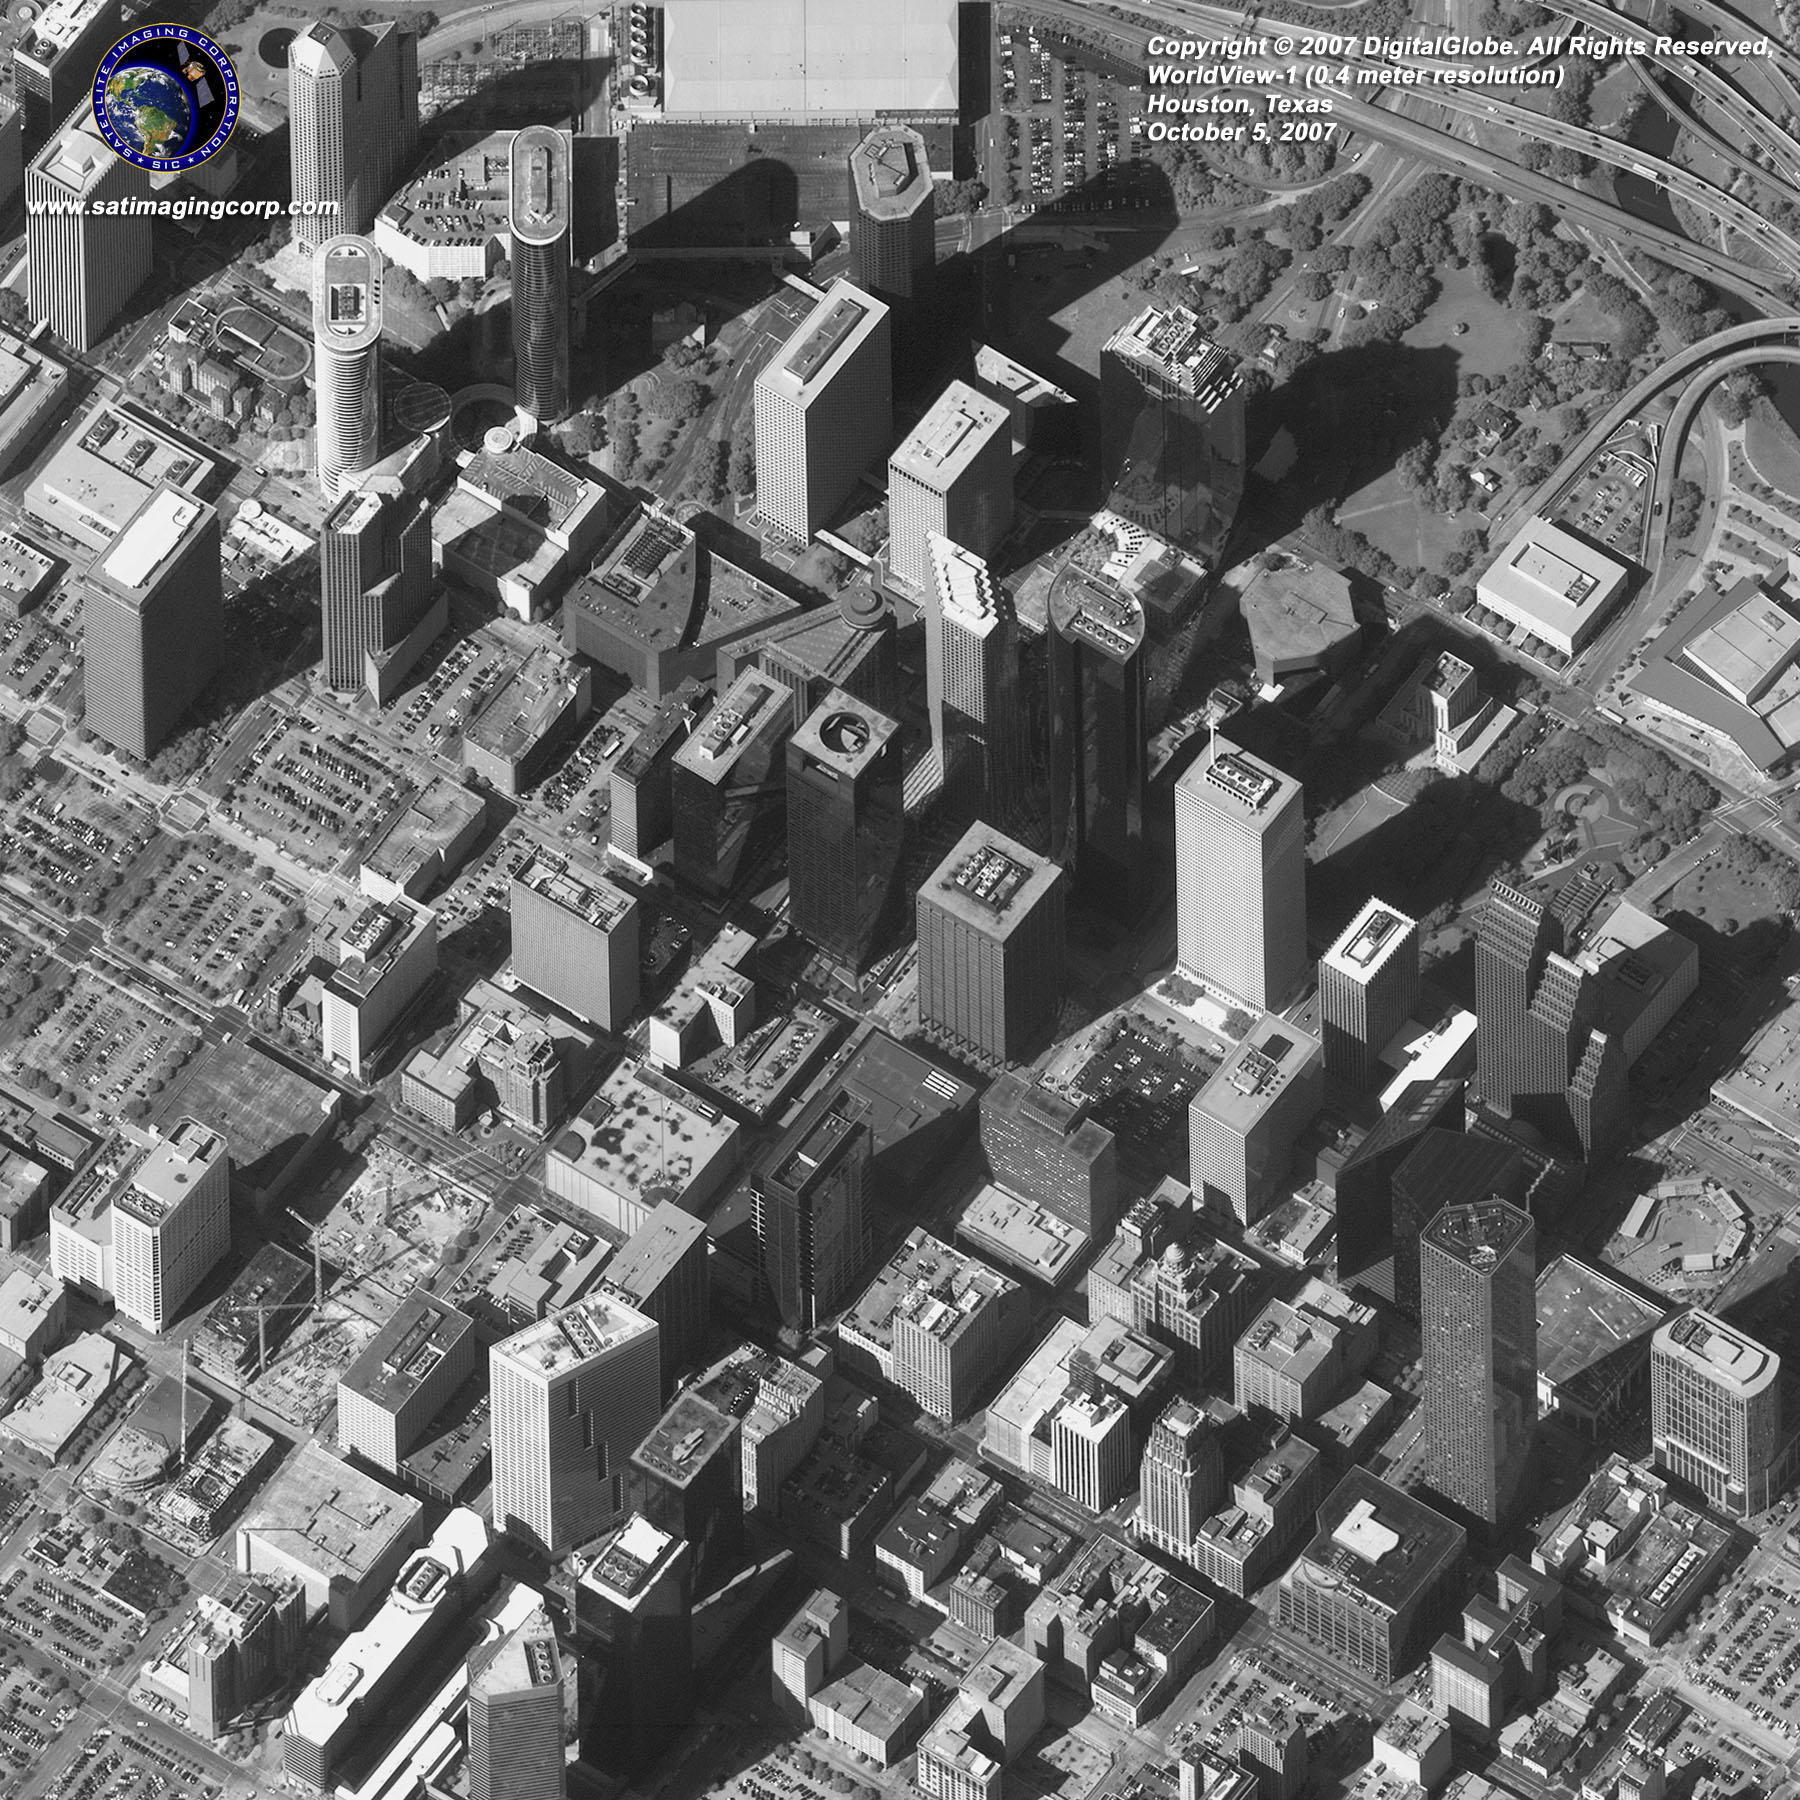
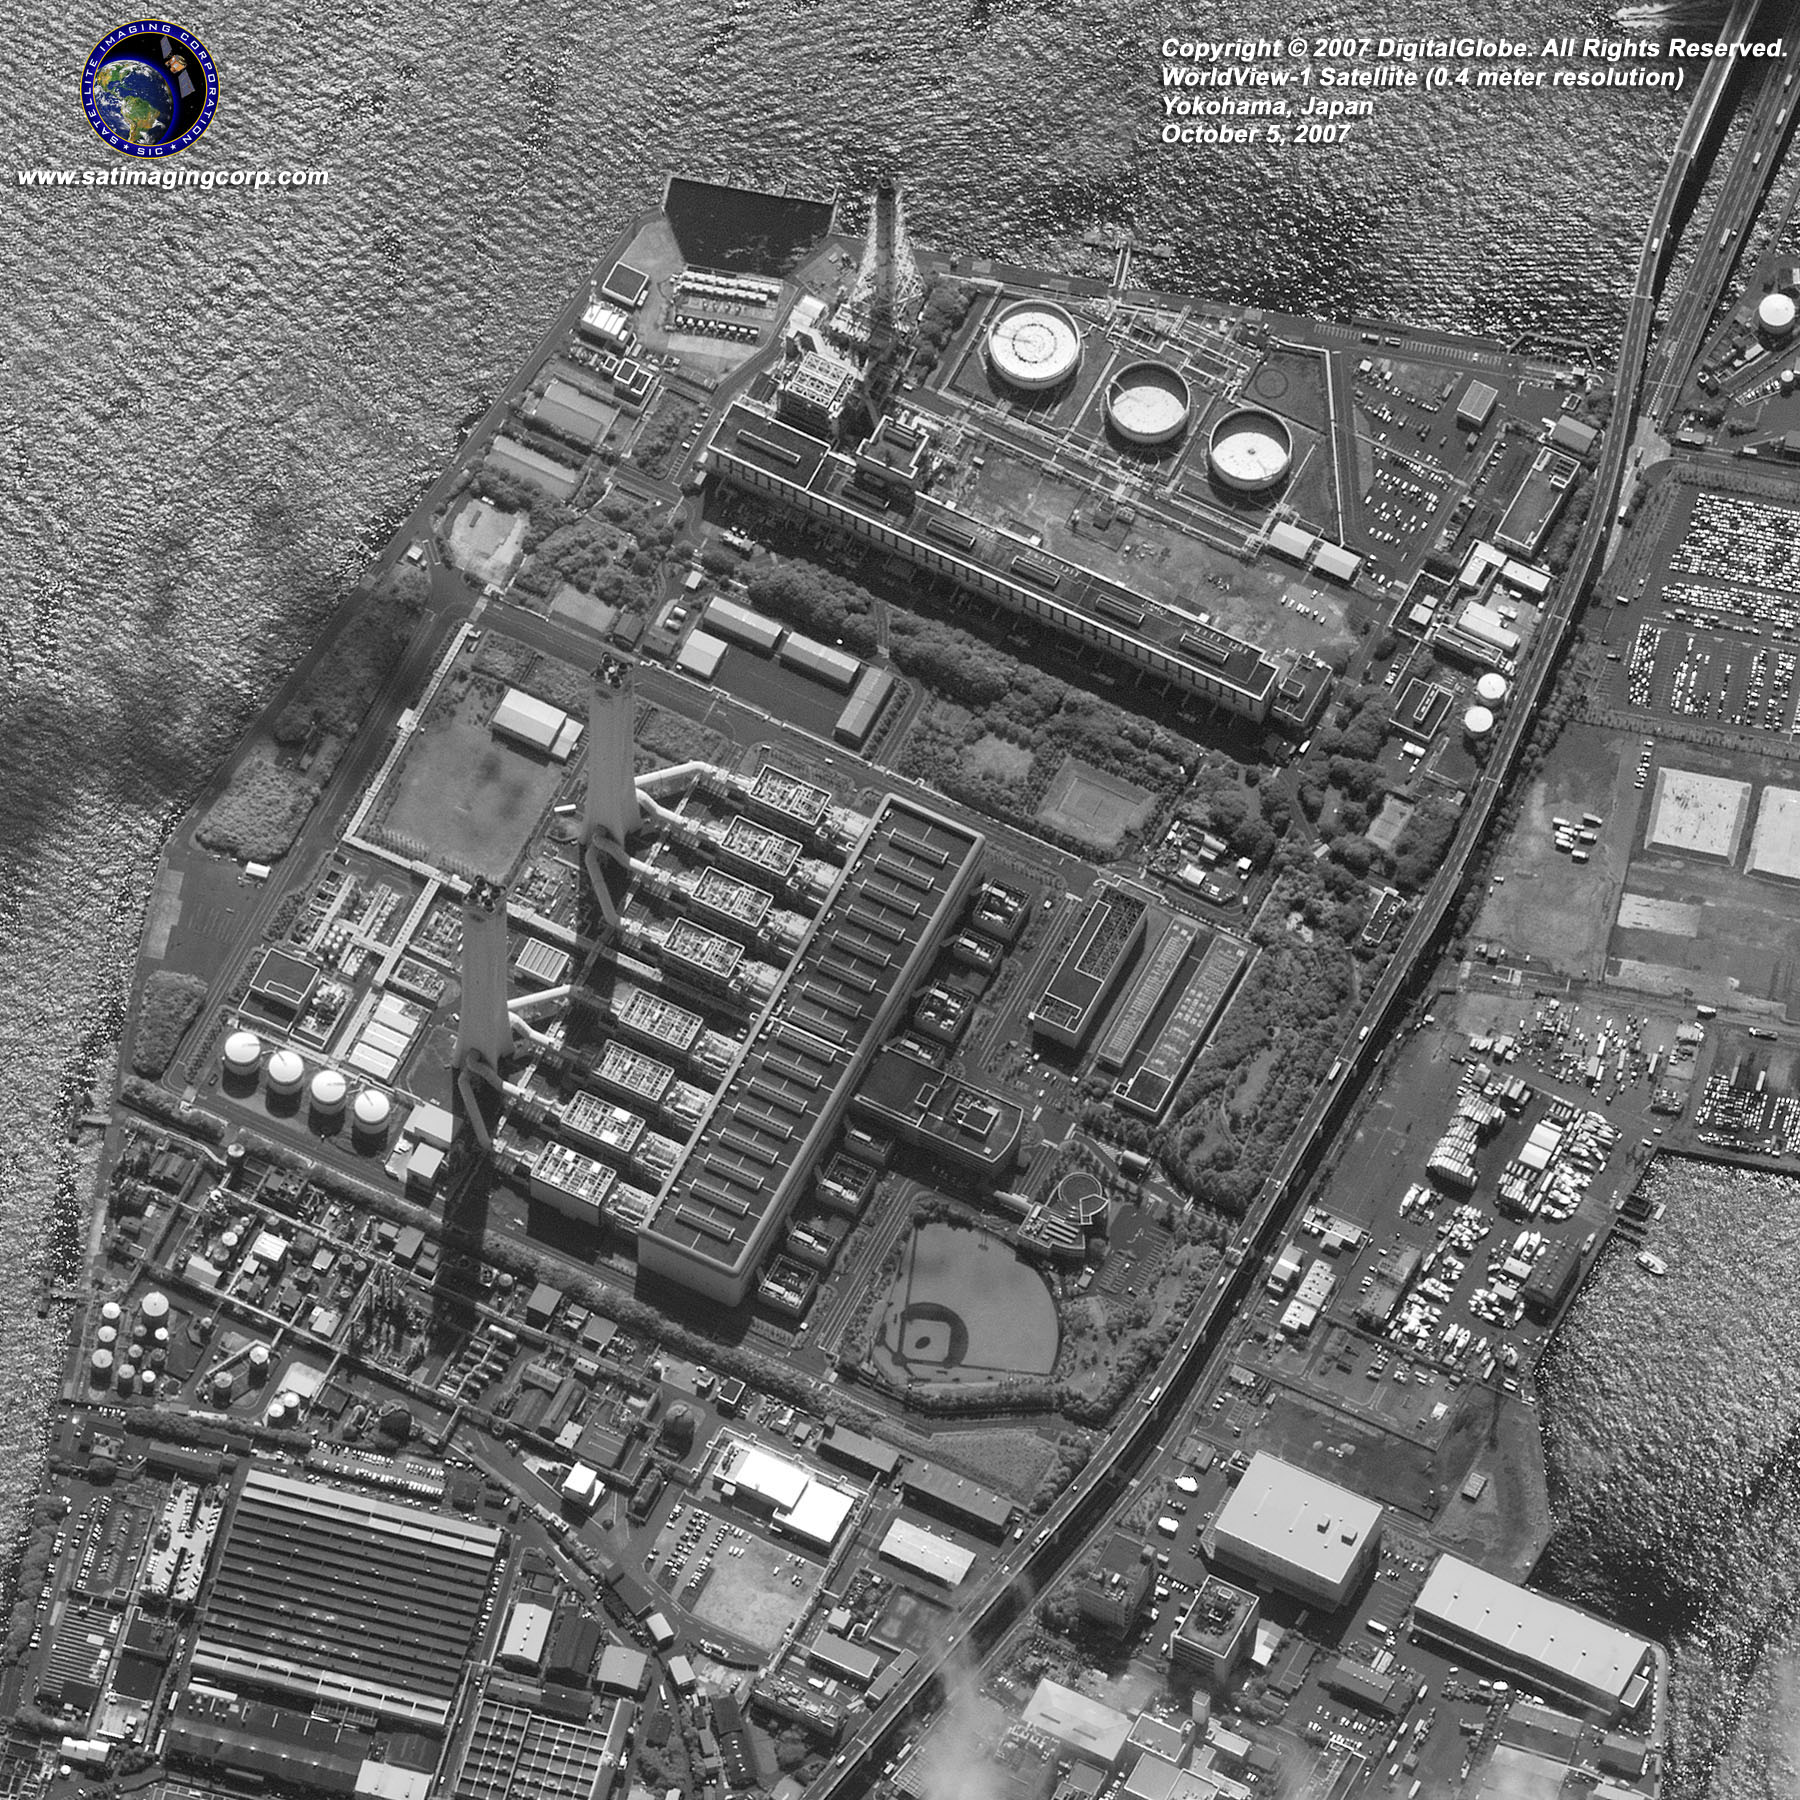
WorldView-1 satellite sensor was successfully launched from Vandenberg Air Force Base, California, U.S.A., at 11:35 Hrs Pacific Daylight Time (PDT) on September 18th, 2007. Watch video of WorldView-1 satellite launch. The WorldView-1 offers a high-capacity, panchromatic imaging system which features 0.50m resolution imagery.
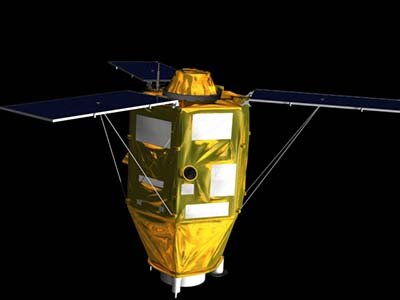
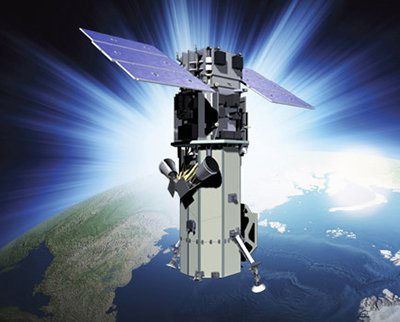
WorldView-1 Satellite Sensor (0.50m)
Copyright © MAXAR. All rights reserved.
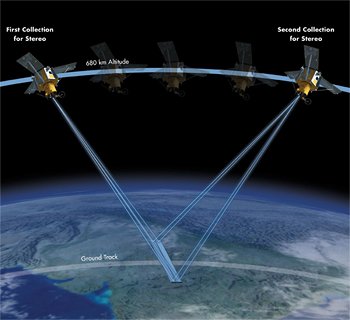
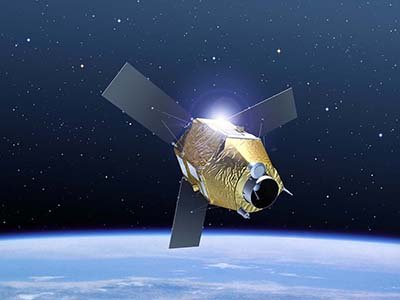
Operating at an altitude of 496 kilometers, WorldView-1 satellite has an average revisit time of 1.7 days and is capable of collecting up to 750,000 square kilometers (290,000 square miles) per day of half-meter imagery. The satellite is also equipped with state-of-the-art geo-location capabilities and exhibits stunning agility with rapid targeting and efficient in-track stereo collection.
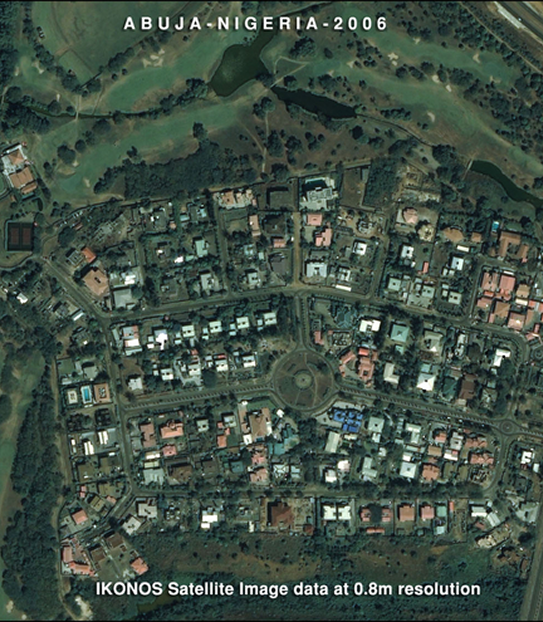
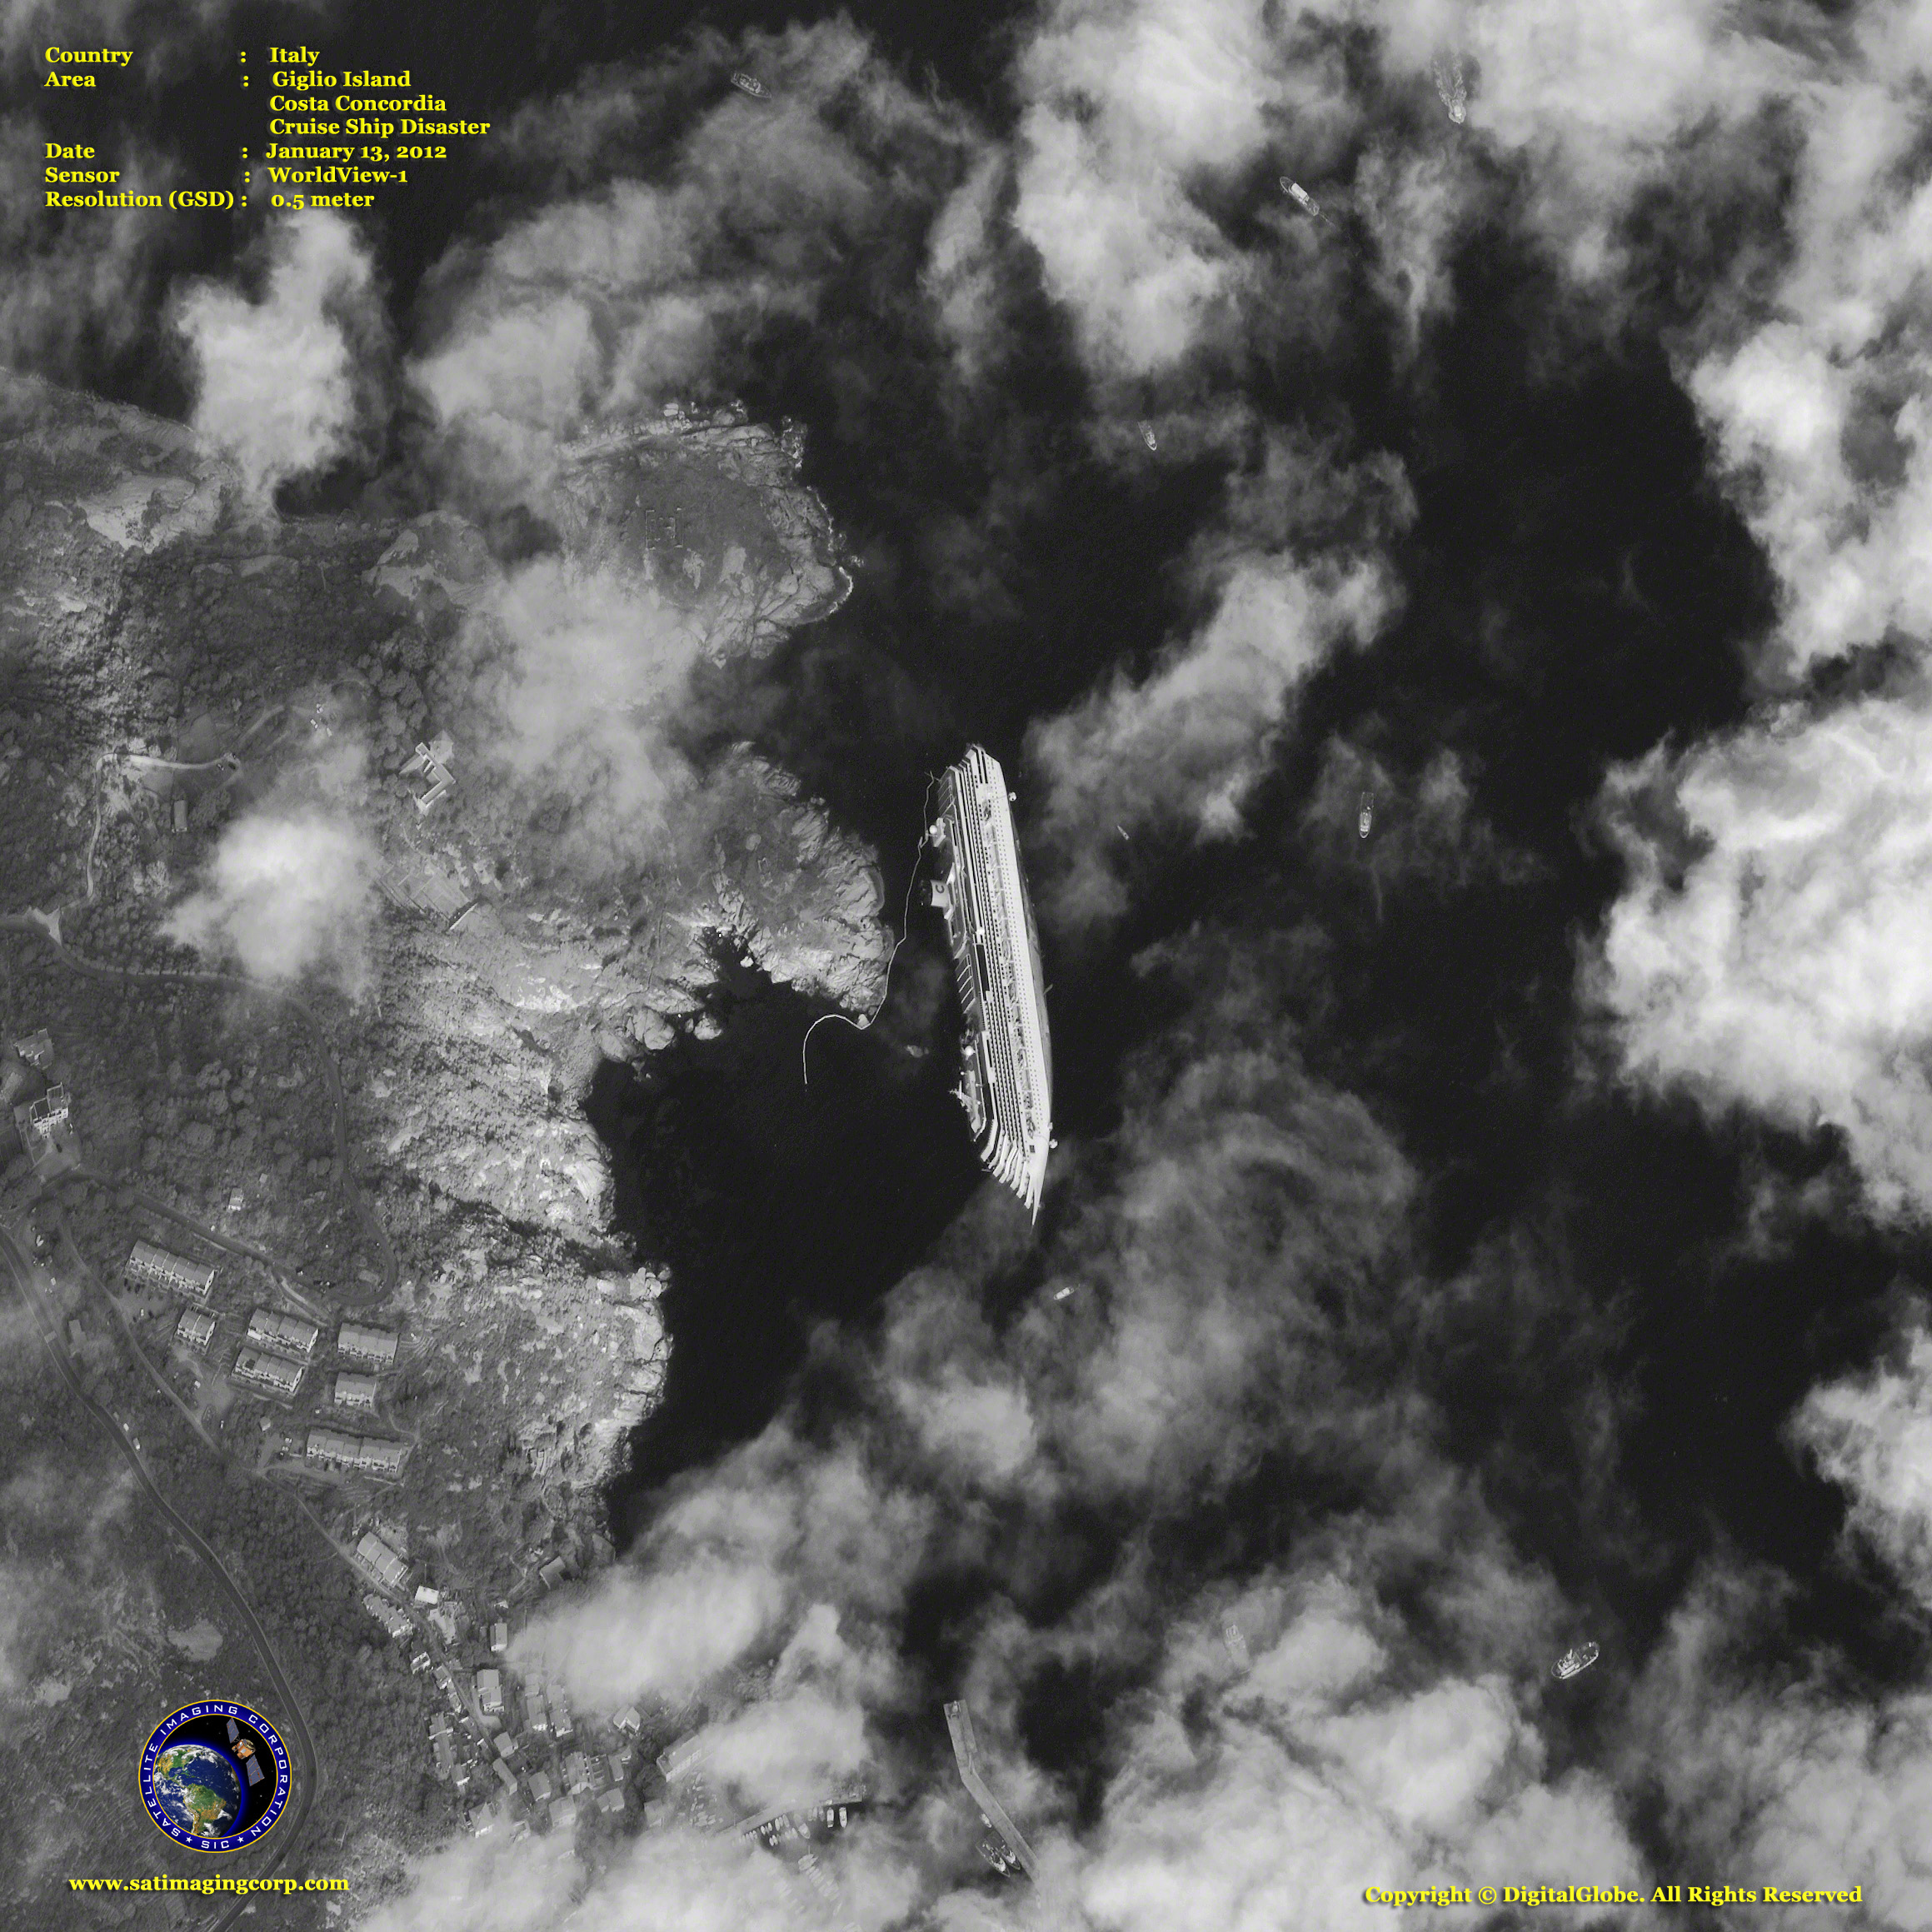
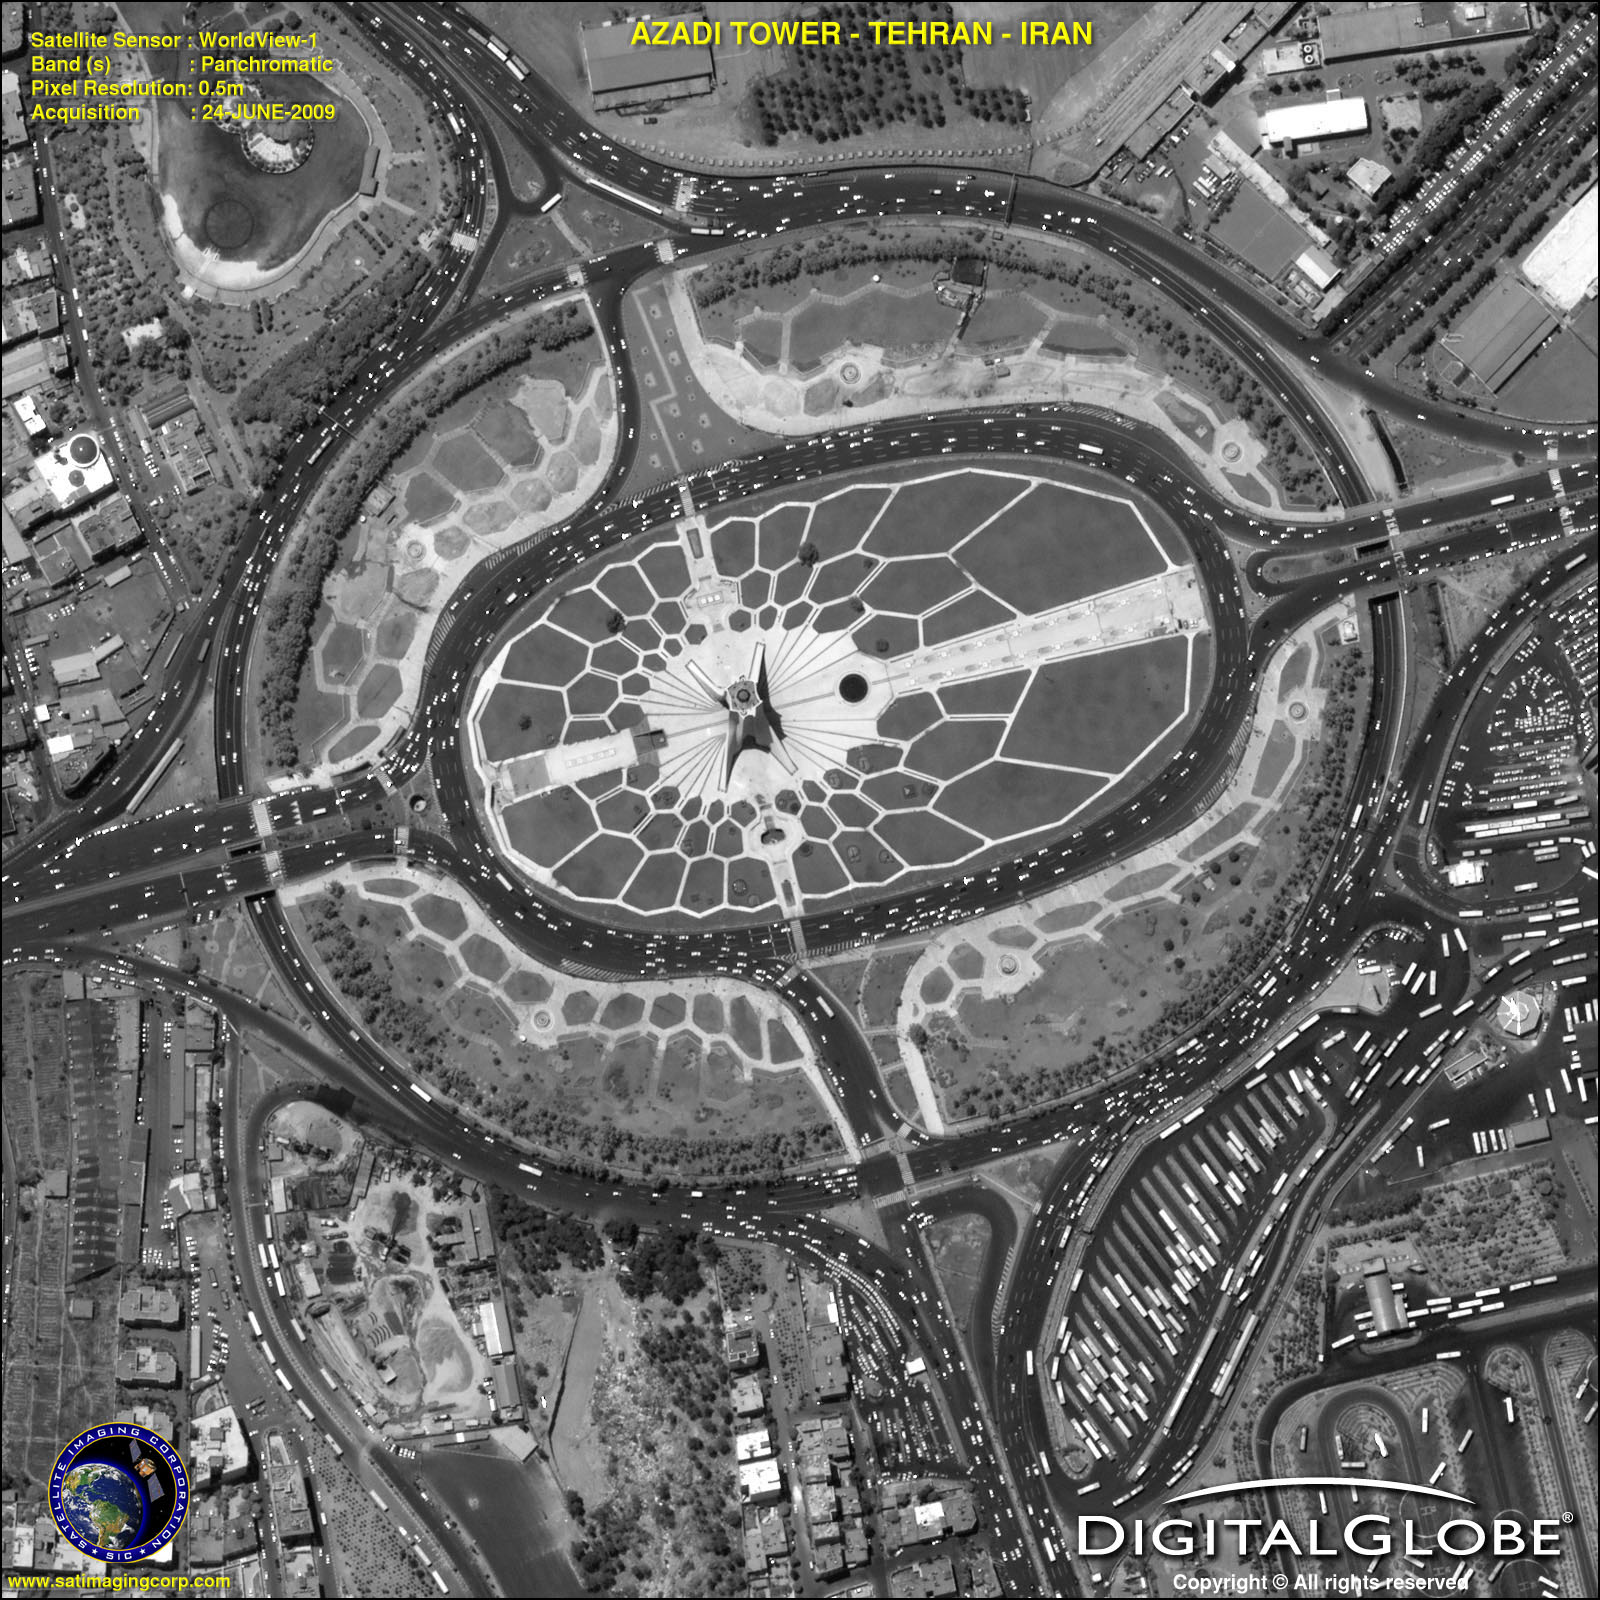
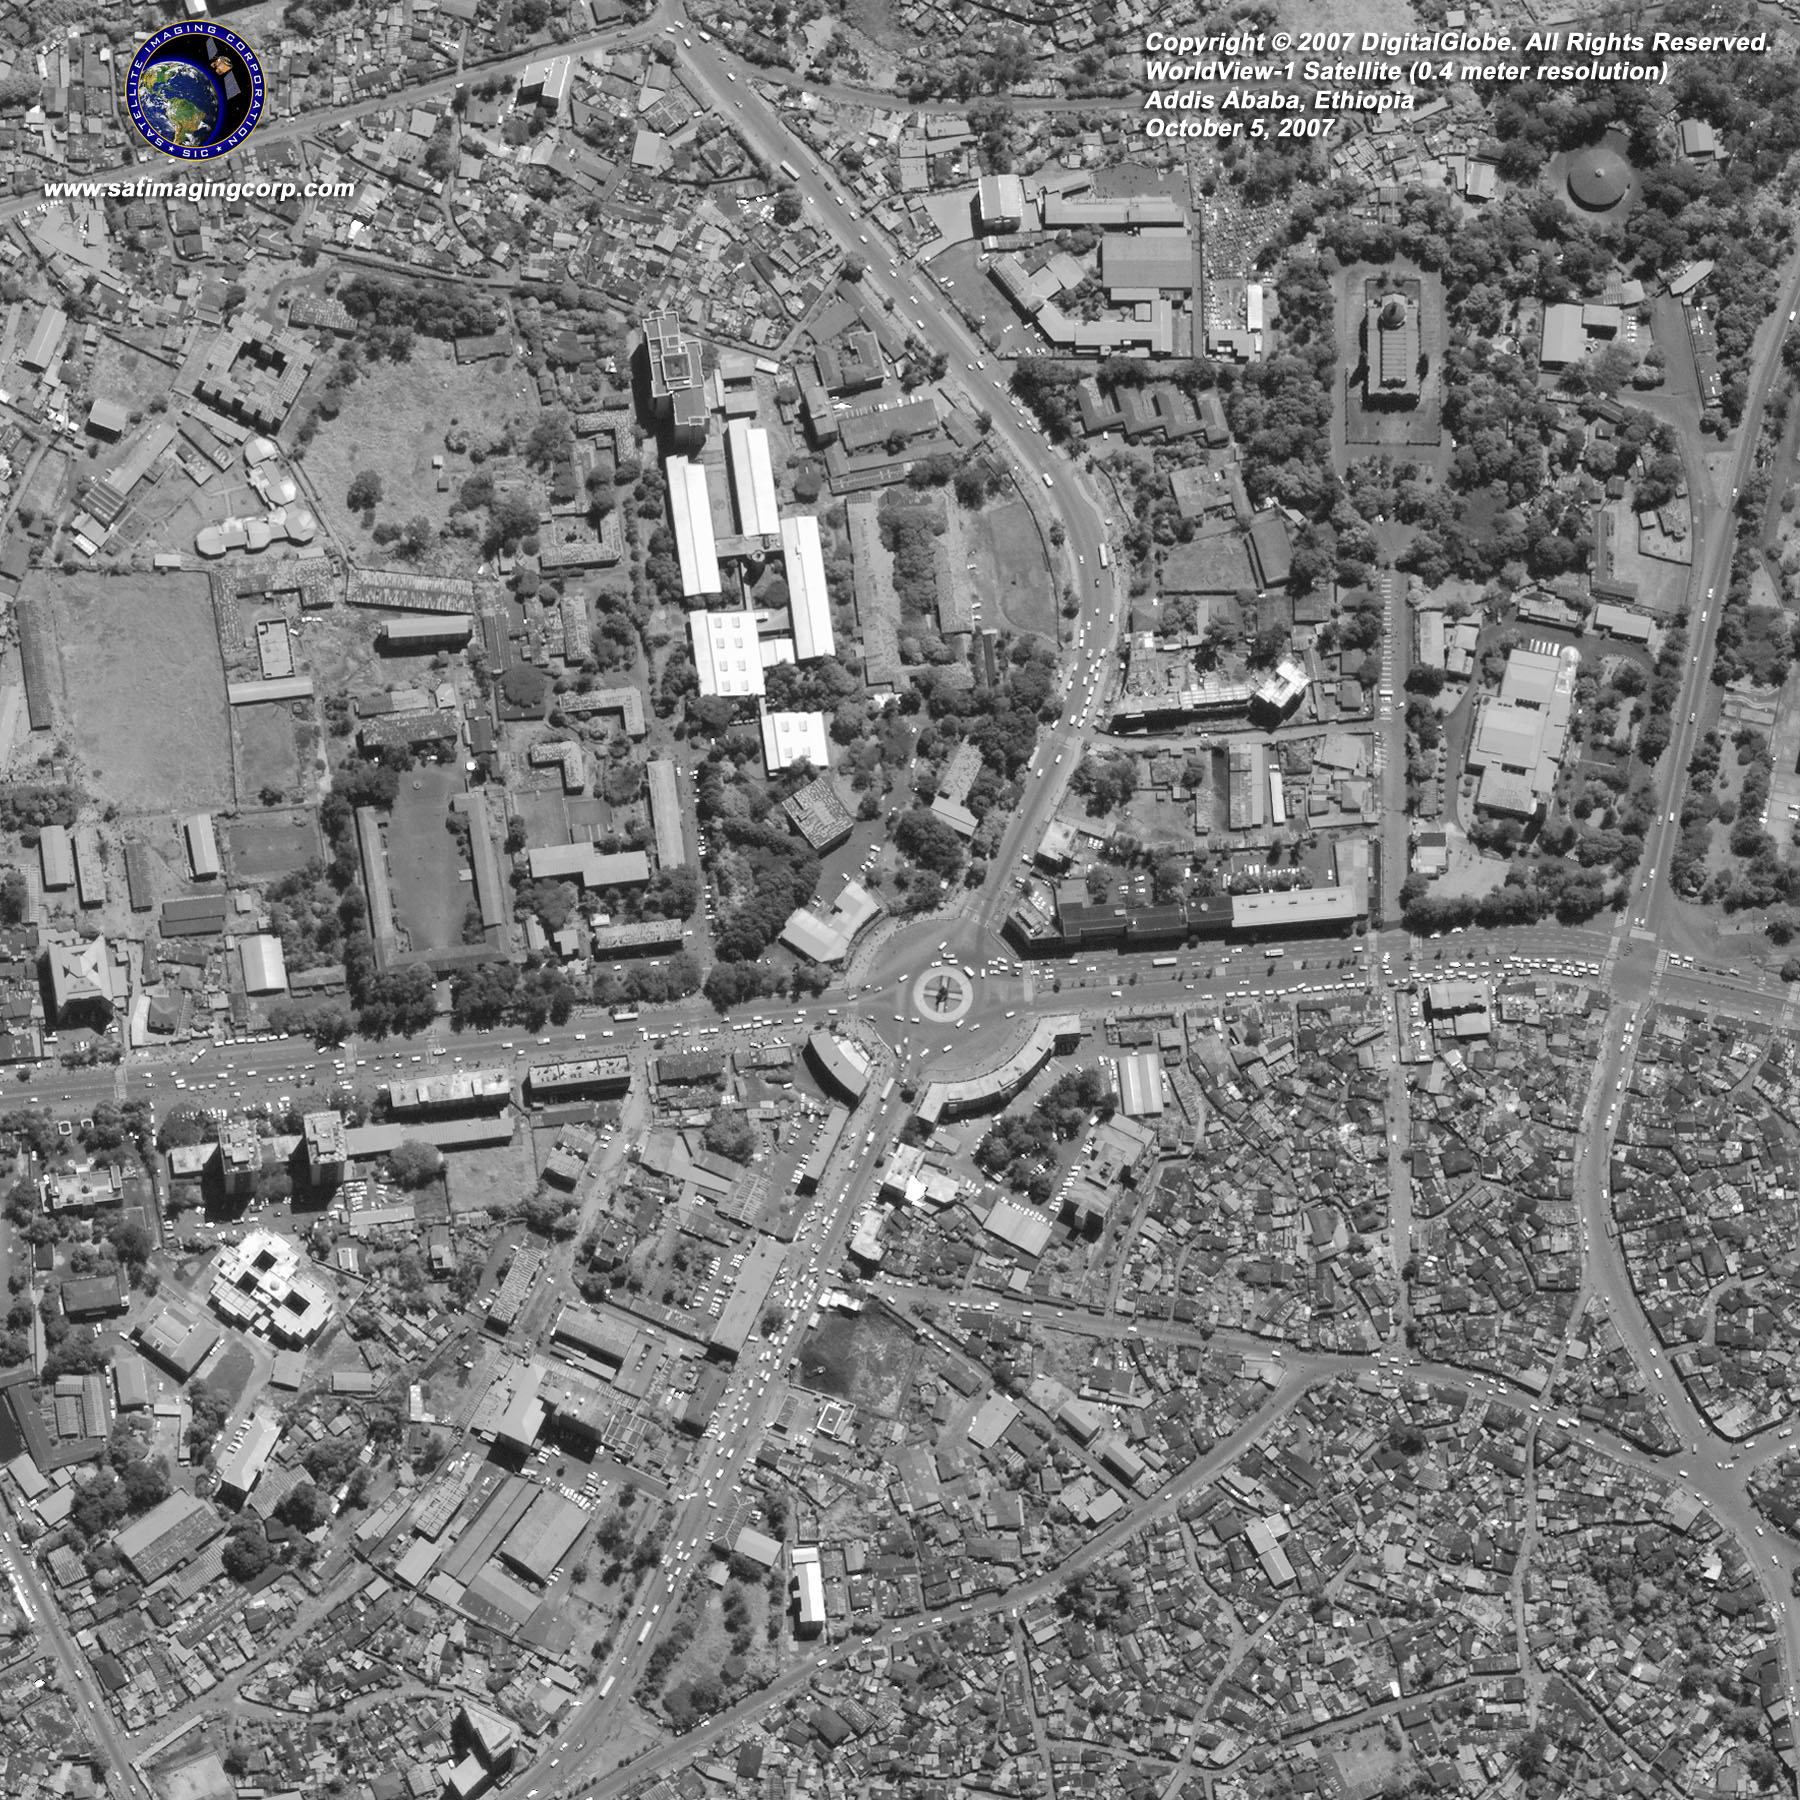
Sample Images
WorldView-1 Satellite Image Gallery
* Click on thumbnail to view in full resolution.
For more information on any of our products and image processing services, please contact us for a complimentary consultation.
WorldView-1 Satellite Sensor Characteristics
Launch Date
September 18, 2007
Launch vehicle
Boeing Delta 7920 (9-strap-ons)
Launch Location
Vandenberg Air Force Base, California, USA
Orbit Altitude
496 Km
Orbit Inclination
sun-synchronous
Spacecraft Size, Mass & Power
3.6 meters (12 feet) tall x 2.5 meters (8 feet) across,
7.1 meters (23 feet) across the deployed solar arrays
2500 kilograms (5500 pounds)
3.2 kW solar array, 100 Ahr battery
Equator Crossing Time
10:30 AM (descending node)
Revisit Time
1.7 days at 1 meter GSD or less
5.9 days at 20° off-nadir or less (0.51 meter GSD)
Swath Width
17.6 Km at nadir
Full Scene
17.6 Km x 14 Km or 246.4 Km 2 at nadir
Orbit Time
94.6 minutes
Dynamic Range
11 bits per pixel
Resolution
0.50 meters GSD at nadir
0.55 meters GSD at 20° off-nadir
(note that imagery must be re-sampled to 0.5 meters for non-US Government customers)
Sensor Bands
Panchromatic
Metric Accuracy
Accuracy: <500 meters at image start and stop
Knowledge: Supports geolocation accuracy below
Geolocation Accuracy
(CE 90%)
Demonstrated <4.0 m CE90 without ground control
Retargeting Ability
Acceleration: 2.5 deg/s/s
Rate: 4.5 deg/s
Time to slew 300 kilometers: 9 seconds
Attitude Determination and Control
3-axis stabilized
Actuators: Control Moment Gyros (CMGs)
Sensors: Star trackers, solid state IRU, GPS
Onboard Storage
2199 gigabits solid state with EDAC
Communications
Image and Ancillary Data: 800 Mbps X-band
Housekeeping: 4, 16 or 32 kbps real-time, 524 kbps stored, X-band
Command: 2 or 64 kbps S-band
Max Viewing Angle /
Accessible Ground Swath
60 x 110 km mono
30 x 110 km stereo


