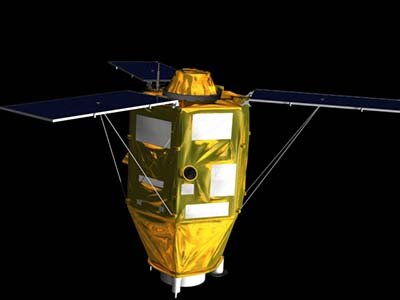
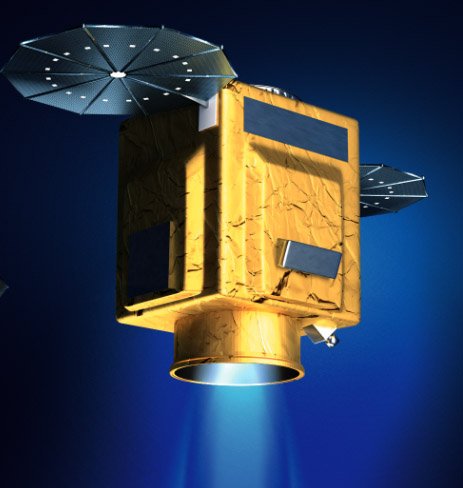
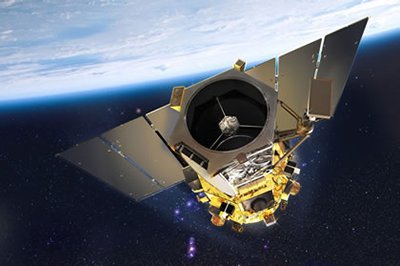
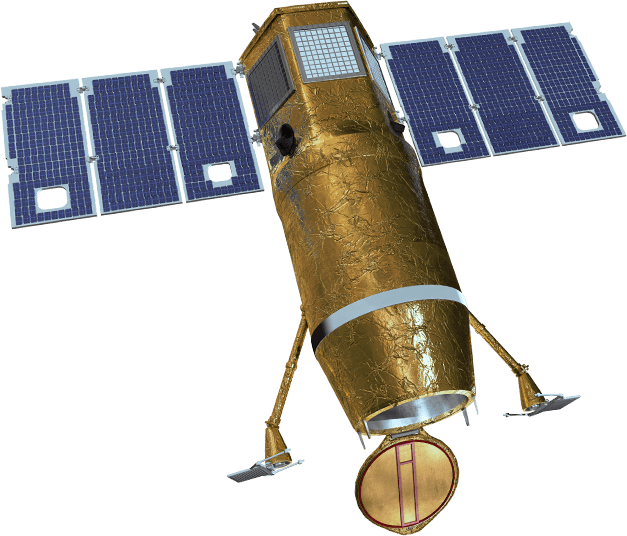
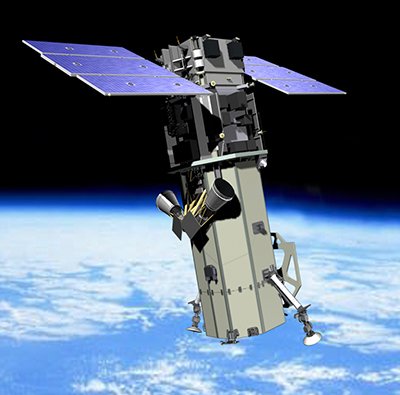
TripleSat Satellite Sensor
(0.8m)
The TripleSat/DMC3 Constellation was successfully launched on July 10, 2015, from Dhawan Space Centre, Sriharikota, India, and delivers 0.8m panchromatic and 3.2m multispectral high-resolution satellite imagery.
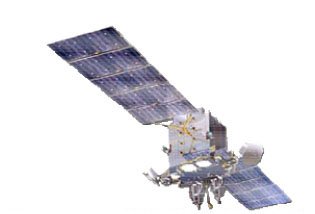
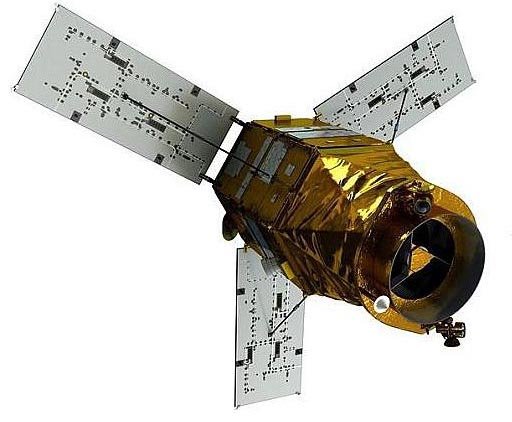
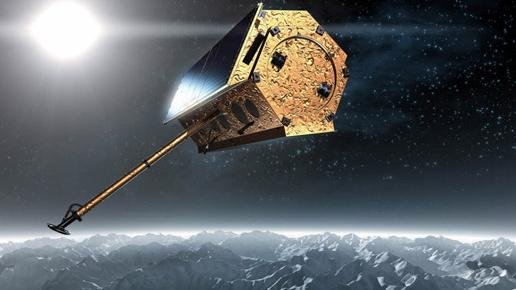
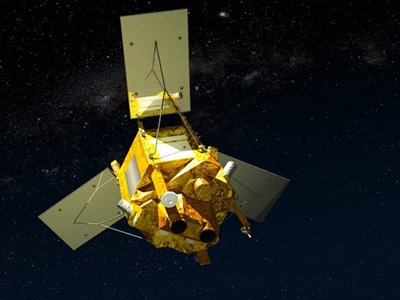
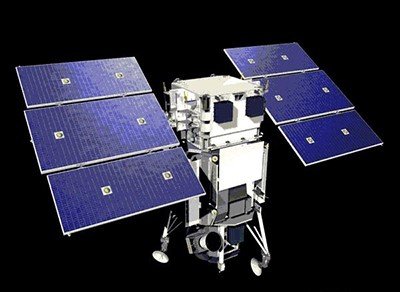
TripleSat (TriSat) Satellite Sensor (0.8m)

Copyright © Twenty First Century Aerospace Technology (Asia) Pte. Ltd. All rights reserved.
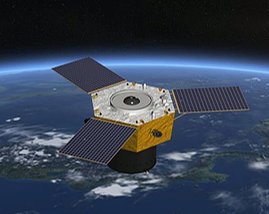
The TripleSat satellite constellation consists of three (3) identical optical earth observation satellites, which makes it possible to target anywhere on earth once per day. Satellite imagery is available at 0.8m high-resolution imagery products with a 23.4km swath. Both space and ground segments have been designed to efficiently deliver guaranteed timely information.
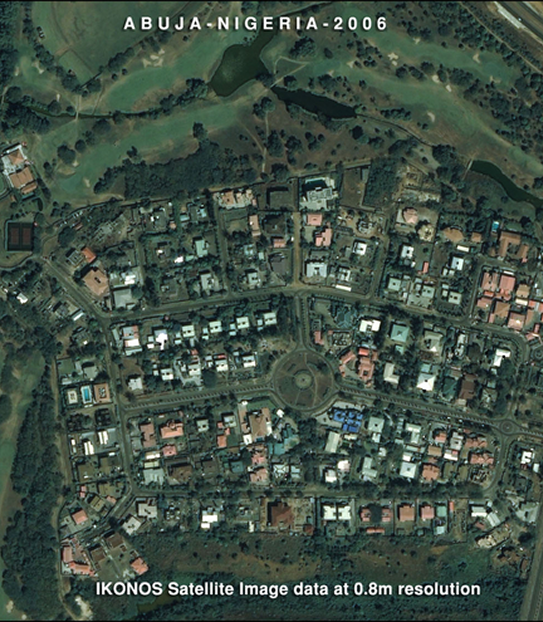
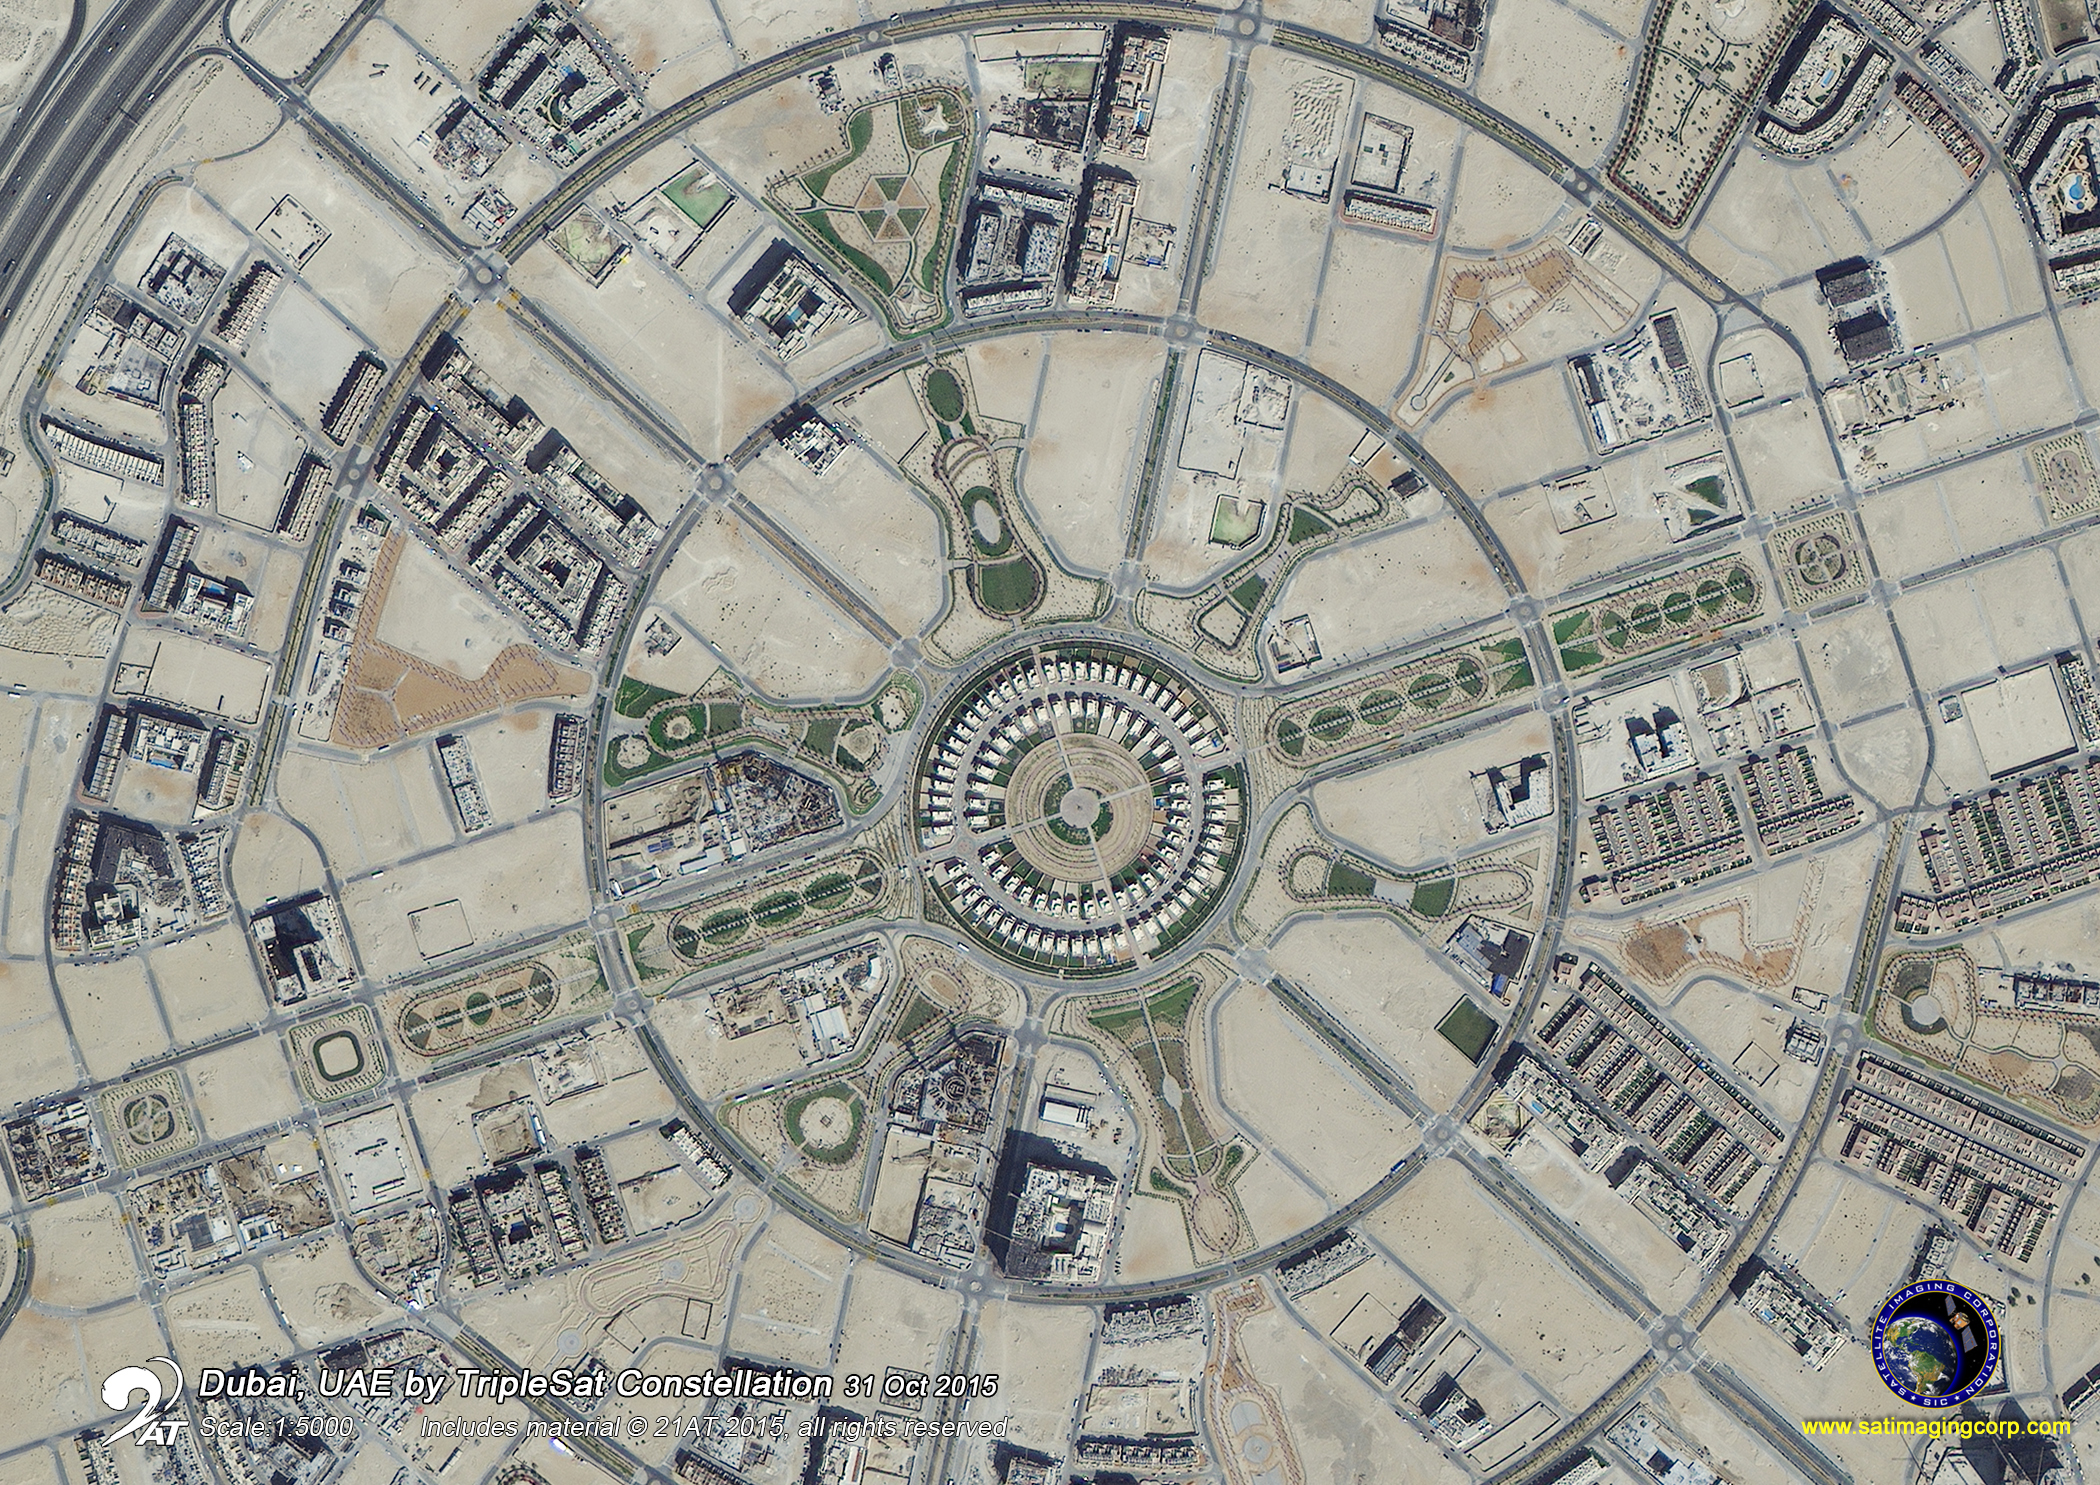
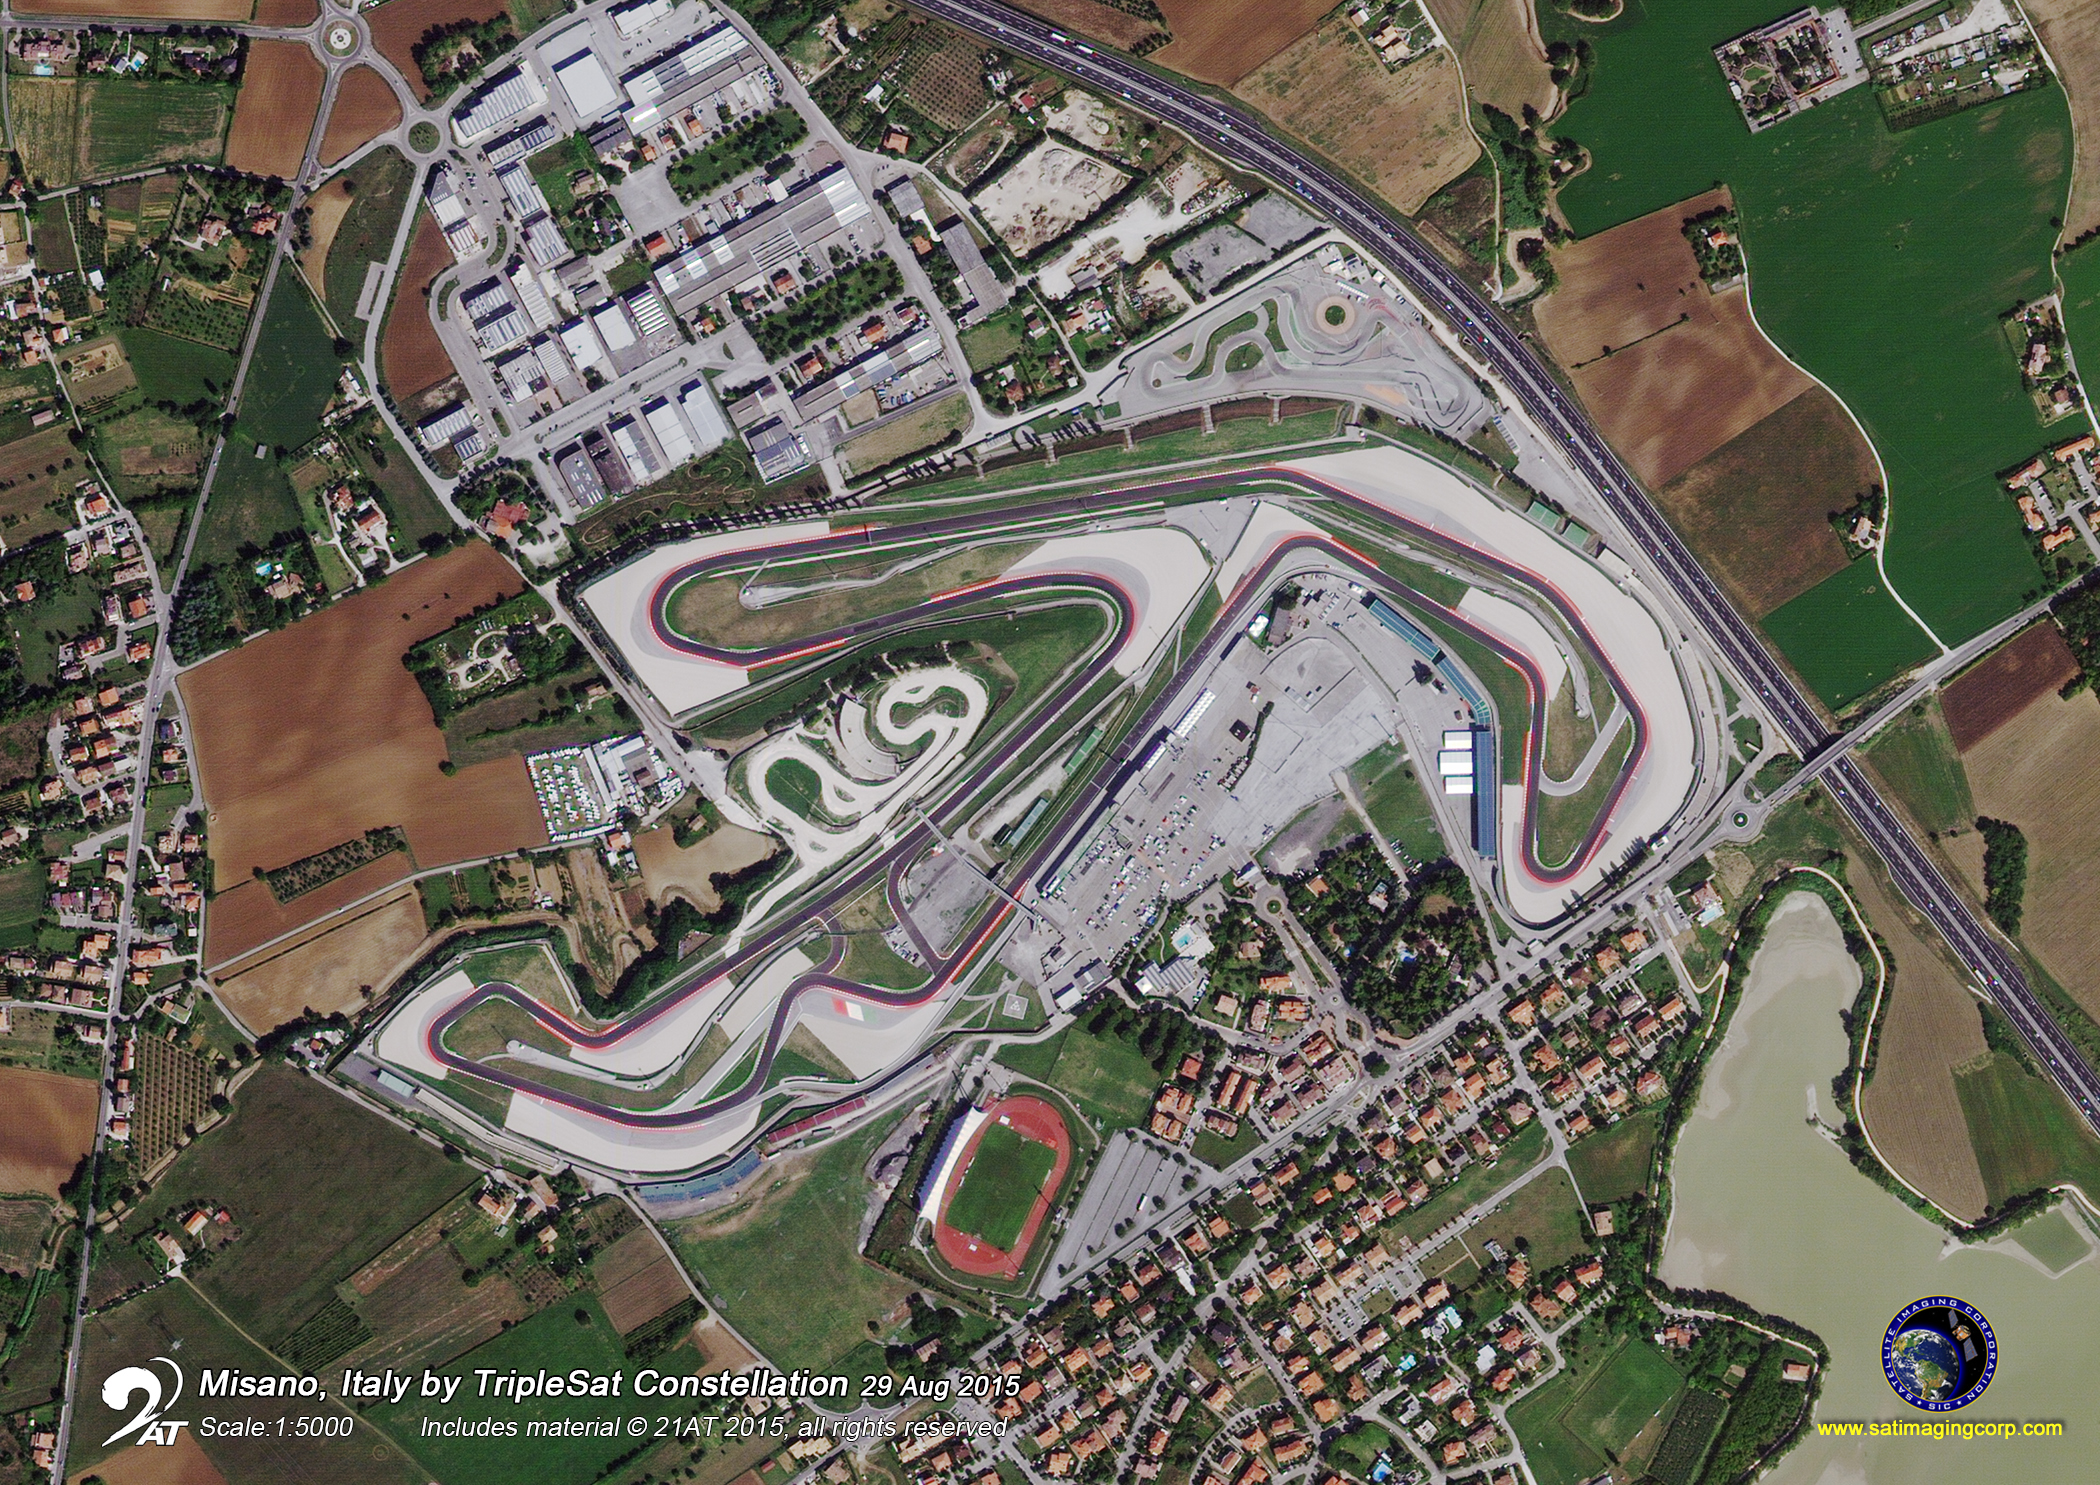
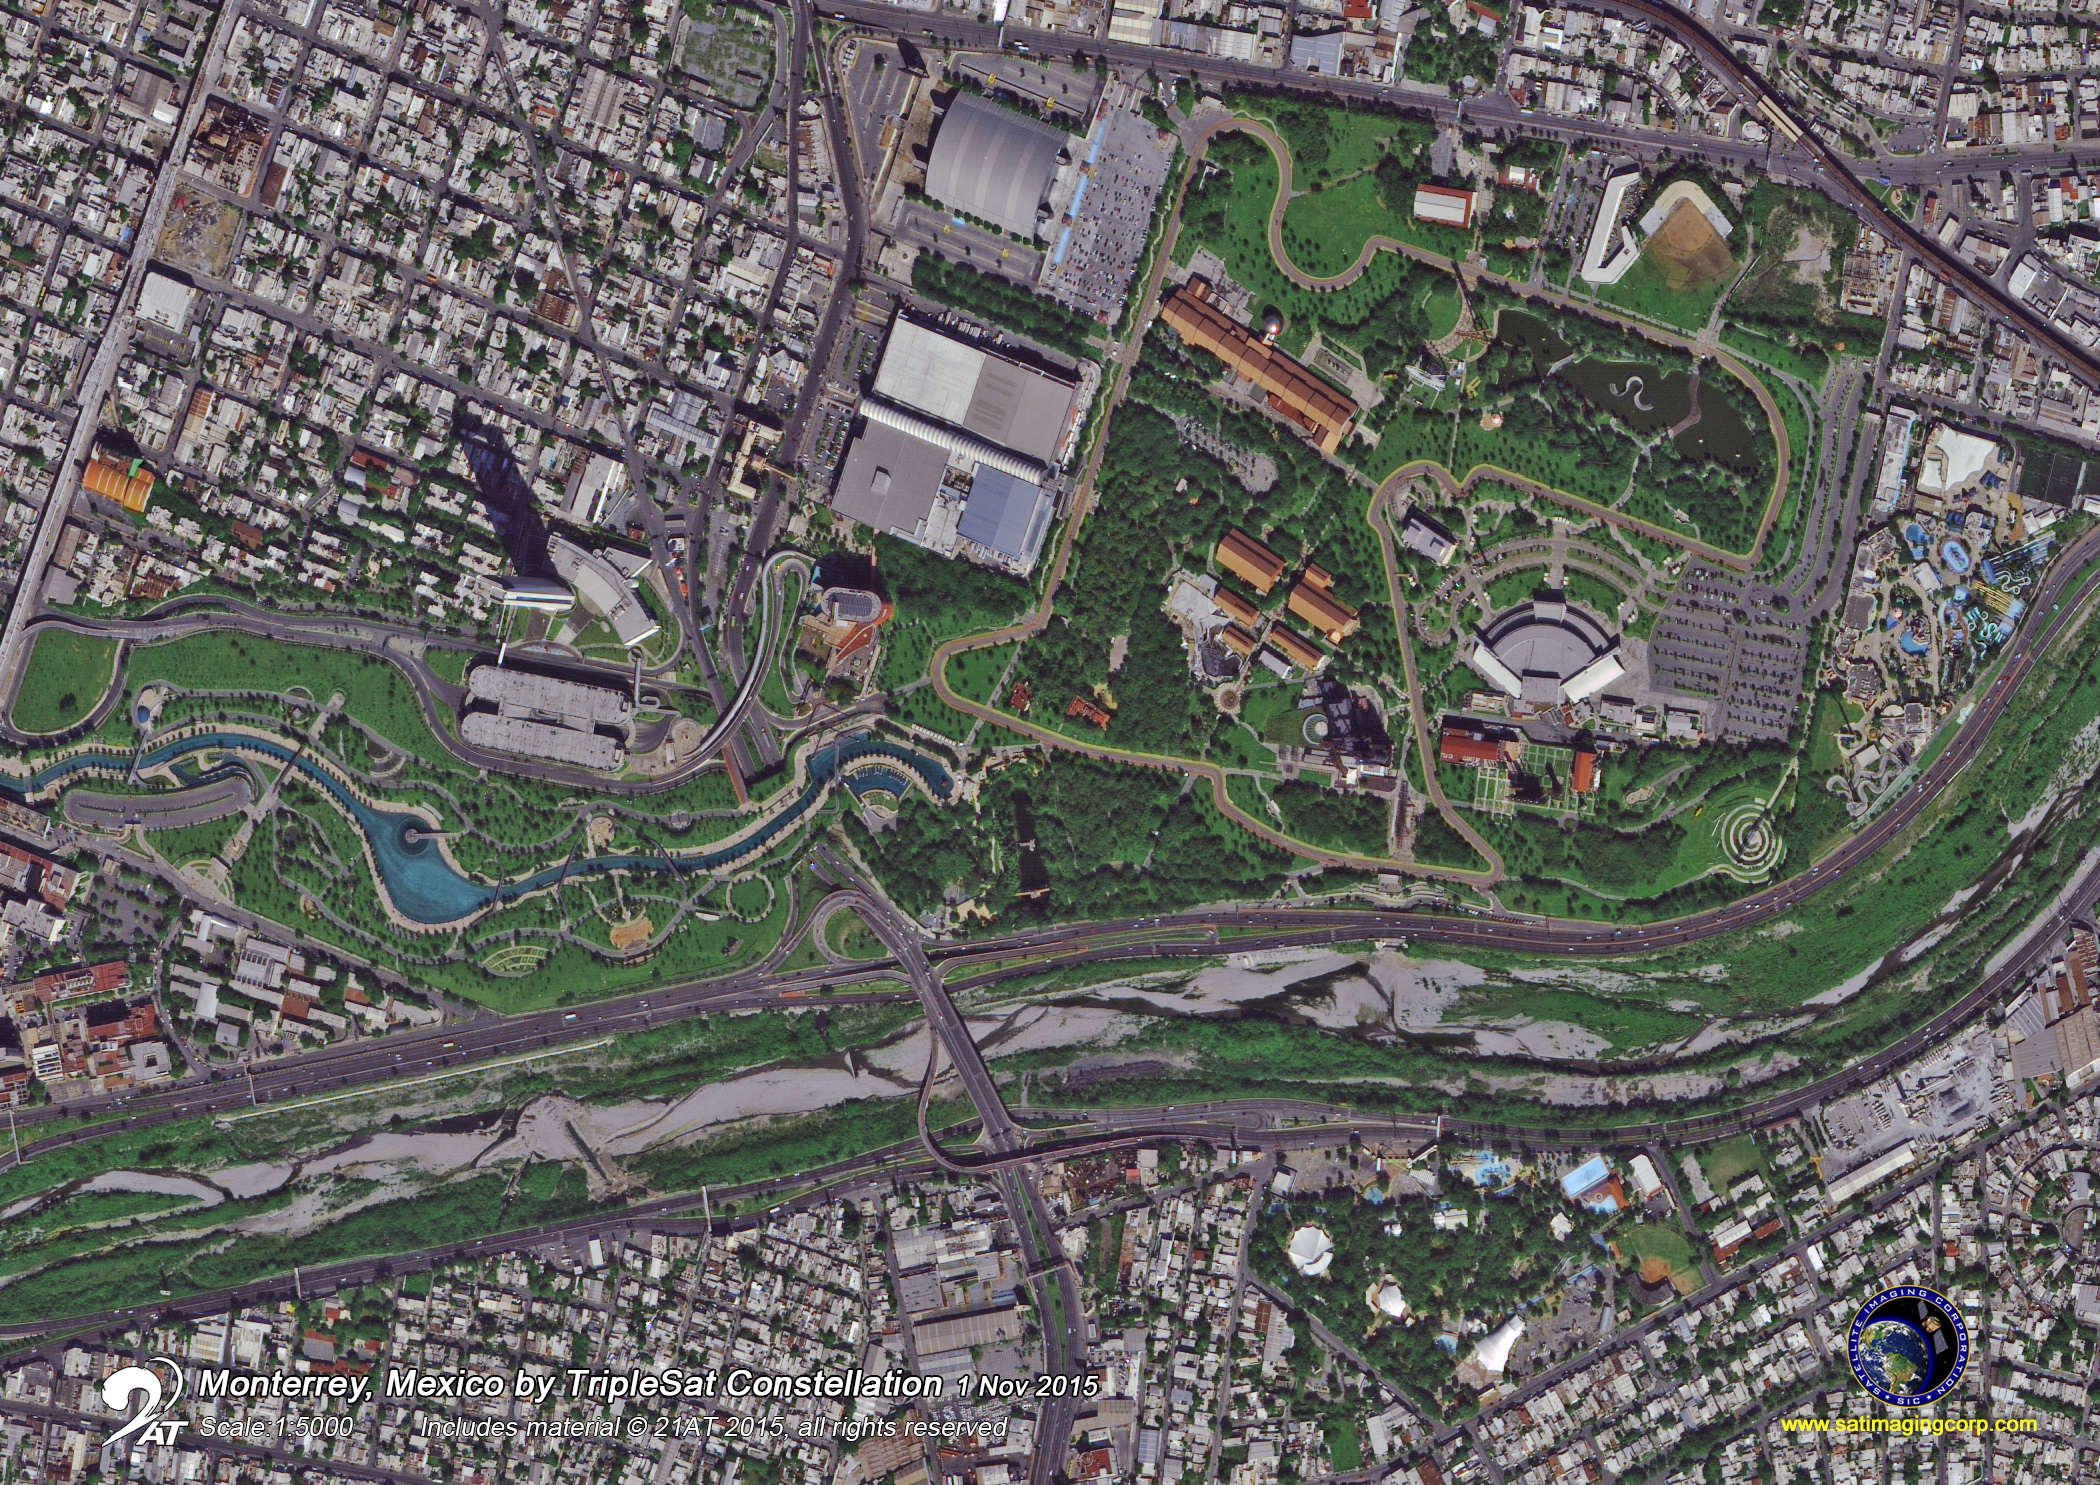
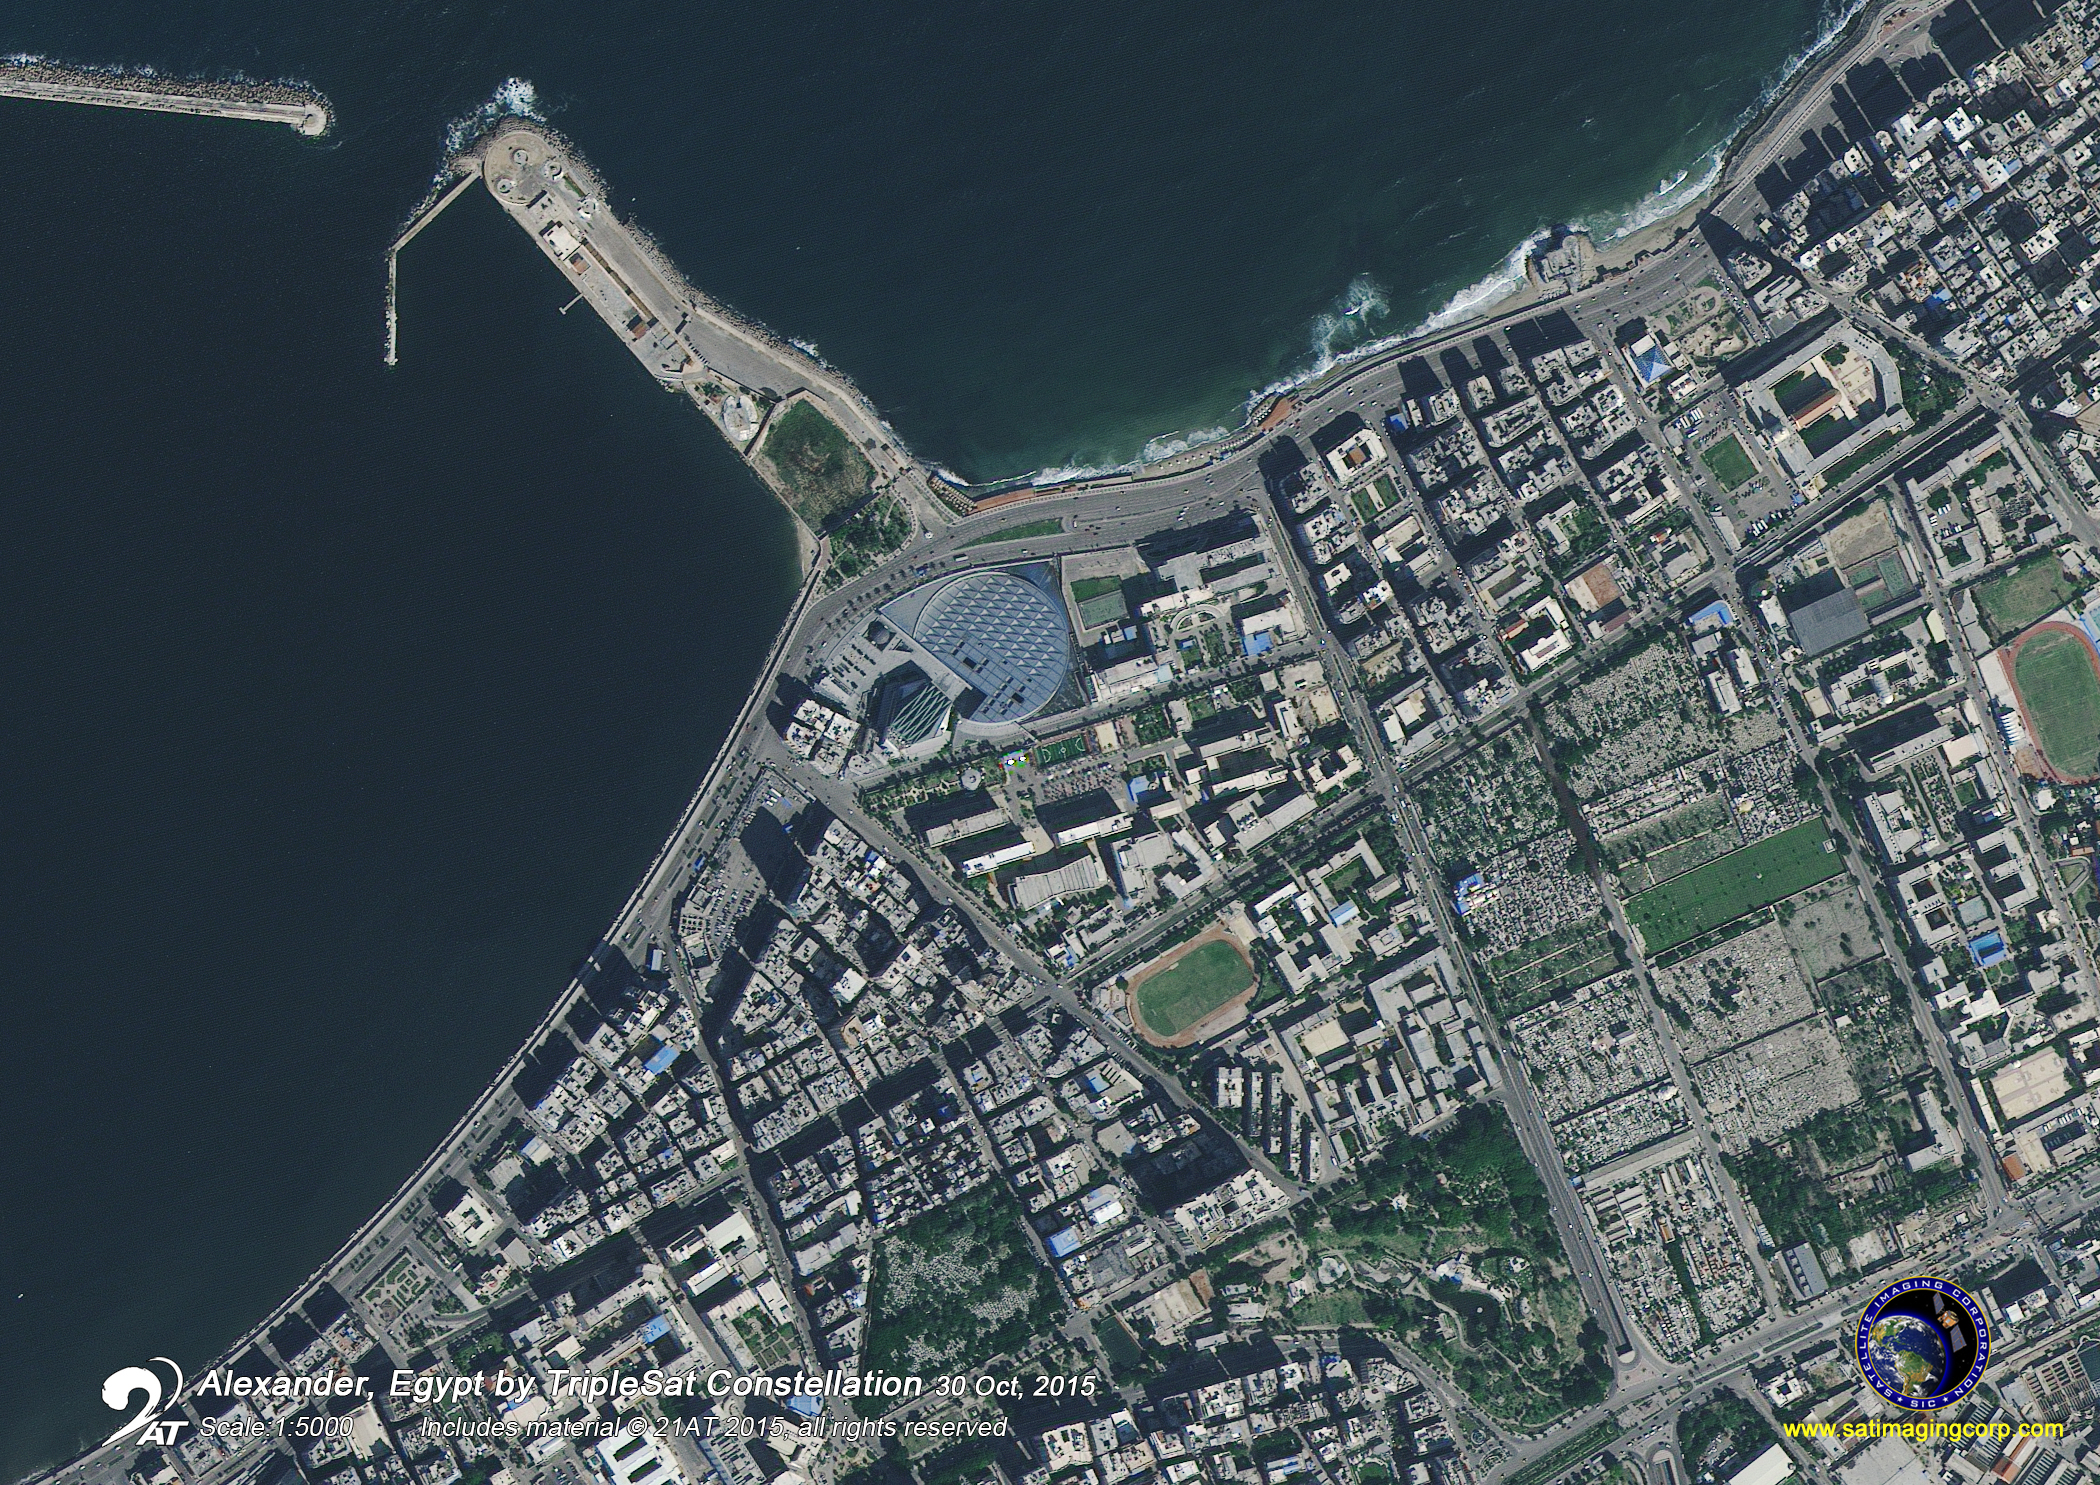
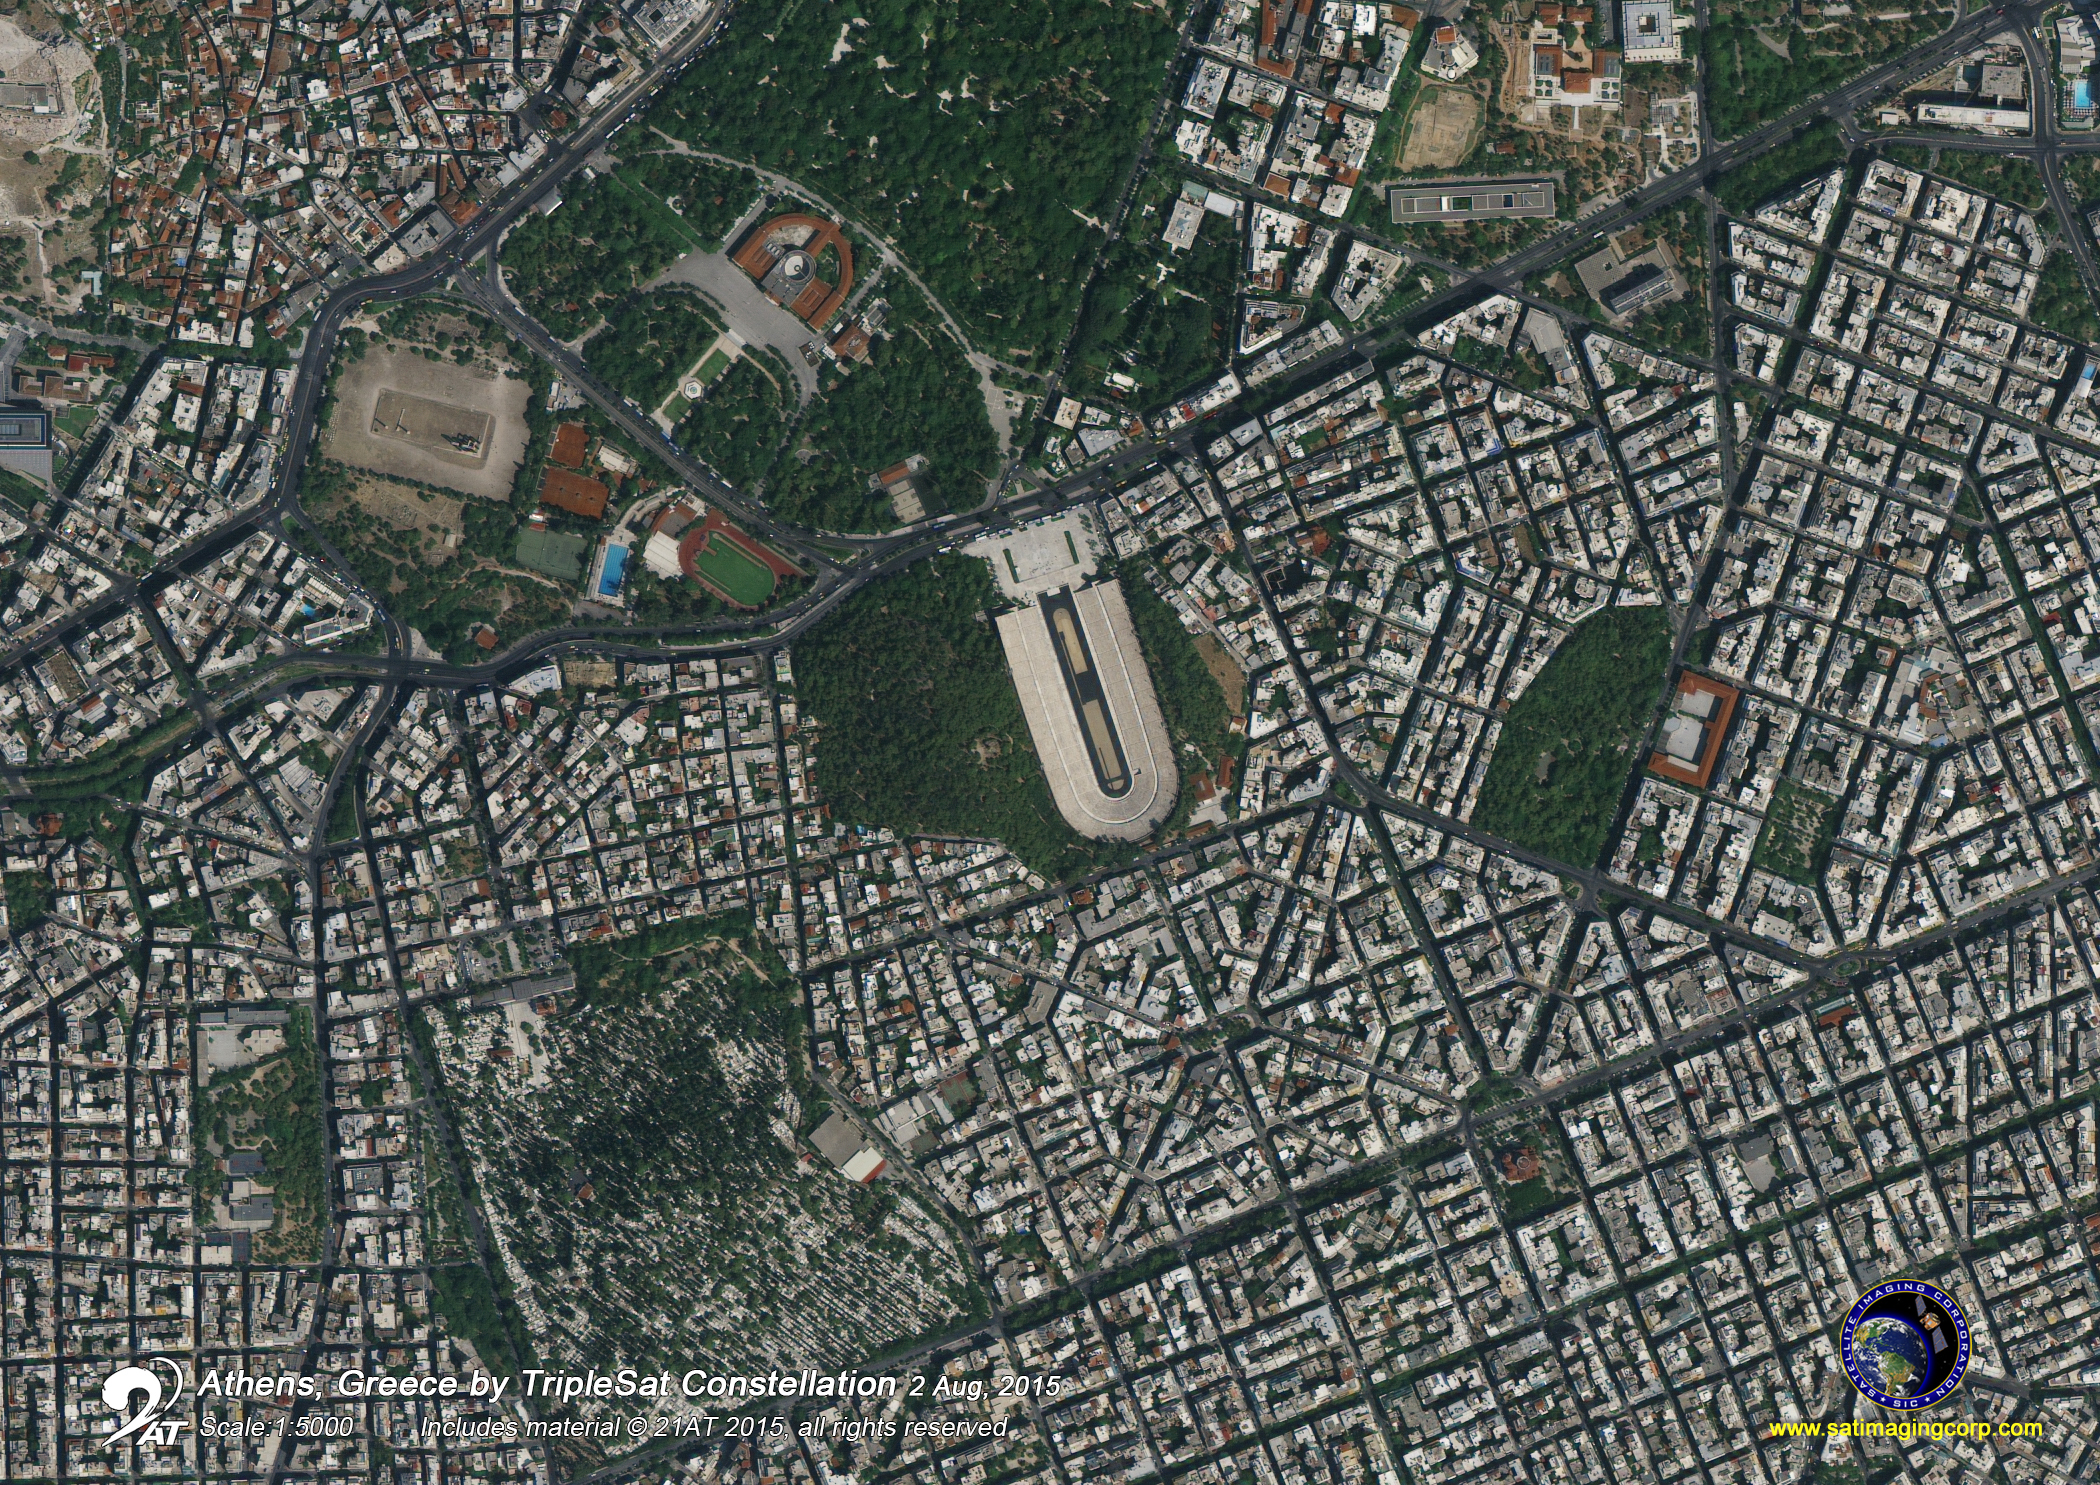
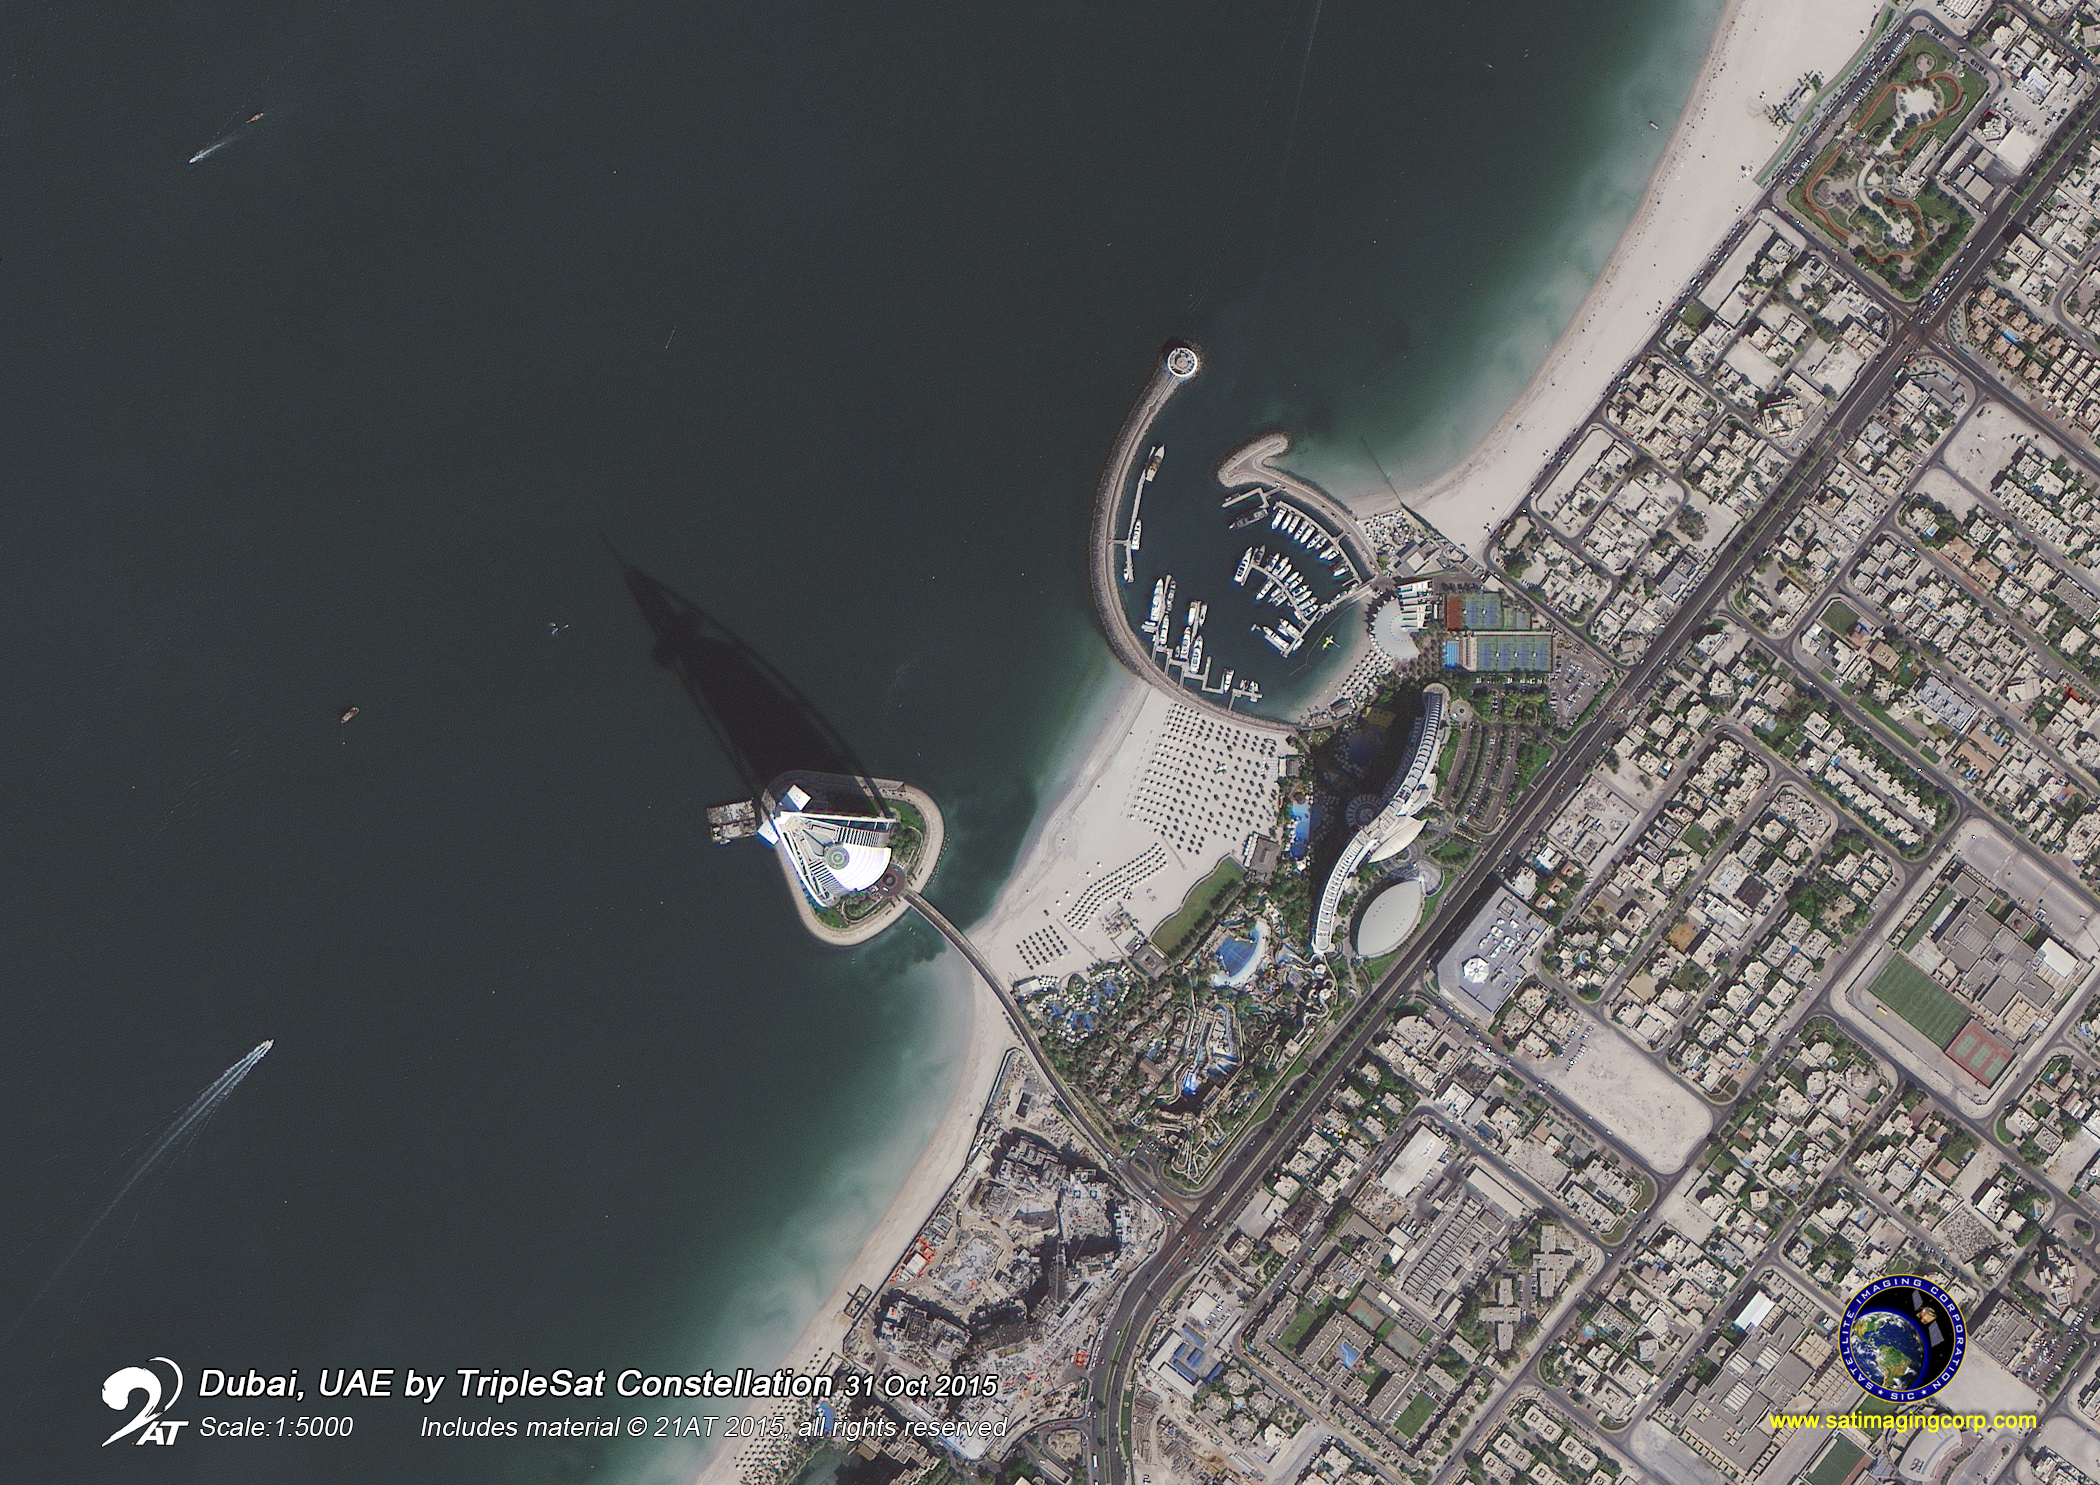
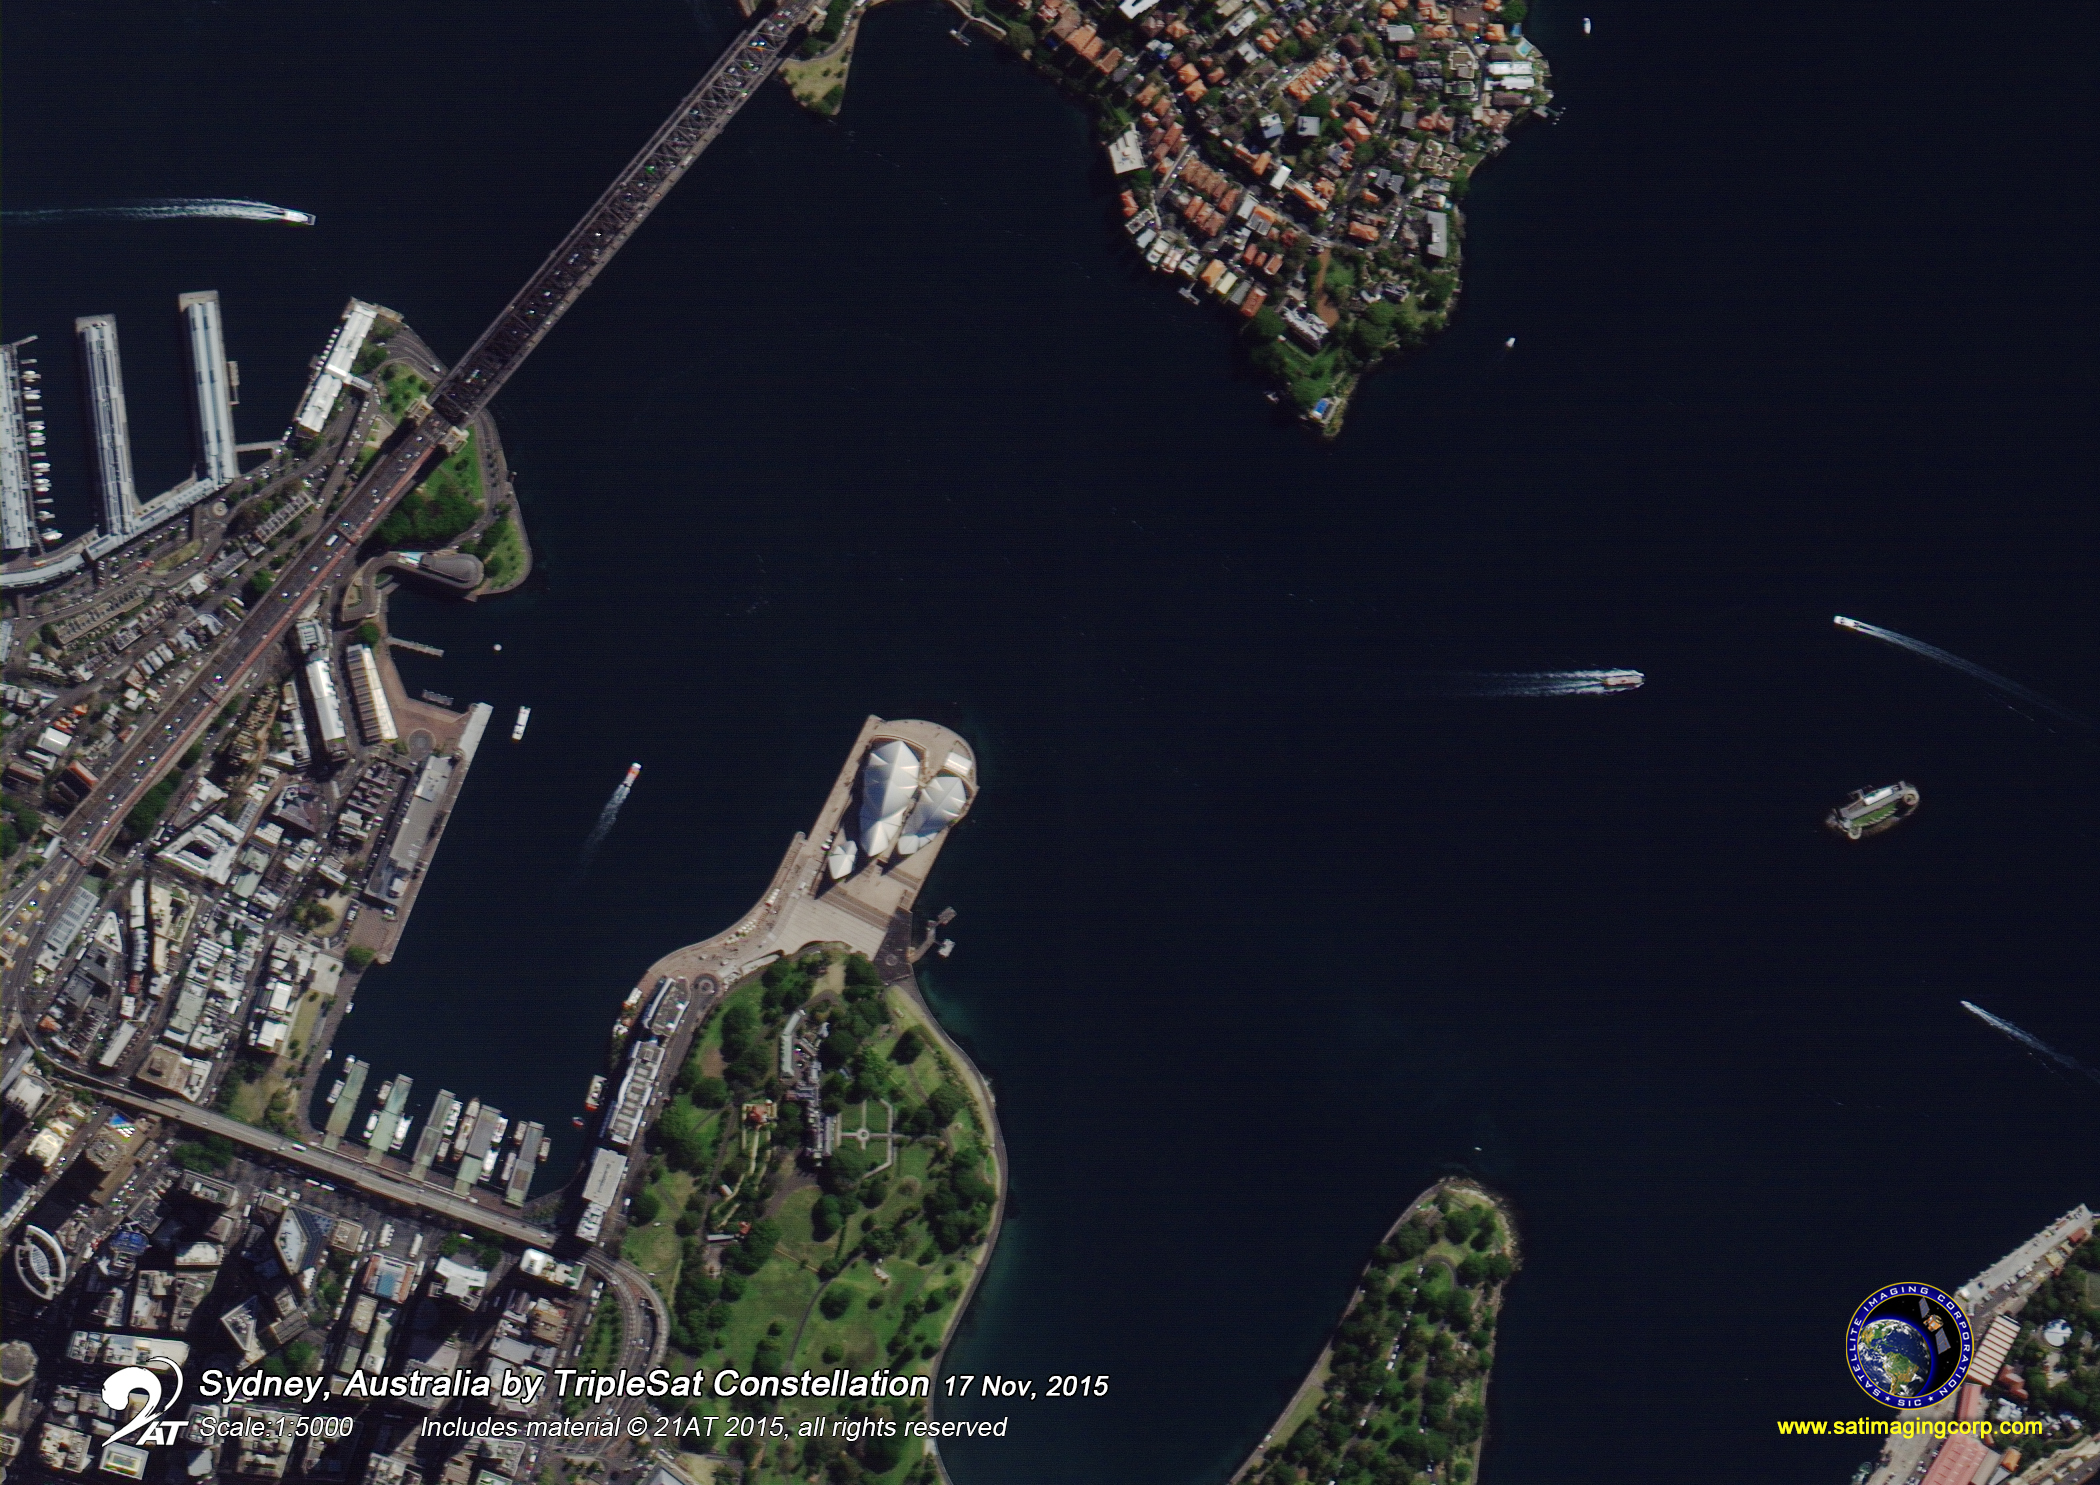
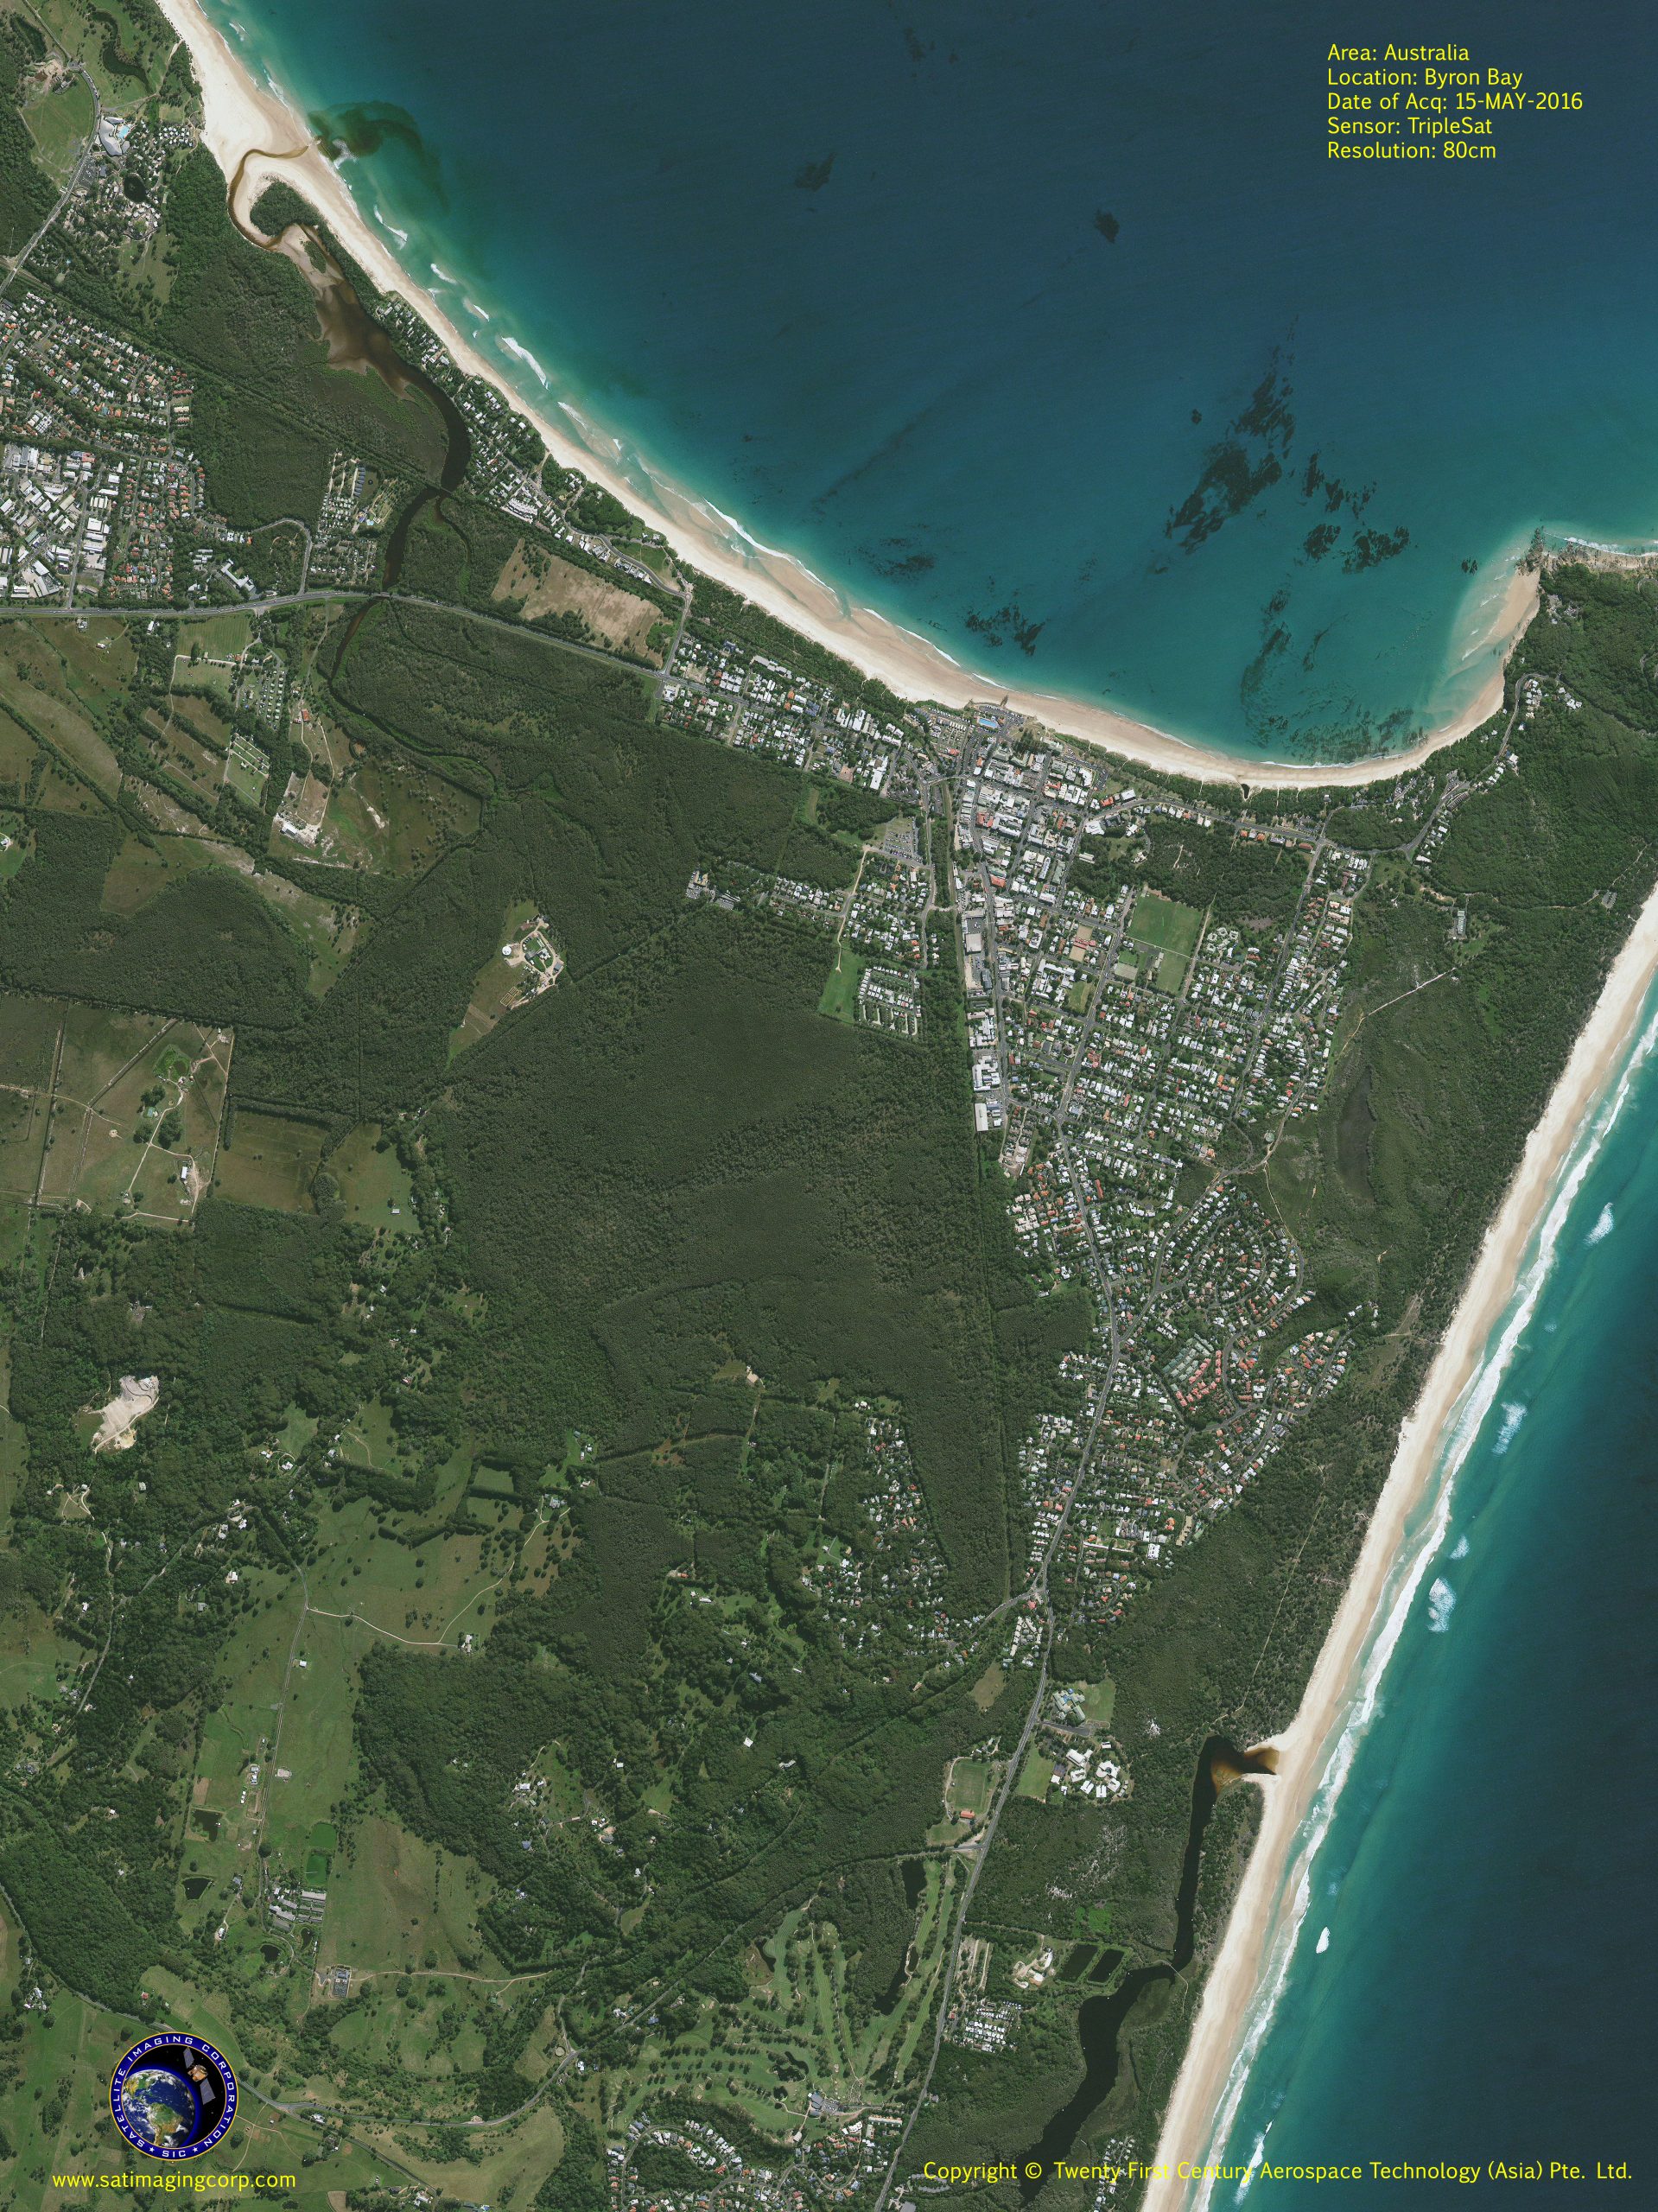
Sample Images
TripleSat Satellite Image Gallery
* Click on thumbnail to view in full resolution.
For more information on any of our products and image processing services, please contact us for a complimentary consultation.
TripleSat Satellite Sensor Specifications
Launch Details
- Launch Date: July 10, 2015, 16:28 UTC
- Vehicle: PSLV-XL (Polar Satellite Launch Vehicle)
- Site: Satish Dhawan Space Centre, Sriharikota, India
- Expected Mission Life: at least 7 years for each of three identical satellites
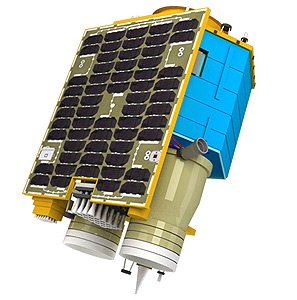
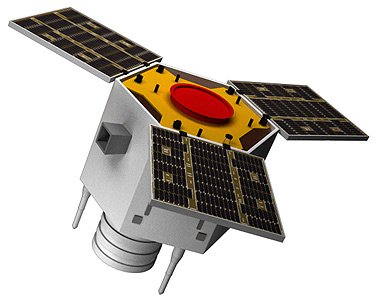
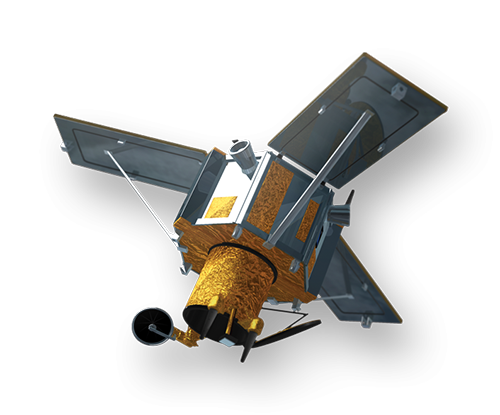
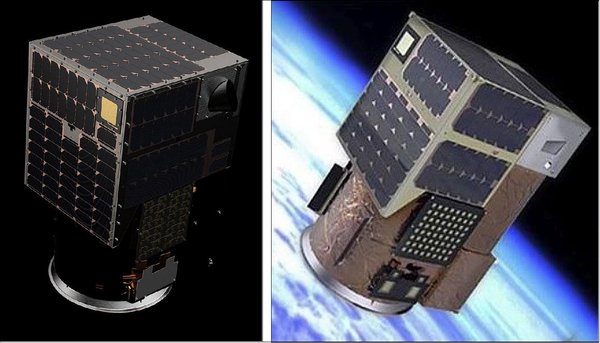
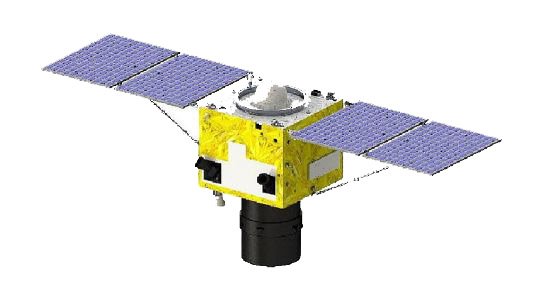
TripleSat Components
- Satellite Model: DMC-3 (SSTL-300S1), a three satellite constellation (i.e. TripleSat-1, 2 and 3) built by Surrey Satellite Technology (SSTL)
- Dimensions: approximately 3m tall x 0.87m diameter with body mounted solar array; 458kg
- Solar Array: 2.27 square meters of Gallium-Arsenide solar panels, 15Ahr battery
- Control Systems:
- 3-axis stabilized
- Actuators: four SSTL-100SP-O reaction wheels, four 200SP-M momentum wheels
- Altitude determination: Rigel-L star trackers, sun sensors and SGR-10 GPS
- Onboard Storage Capacity: 544 gigabytes
- Ground Communication Systems:
- Imagery & metadata downlink – 500Mbits per second, X-band
- Commands & telemetry –S-Band
- Focal Plane
- Panchromatic CCD module – linear array, 4stacks, 6408 pixels/stack
- Multispectral CCD module – linear array, 4 stacks, 1602 pixels/stack
- Optical Sensor Assembly: 6.667-m focal length, 420mm diameter aperture
Orbit Characteristics
- Altitude: 651 km; three satellites in same orbital plane exactly 120° apart
- Period: 97.7 minutes
- Inclination: 98.1°
- Direction: sun-synchronous circular, south to north (across the lit side of Earth)
- Equatorial Crossing Time: 10:30 AM local time (approximate; across lit side of Earth)
- Revisit Frequency:
- 45° off-nadir– daily
Imaging System
- Spectral Bands:
- Panchromatic
- 4-band multispectral (blue, green, red and near-infrared red [NIR])
- Sensor Resolution:
- At nadir – 0.8 m panchromatic & 3.2m multispectral
- 25° off-nadir – 1 m panchromatic & 4 m multispectral
- Spectral Band Wavelength Range: (in nm)
- Panchromatic –450 to 650
- Blue –440 to 510
- Green –510 to 590
- Red –600 to 670
- NIR –760 to 910
Dynamic Range
10-bits
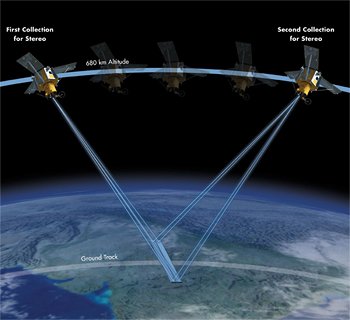
Collection Capabilities
- Footprint Width: 23.8 km (at nadir)
- Maximum Collection Geometry: (at 45° off-nadir)
- Mono, large area –23.8 km x 23.8 km (1 strips wide, 1×1 scene)
- Mono, long strip – 4000 km x 23.8 km (1 strip only)
- Stereo, large area – 42 km x 47.2km (2 pairs wide, 2×2 scenes)
- Retargeting Ability: 40 sec (time to slew 30 degrees, fast response mode)
- Daily Collection Capacity: 634,441 sq km
- Georeferenced Horizontal Accuracy: < 50-m 1-sigma (Nadir pointing, without Ground Control Points, no star tracker blinding)


