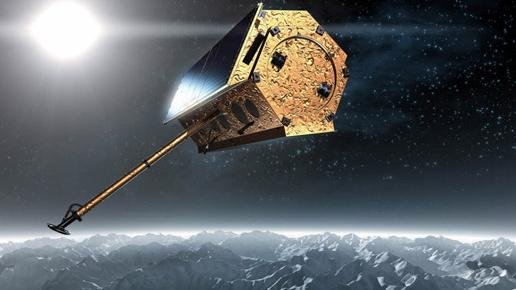
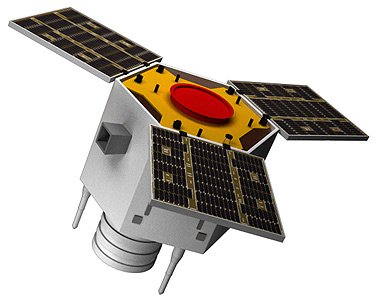
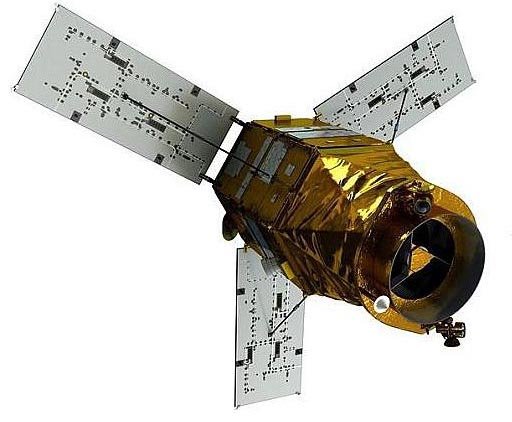
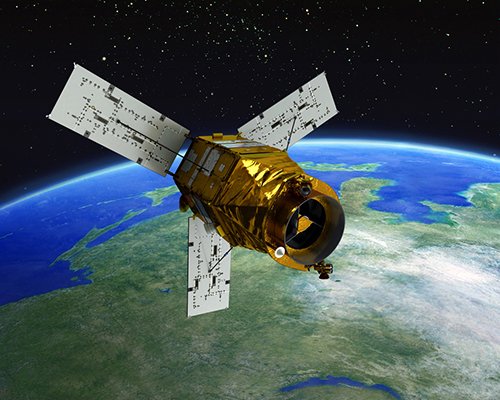
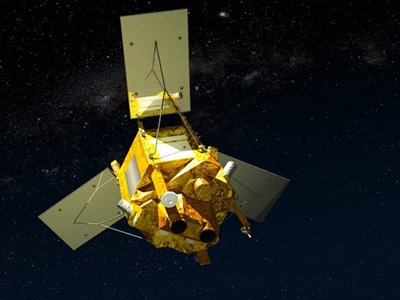
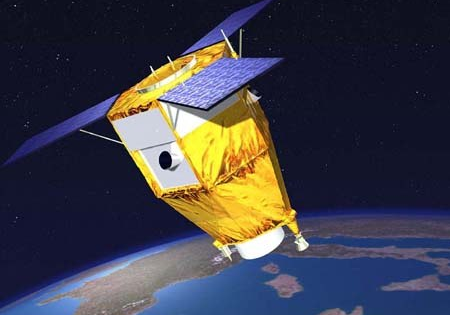
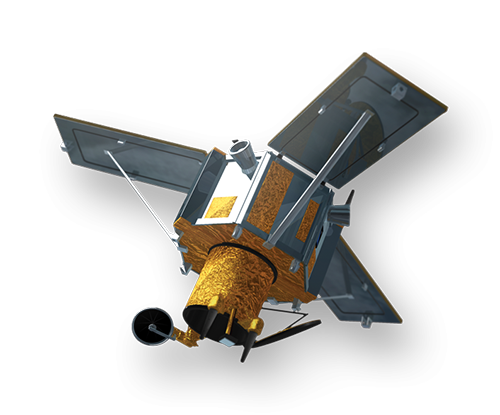
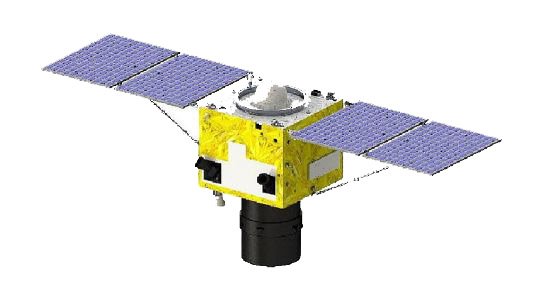
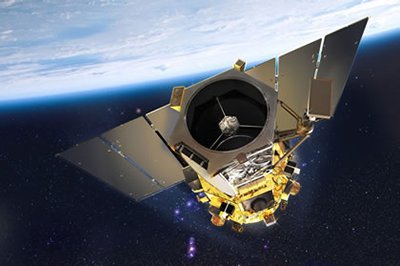
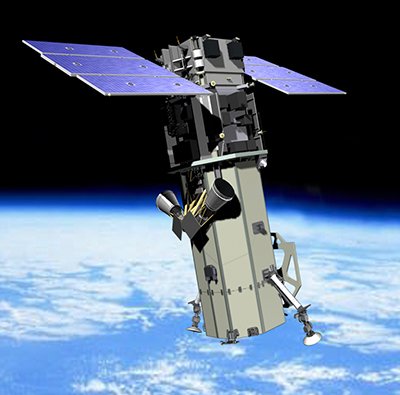
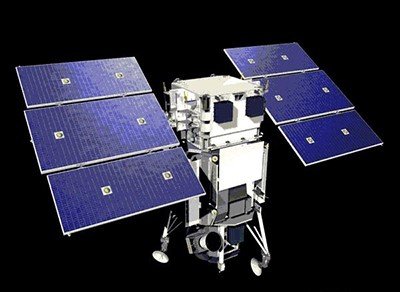
TerraSAR-X Radar Satellite
The successful launch of TerraSAR-X took place on June 15, 2007, from the Russian Cosmodrome, Baikonur, Kazakhstan, on a Russian/Ukrainian Dnepr-1 launch vehicle with a 1.5 m long fairing extension. Launch provider: ISC Kosmotras, Moscow.
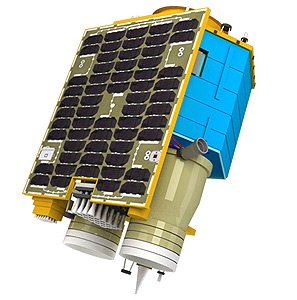
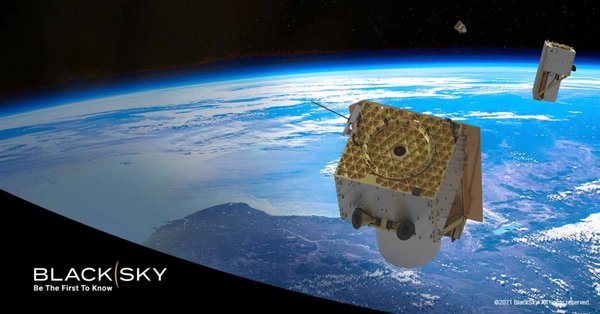
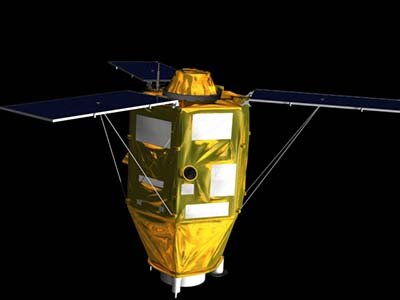
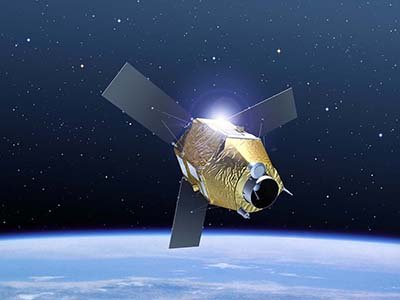
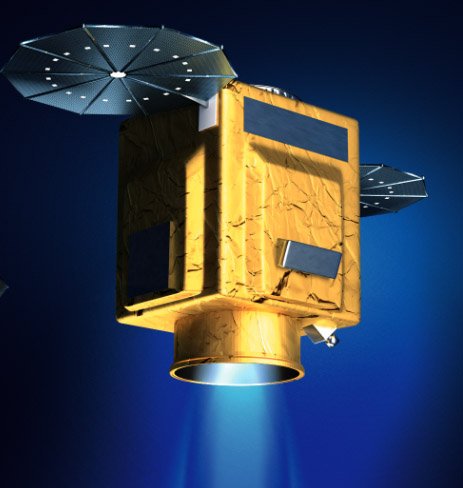
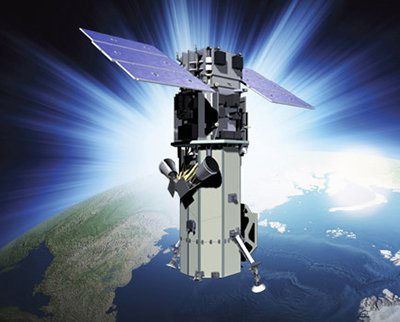
TerraSAR-X Radar Satellite
Copyright © AIRBUS Defence & Space. All rights reserved.
In 2002, AIRBUS Defence and Space was awarded a contract to implement the X-band TerraSAR satellite (TerraSAR-X) based on a public-private partnership agreement (PPP). In this arrangement, AIRBUS Defence and Space funded part of the implementation cost of the TerraSAR-X system. The satellite is owned and operated by DLR, and the scientific data rights remain with DLR. The satellite has a design life of at least five years. TerraSAR-X is of SIR-C/X-SAR (1994) and SRTM (2000) heritage – DLR SAR instruments flown on shuttle missions.
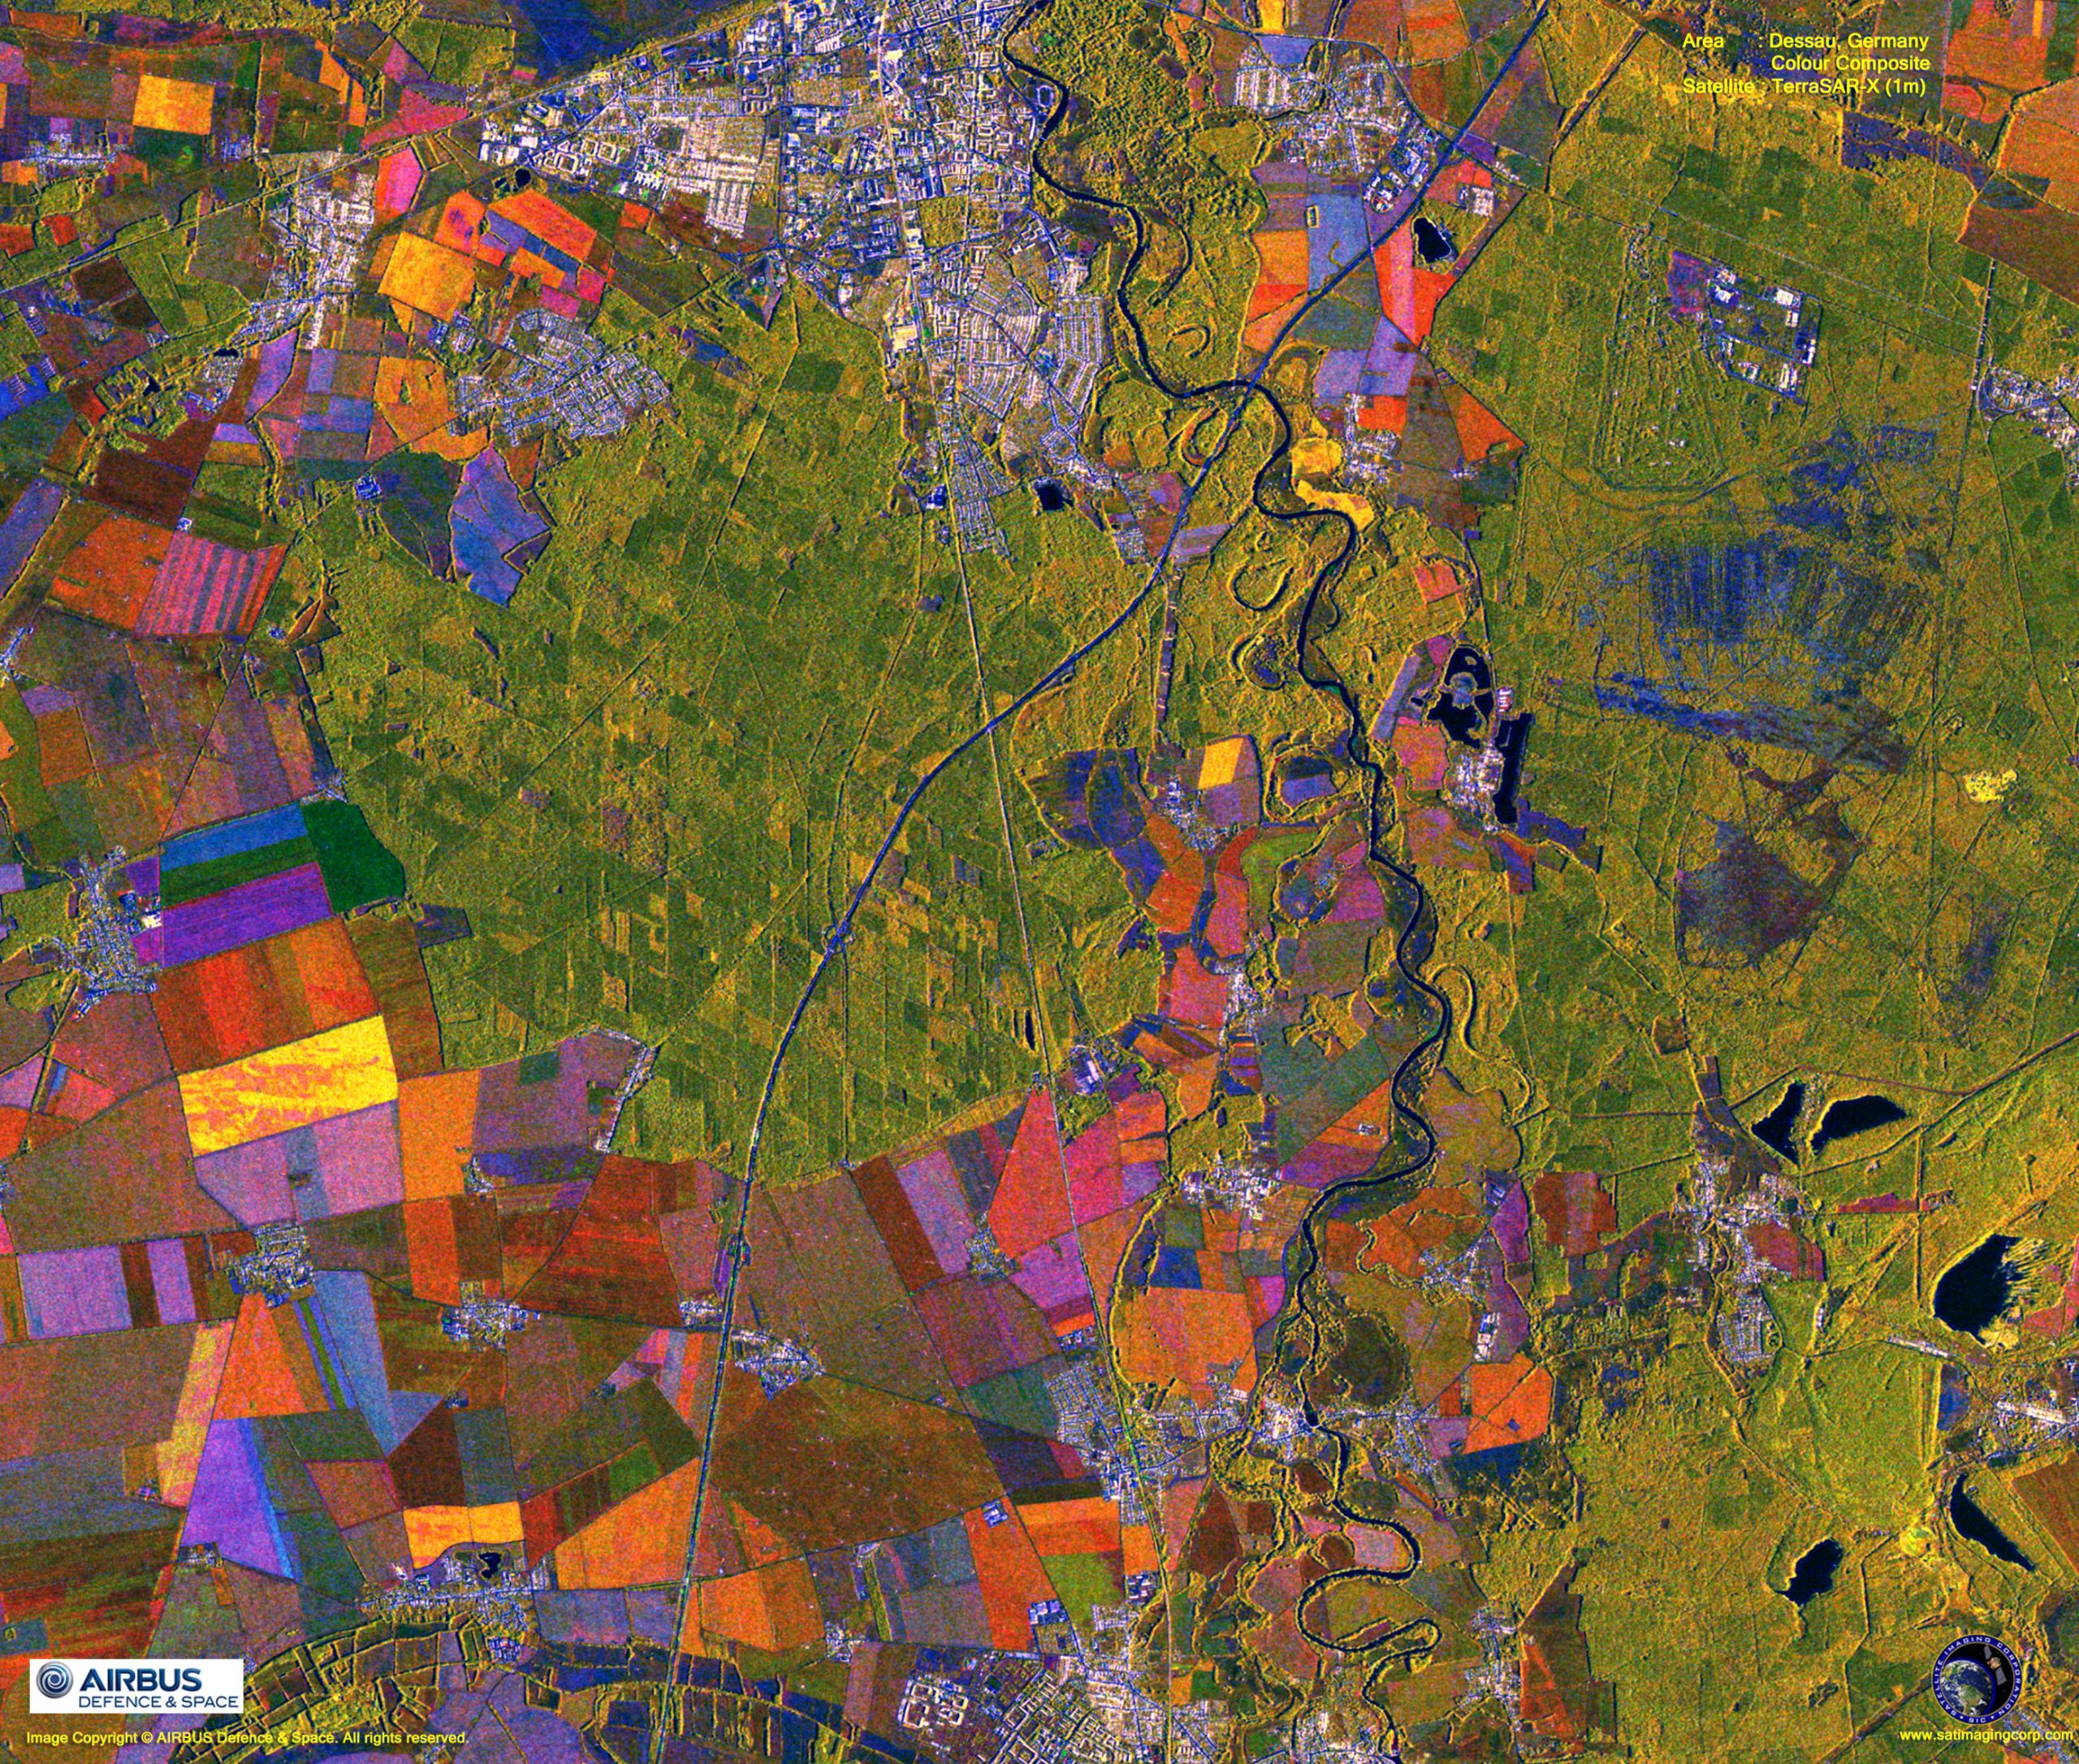
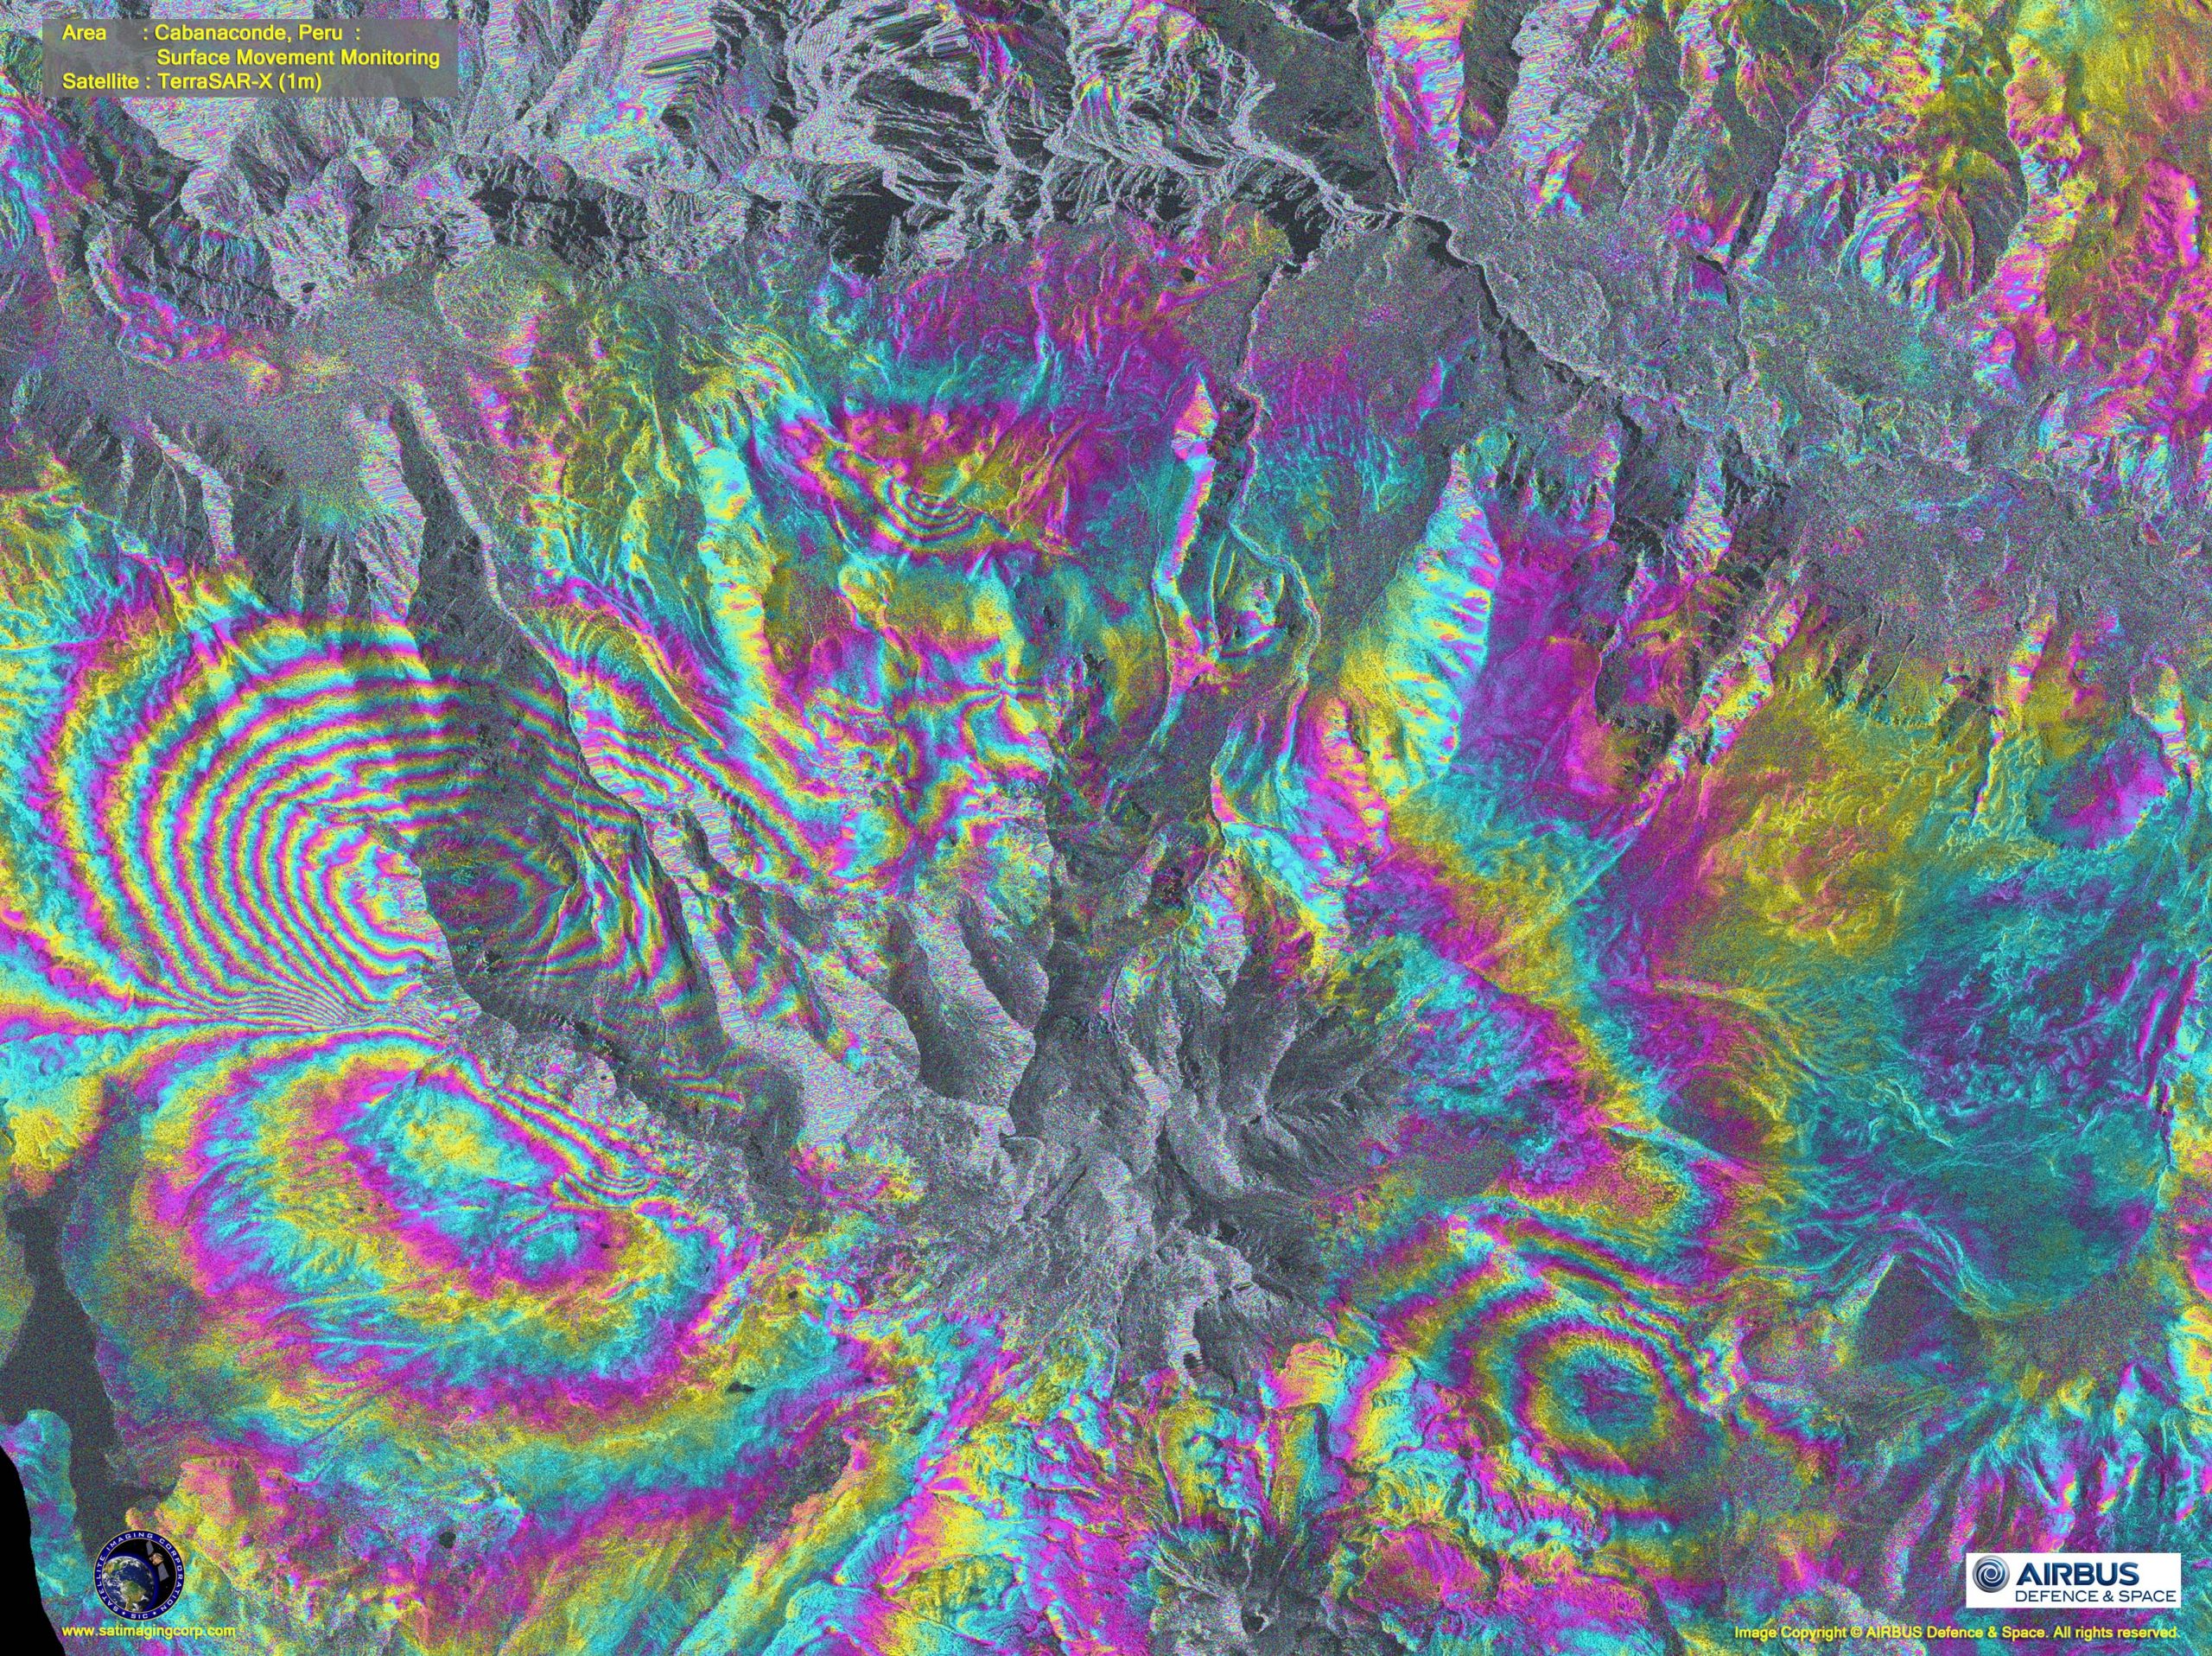
The science objectives are to make multi-mode and high-resolution X-band data available for a wide spectrum of scientific applications in such fields as: hydrology, geology, climatology, oceanography, environmental and disaster monitoring, and cartography (DEM generation) making use of interferometry and stereometry.
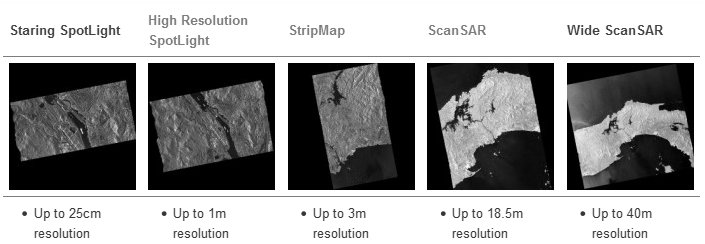
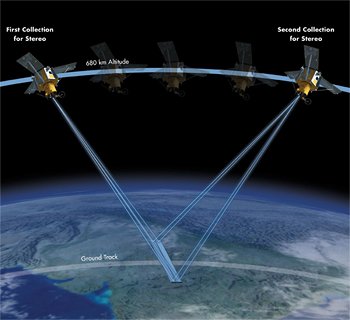
The TerraSAR-X has the primary objective to acquire 2D SAR observations in the operational modes Stripmap, ScanSAR and Spotlight. These objectives are being pursued in parallel to the TanDEM mission; these functions are supported by both spacecraft of the formation. The TanDEM mission has the primary goal to generate a global DEM, while the secondary objective is to support also the goals of the current science mission. The aim is to continue to operate both satellites using interferometry, to enable three-dimensional imaging of the surface of the Earth to continue. After changing the orbit of TanDEM-X in recent weeks, the two satellites are being operated independently of one another, in what is known as ‘Pursuit Monostatic Mode’. The advantage of this new orbital configuration is that the distance between the satellites – the baseline – can be made substantially more flexible. In the new orbital configuration, data for elevation models can be generated with an elevation accuracy of a few tens of centimeters, for example. This opens up new applications in the areas of the geosphere, cryosphere and hydrosphere.
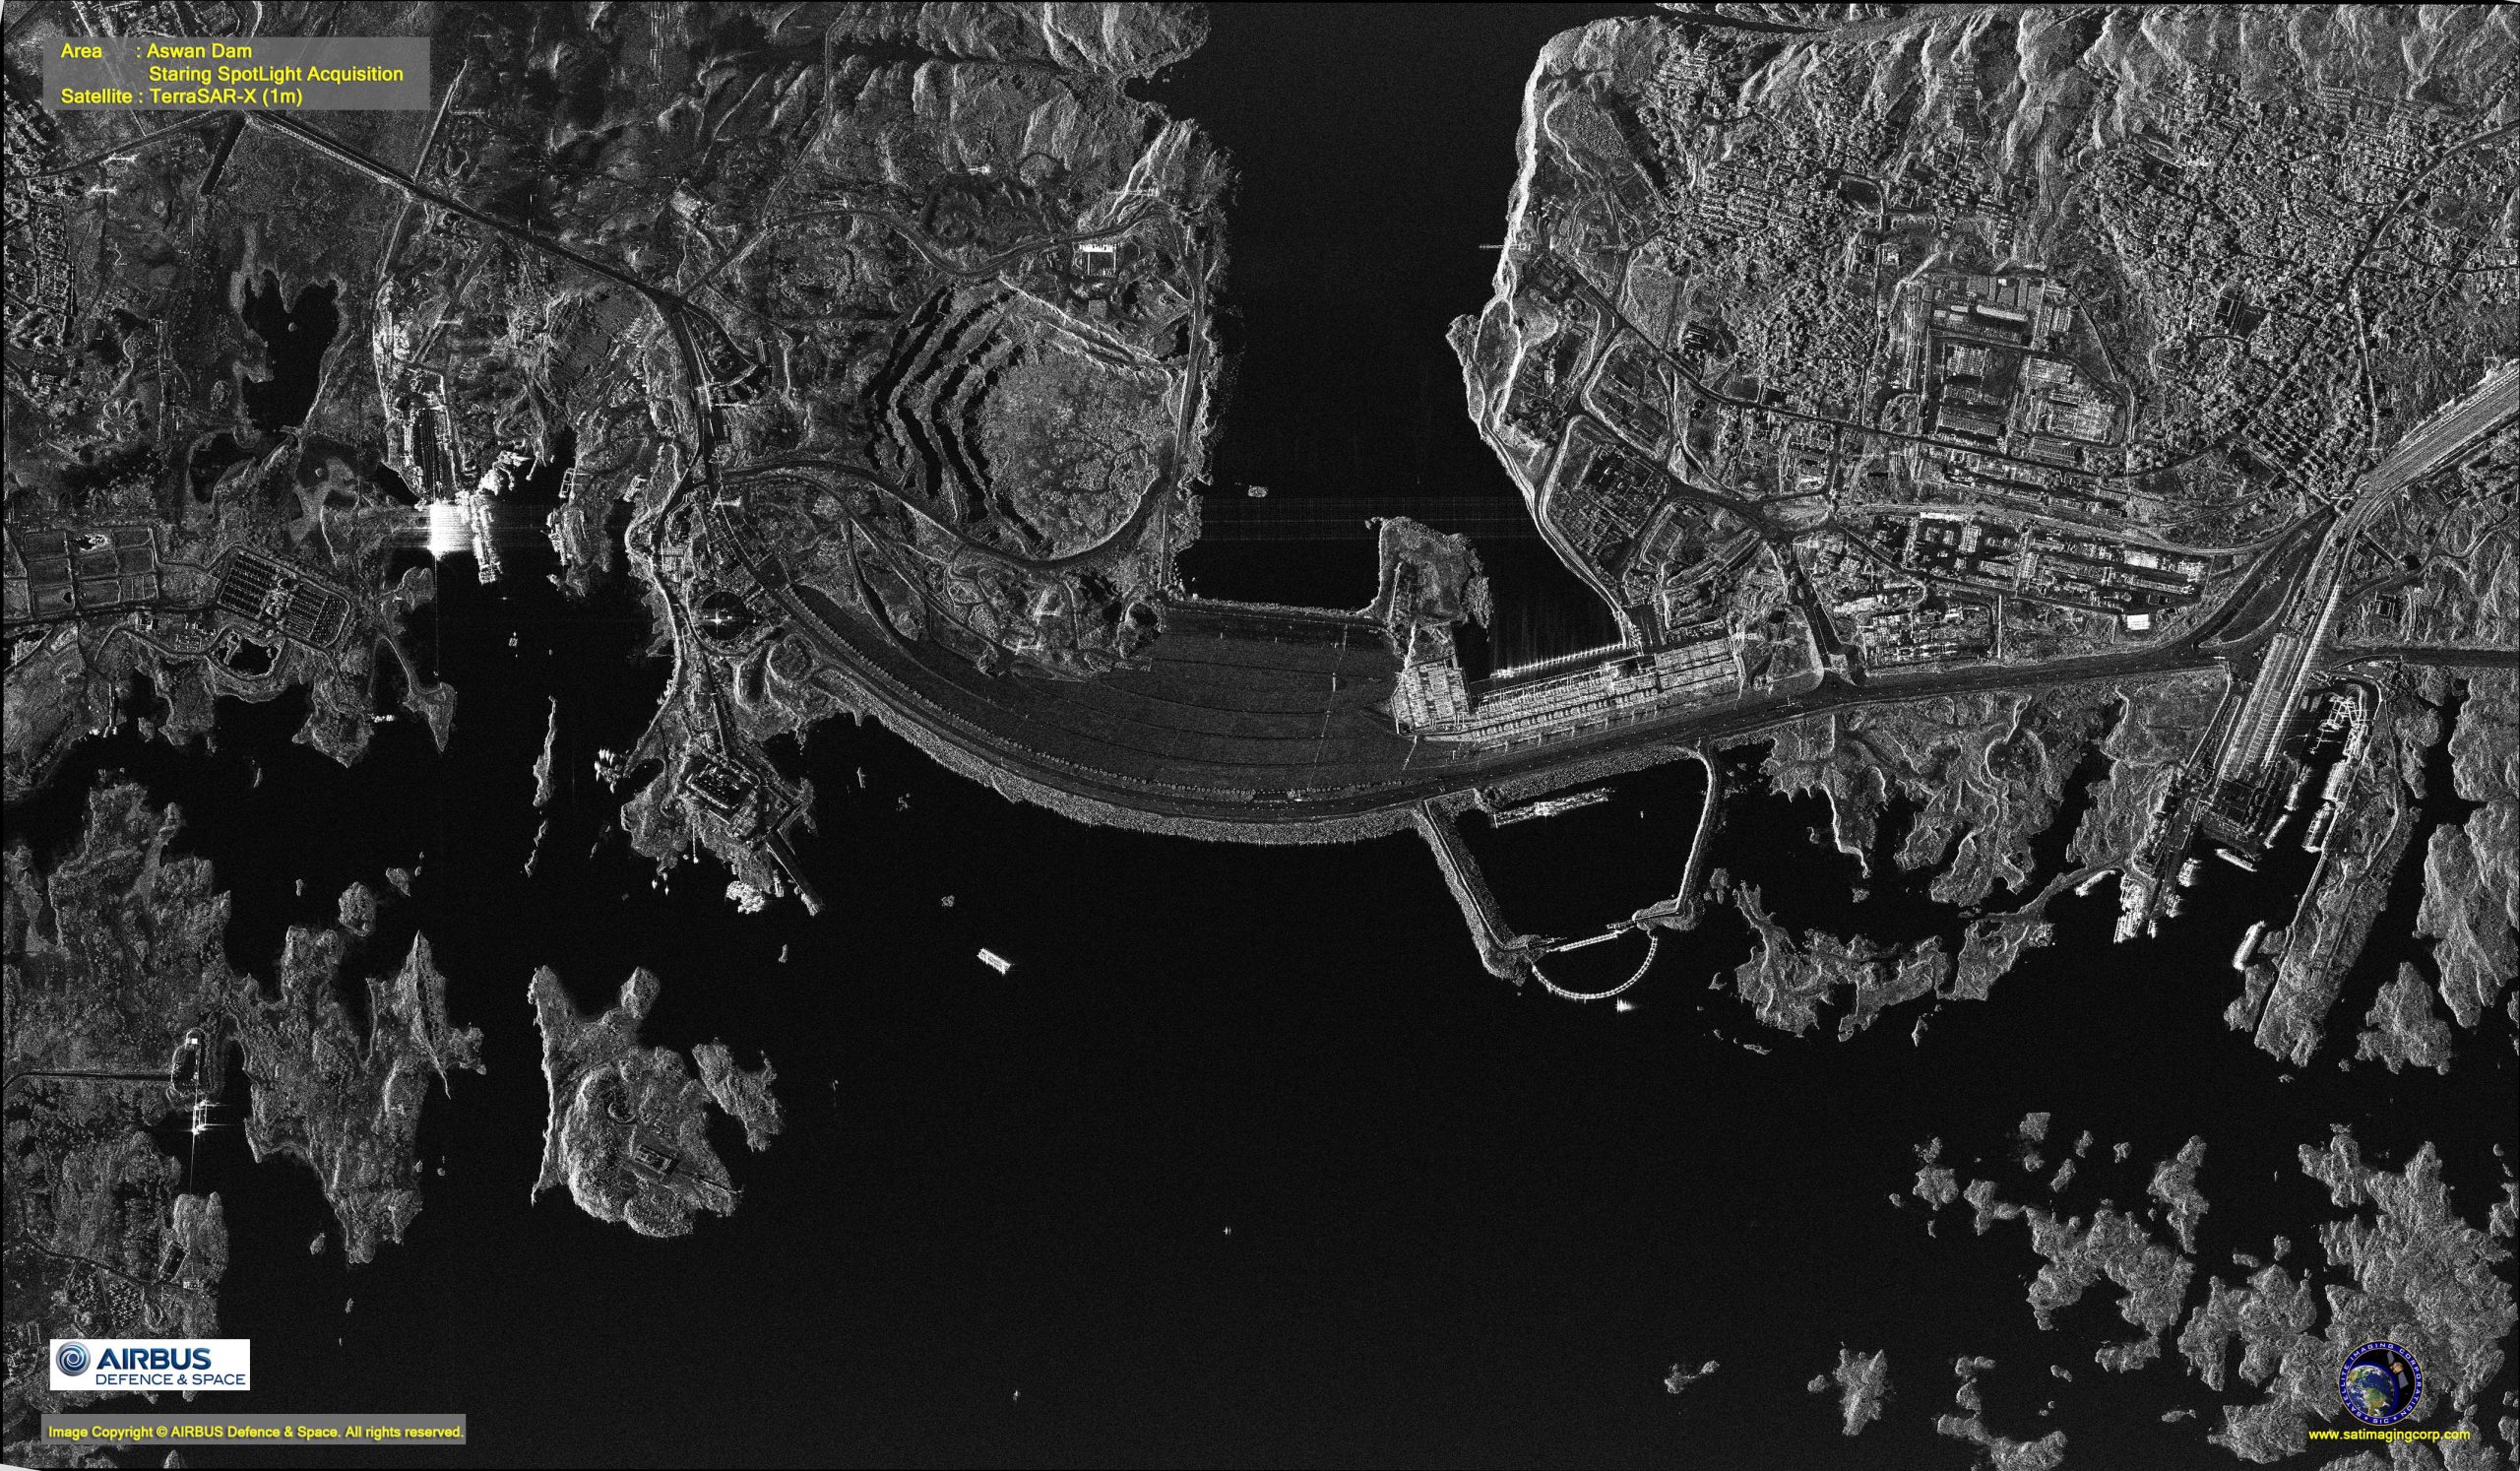
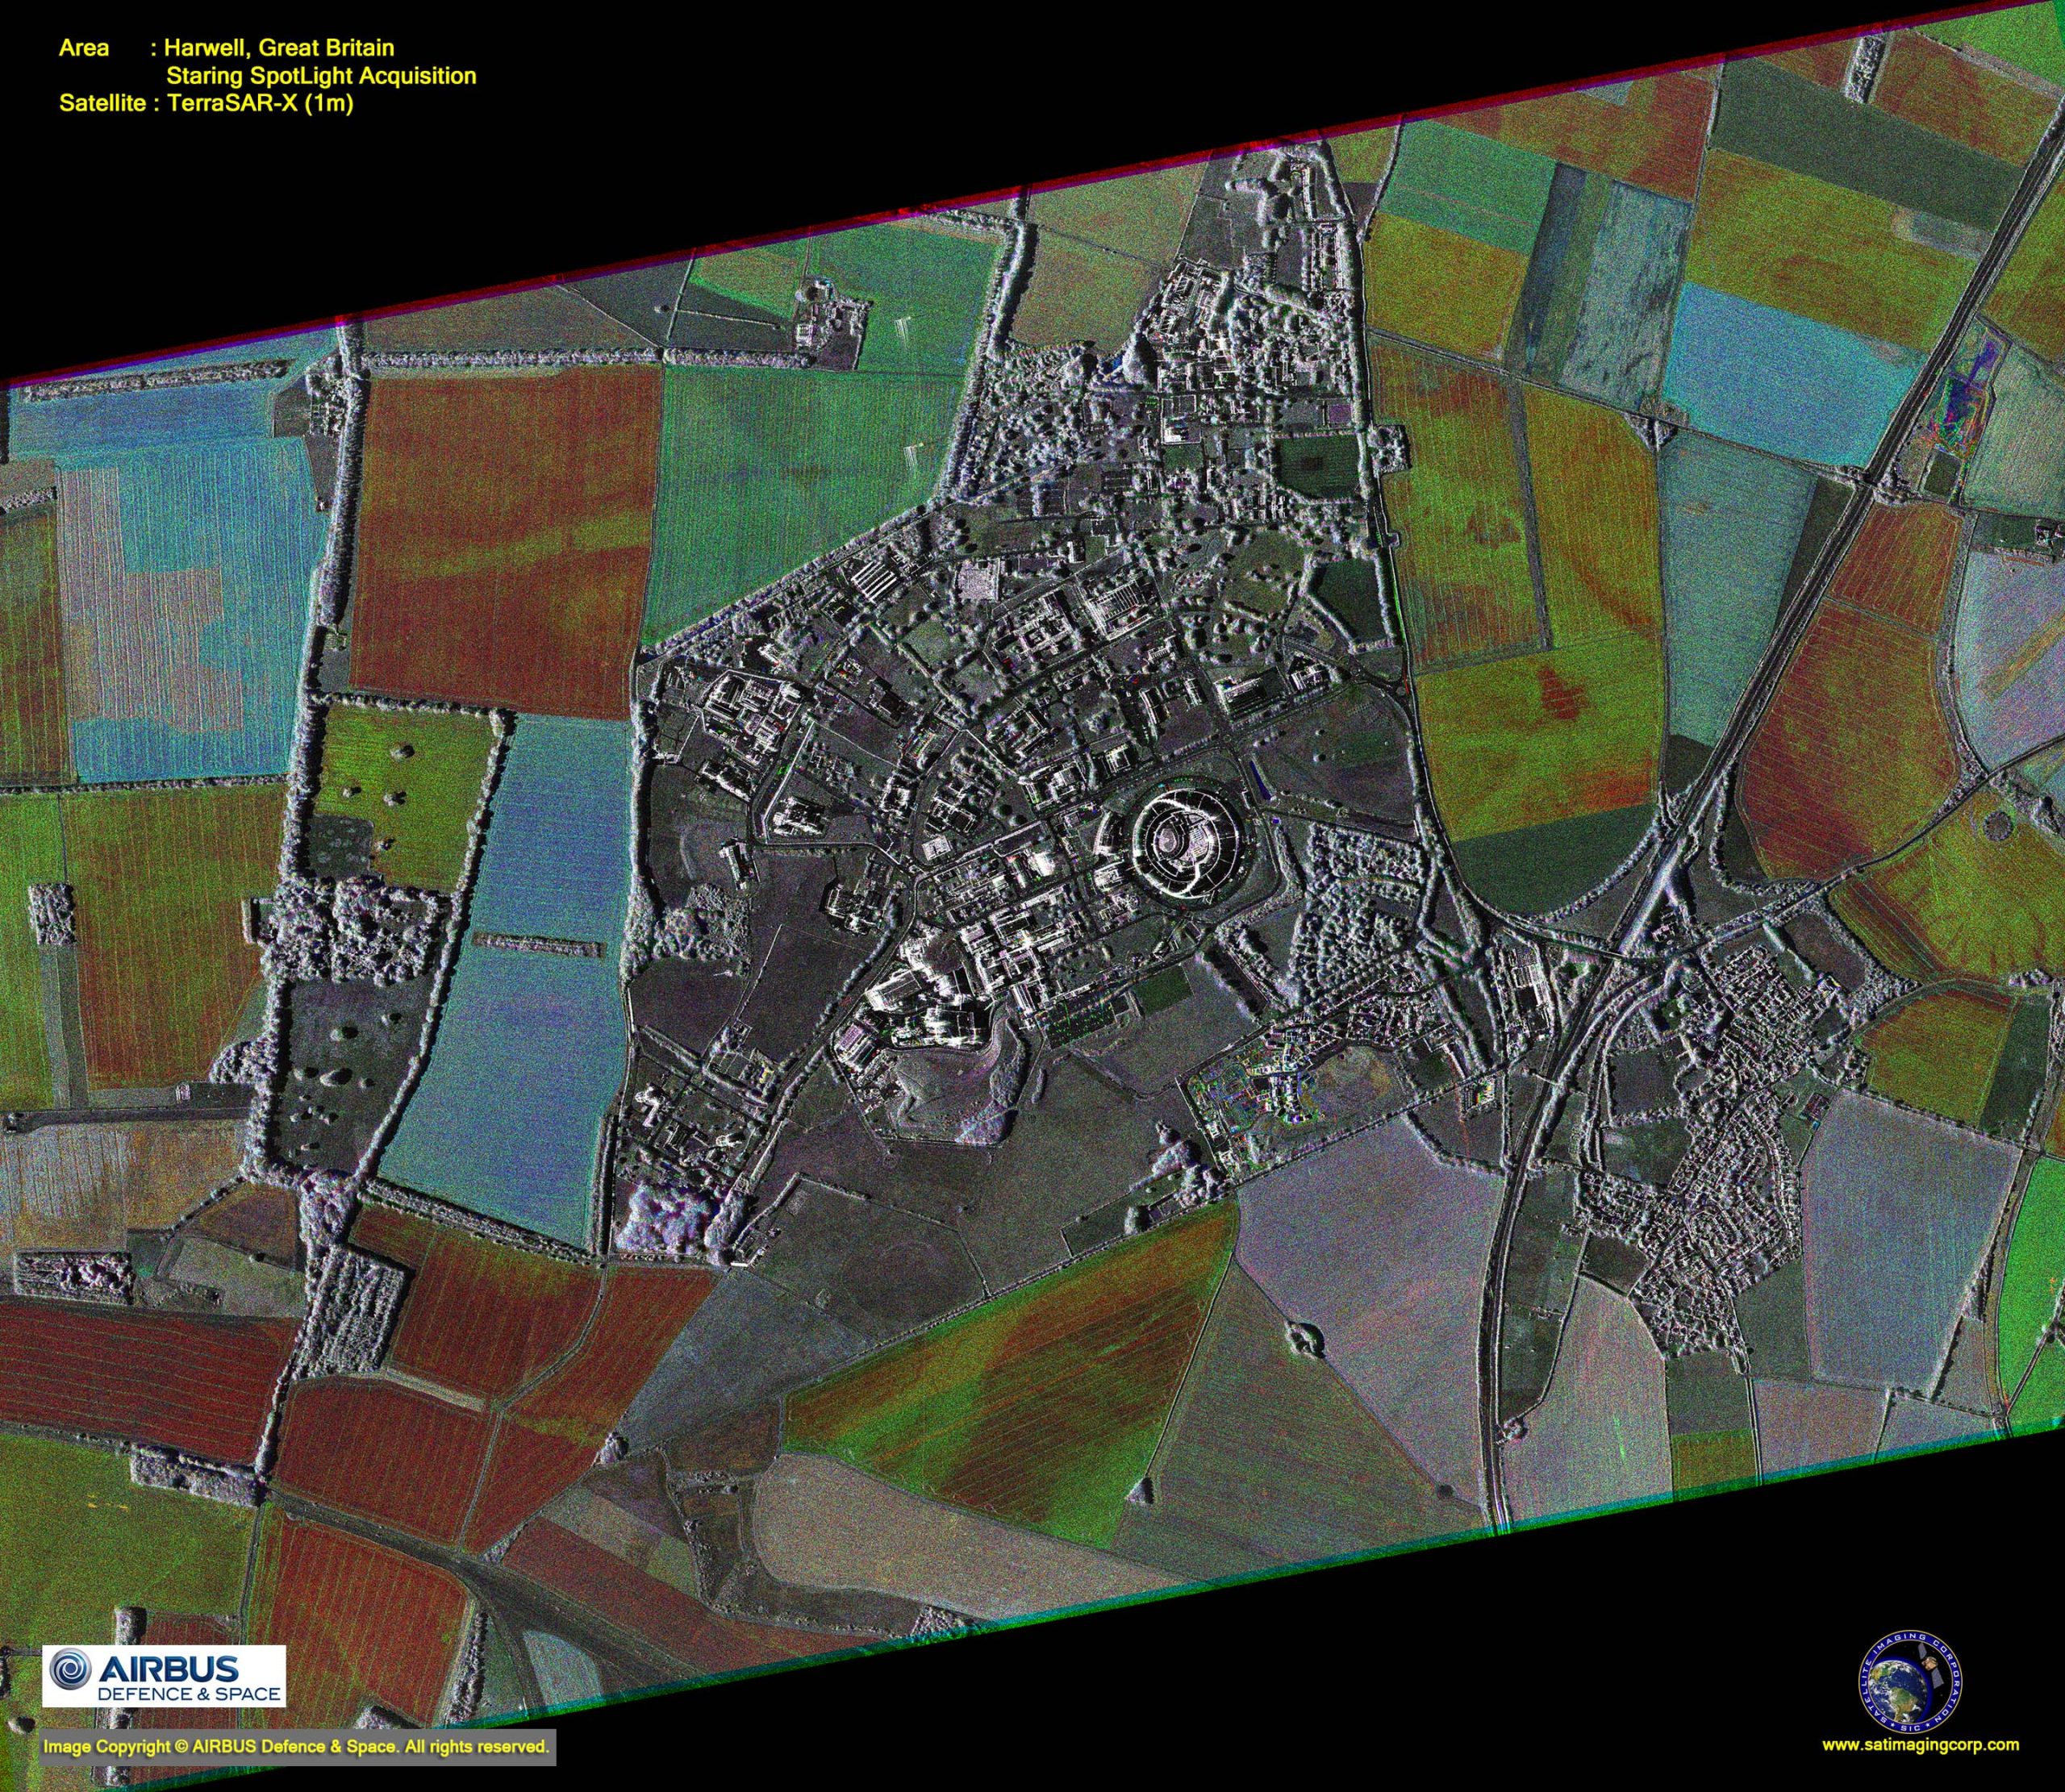
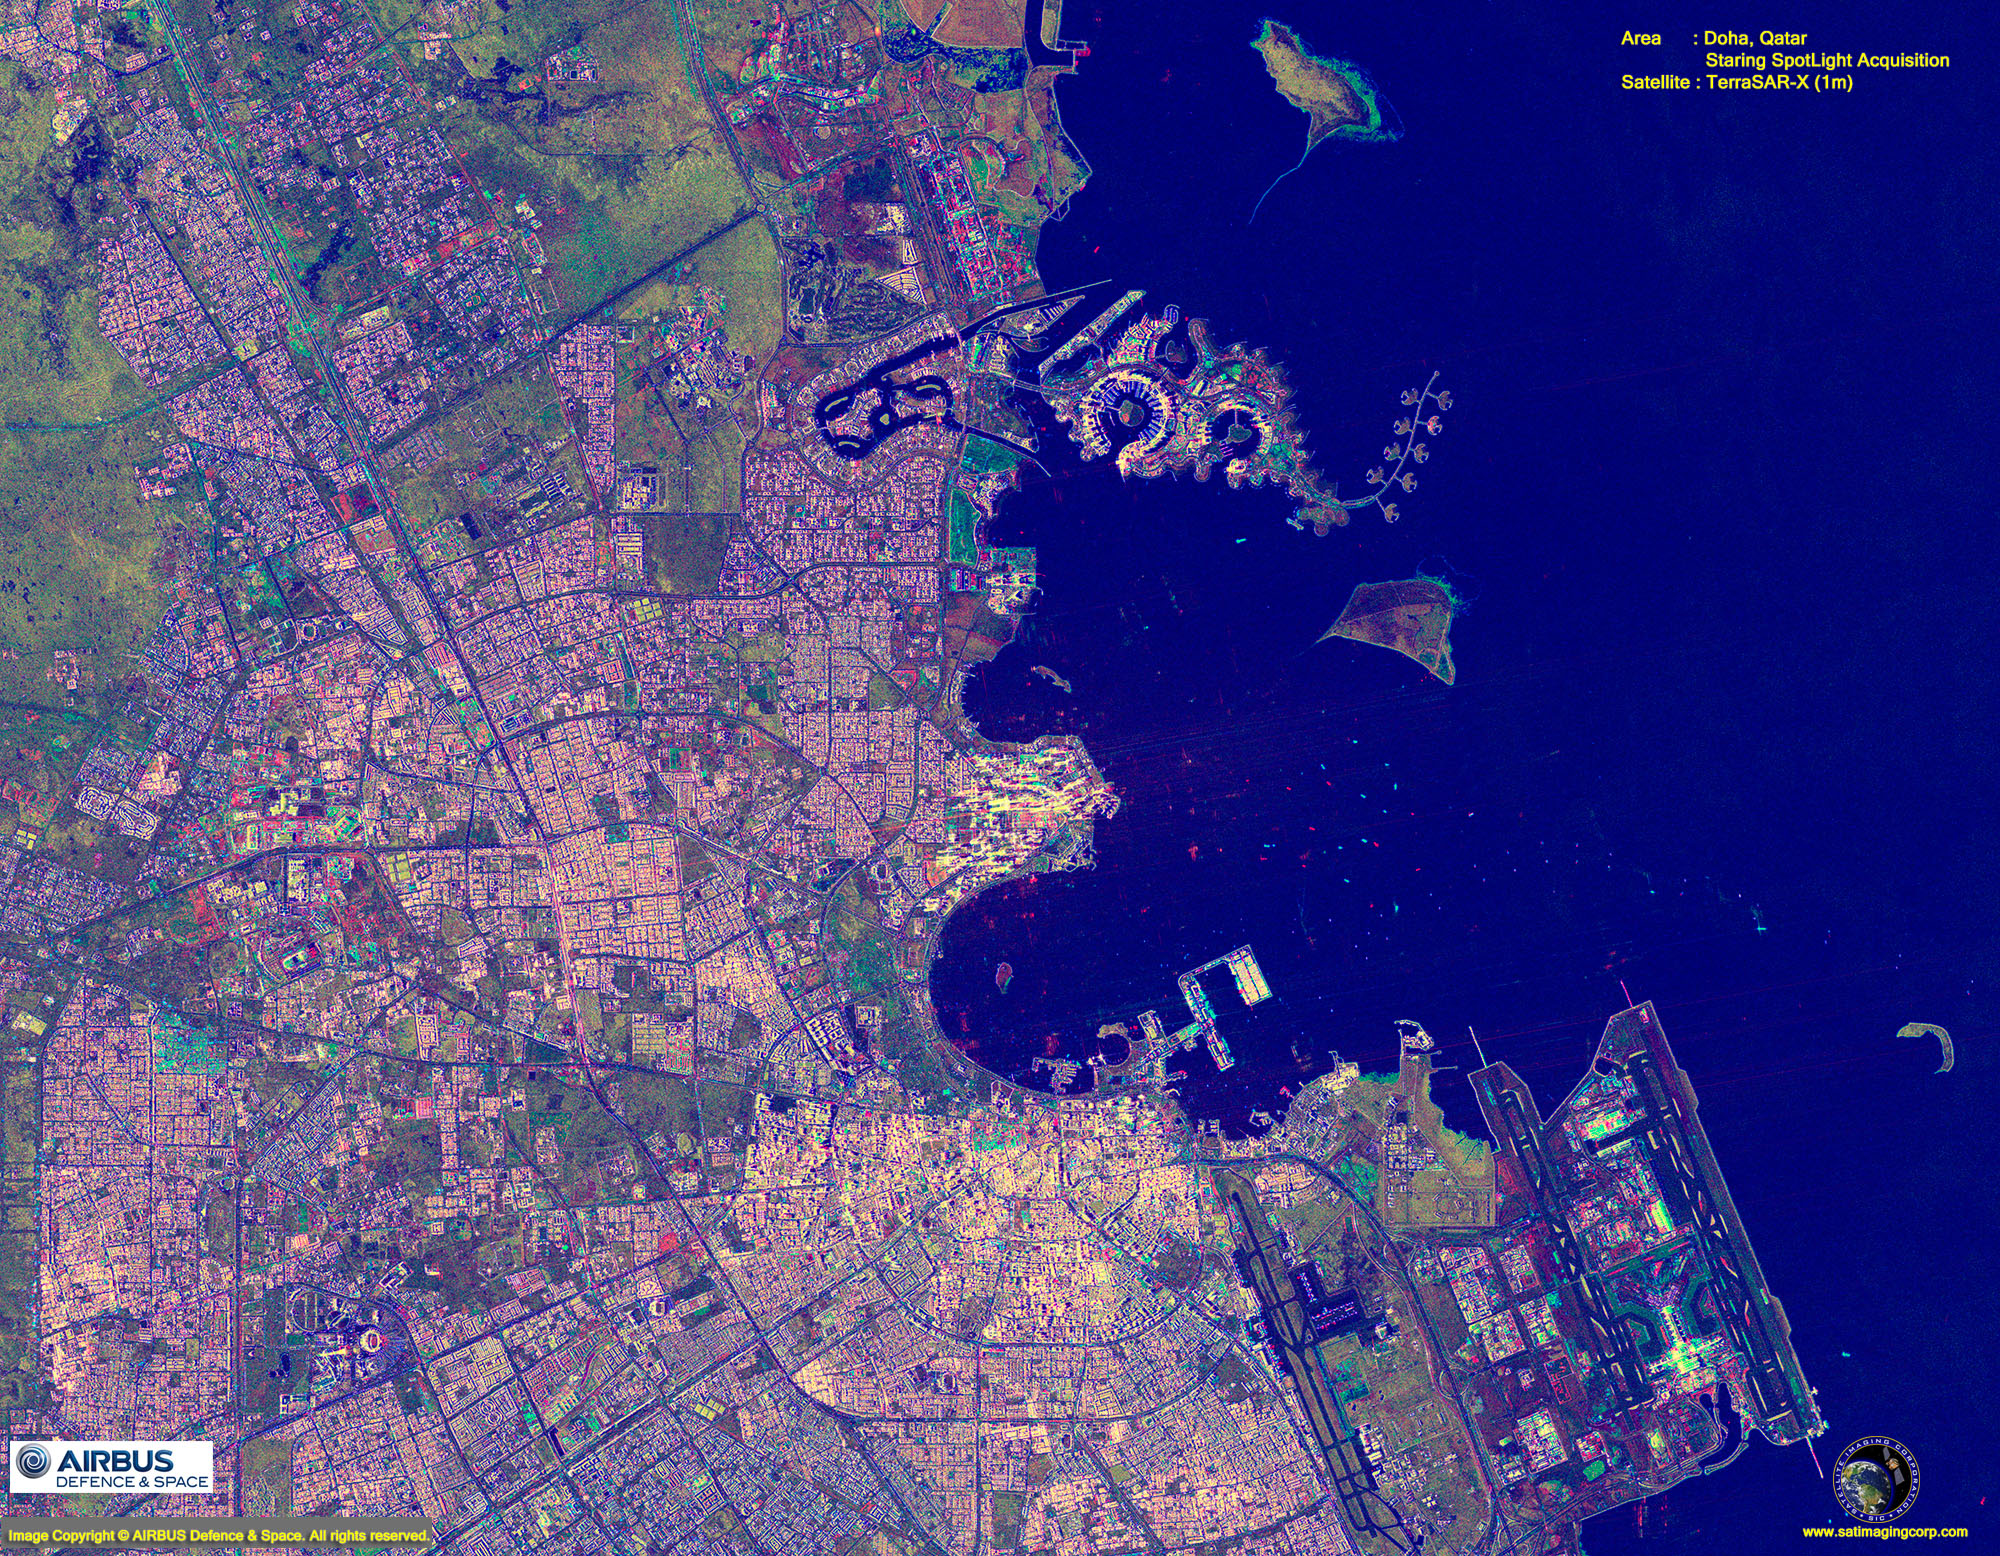
TerraSAR-X Staring Spotlight mode provides the highest spatial resolution presently available on a commercial spaceborne SAR system. The TerraSAR-X Staring Spotlight mode provides a means to assess man-made objects more precisely. Image measurements of size, shape and positions are more accurate, target interpretation is more reliable.
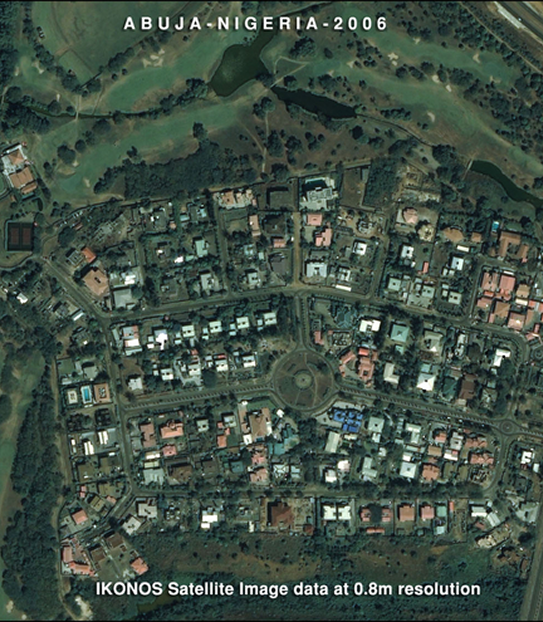
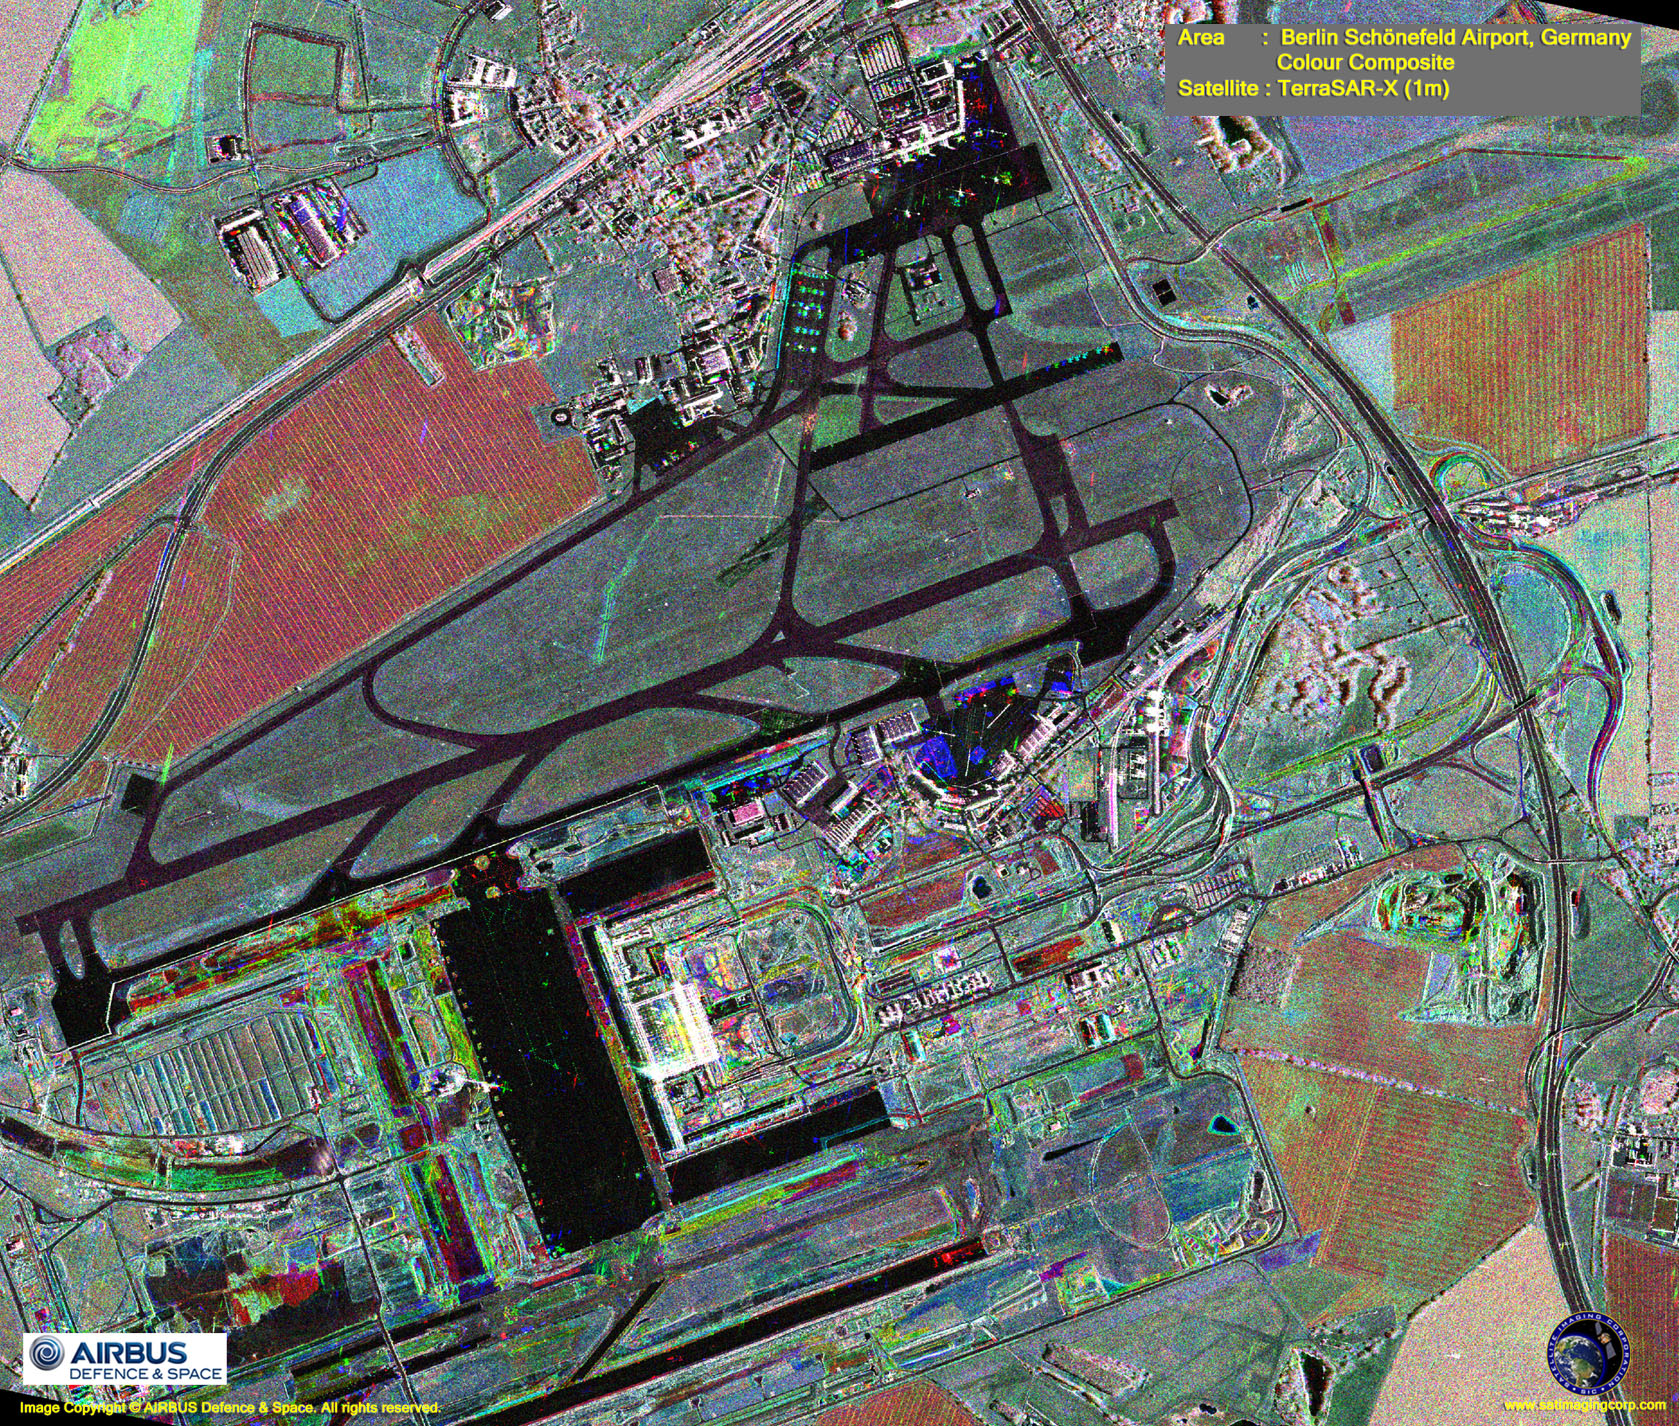
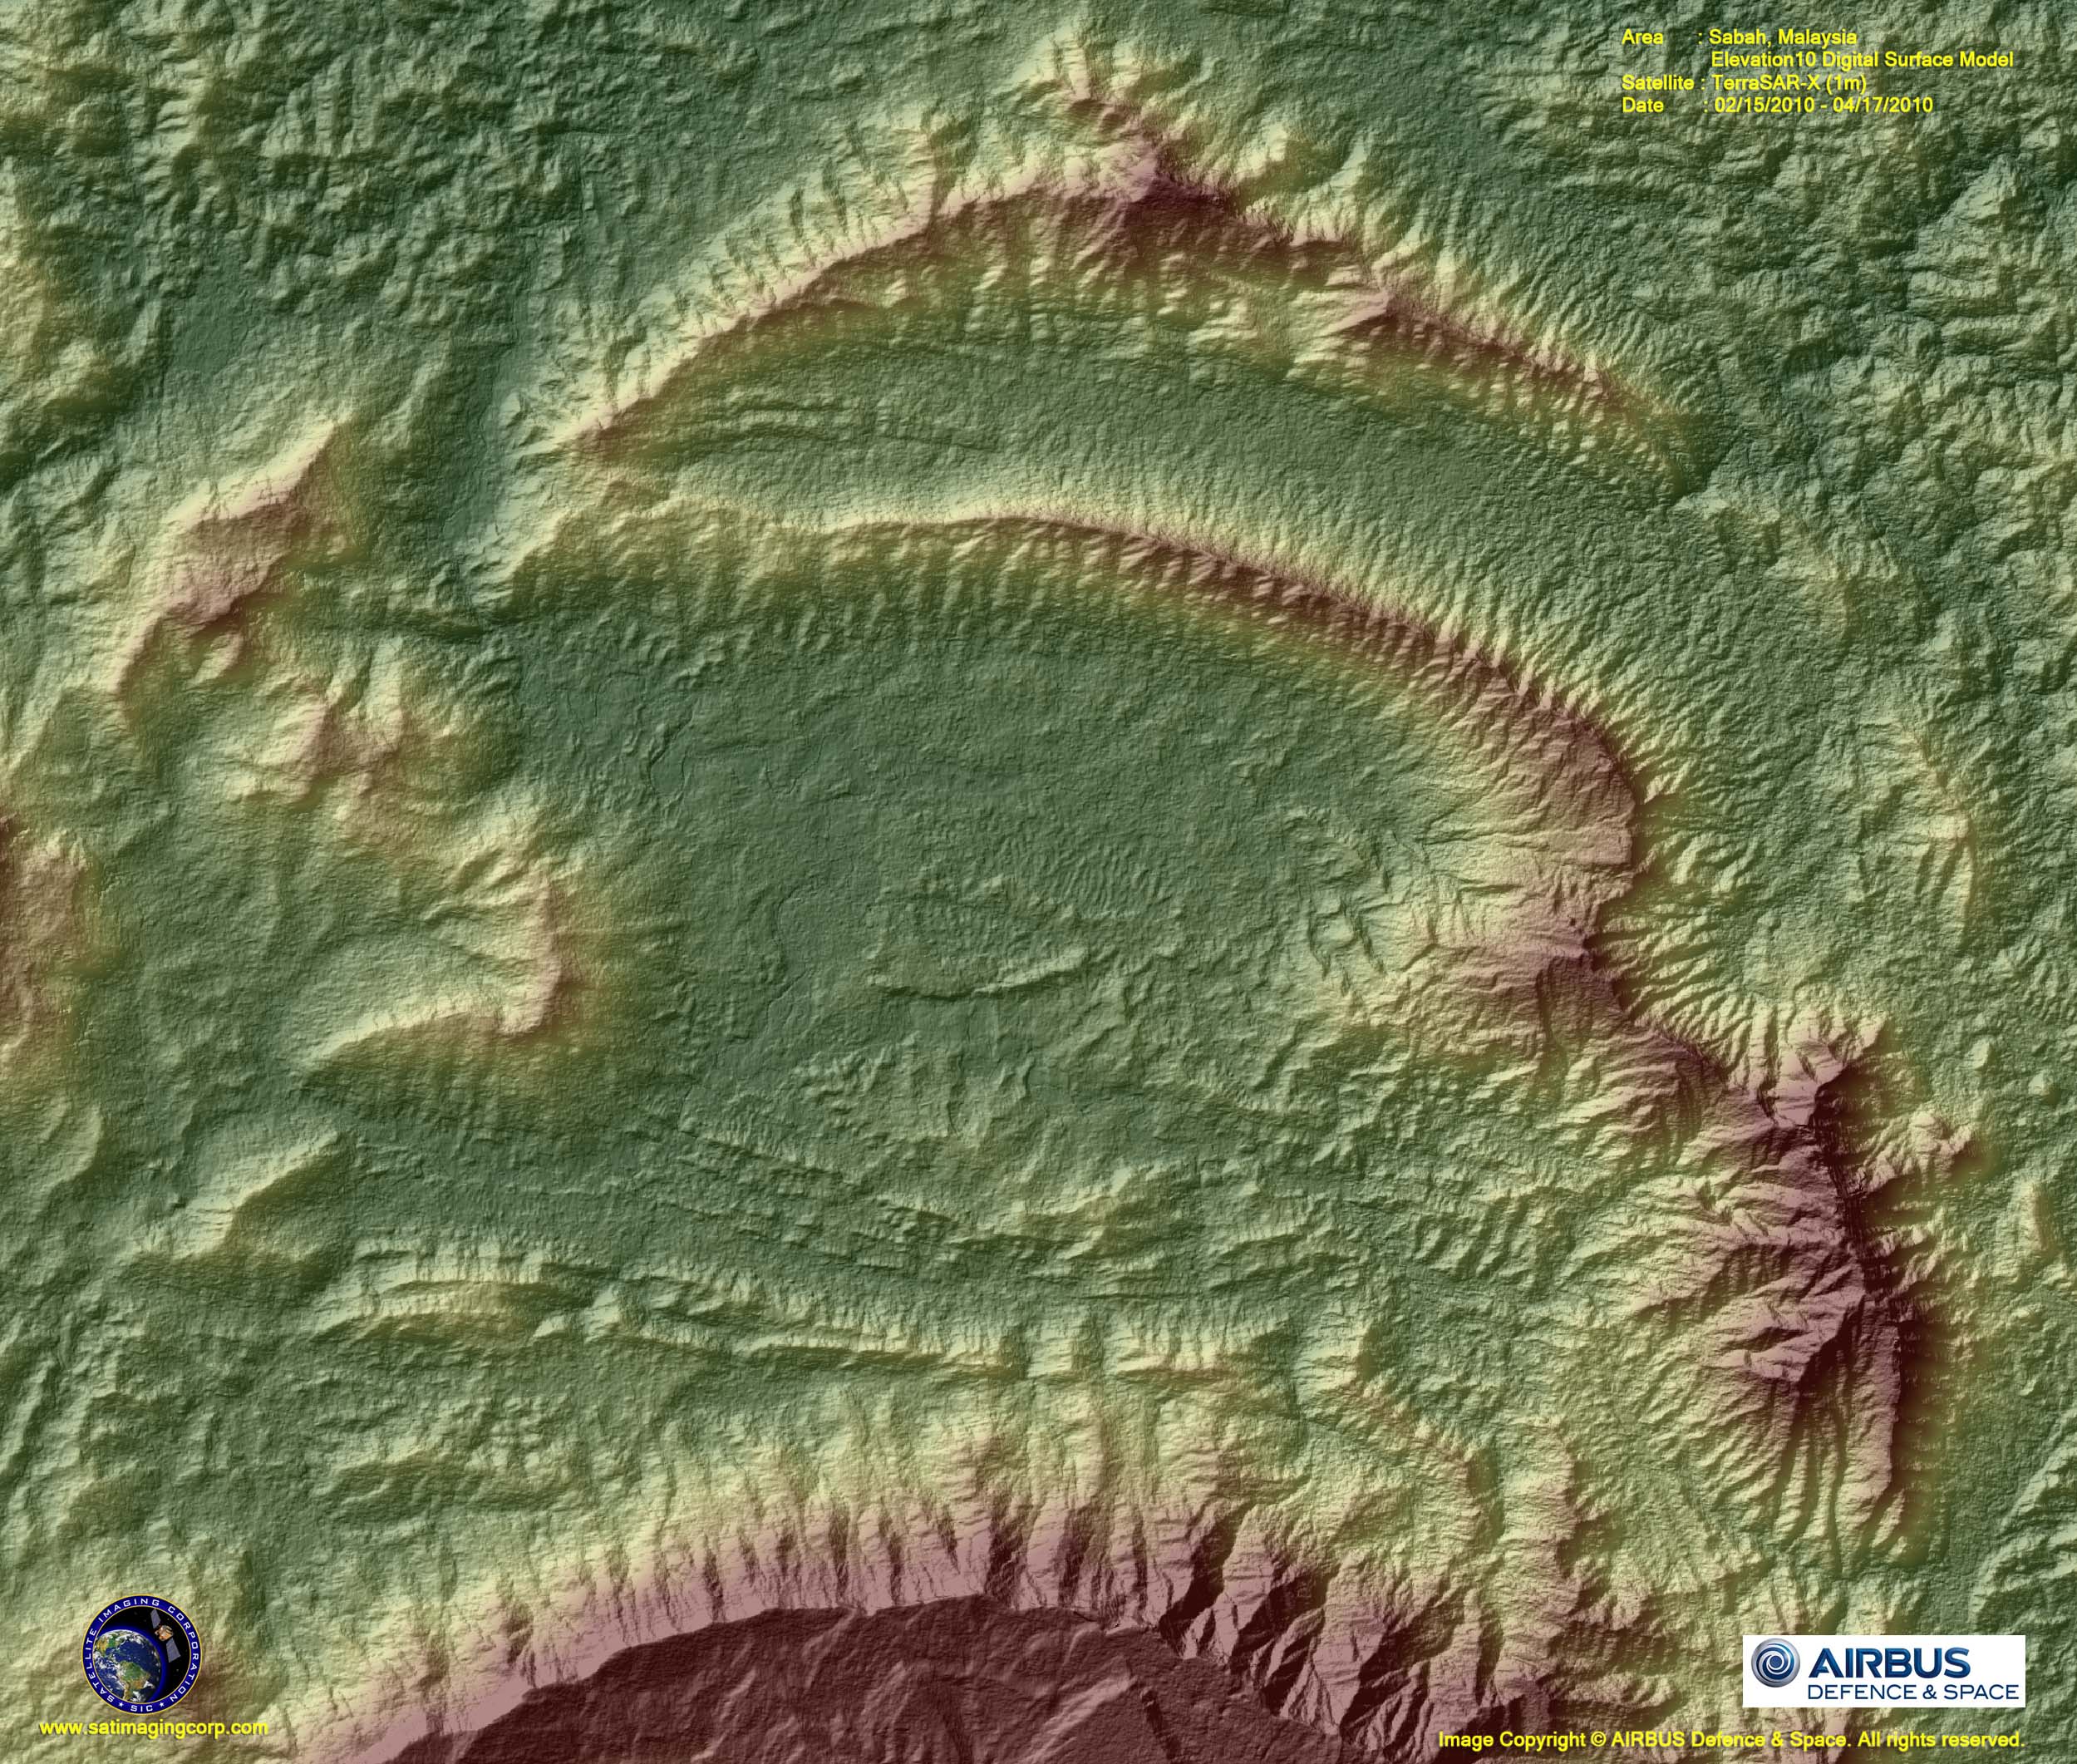
Sample Images
TerraSAR-X Satellite Image Gallery
* Click on thumbnail to view in full resolution.
For more information on any of our products and image processing services, please contact us for a complimentary consultation.
TerraSAR-X Radar Satellite Specifications
Operational life
5 years, for both satellites (TerraSAR-X and TanDEM-X), an extended lifetime of that least another 5 years (beyond 2018) is expected by the operator DLR (Status: April 2014).
Orbit
Sun-synchronous repeat orbit
Repeat period
11 days
Equatorial crossing time (GMT)
18:00 hrs ascending pass (± 0.25h) 06:00 hrs descending pass (± 0.25h)
Inclination
97.44°
Altitude at the equator
514 km (319.8 miles)
Antenna type
Active Phases Array Antenna, electronically separable
Antenna size
4.78 m x 0.7 m (15.7 feet x 2.3 feet)
Centre Frequency
9.65 GHz (X band)
Chirp bandwidth
150 MHz / 300 MHz
Nominal acquisition direction
Right side
Polarization
Single, dual – depending on imaging mode quadruple is available as advanced polarisation mode for dedicated acquisition campaigns
Resolution


