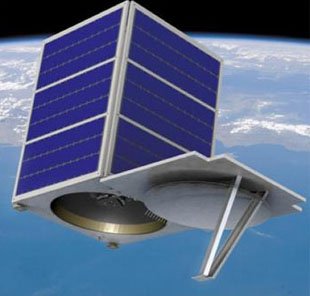
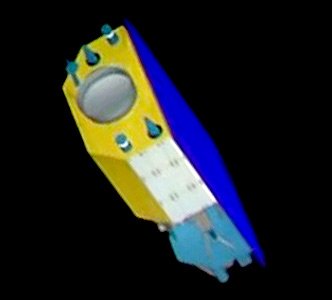
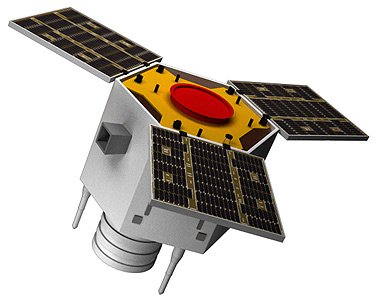
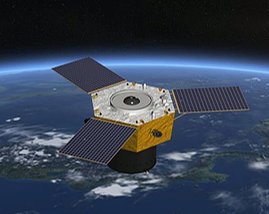
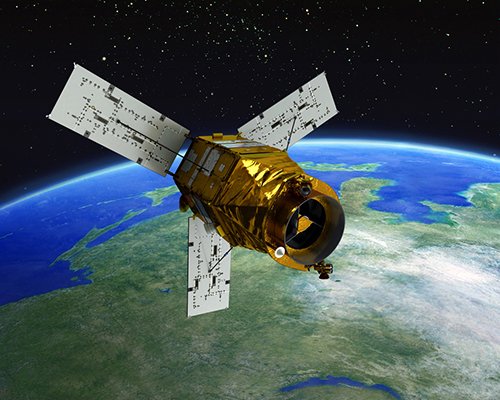
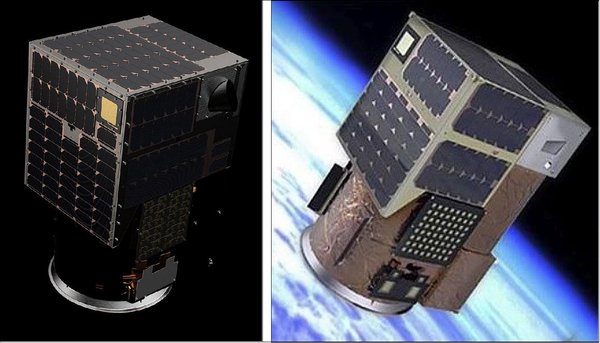
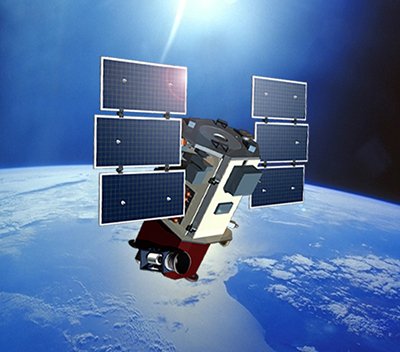
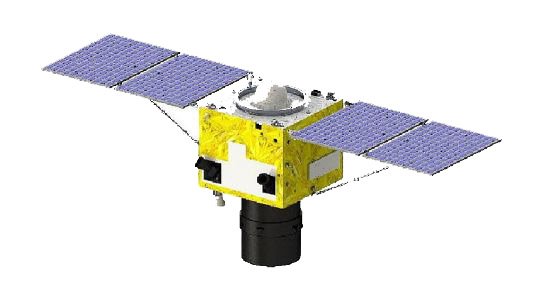
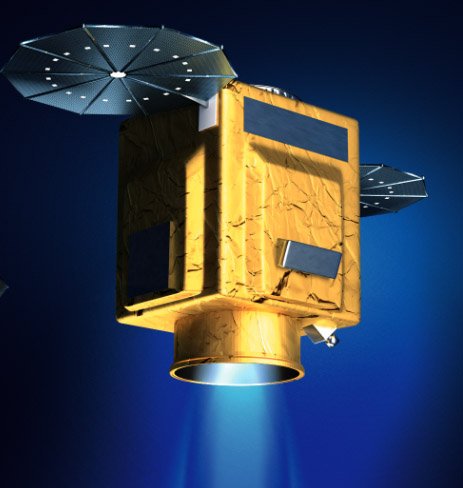
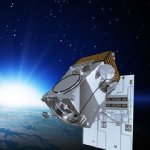
SkySat Satellite Constellation
(50cm)
The SkySat Satellite Constellation currently consists of 21 microsatellites in orbit with the first satellite launch of SkySat-1 in 2013. SkySat was successfully lowered in orbit to collect 50cm high-resolution satellite imagery from its original 80cm imagery. Planet Labs Inc., operator of the SkySat microsatellites will continue to provide enhanced ortho products to their customers globally.
SkySat satellites are the first commercial earth observation satellites manufactured by Planet Lab and are licensed to collect 50cm high-resolution multi-spectral satellite, 0.81m panchromatic, and near-infrared imagery for various applications in energy, defense, agriculture, forestry, and environmental monitoring. The satellites operate in a polar inclined, circular orbit at approximately 400 km above the earth.
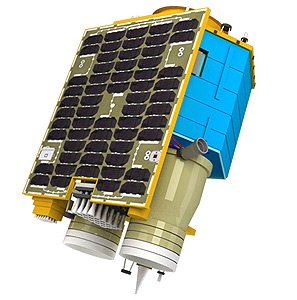
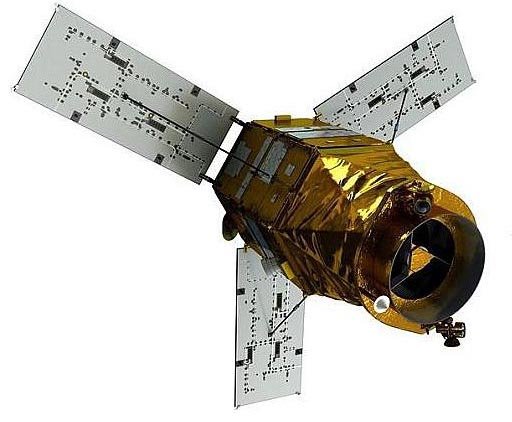
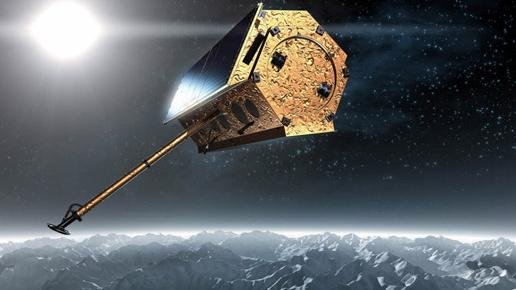
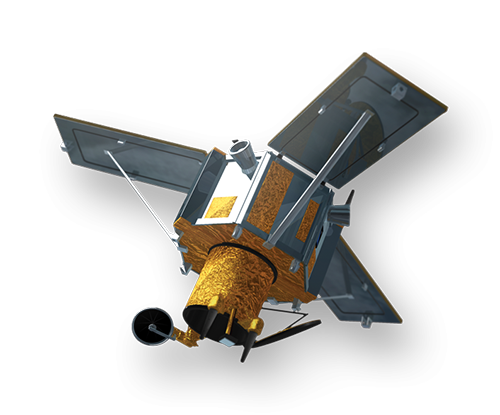
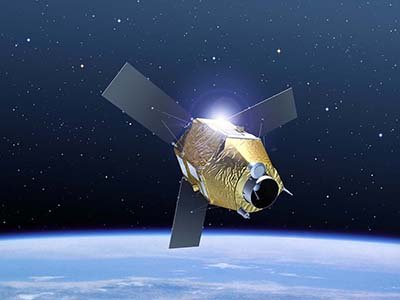
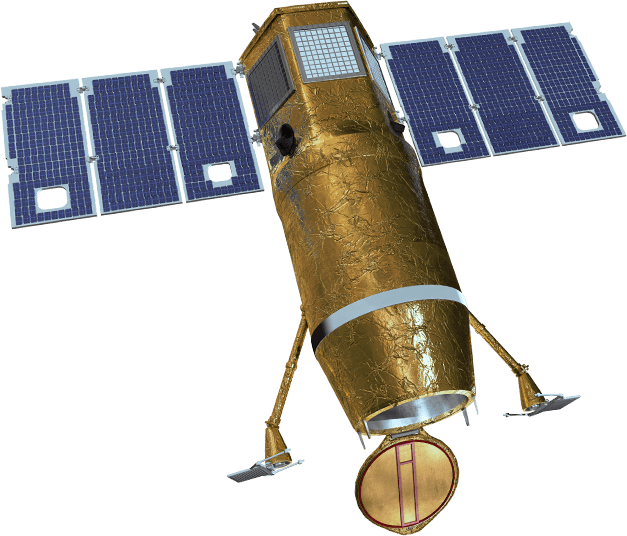
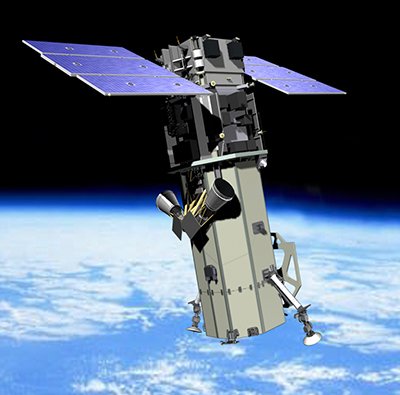
SkySat Satellite Sensor
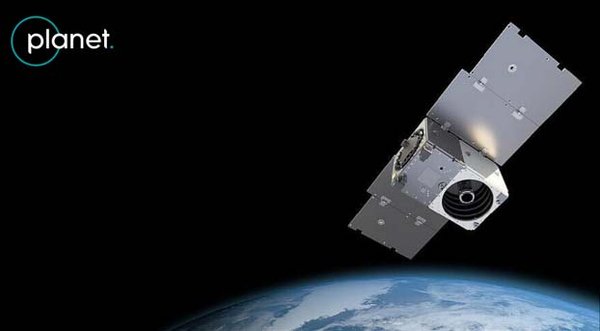
Copyright © Planet Labs, Inc. All rights reserved.
SkySat is a high performance satellite producing 50cm high resolution imagery and high definition video and it is the smallest satellite ever flown.
SkySat captures up to 90-second video clips at 30 frames per second. The resolution is high enough to view objects like shipping containers that impact the global economy while maintaining a level of clarity that does not determine human activity.
To watch the video in 1080p HD resolution, please view here.
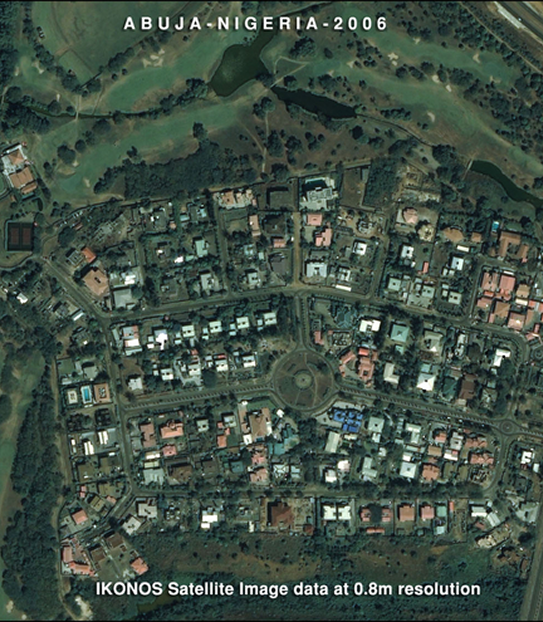
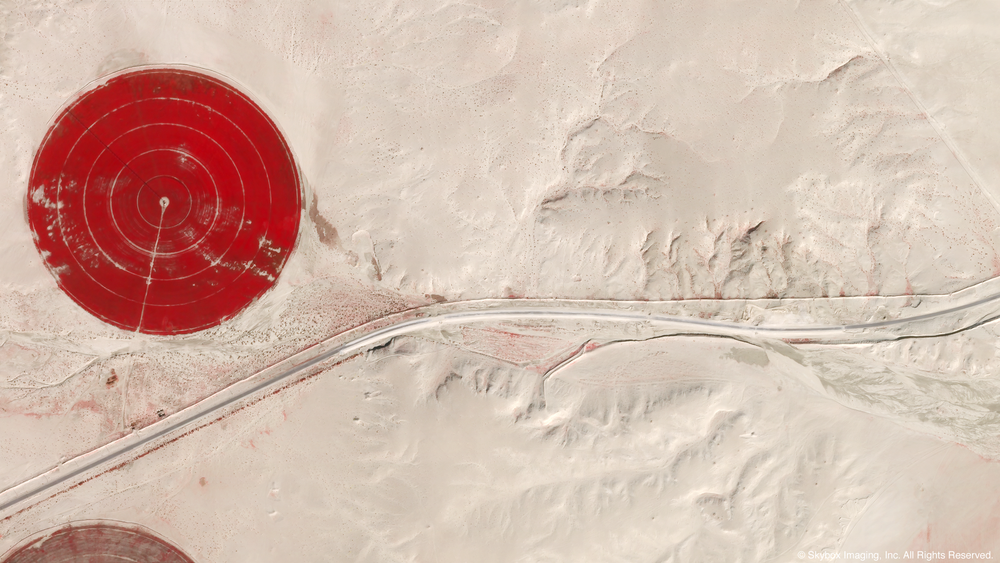
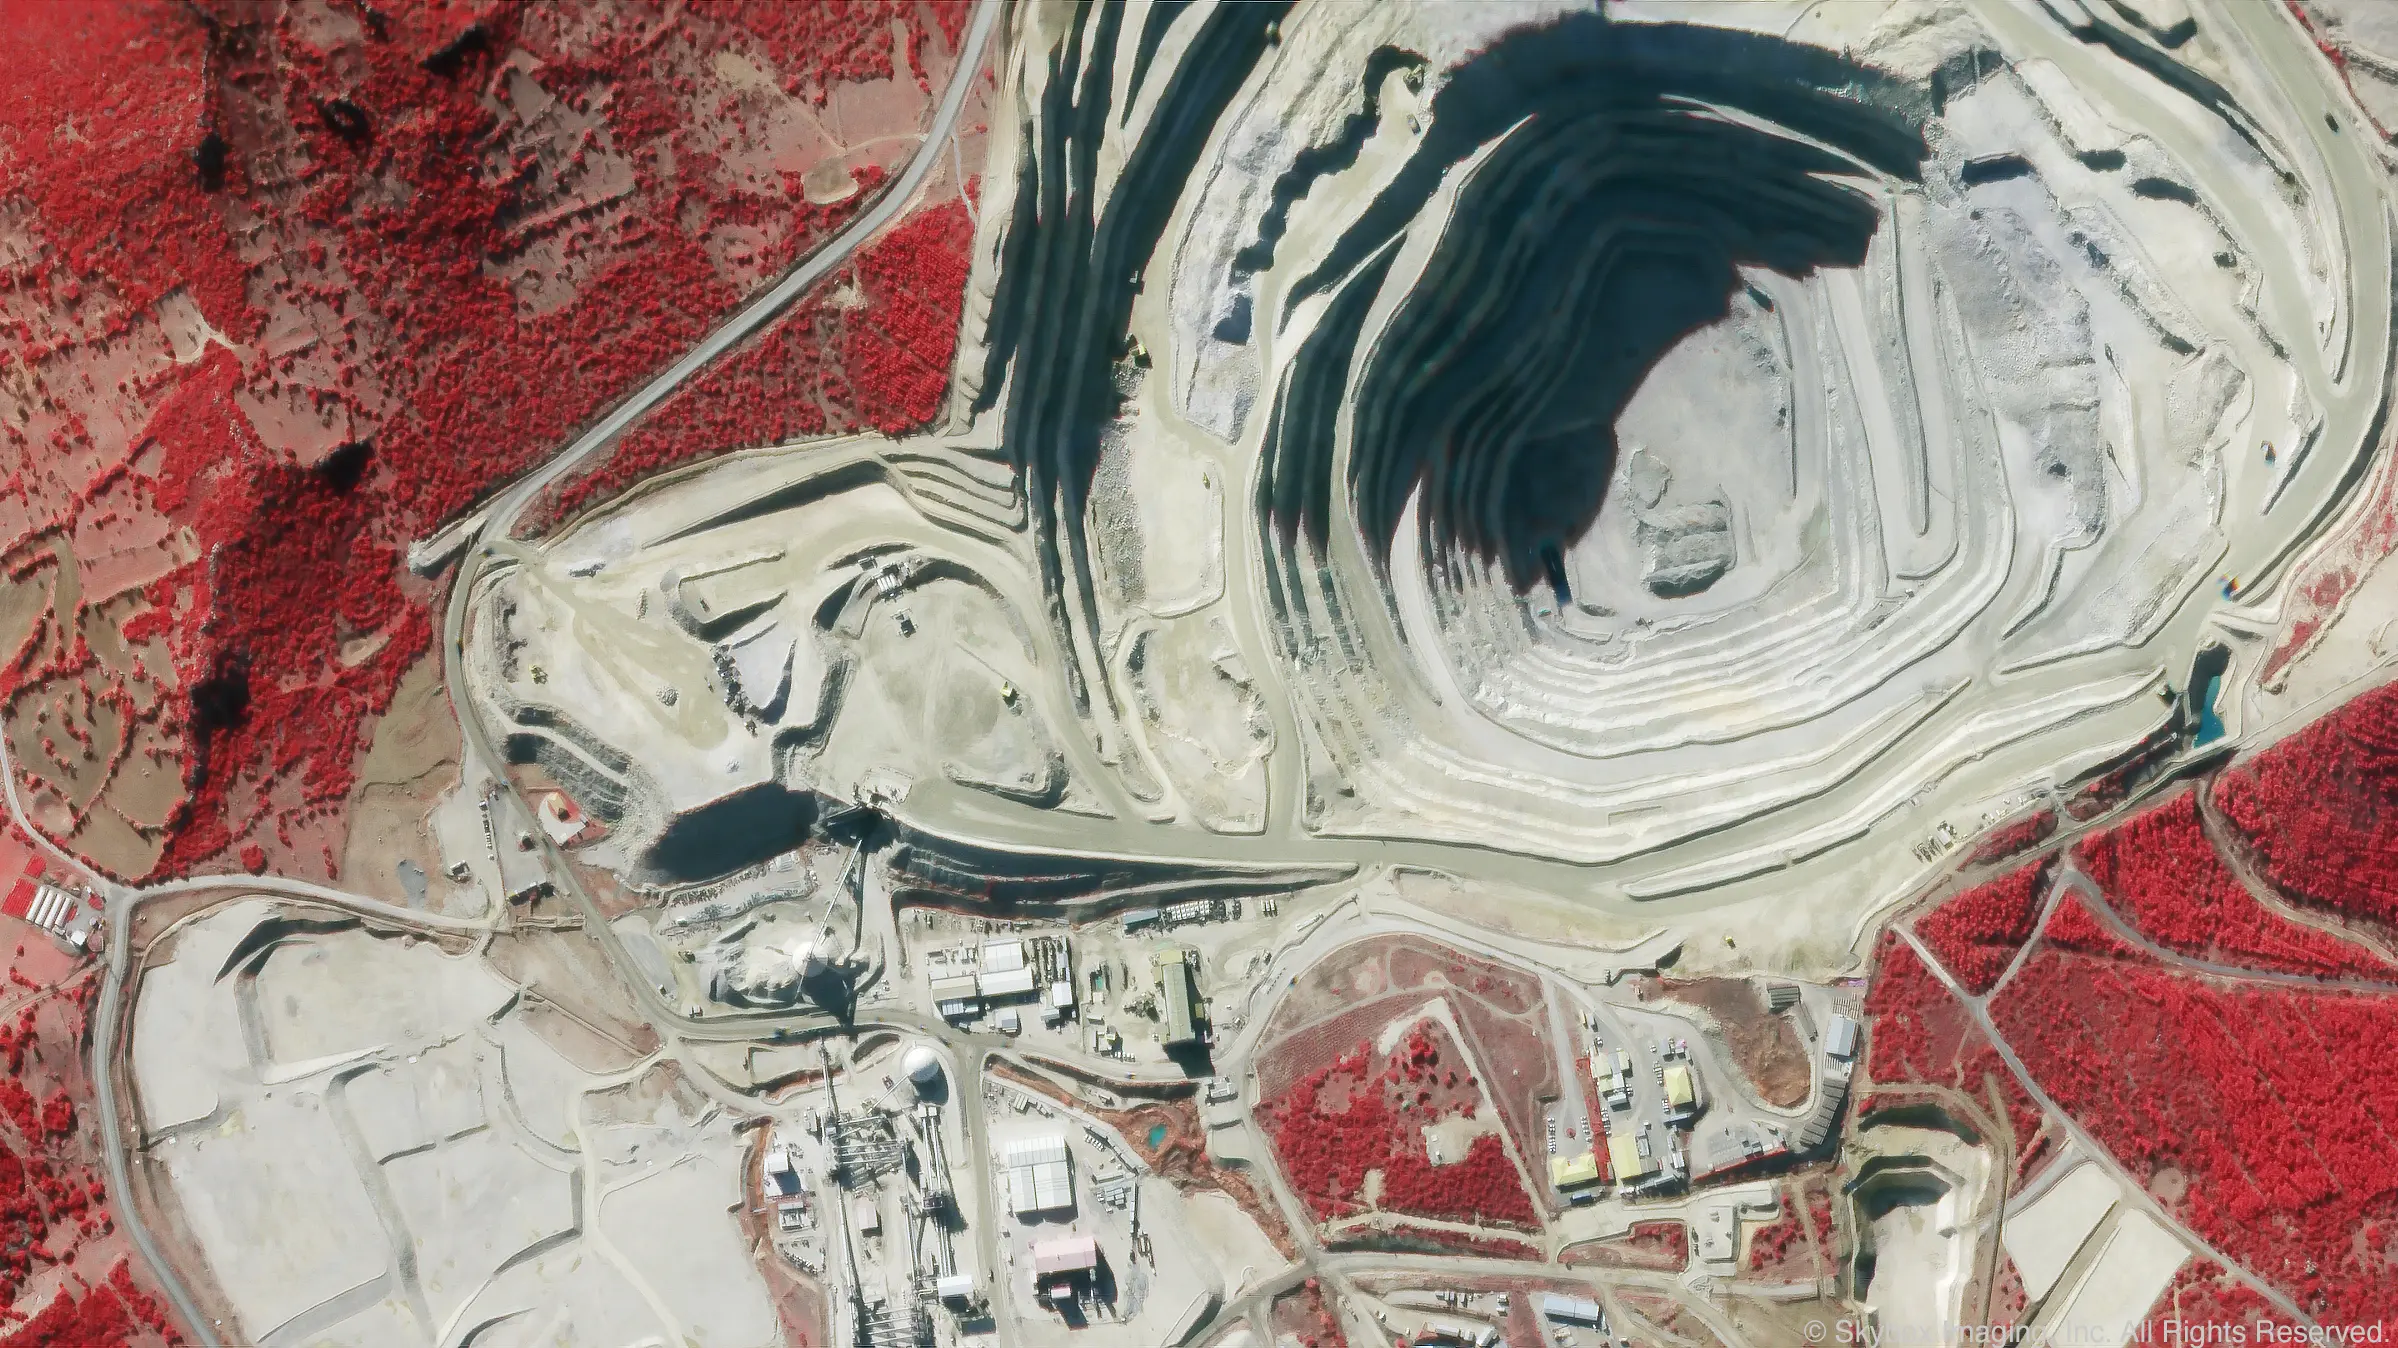
Sample Images
SkySat Satellite Image Gallery
* Click on thumbnail to view in full resolution.
For more information on any of our products and image processing services, please contact us for a complimentary consultation.
SkySat Satellite Specifications
Sensor Type
Multispectral (Blue, Green, Red, NIR)
Panchromatic
Resolution
50cm
Ground Sample Distance
Panchromatic: 0.86m
Multispectral: 1.0m
Revisit
6 – 7 Daily
Sensor Type
CMOS Frame Camera with Panchromatic and Multispectral halves
Spectral Bands
Blue: 450 – 515 nm
Green: 515 – 595 nm
Red: 605 – 695 nm
NIR: 740 – 900 nm
Pan: 450 – 900 nm
Design Life
6 Years
Mass
110 kg


