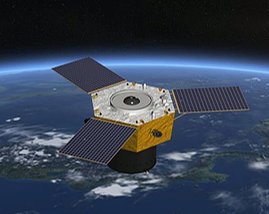
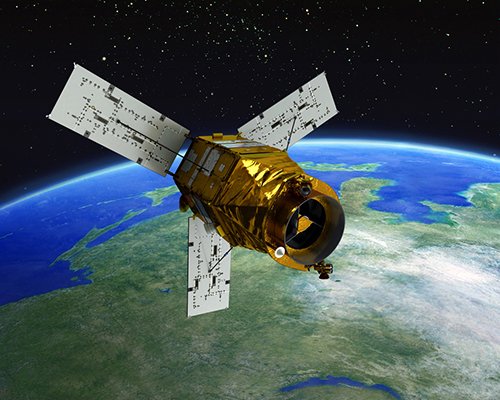
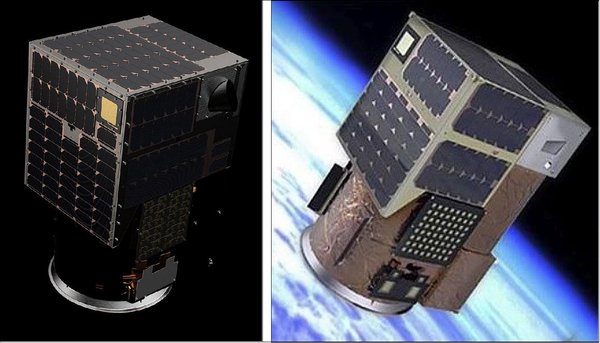
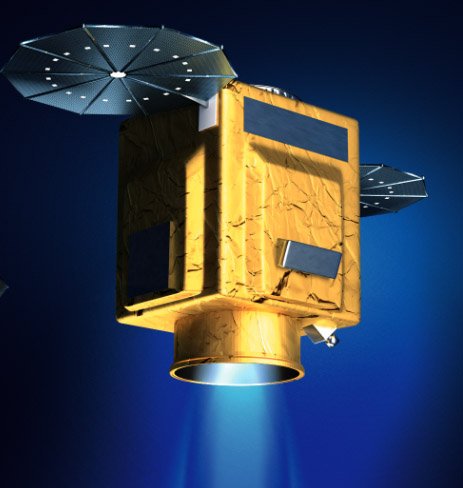
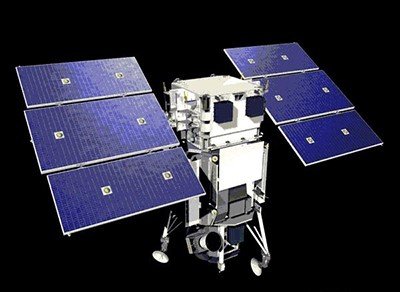
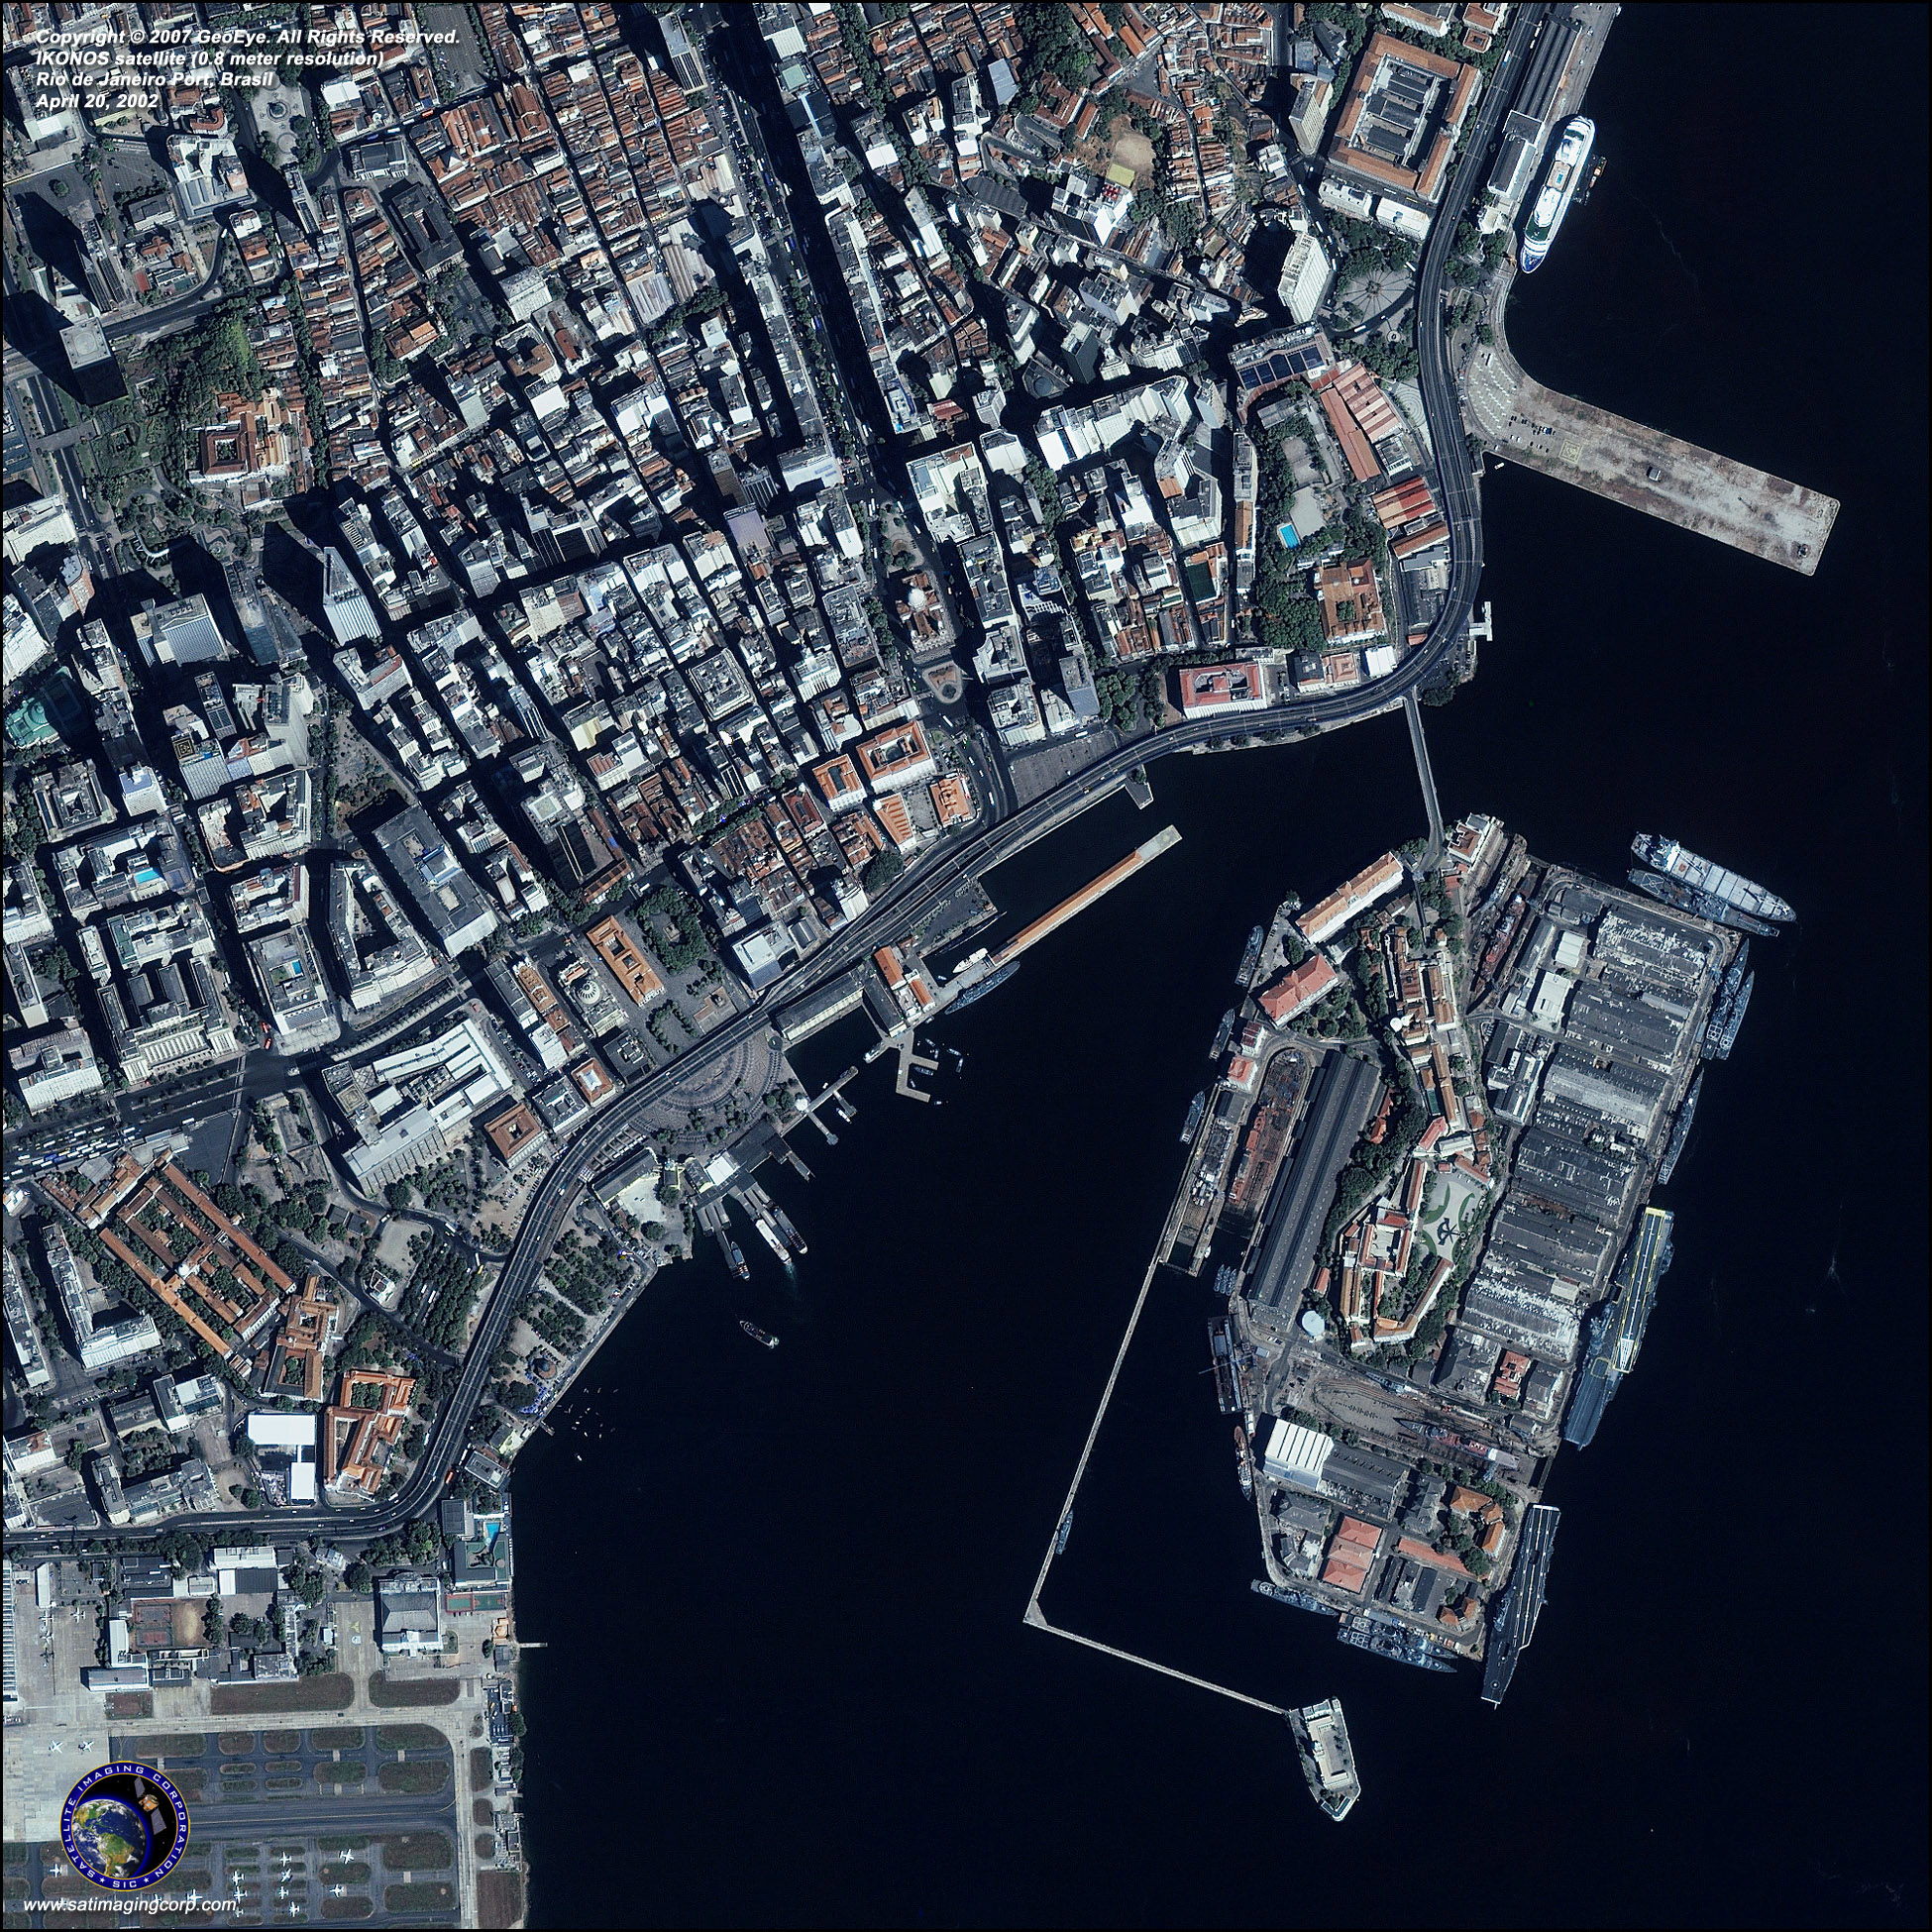
IKONOS Stereo Satellite Imagery
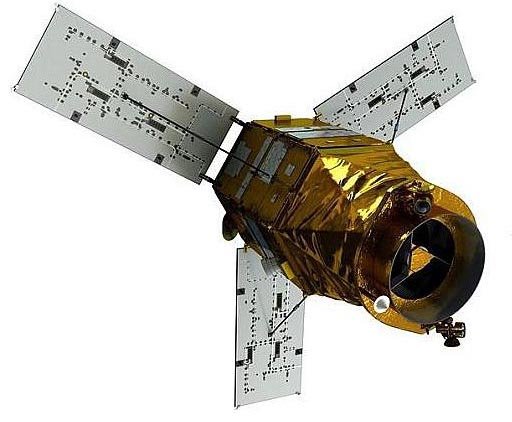
Reference stereo products have a horizontal accuracy of 25 meters CE90 and a vertical accuracy of 22 meters LE90 without any Ground Control Points (GCP’s). When reliable GPS-derived GCP photo ID control is available for the area to be collected the horizontal and vertical Geospatial accuracy increases to <2.5m horizontal and <1.5m vertical. The IKONOS satellite sensor was decommissioned by DigitalGlobe on March 31, 2015.
IKONOS Stereo Satellite Imagery
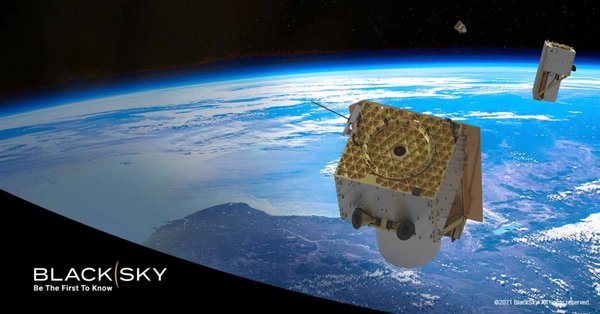
Copyright © MAXAR. All rights reserved.
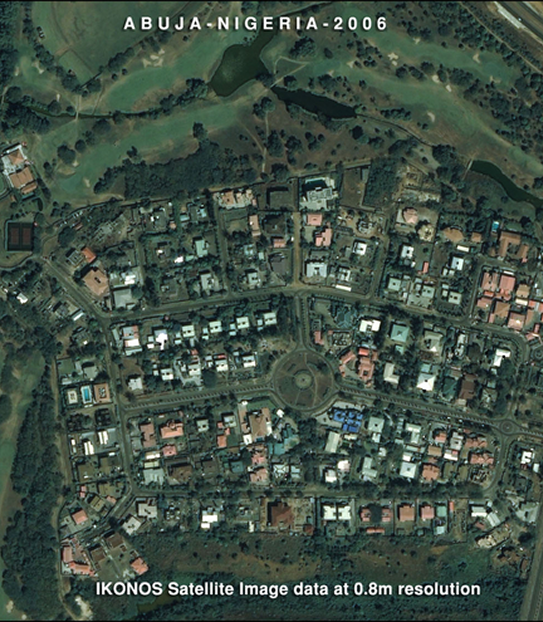
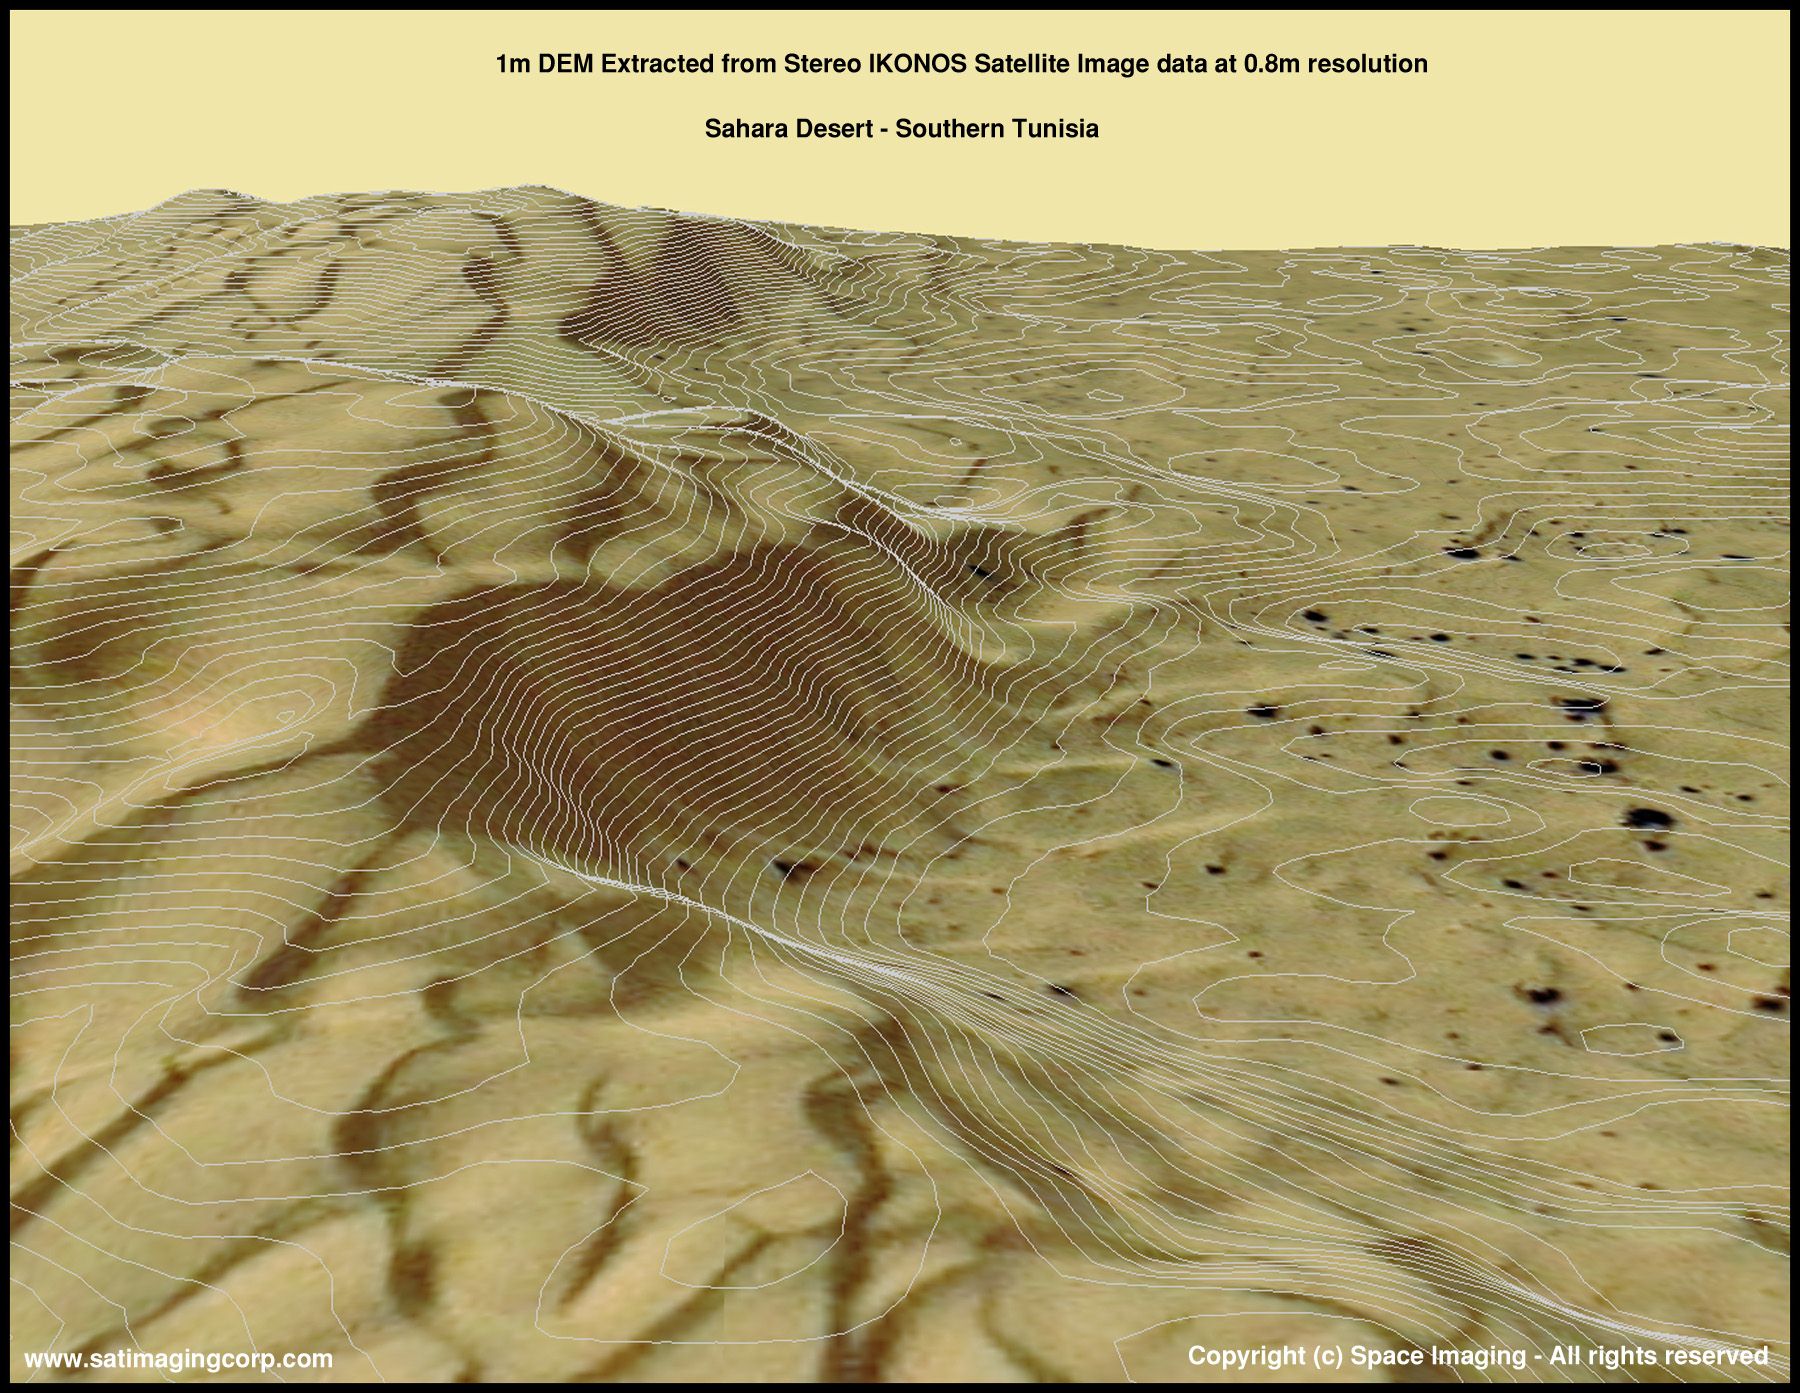
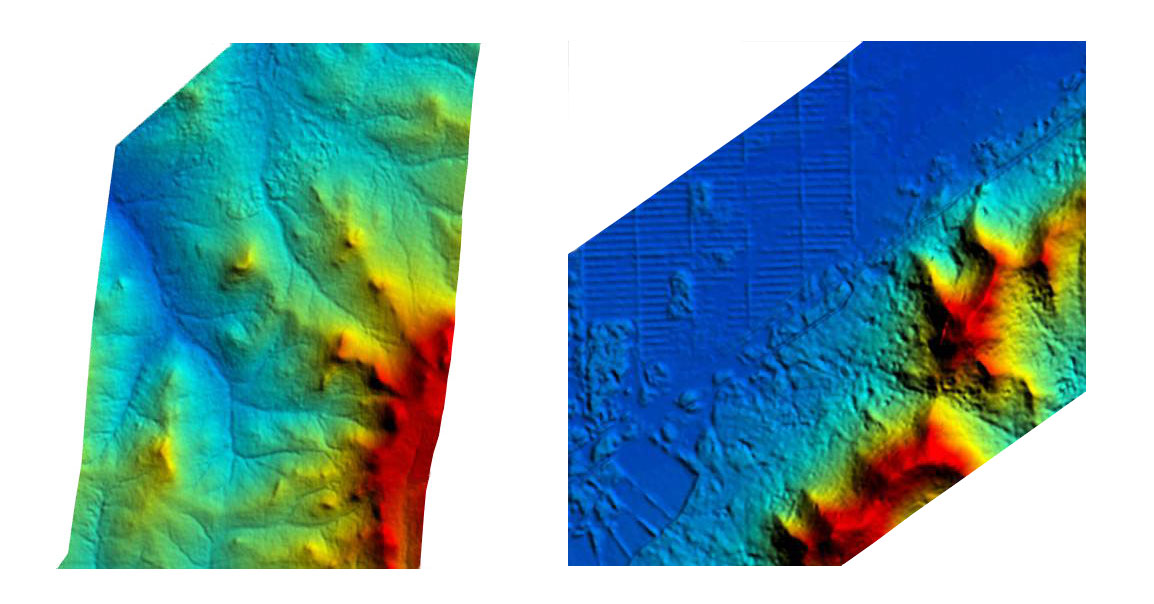
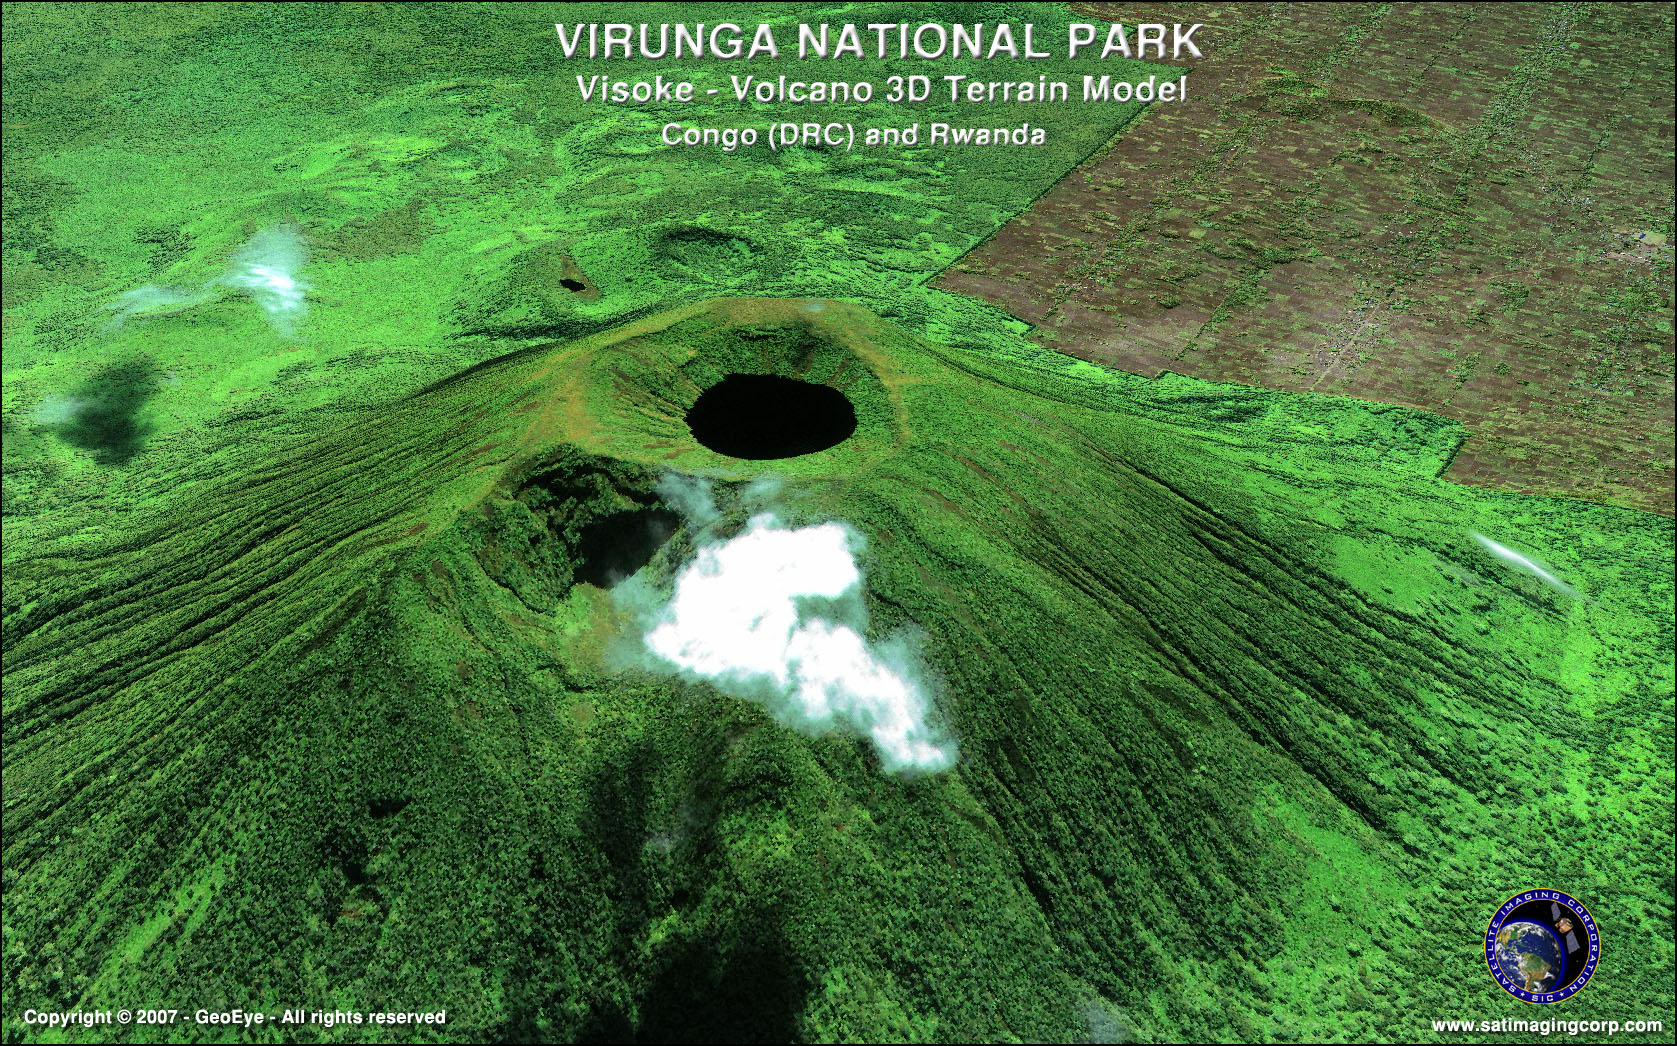
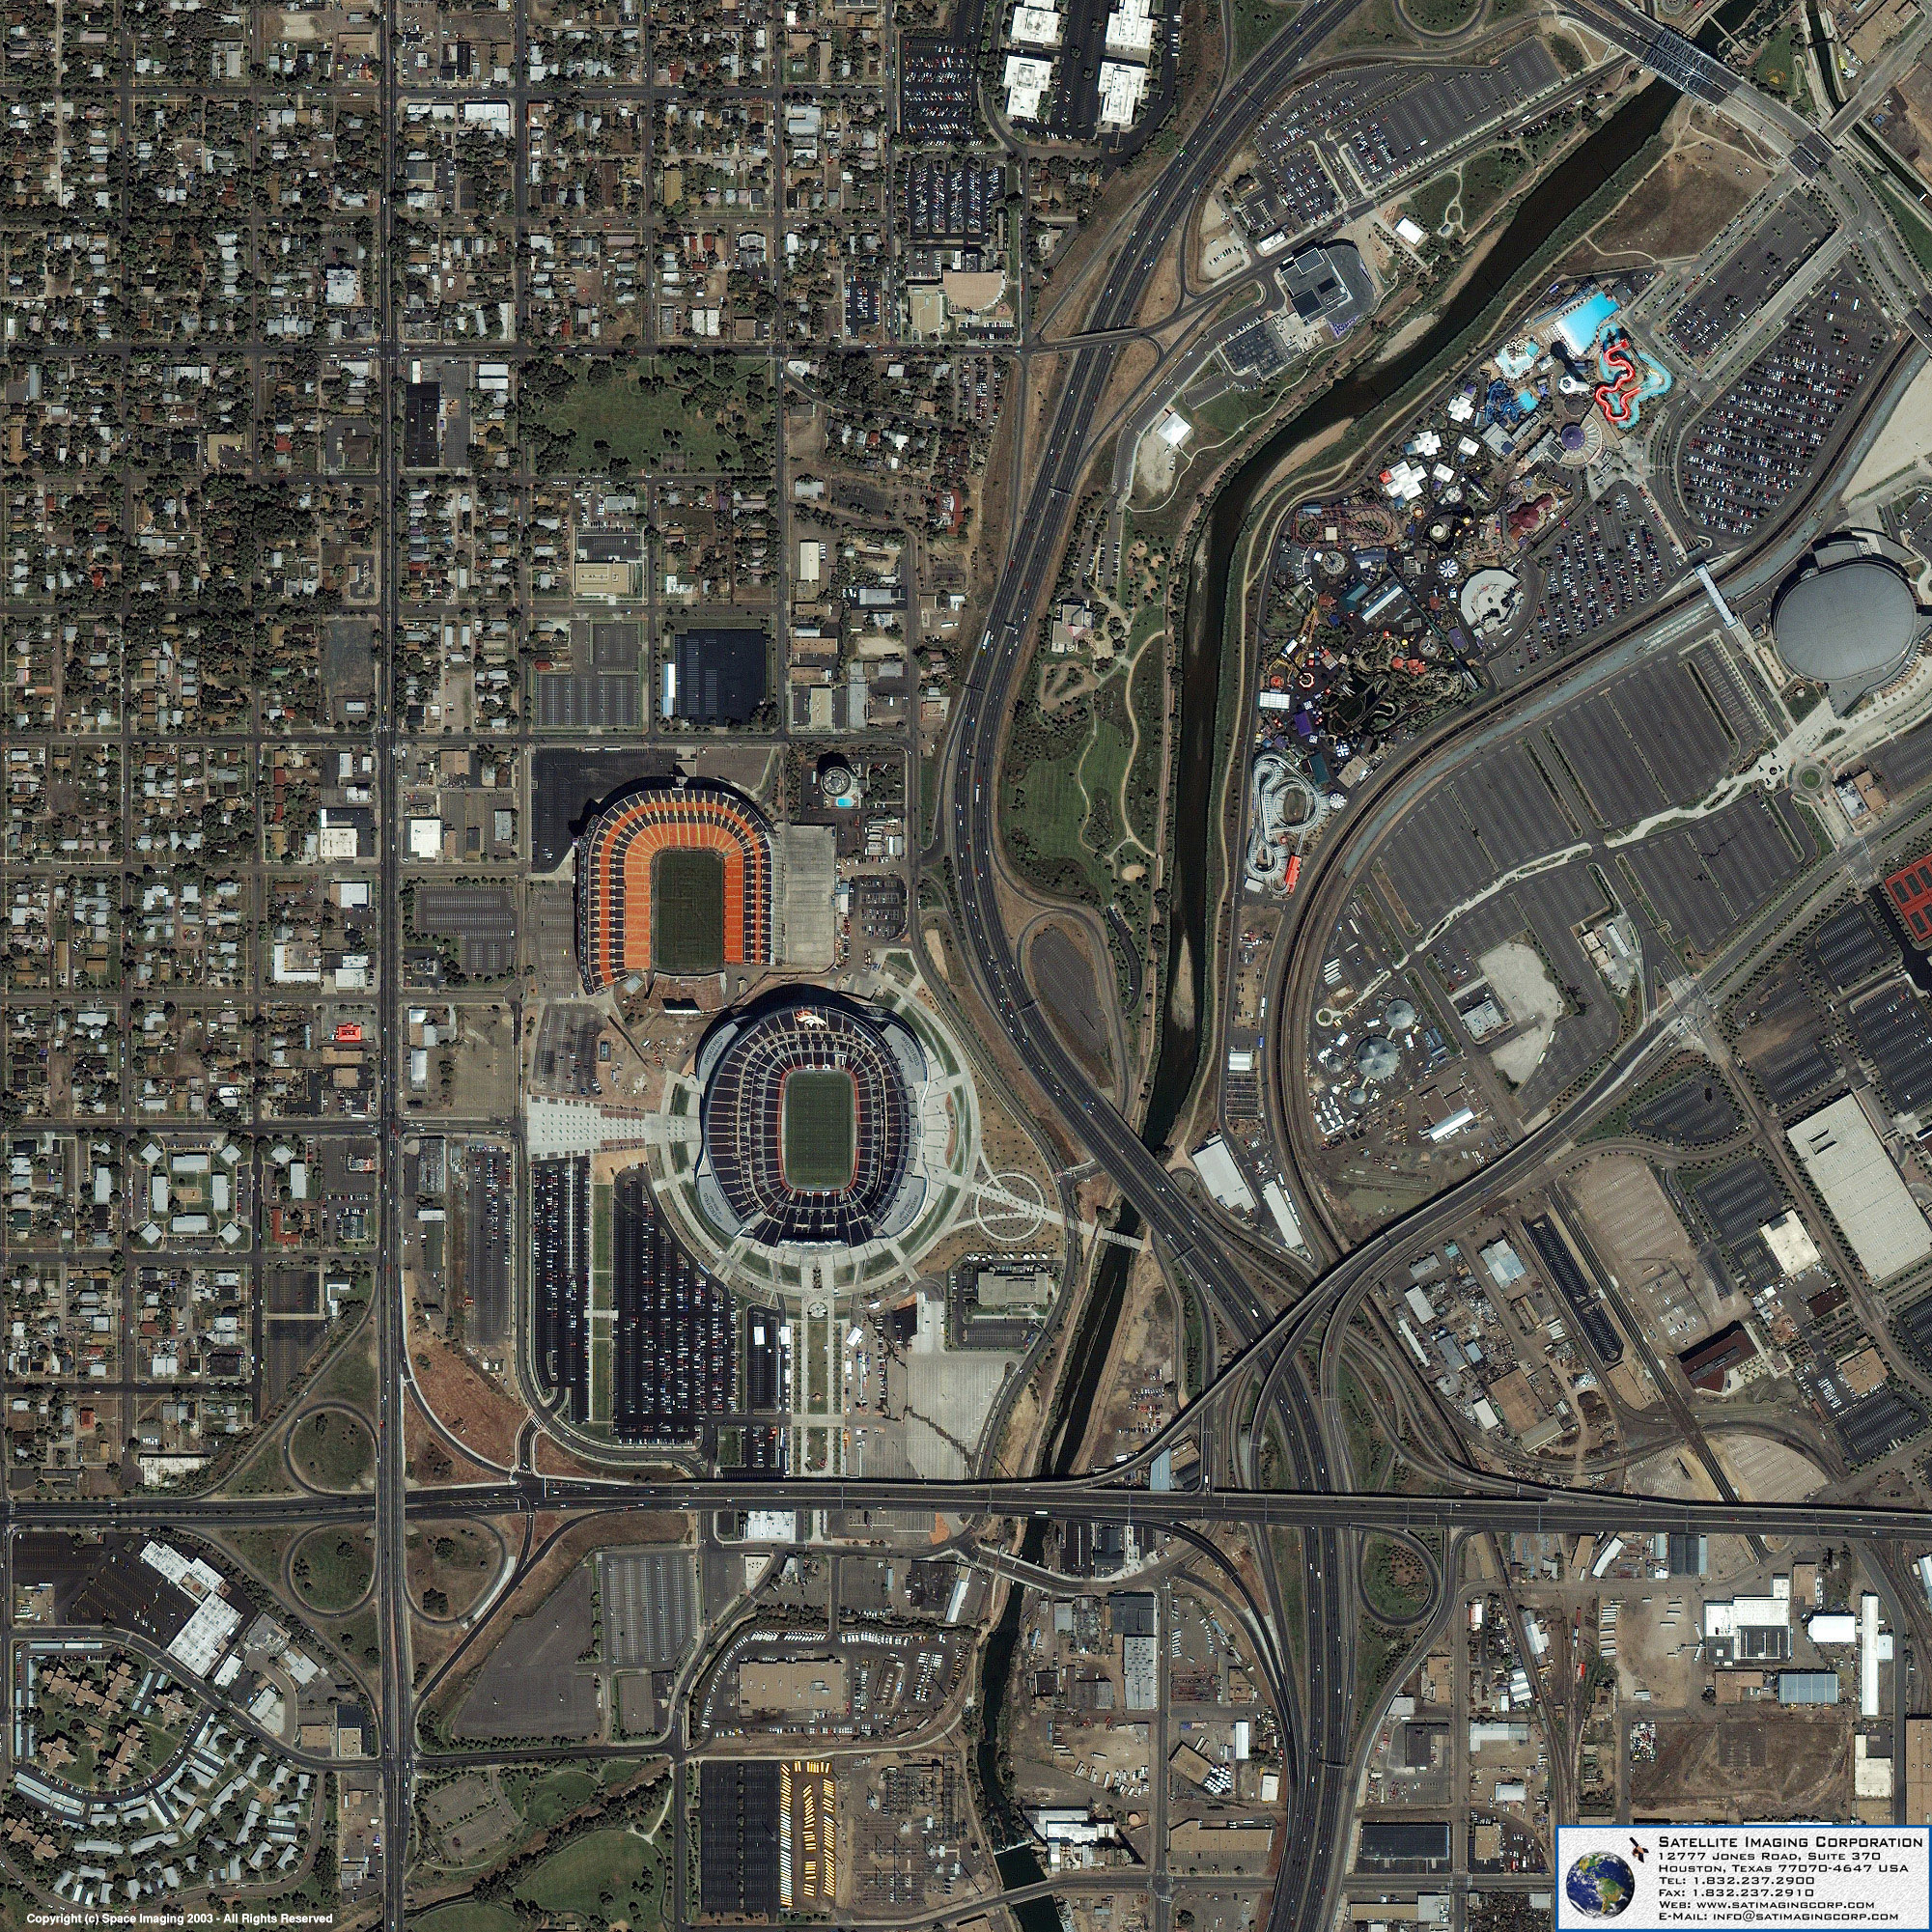
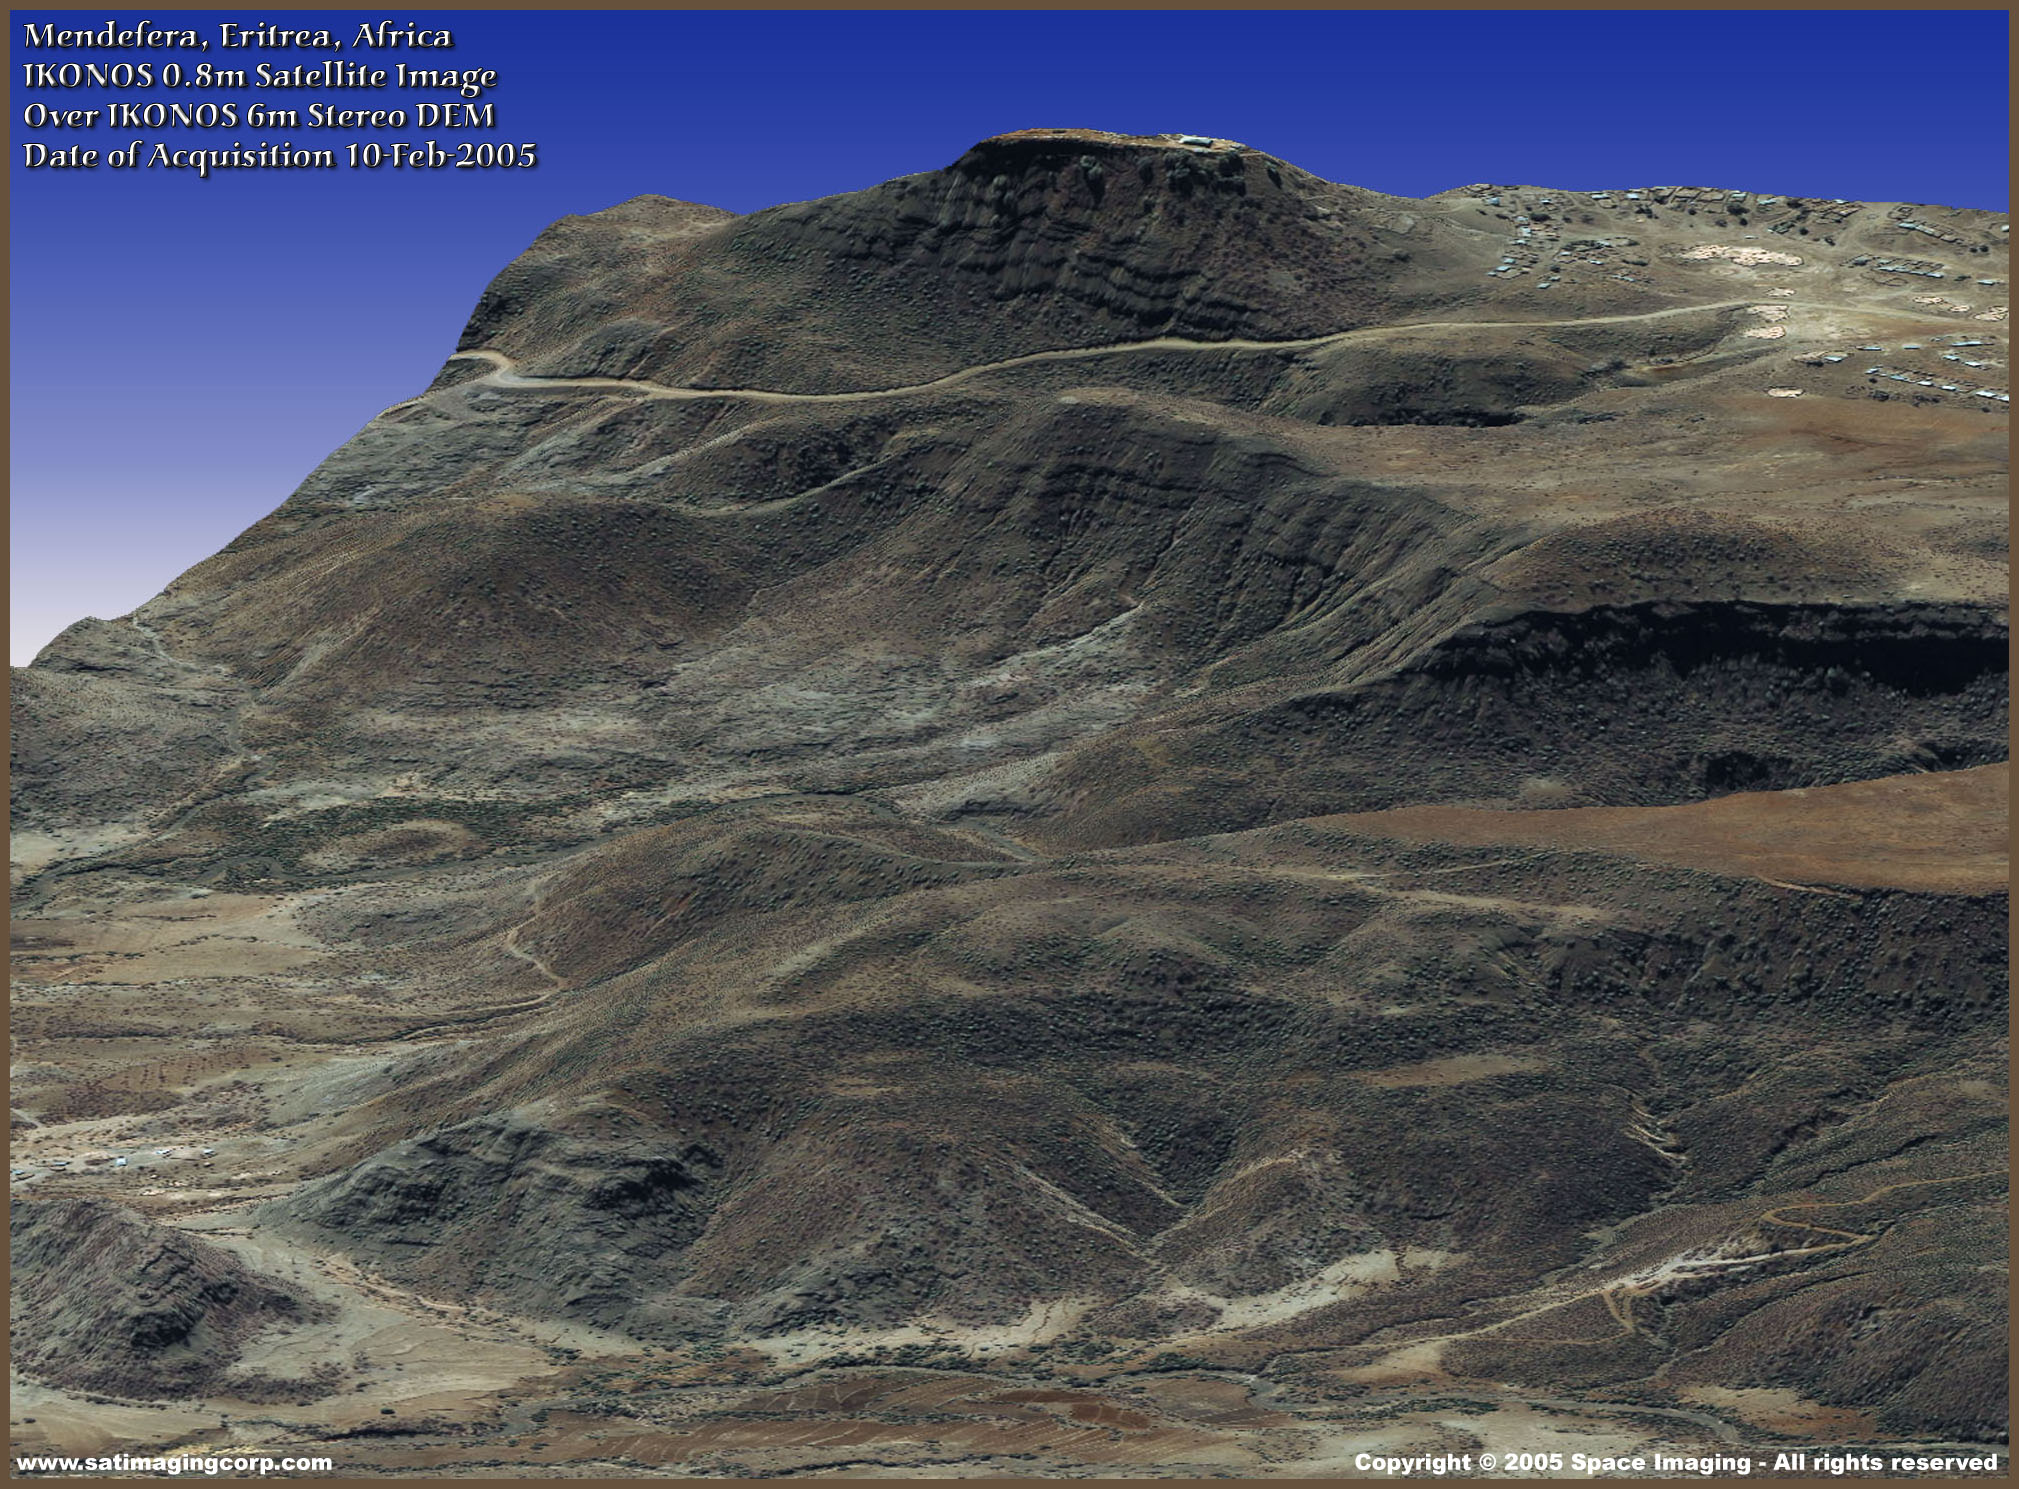
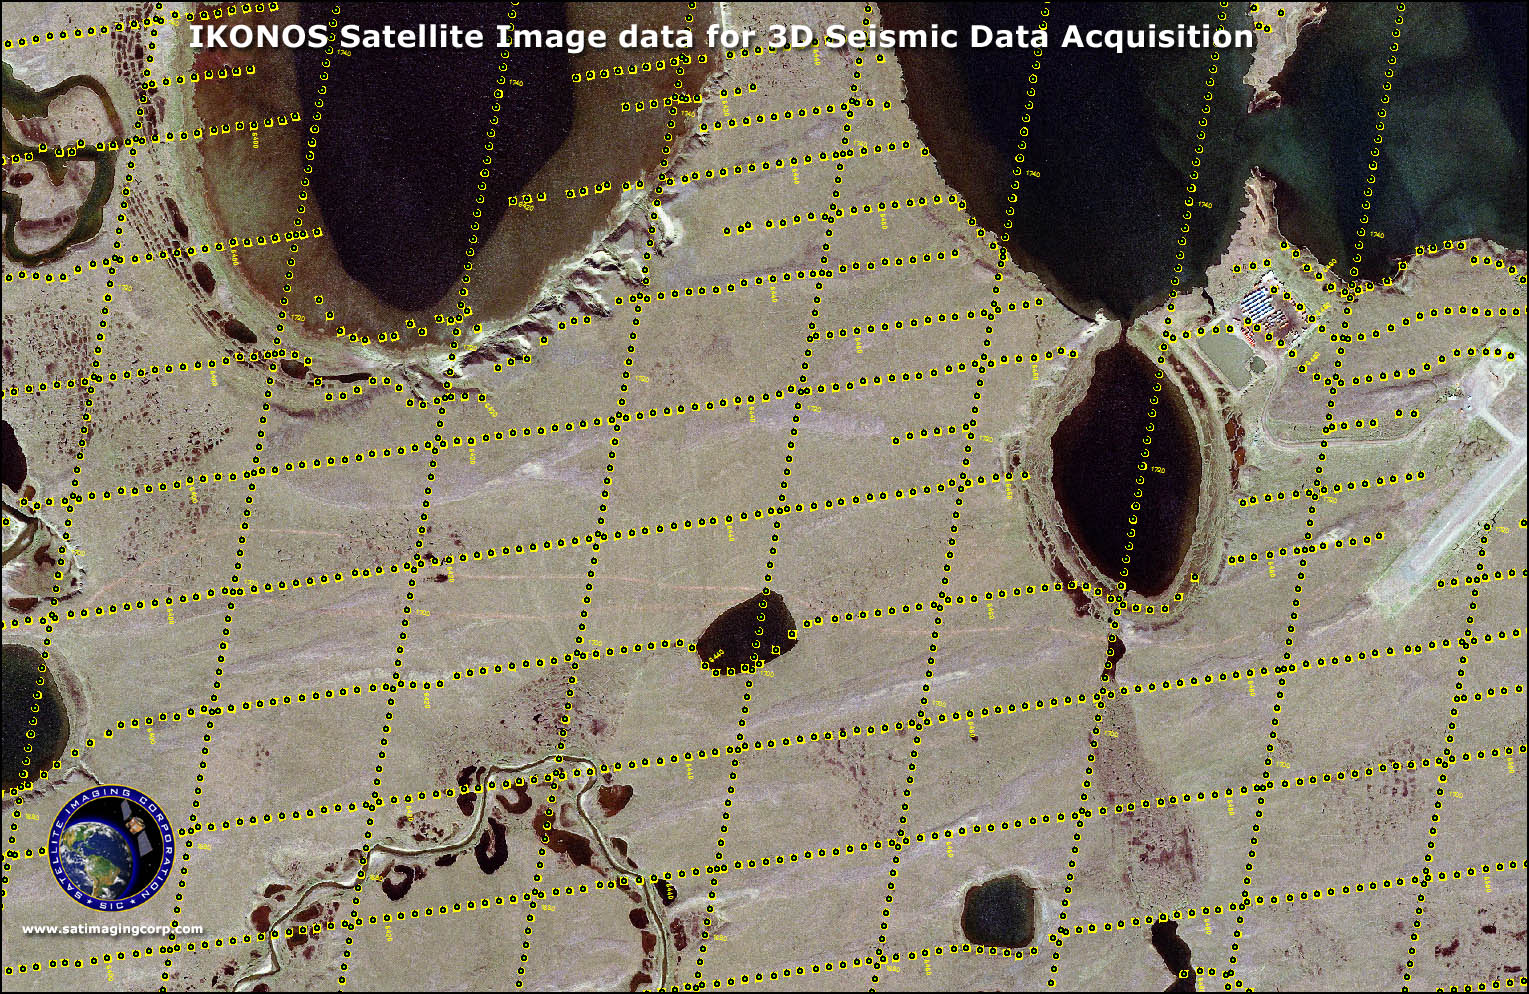
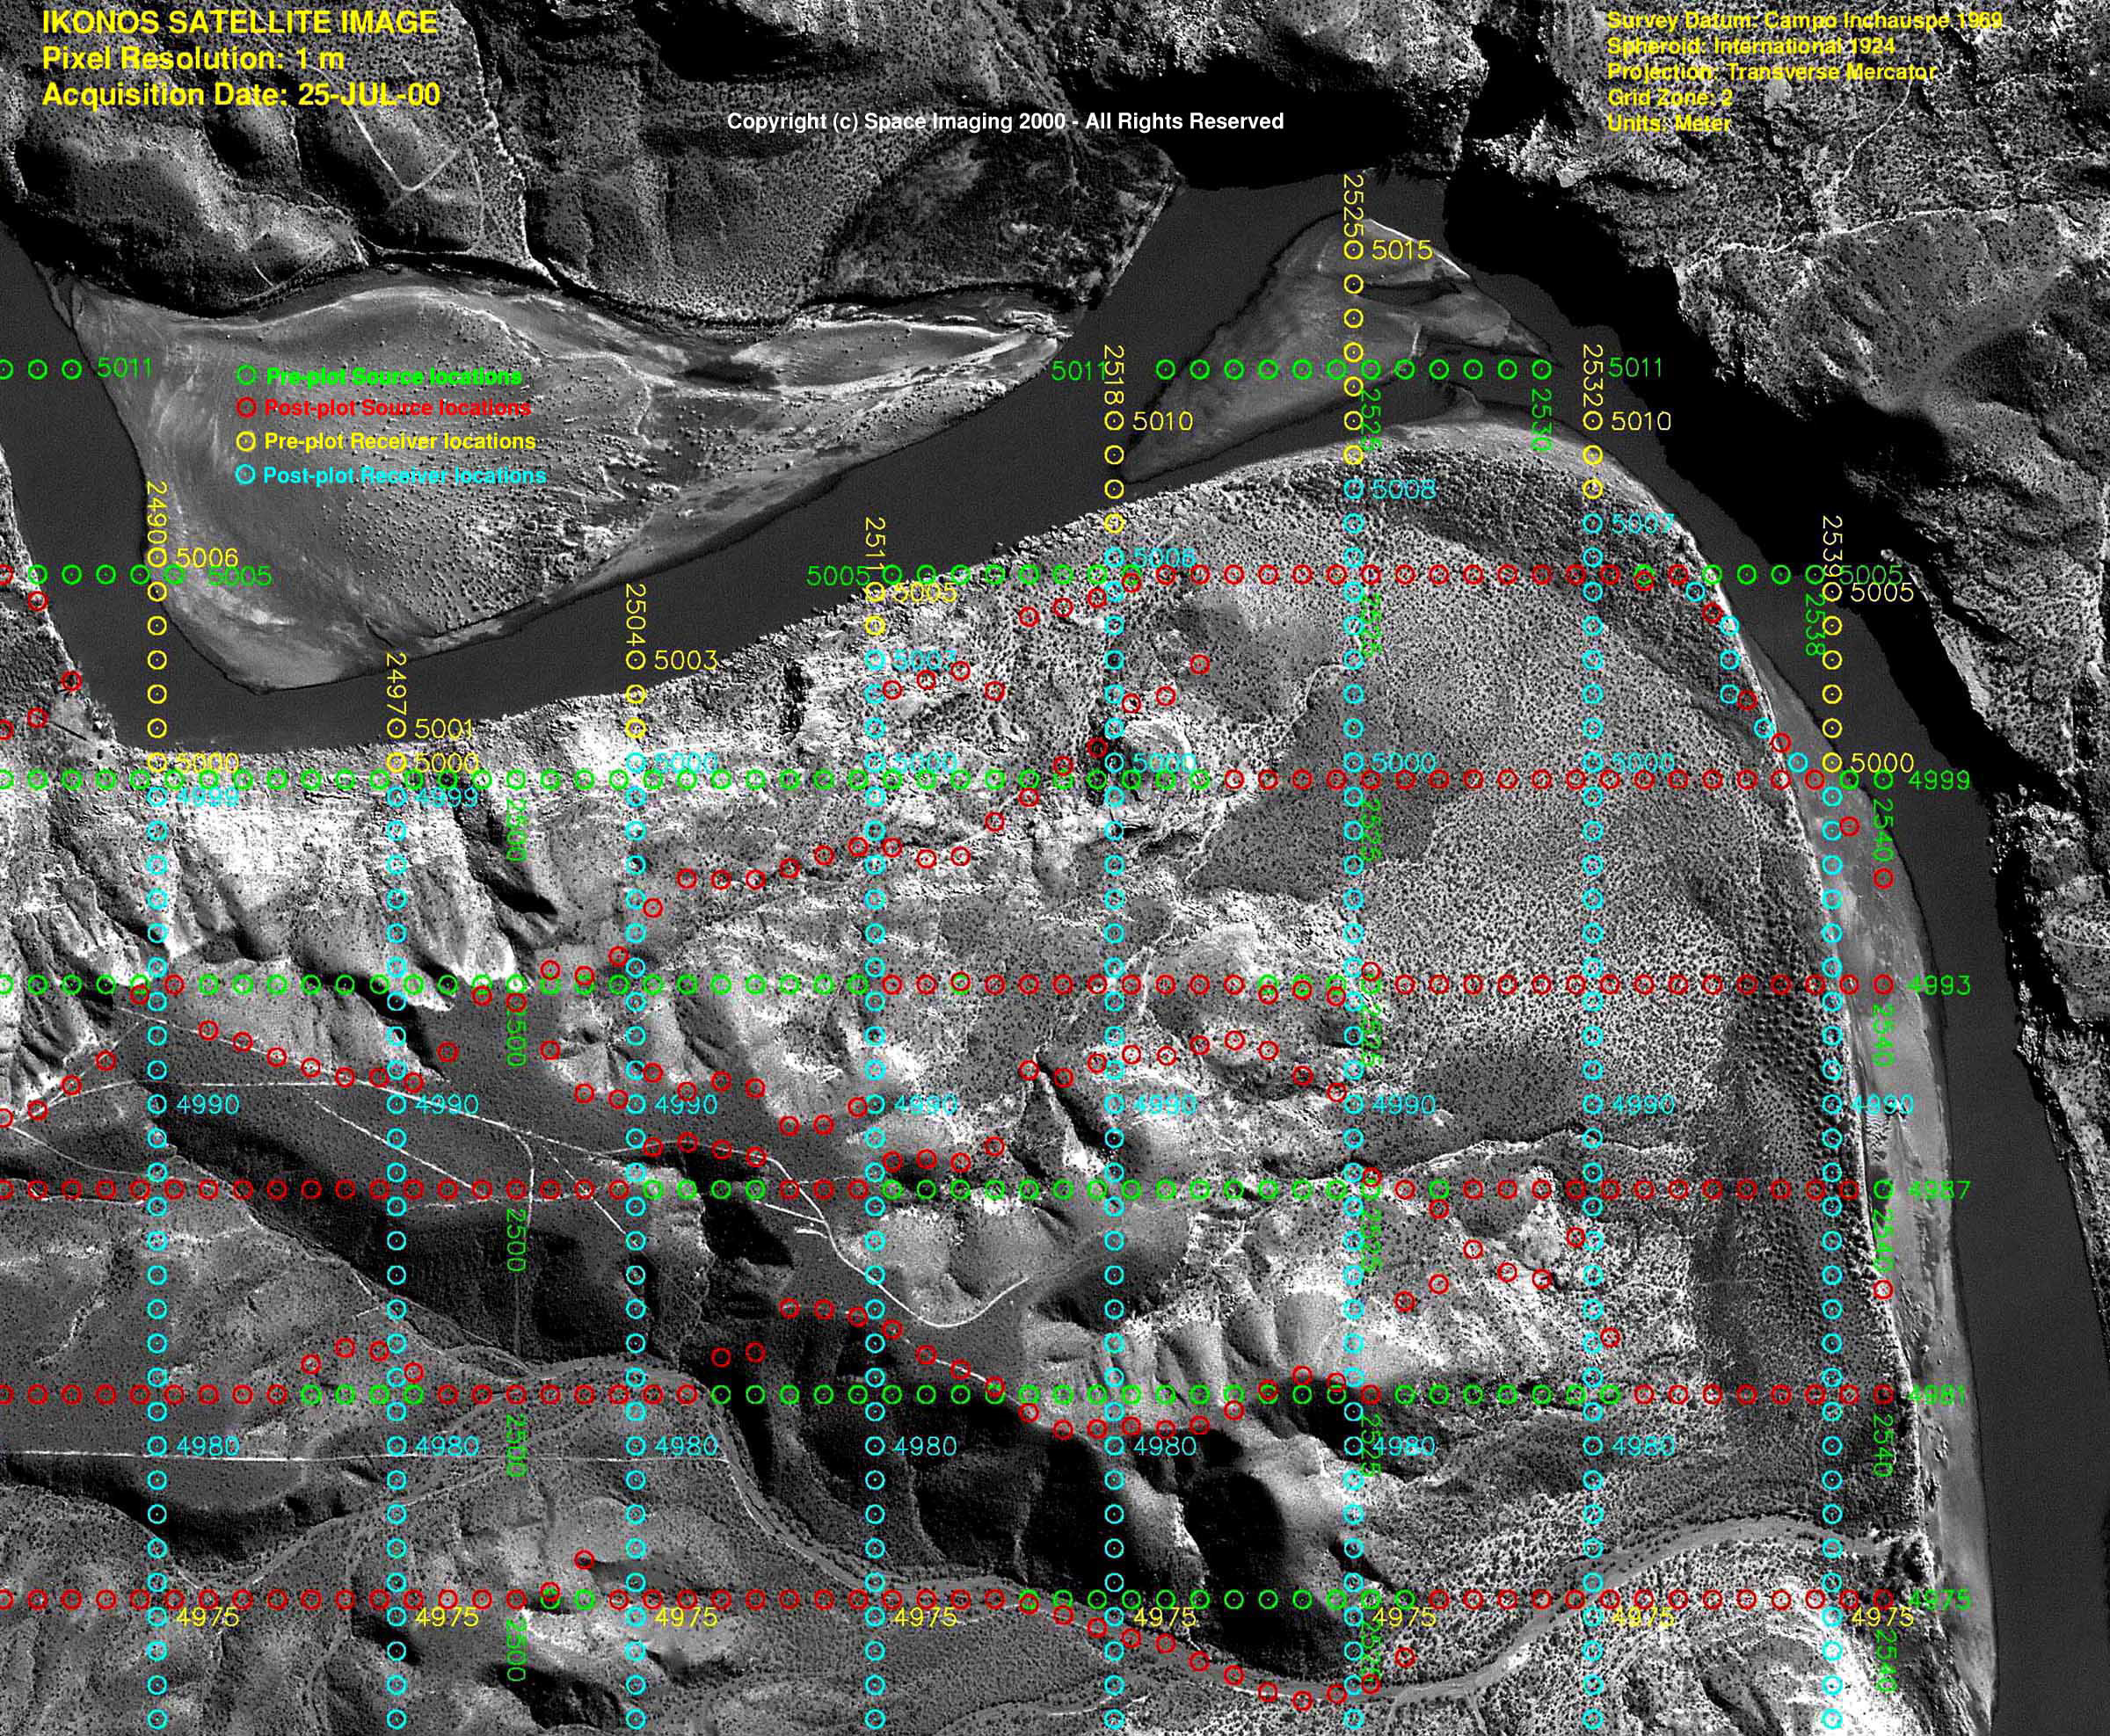
IKONOS stereo satellite images have the potential for creating DSM/DEM’s. The primary advantage of stereo imagery has the ability to extract vector features and geographic features in 3D such as buildings, roads, man-made structures, and other terrain features. This accuracy can be consistently achieved with terrain slope conditions of <20%.
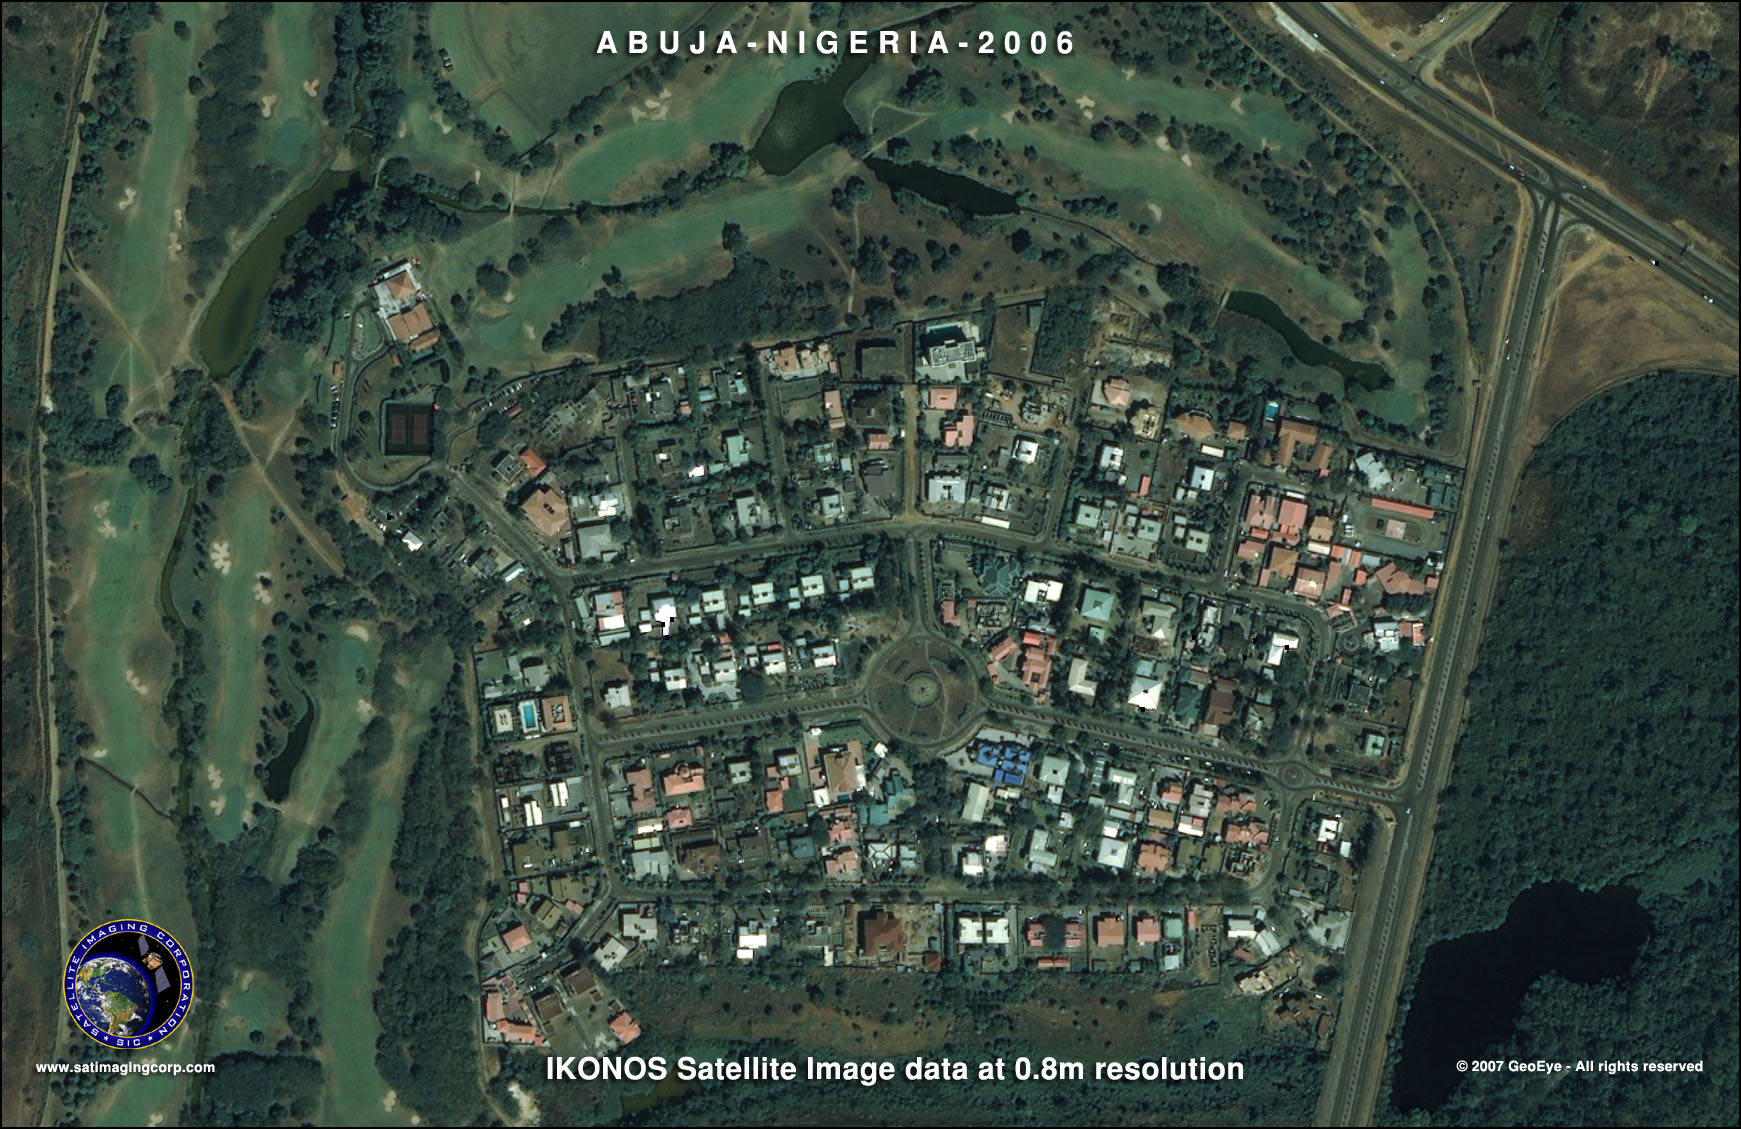
Stereo satellite imagery is especially important for global markets where accurate elevation data is not readily available. Many commercial markets will benefit from stereo imagery and 3D Digital Terrain Models that includes mapping for oil and gas exploration, mining, engineering and construction, environmental, urban planning, agriculture, and forestry.
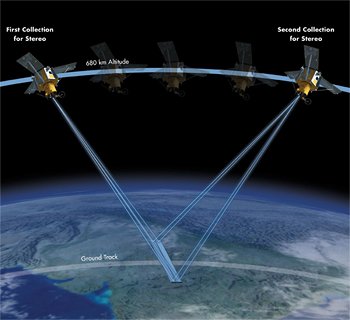
The three main attributes of IKONOS stereo imagery are 360-degree pointing capability, a base-to-height (B/H) ratio of 0.6 and greater – similar in scope to aerial photography. Stereo products can be produced in either epipolar or map projection and can be acquired in most areas of the World.
Stereo products can be purchased as 11-bit or 8-bit data and are offered in the same accuracy levels as other IKONOS products.
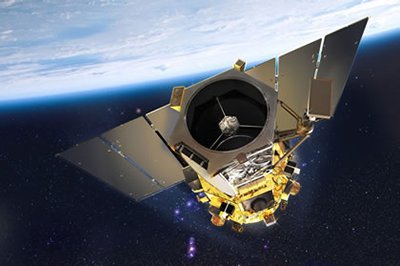
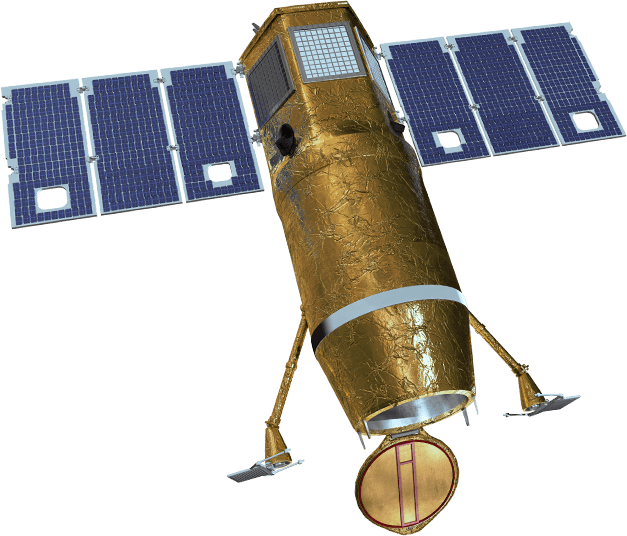
The GeoEye-1, WorldView-1, WorldView-2, WorldView-3, and Pleiades Neo satellite sensors provide Stereo satellite Image data collection with increased geospatial position accuracy and details.
Map projected stereo products are produced in long image strips and are recommended if block adjustment is going to be performed by the user. Long strip images facilitate block adjustment, as the user does not have to contend with small component images.
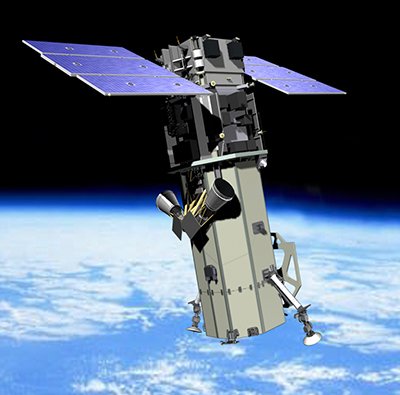
Resolution restrictions have been relaxed
In June 2014, DigitalGlobe received permission from the US Department of Commerce to collect and sell imagery at the best available resolutions. Additionally, six months after WorldView-3 is operational DigitalGlobe will be permitted to sell imagery at up to 25 cm panchromatic and 1.0 m multispectral GSD. We applaud the US Government’s relaxation of satellite resolution restrictions, as it benefits our customers and the industry in general.
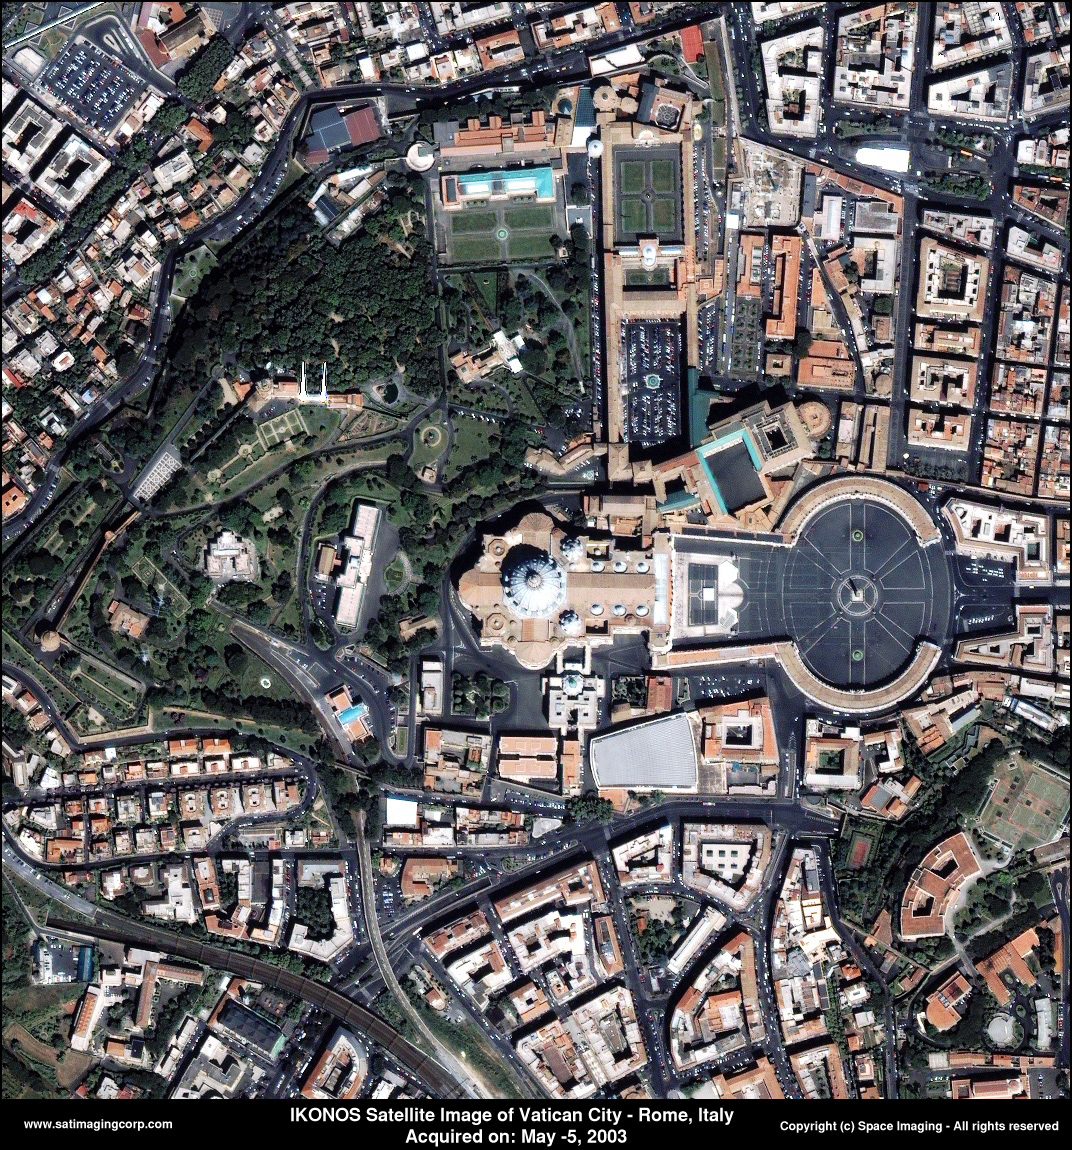
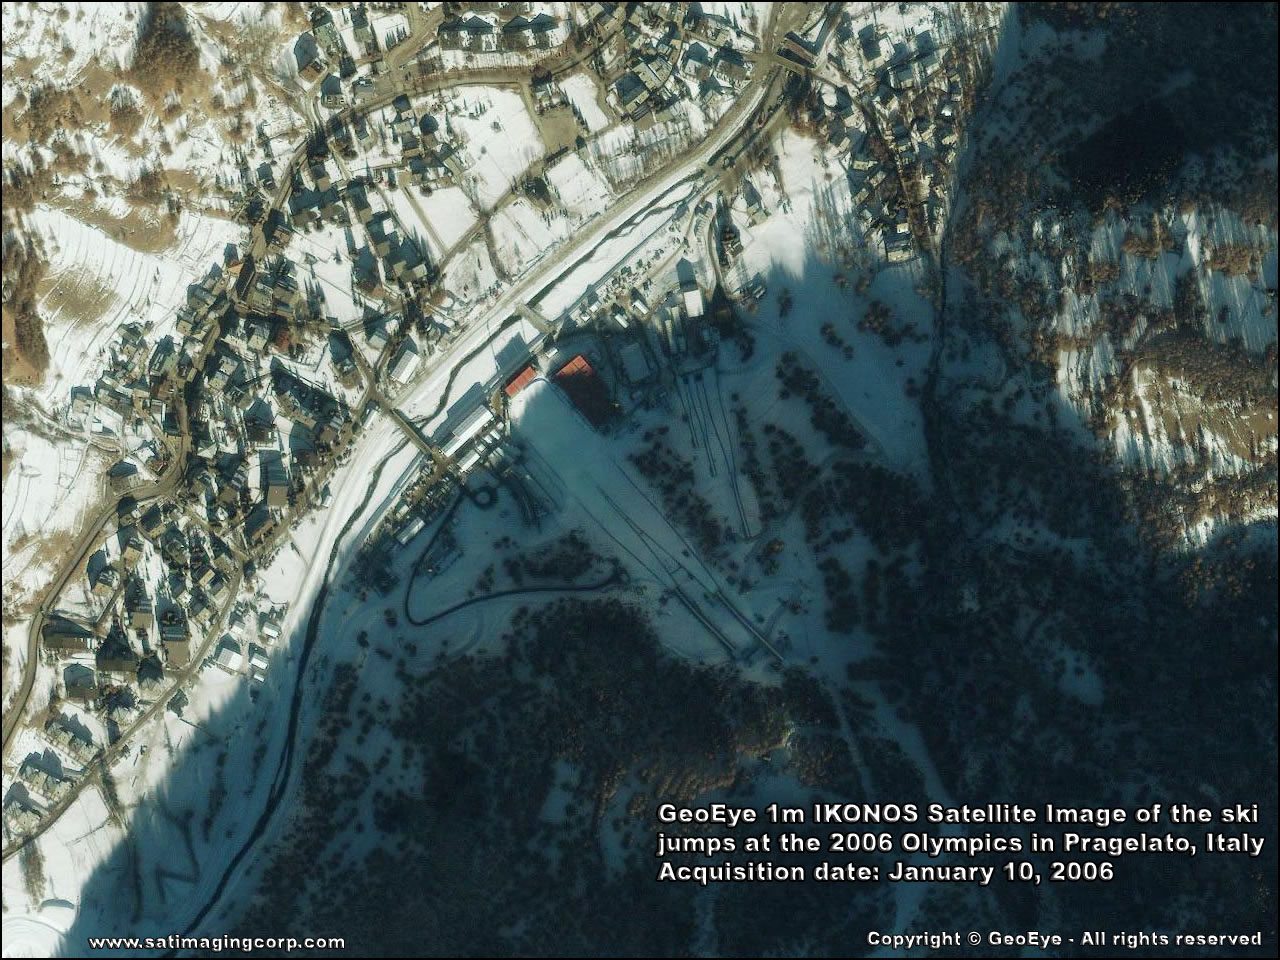
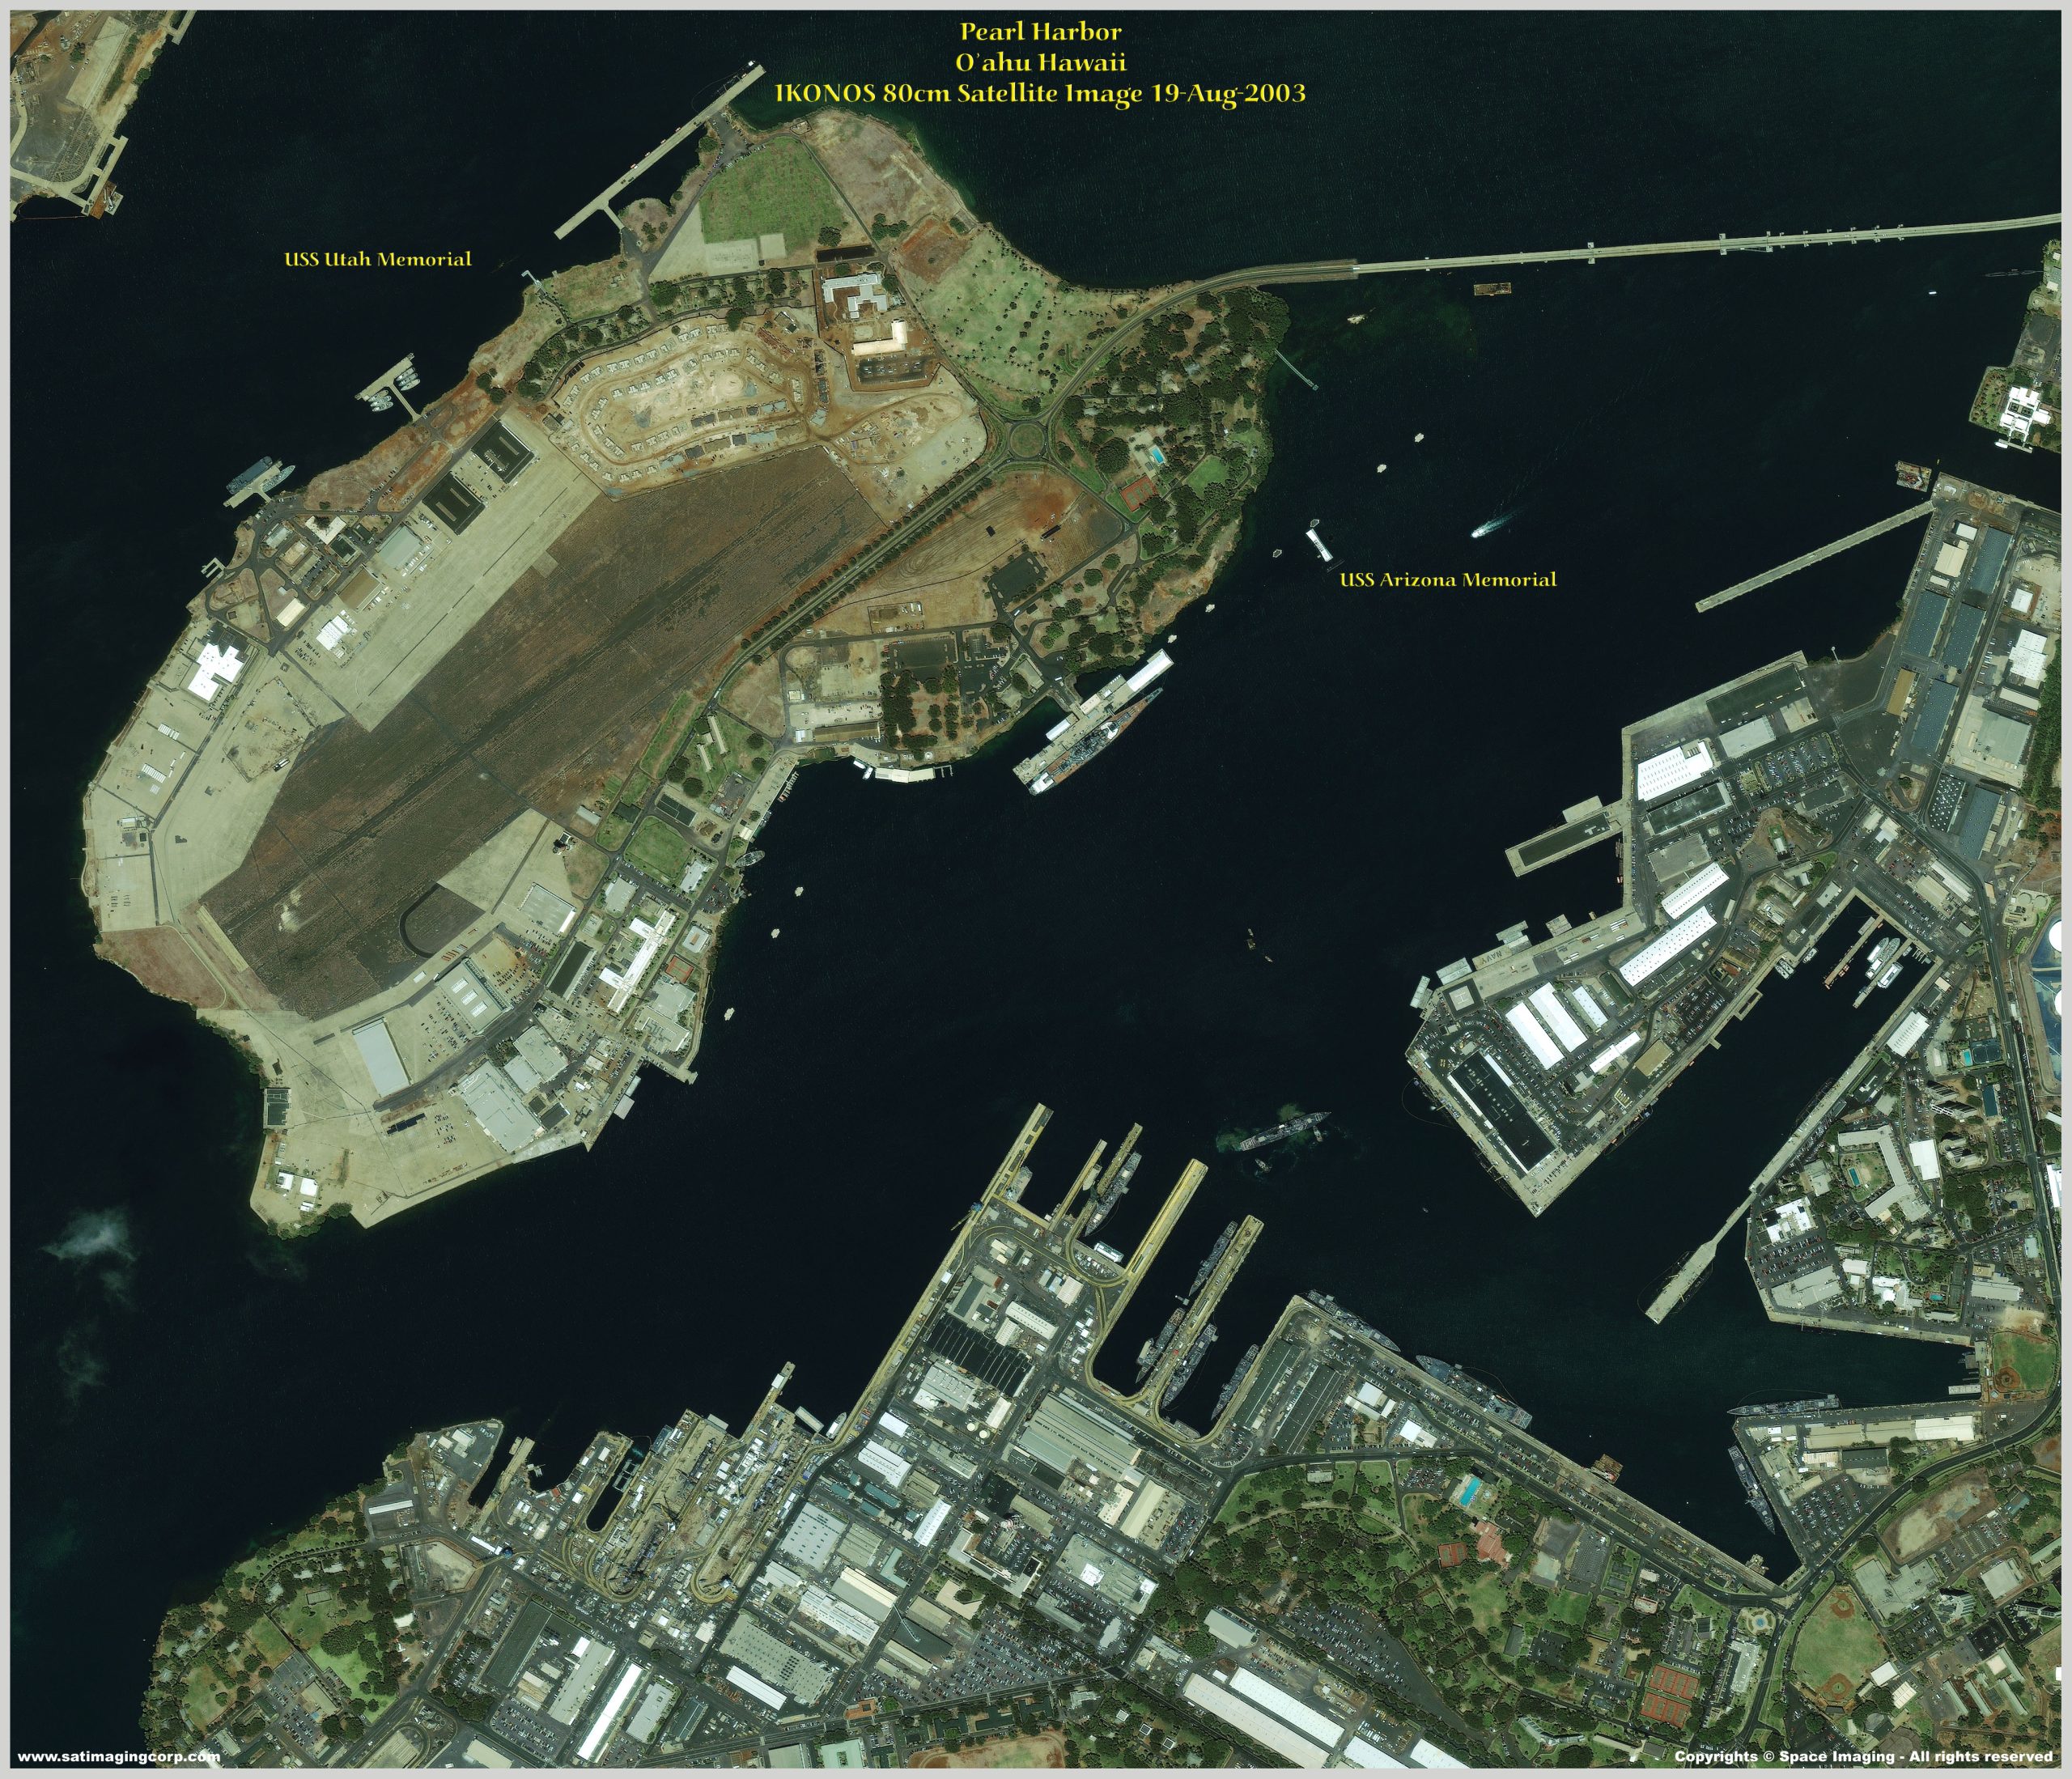
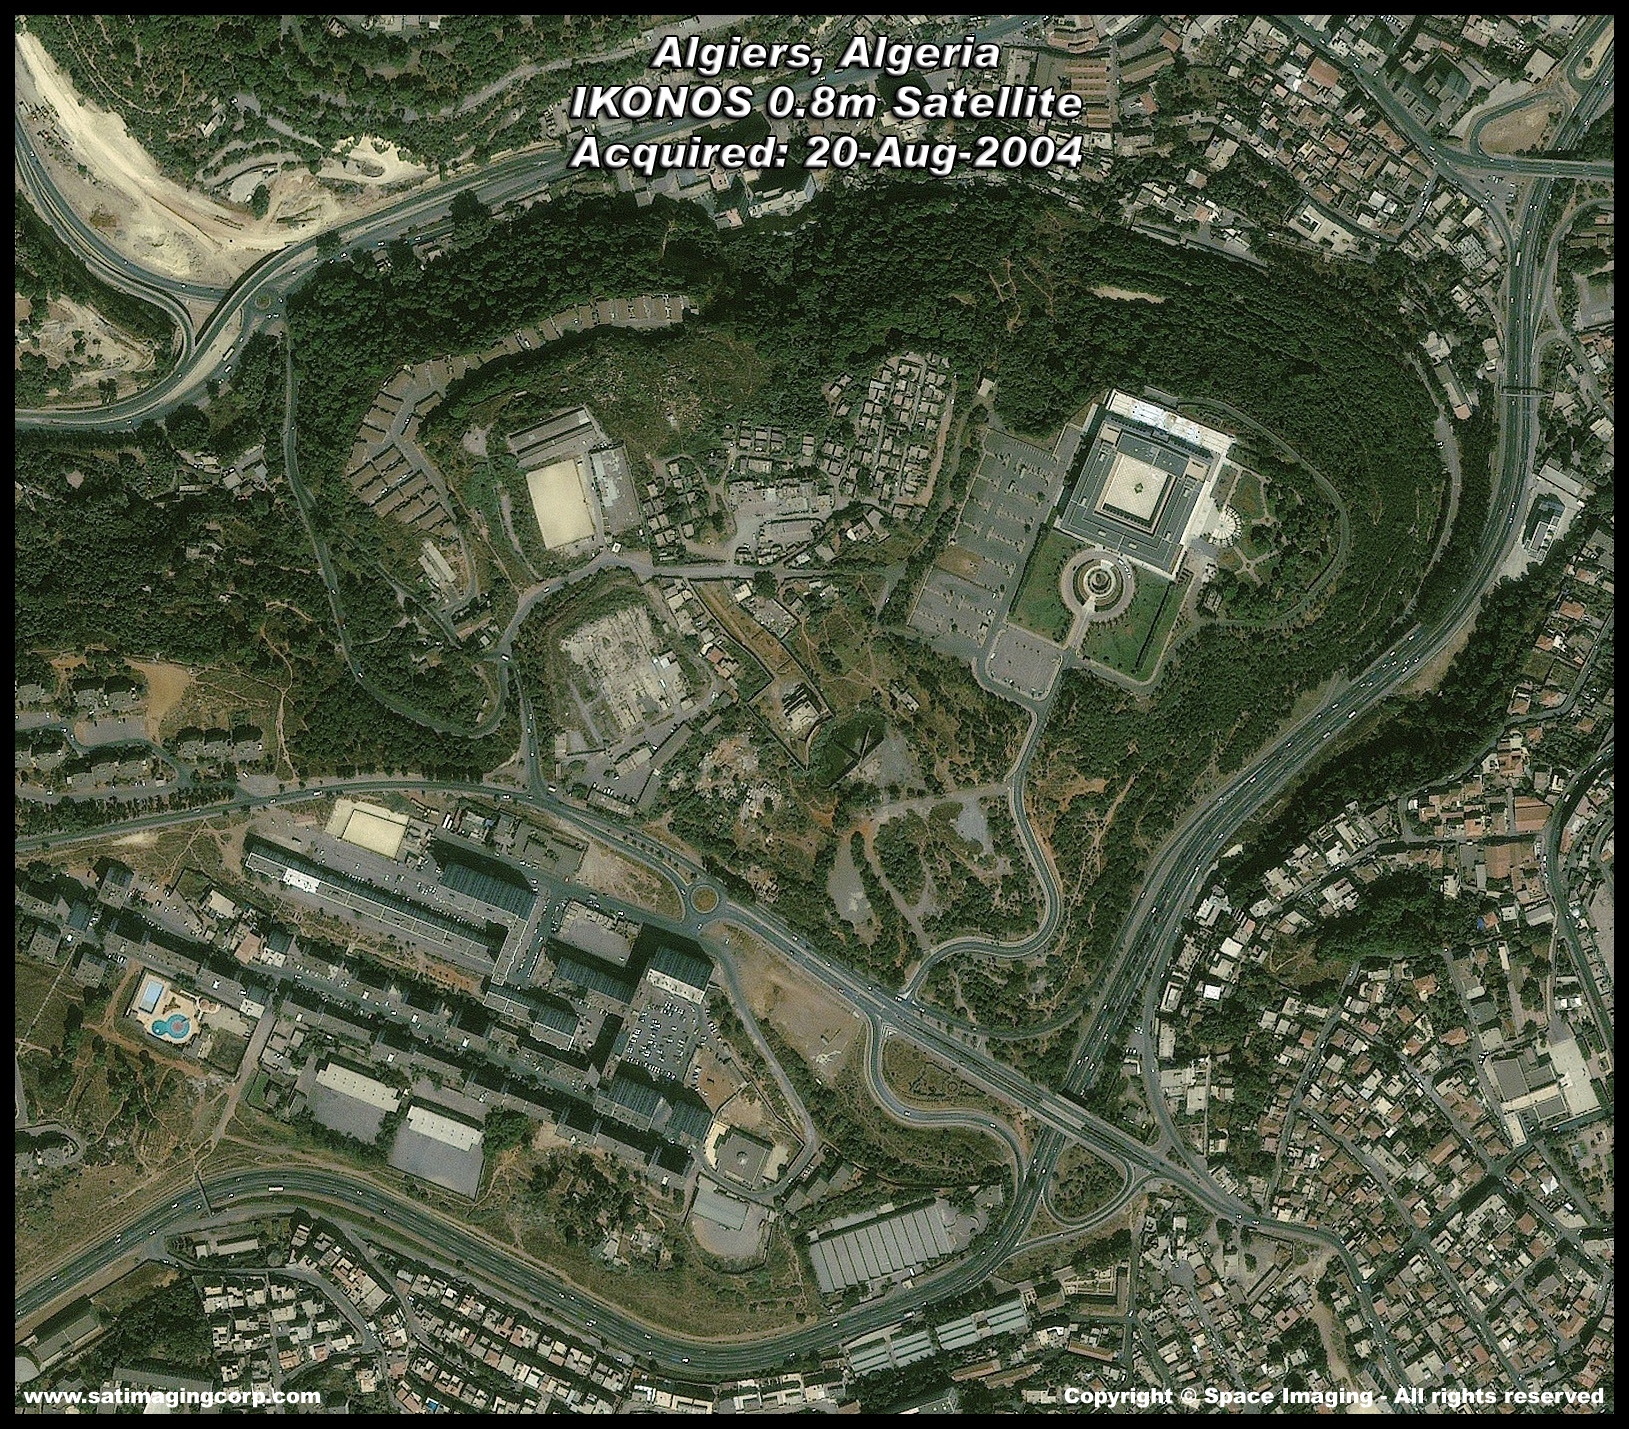
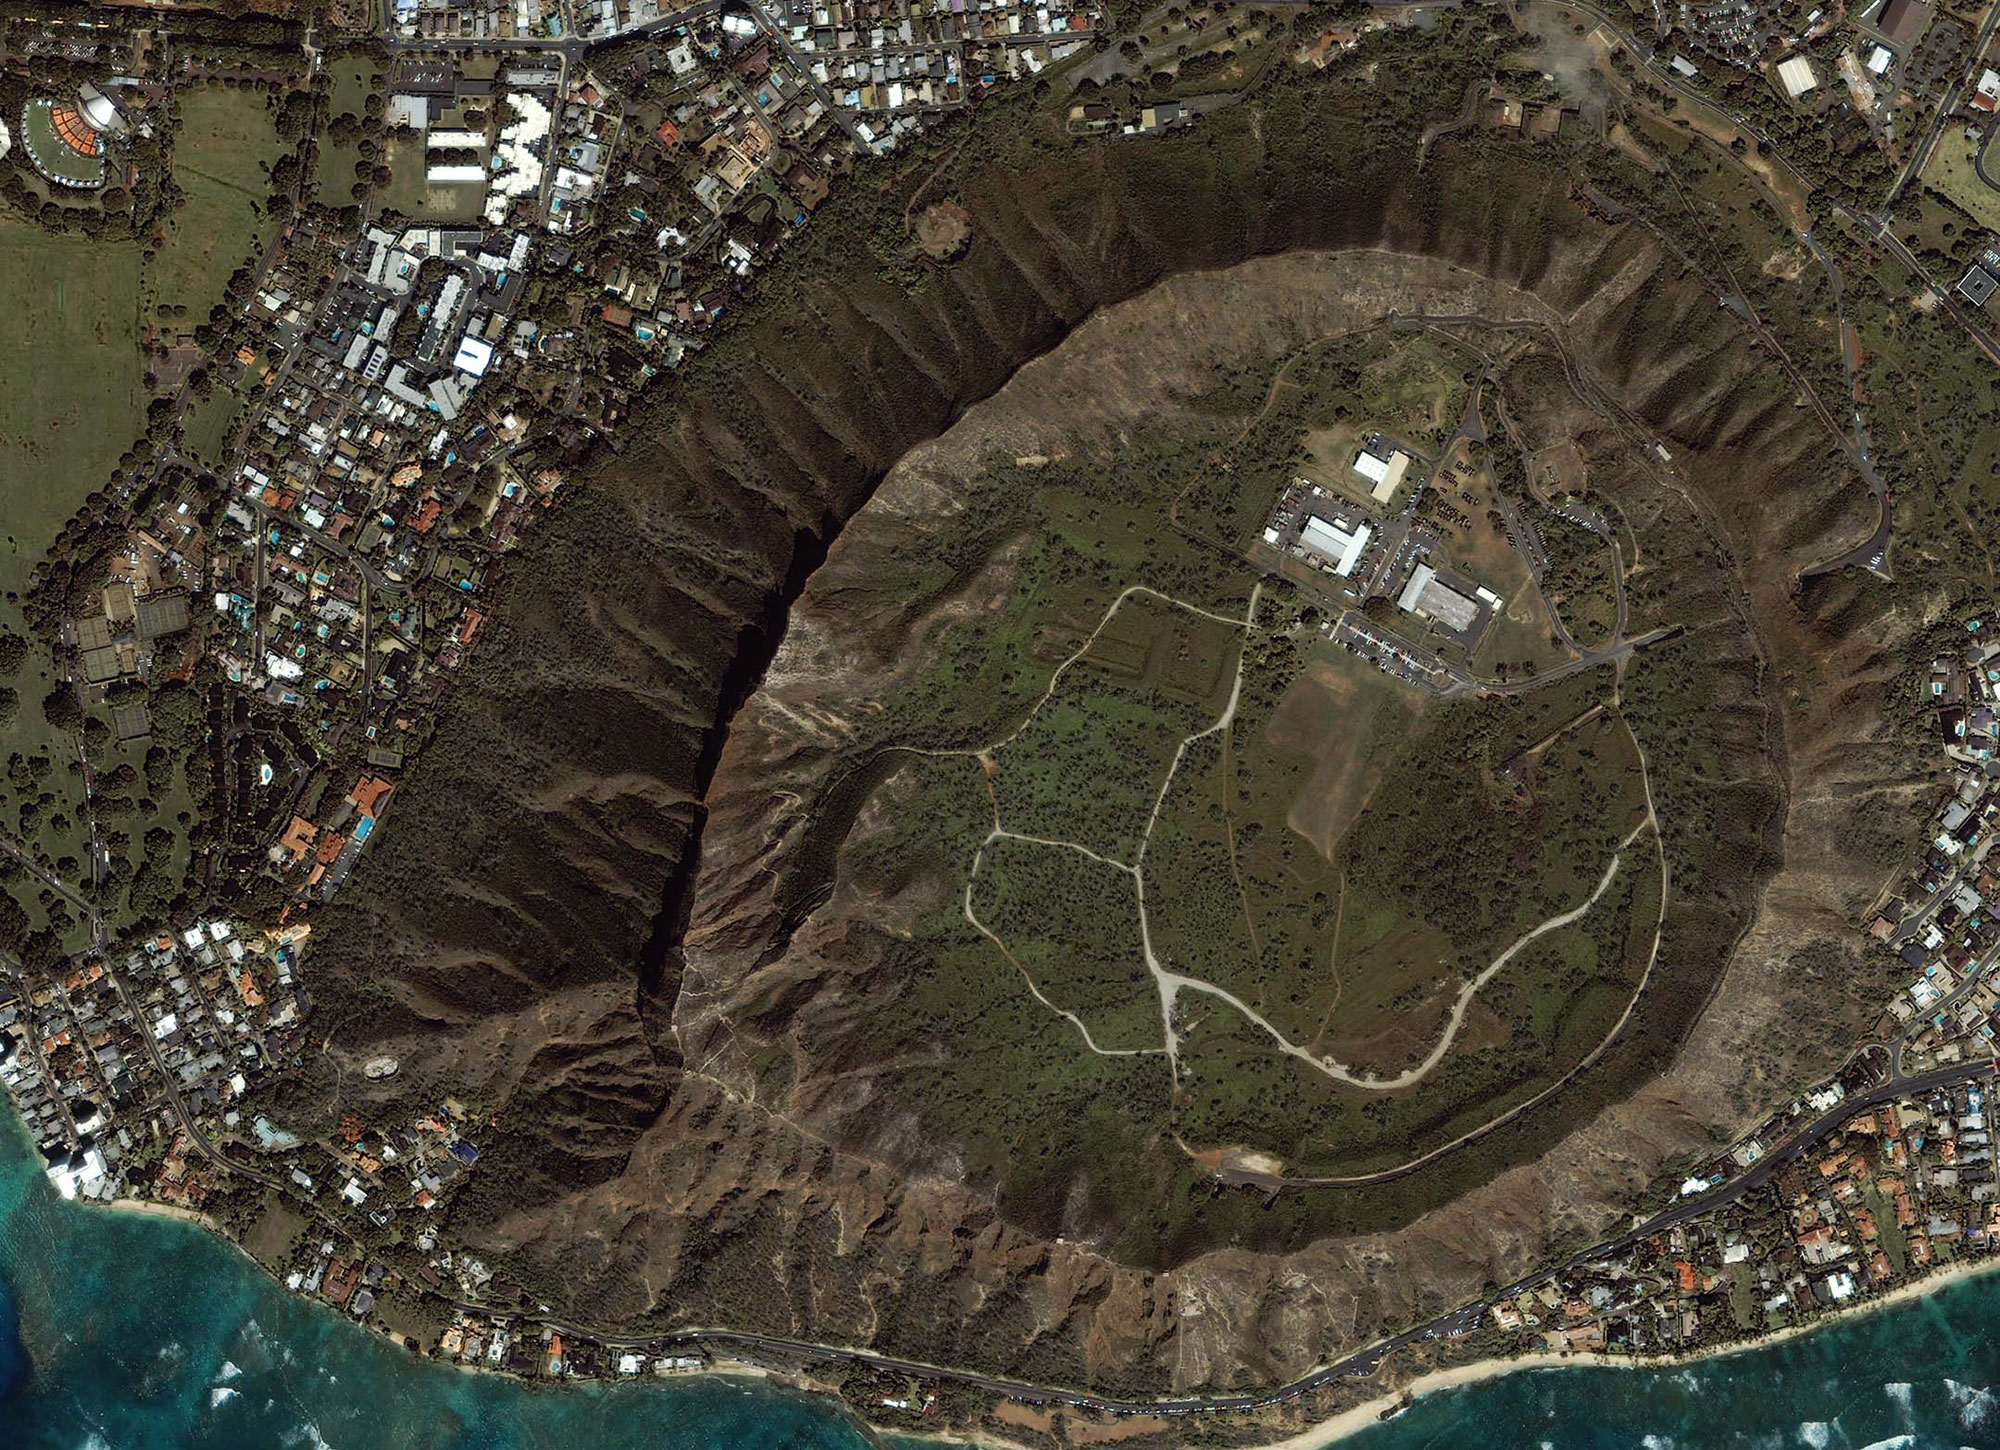
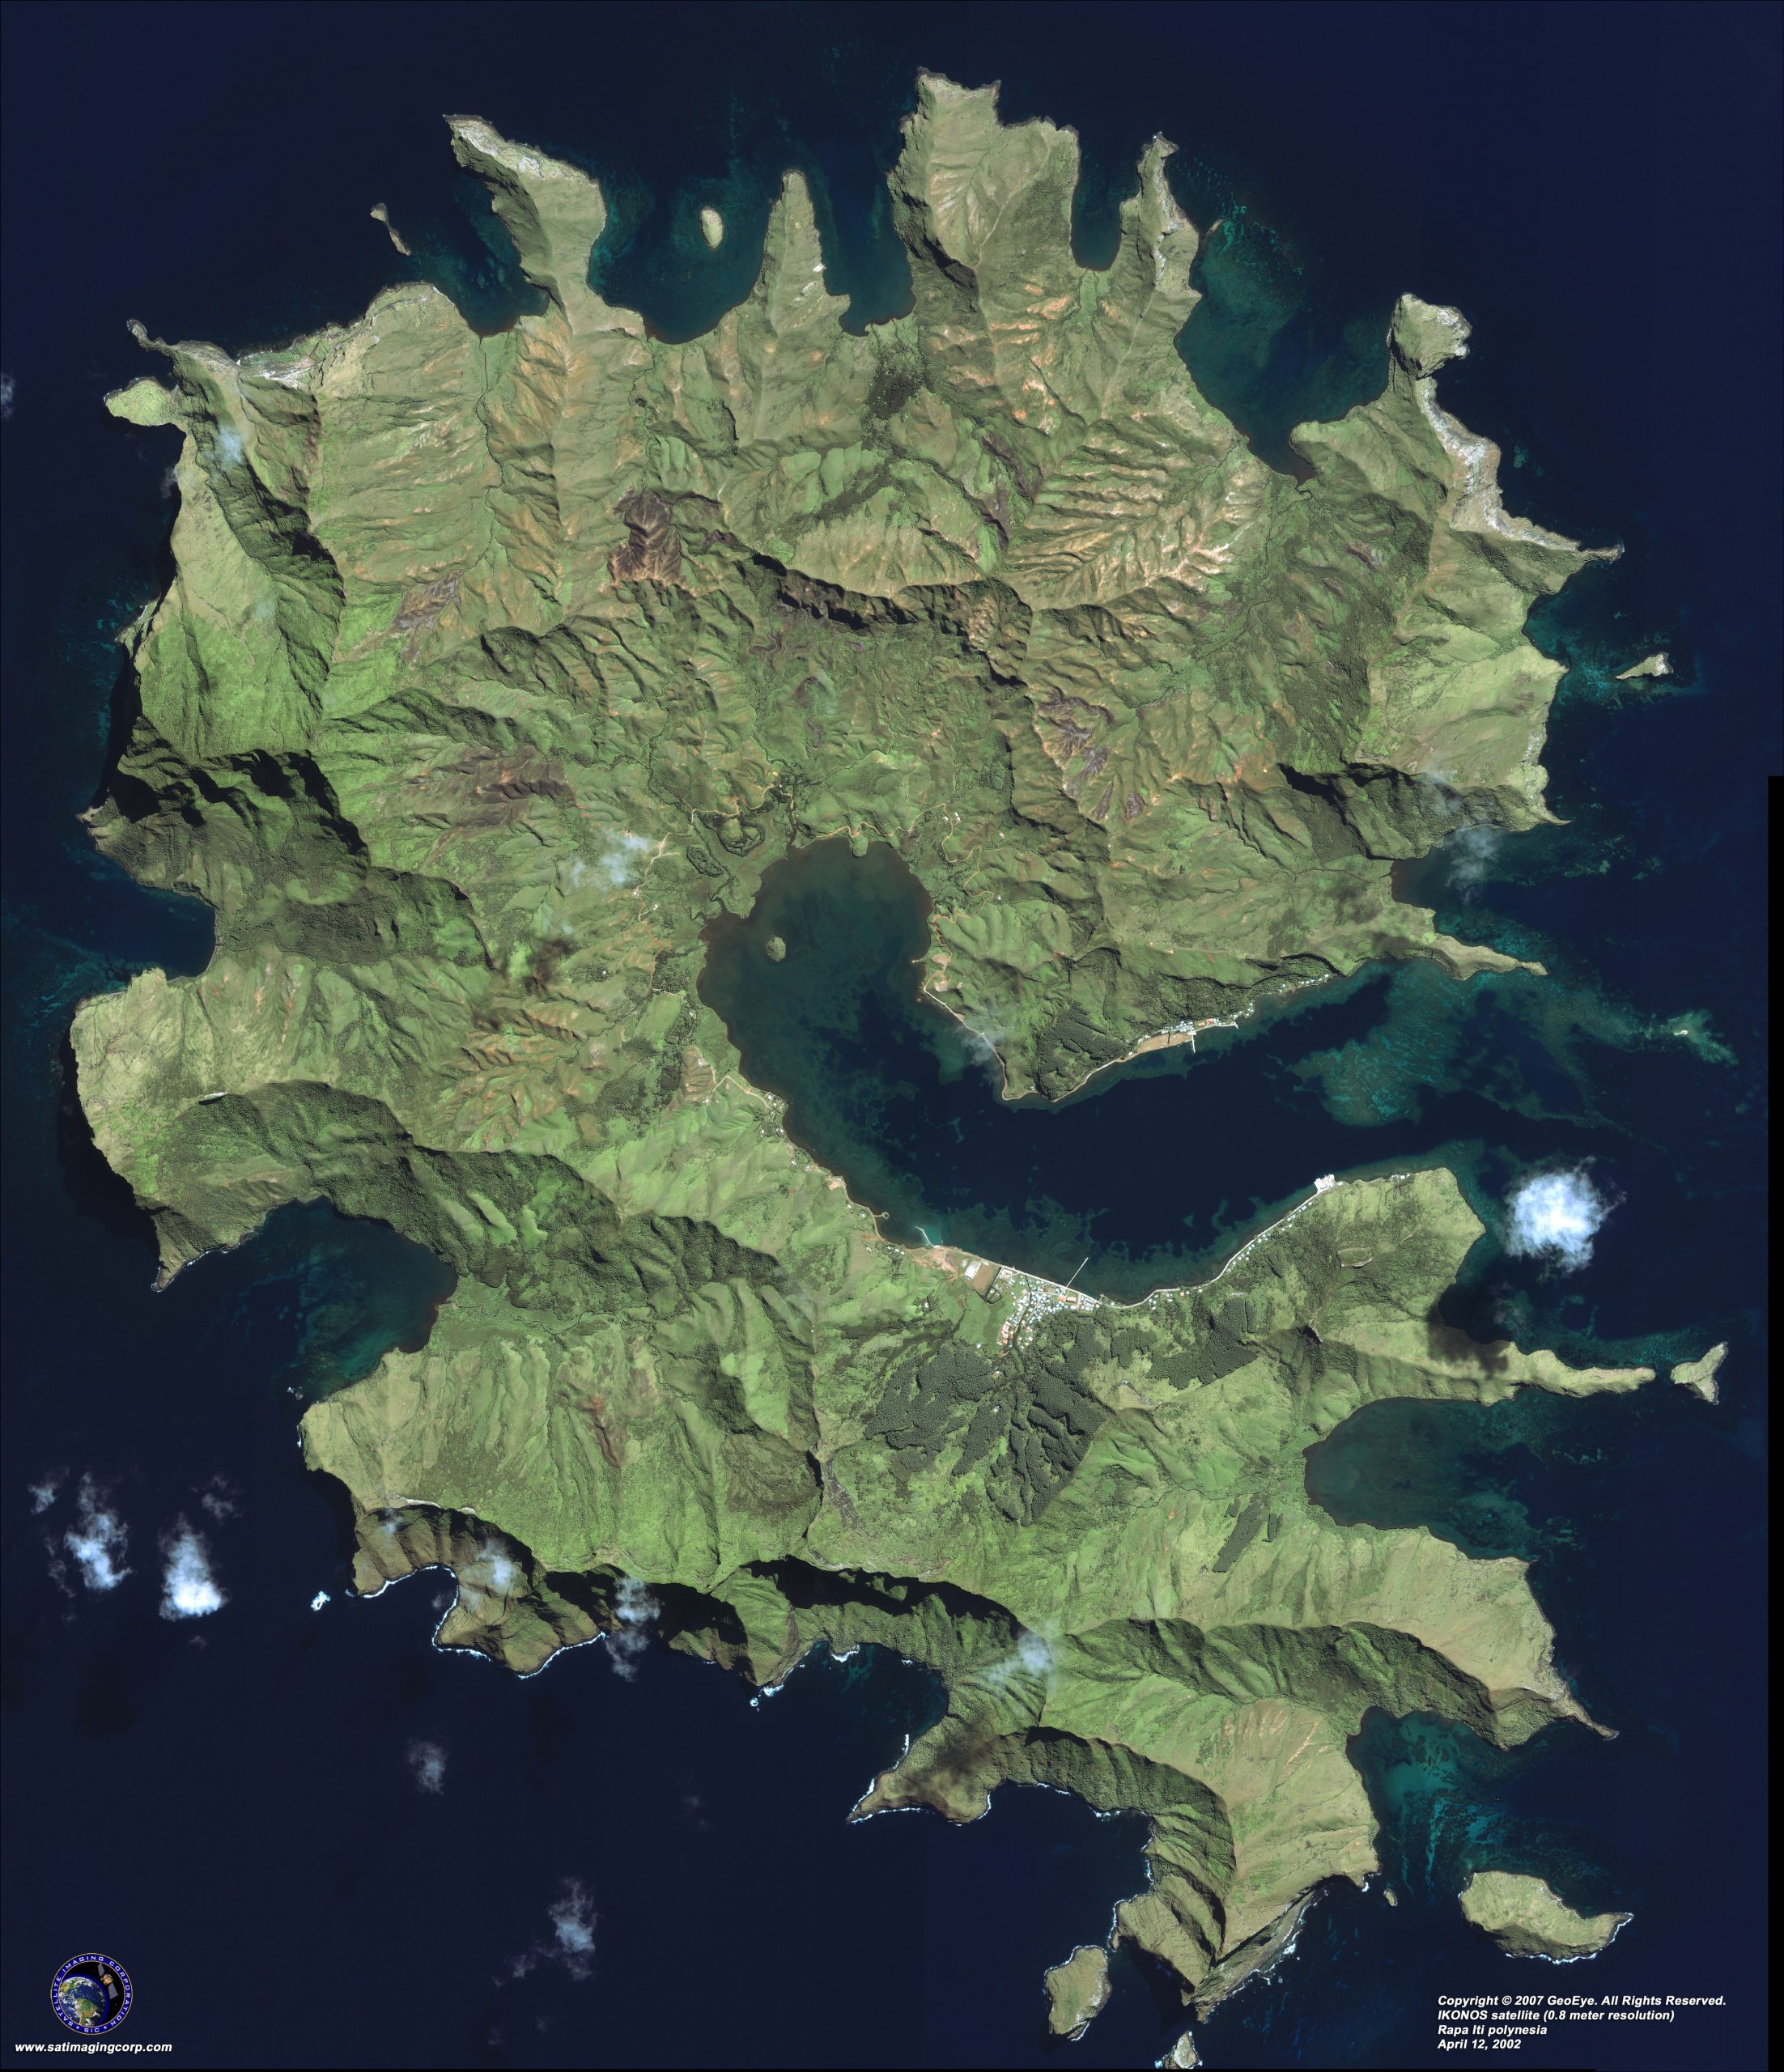
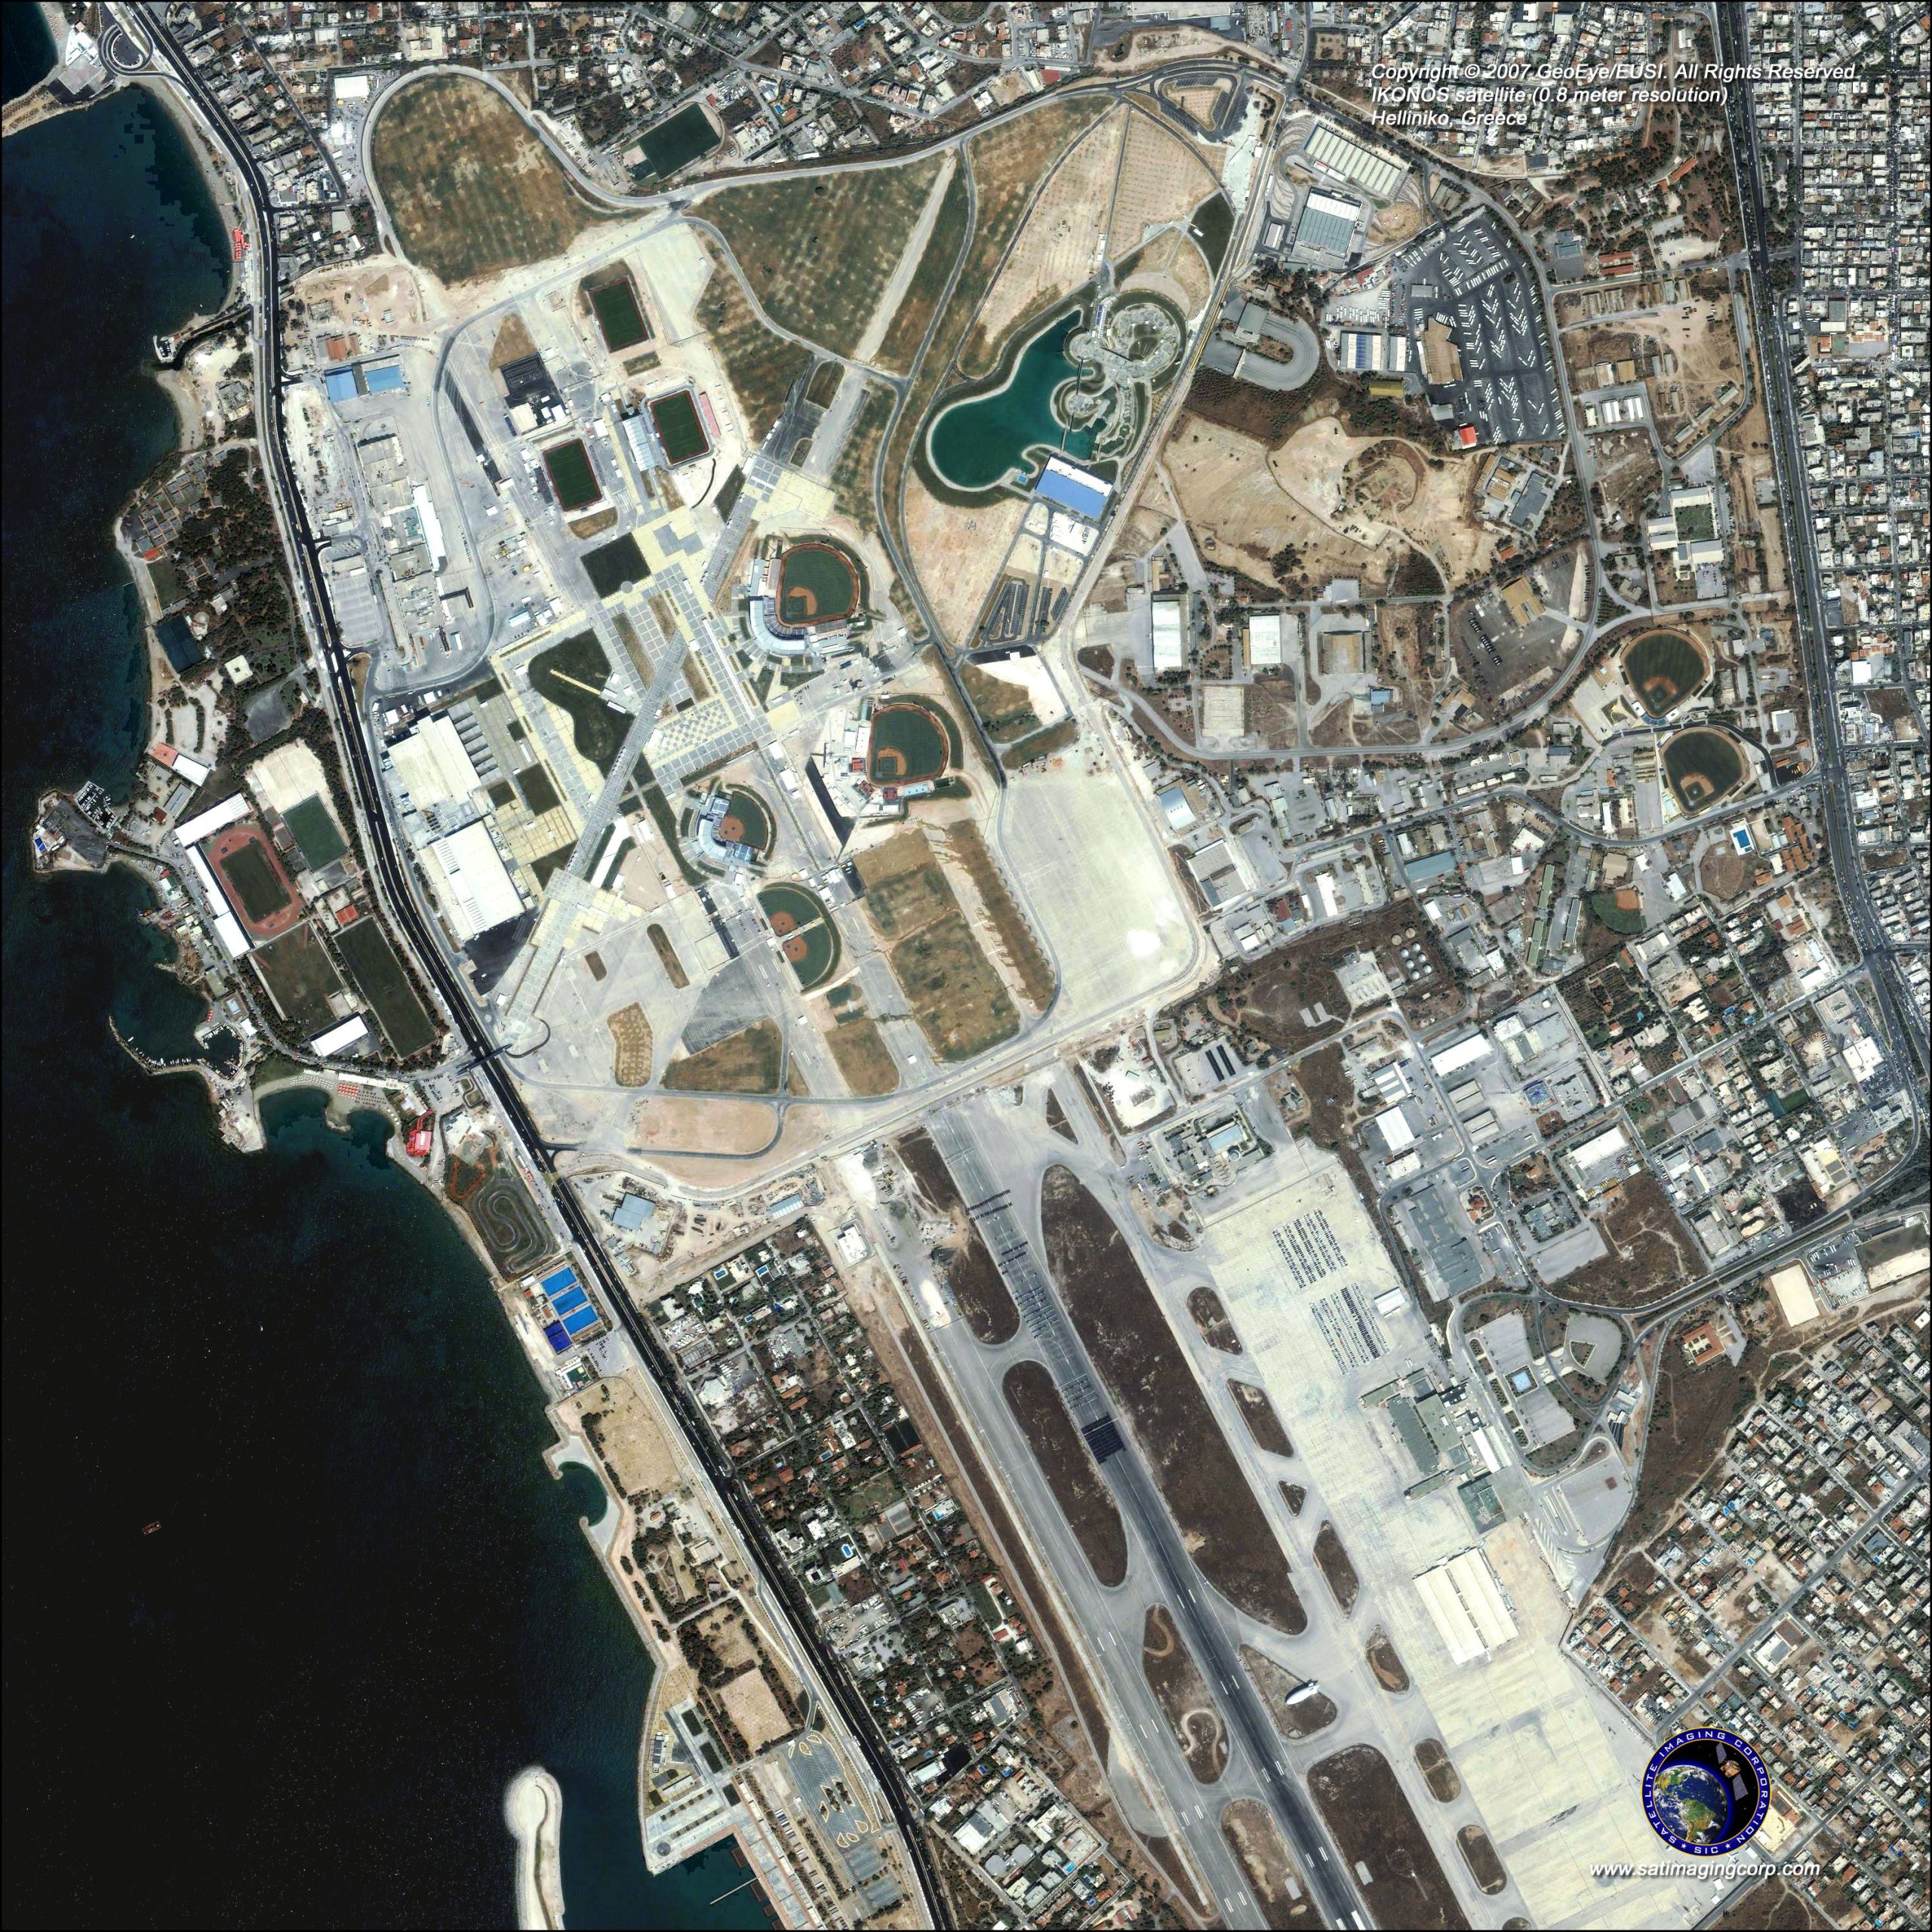
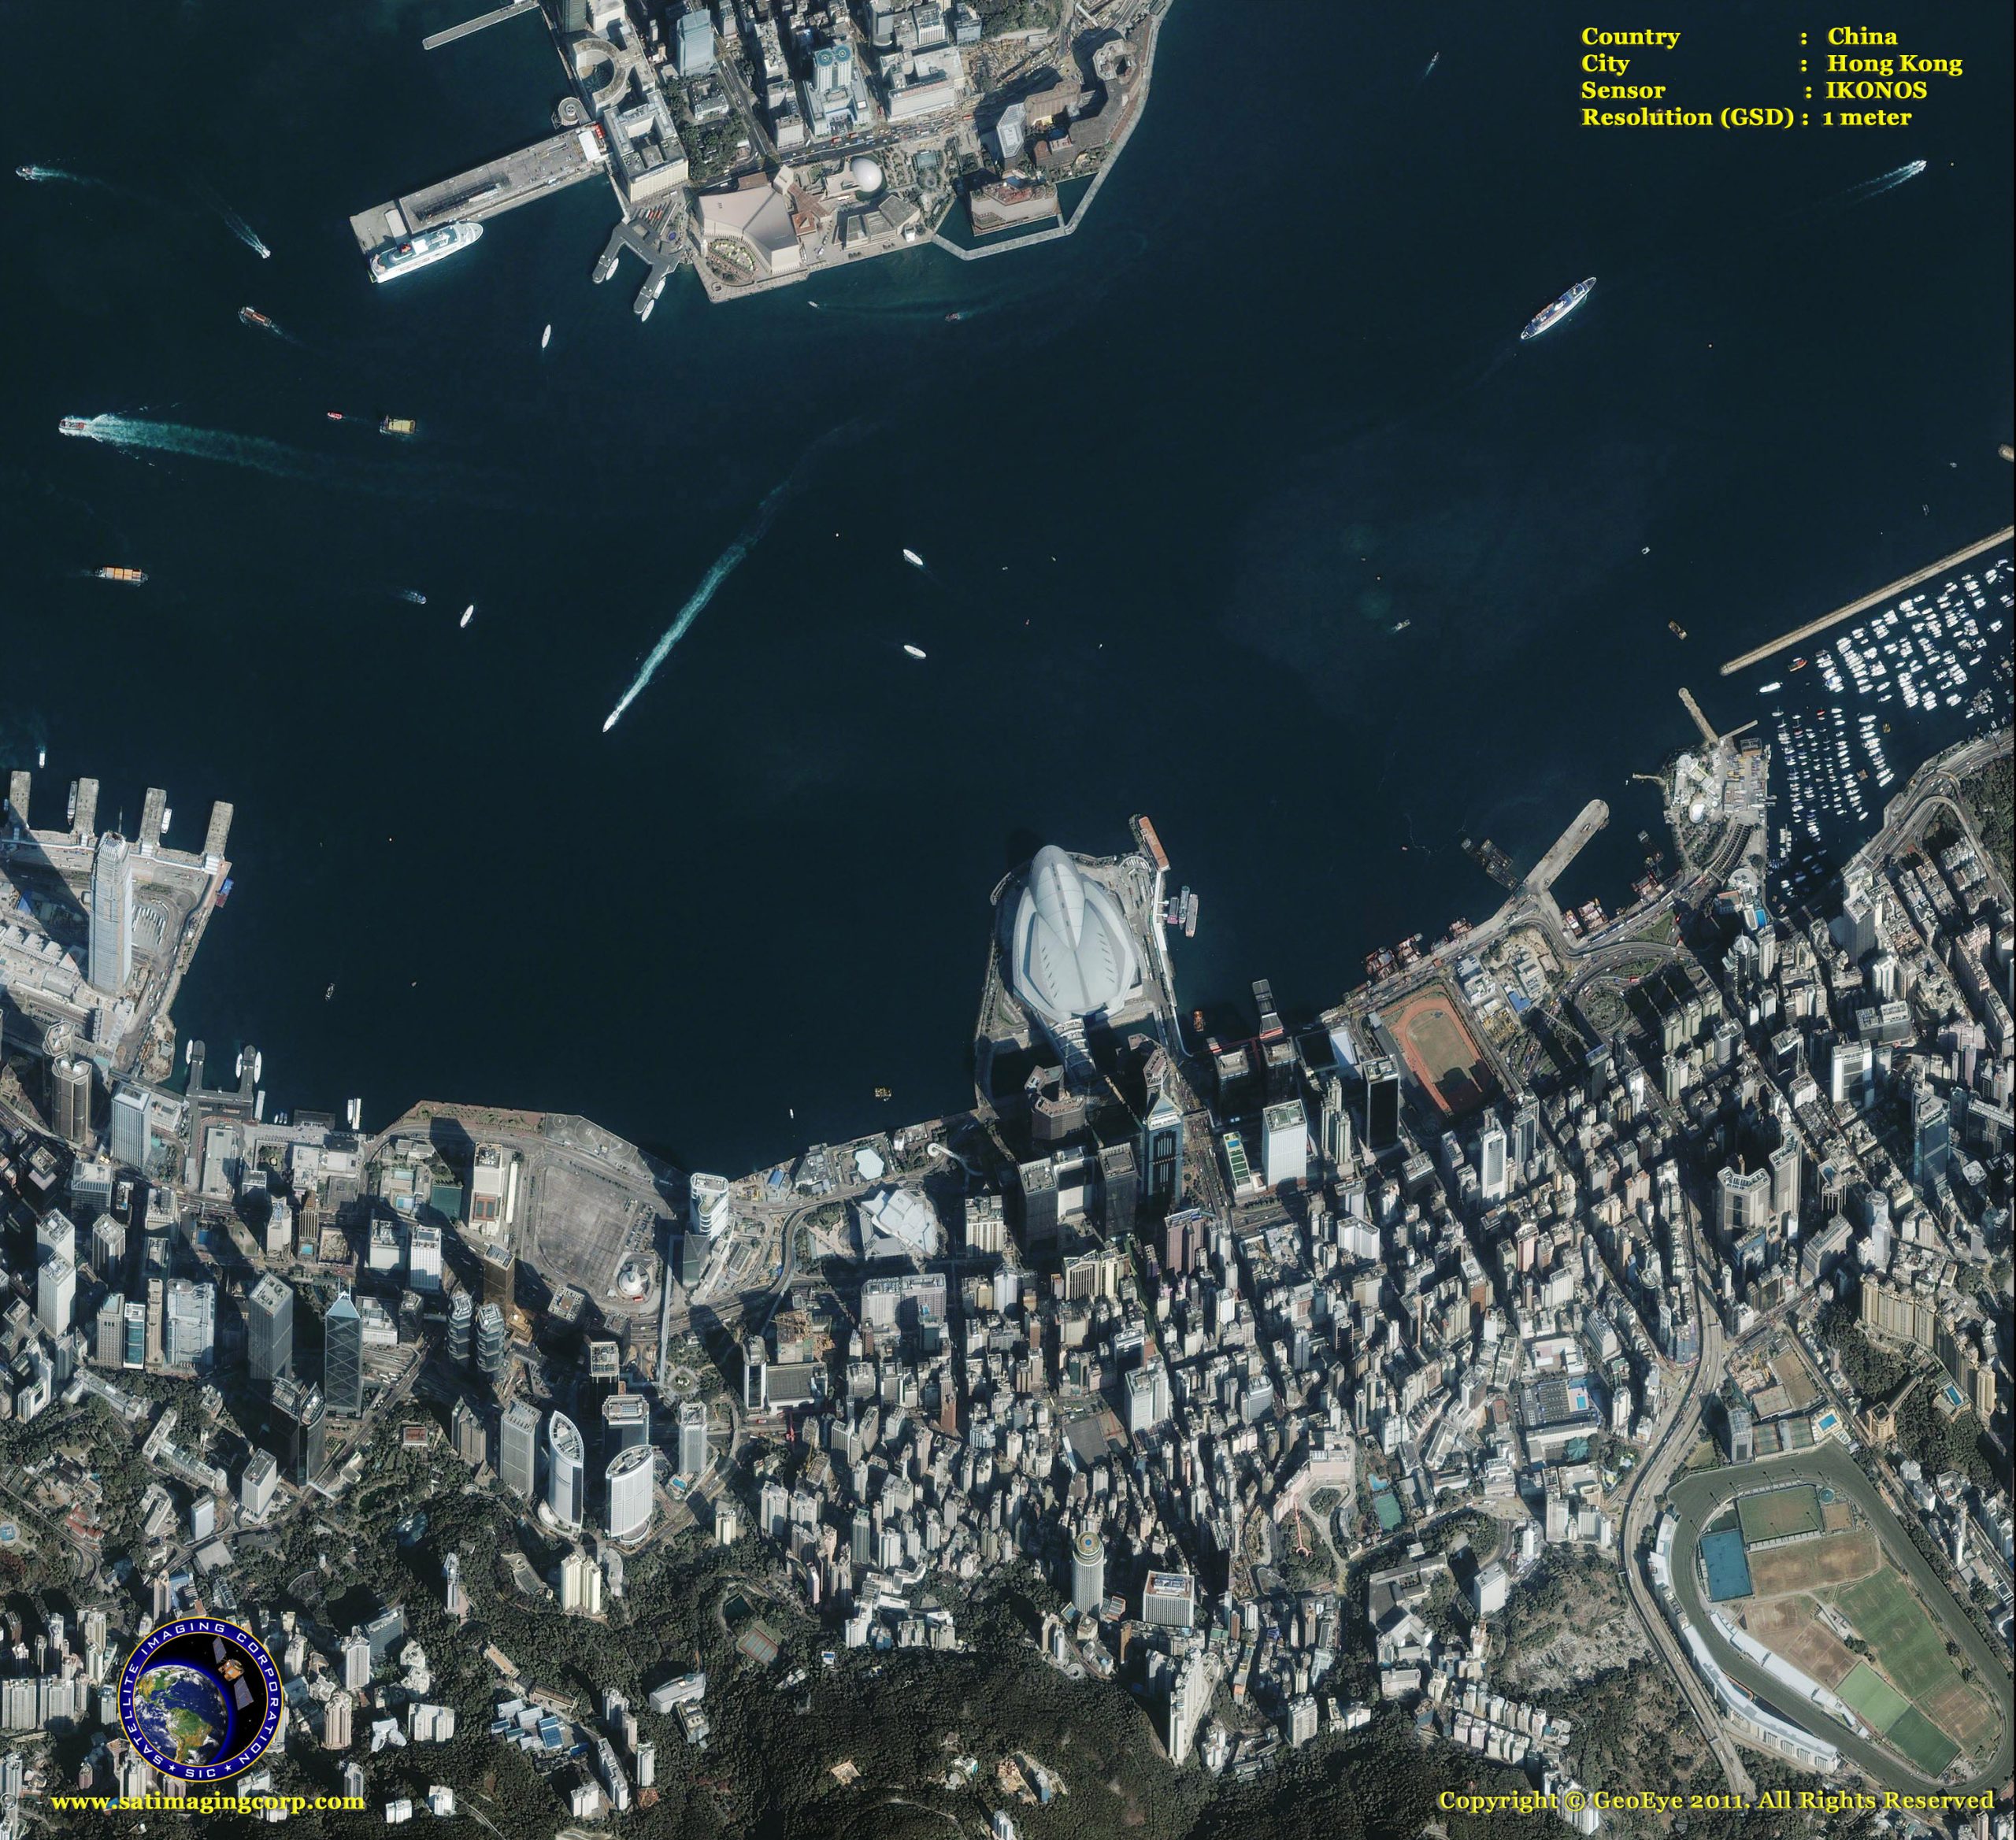
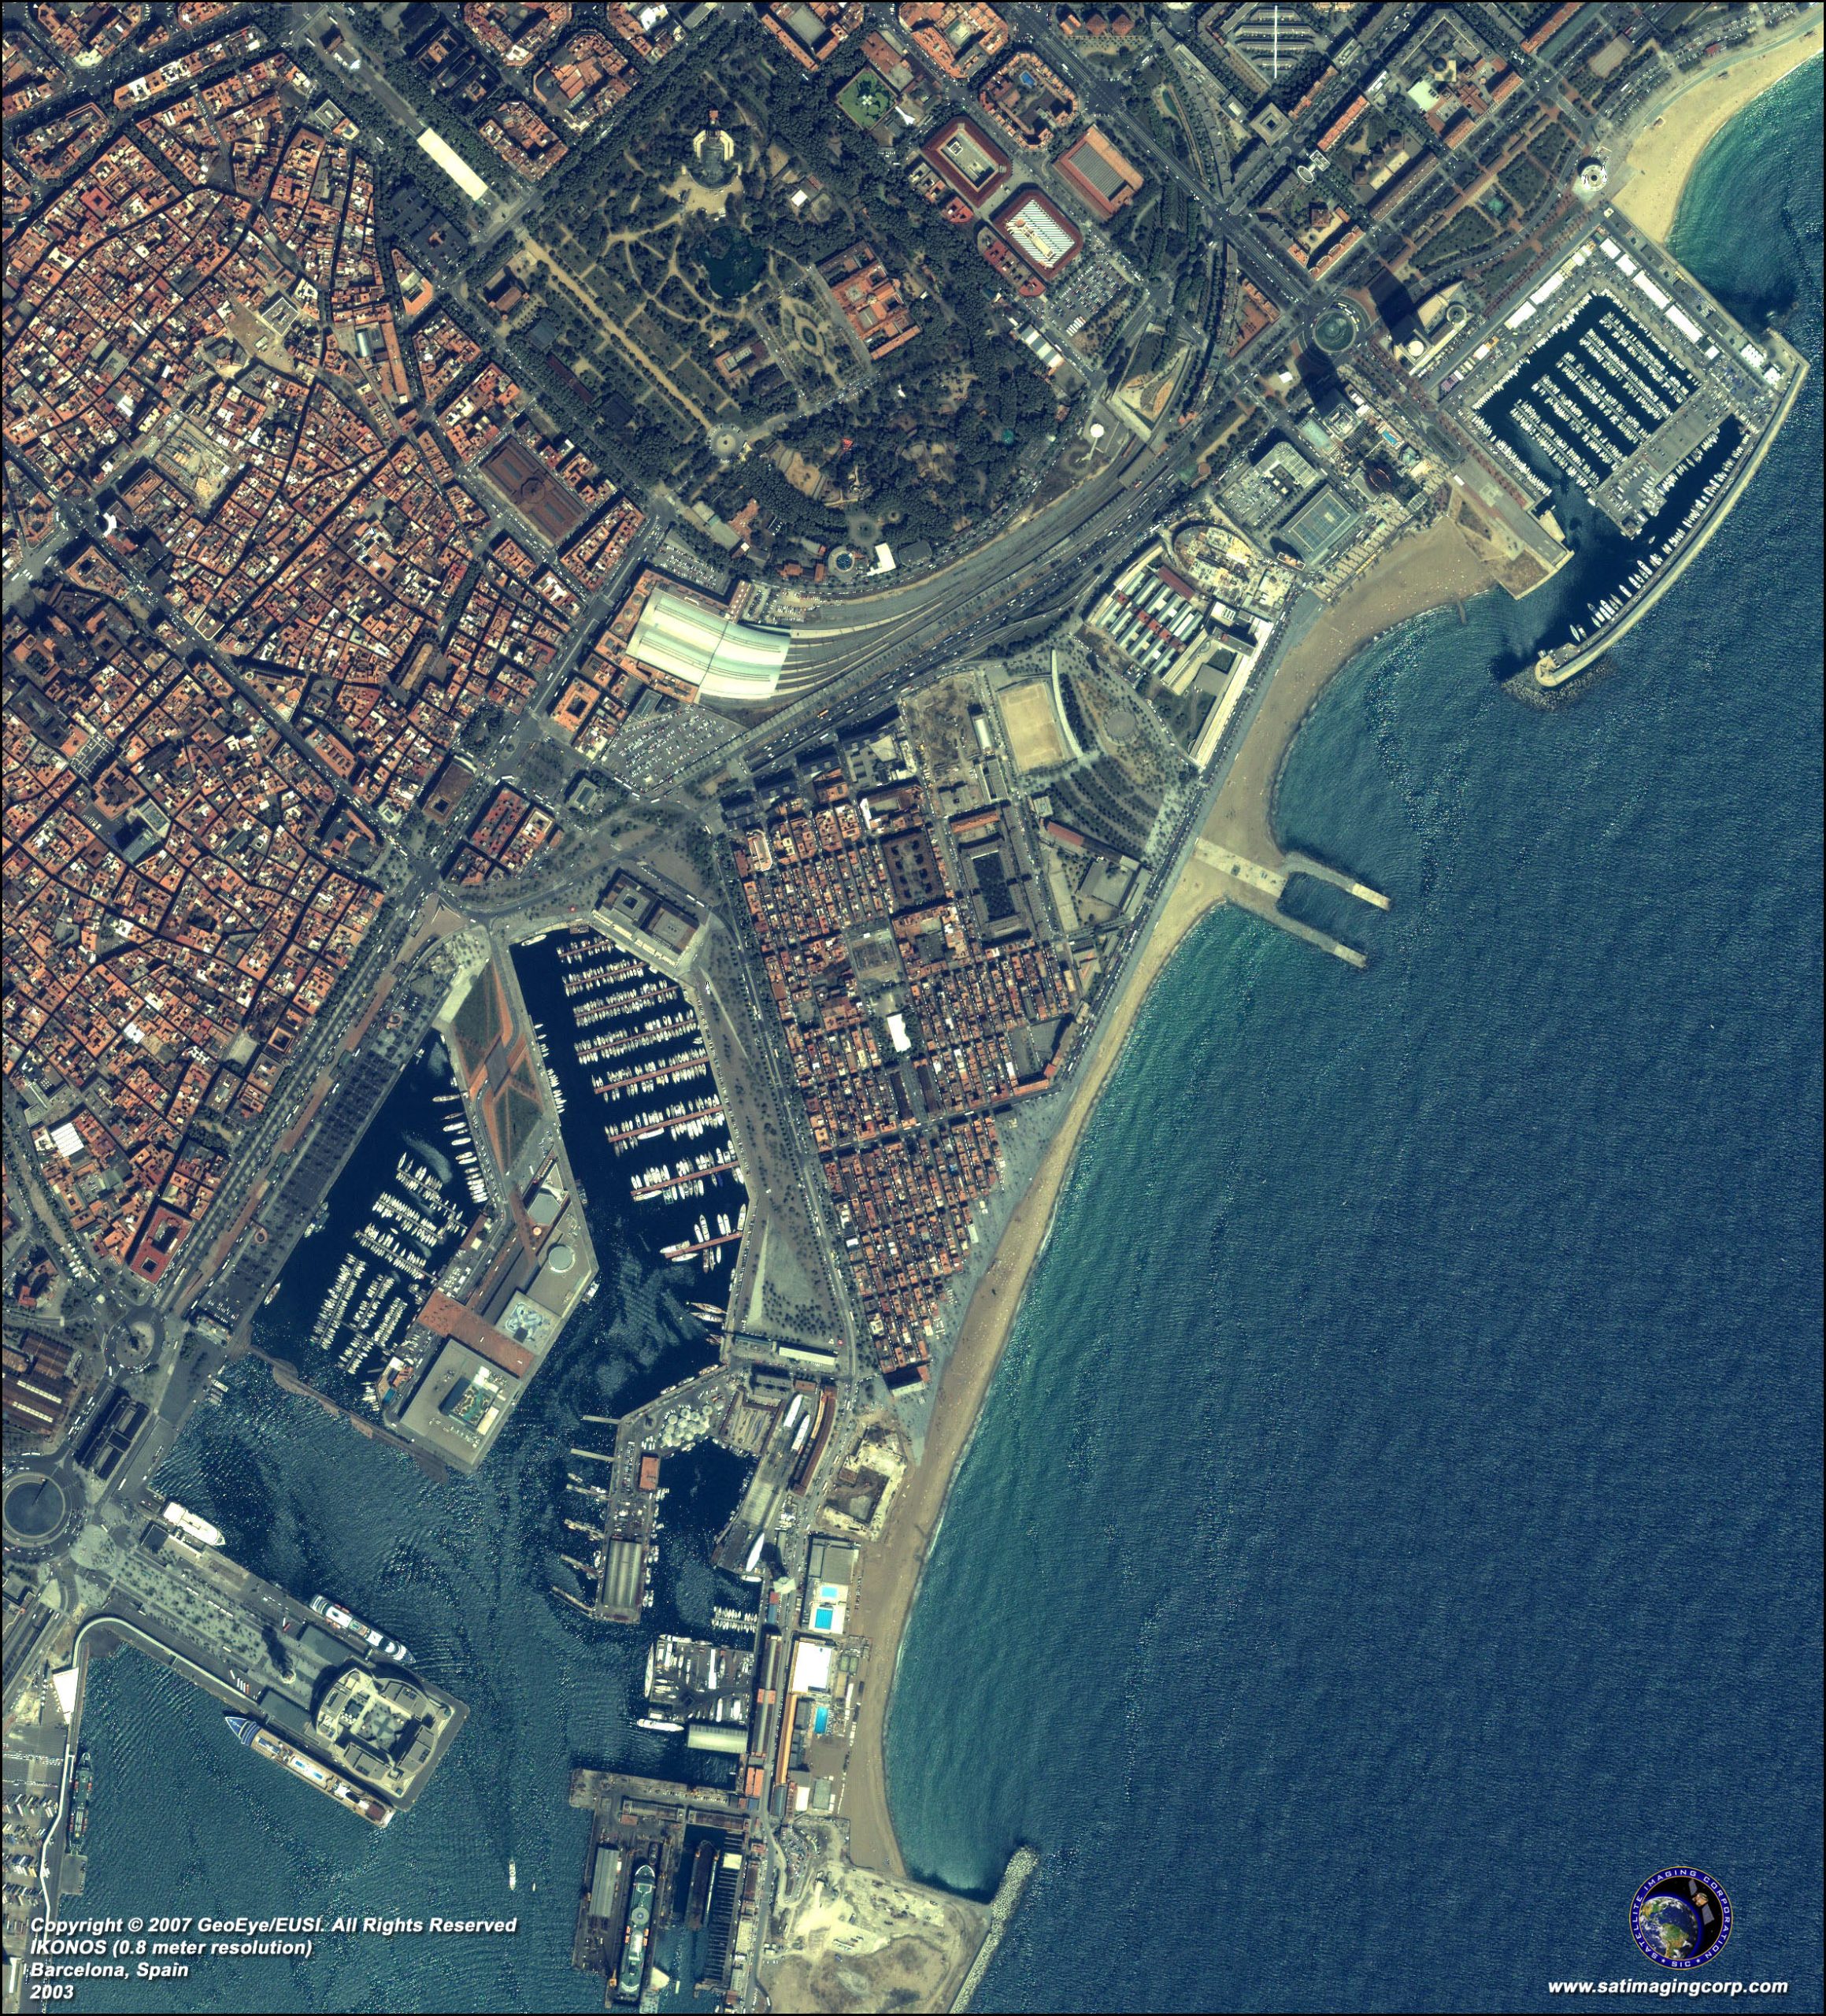
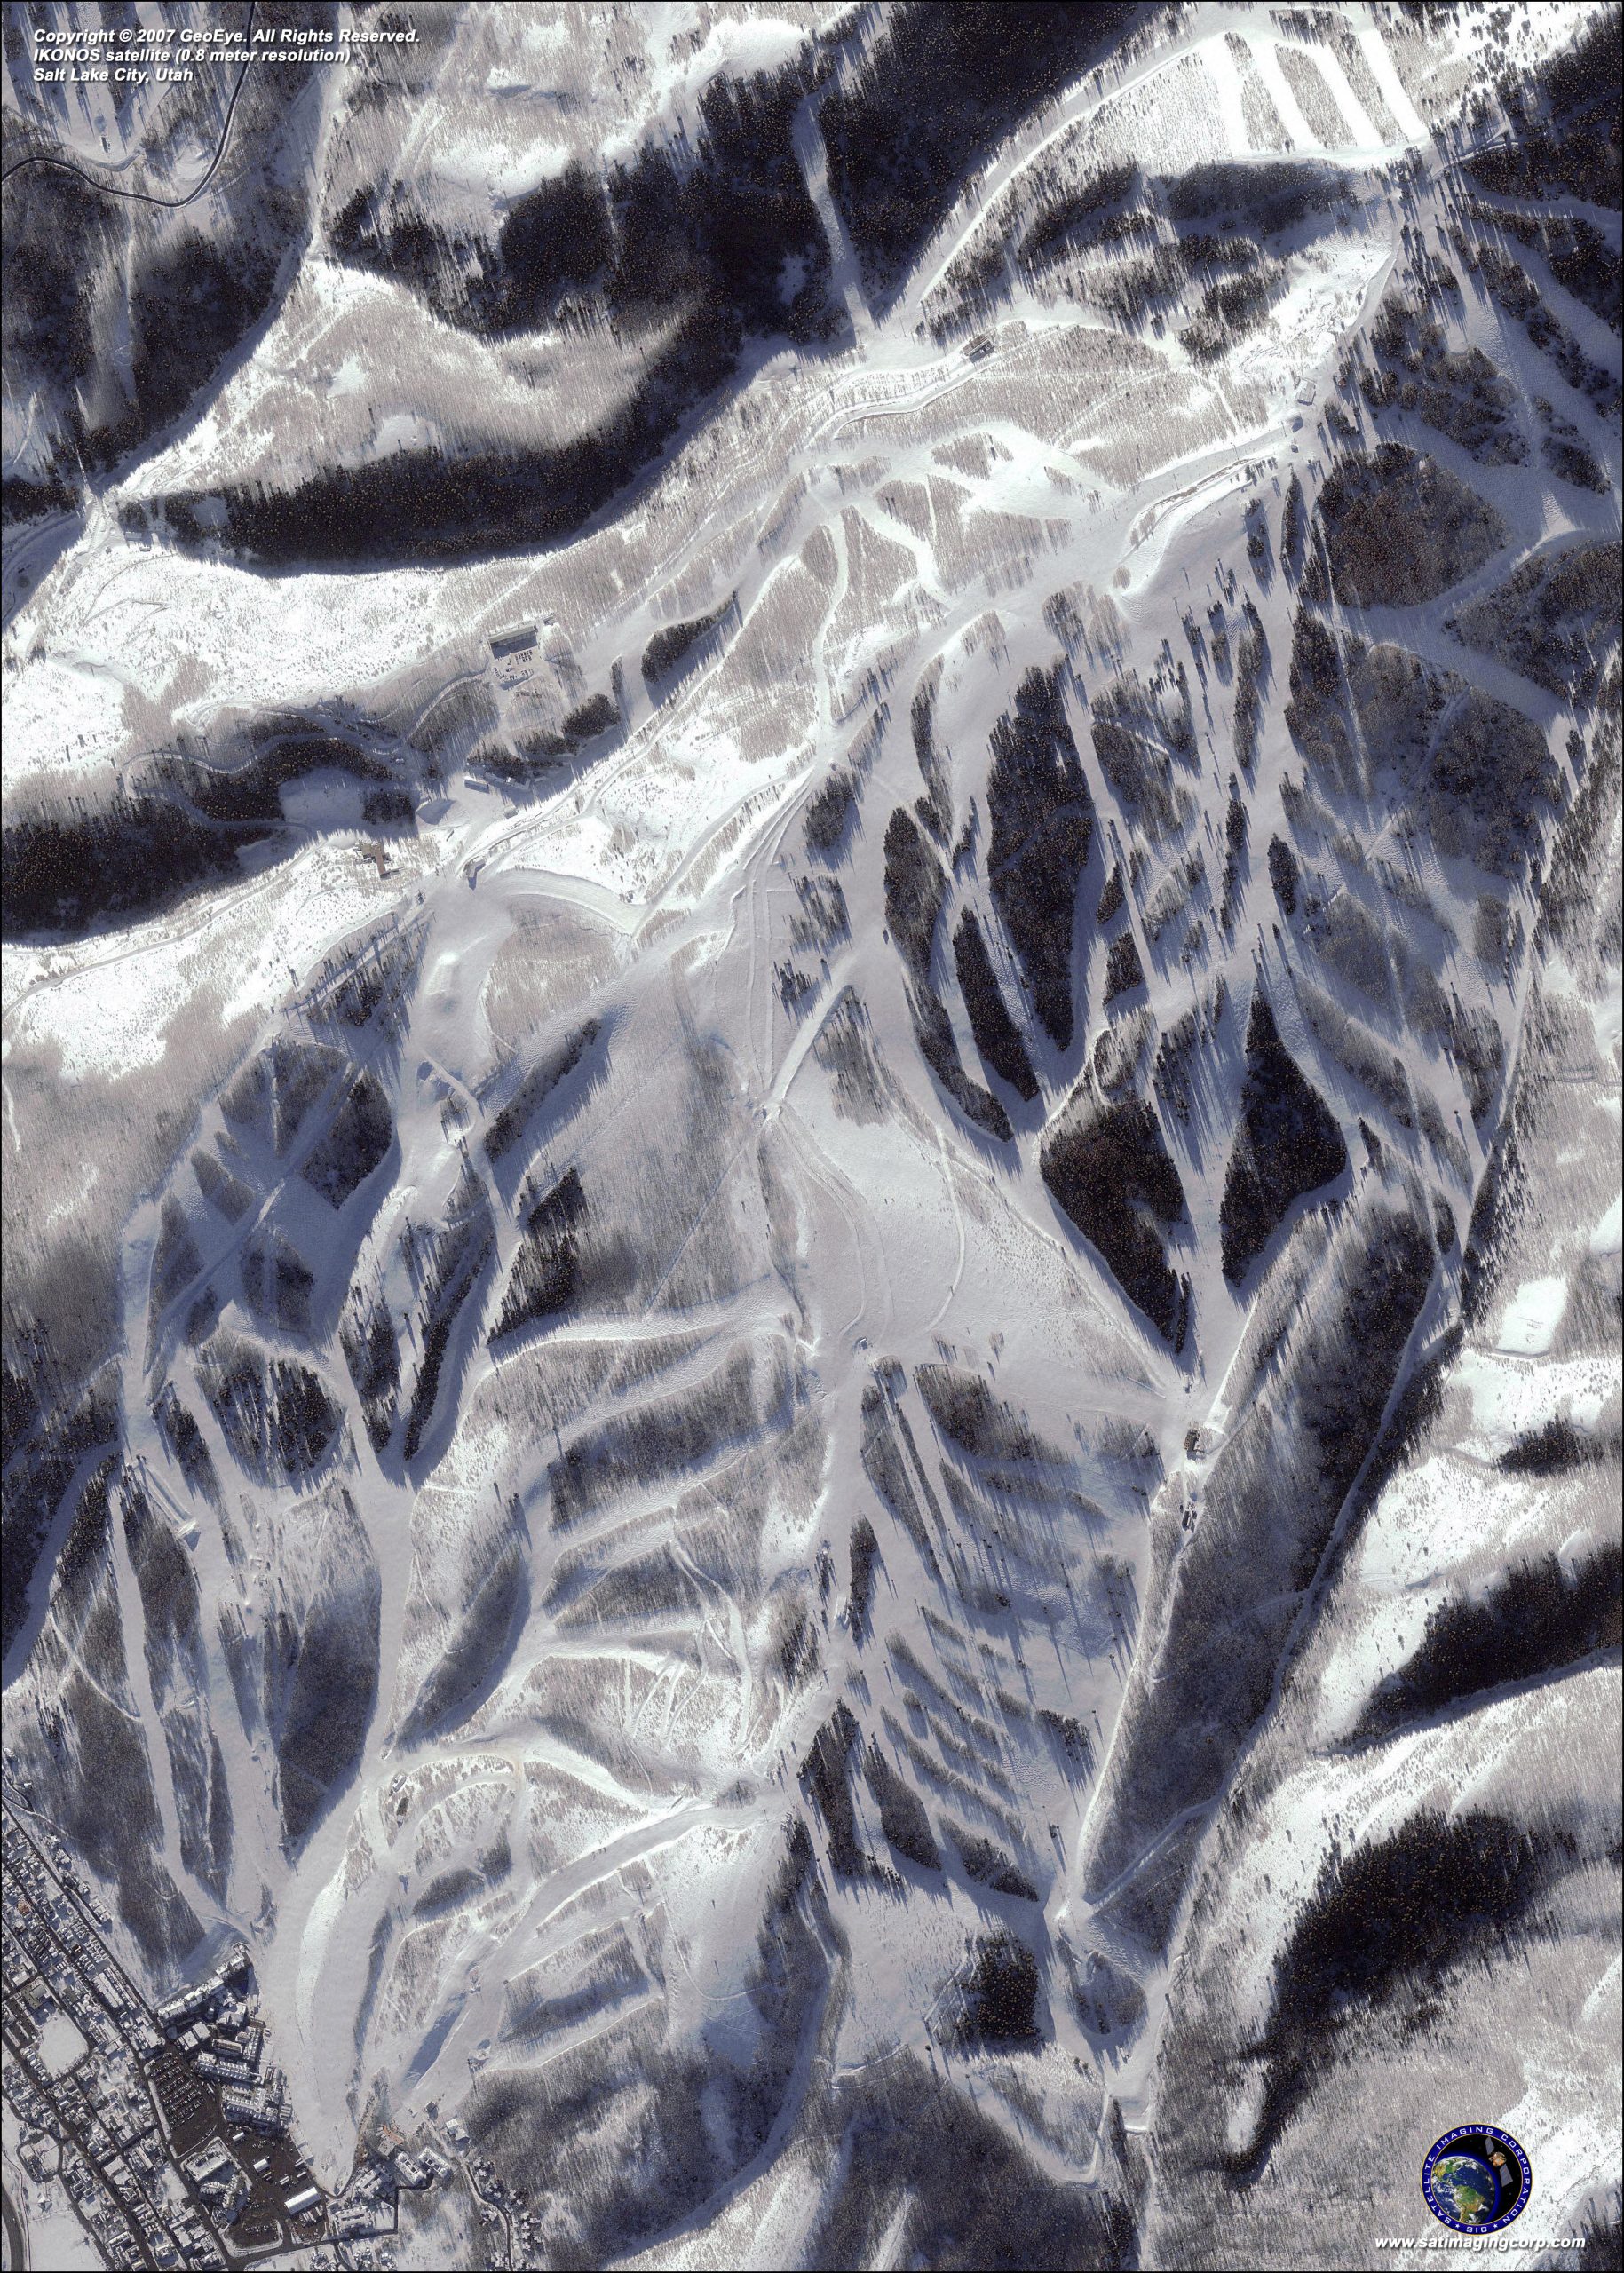
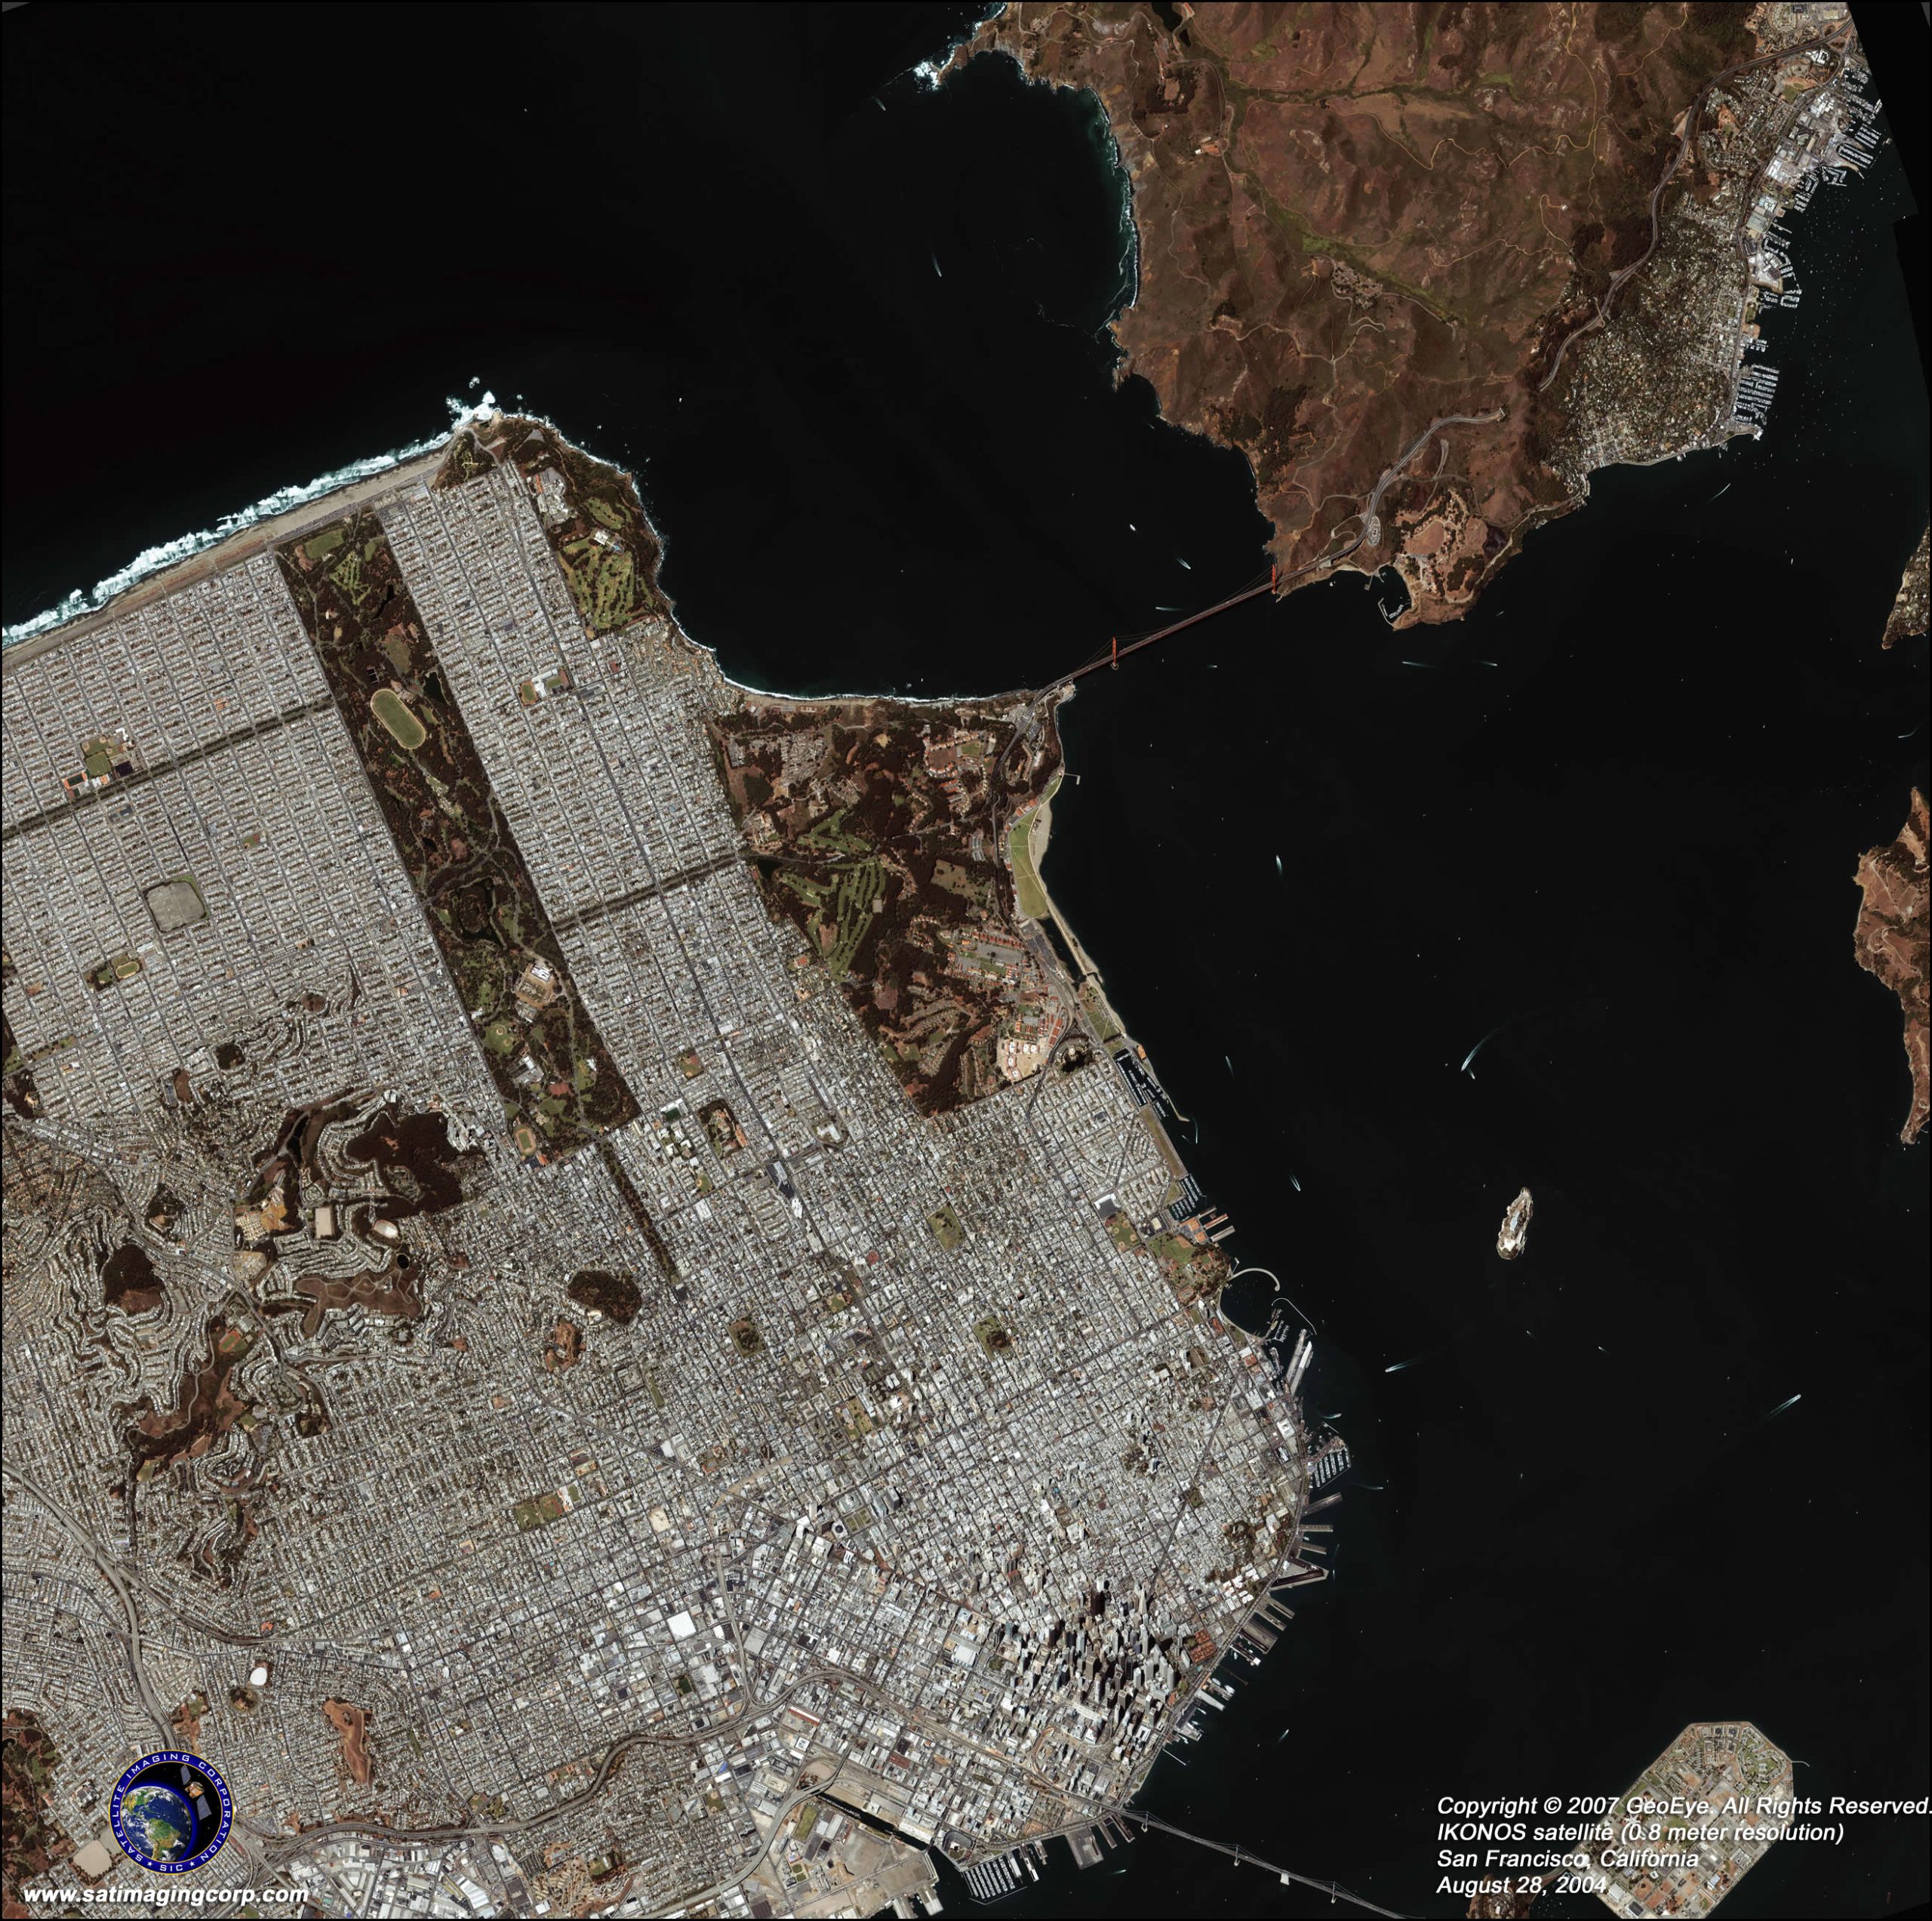
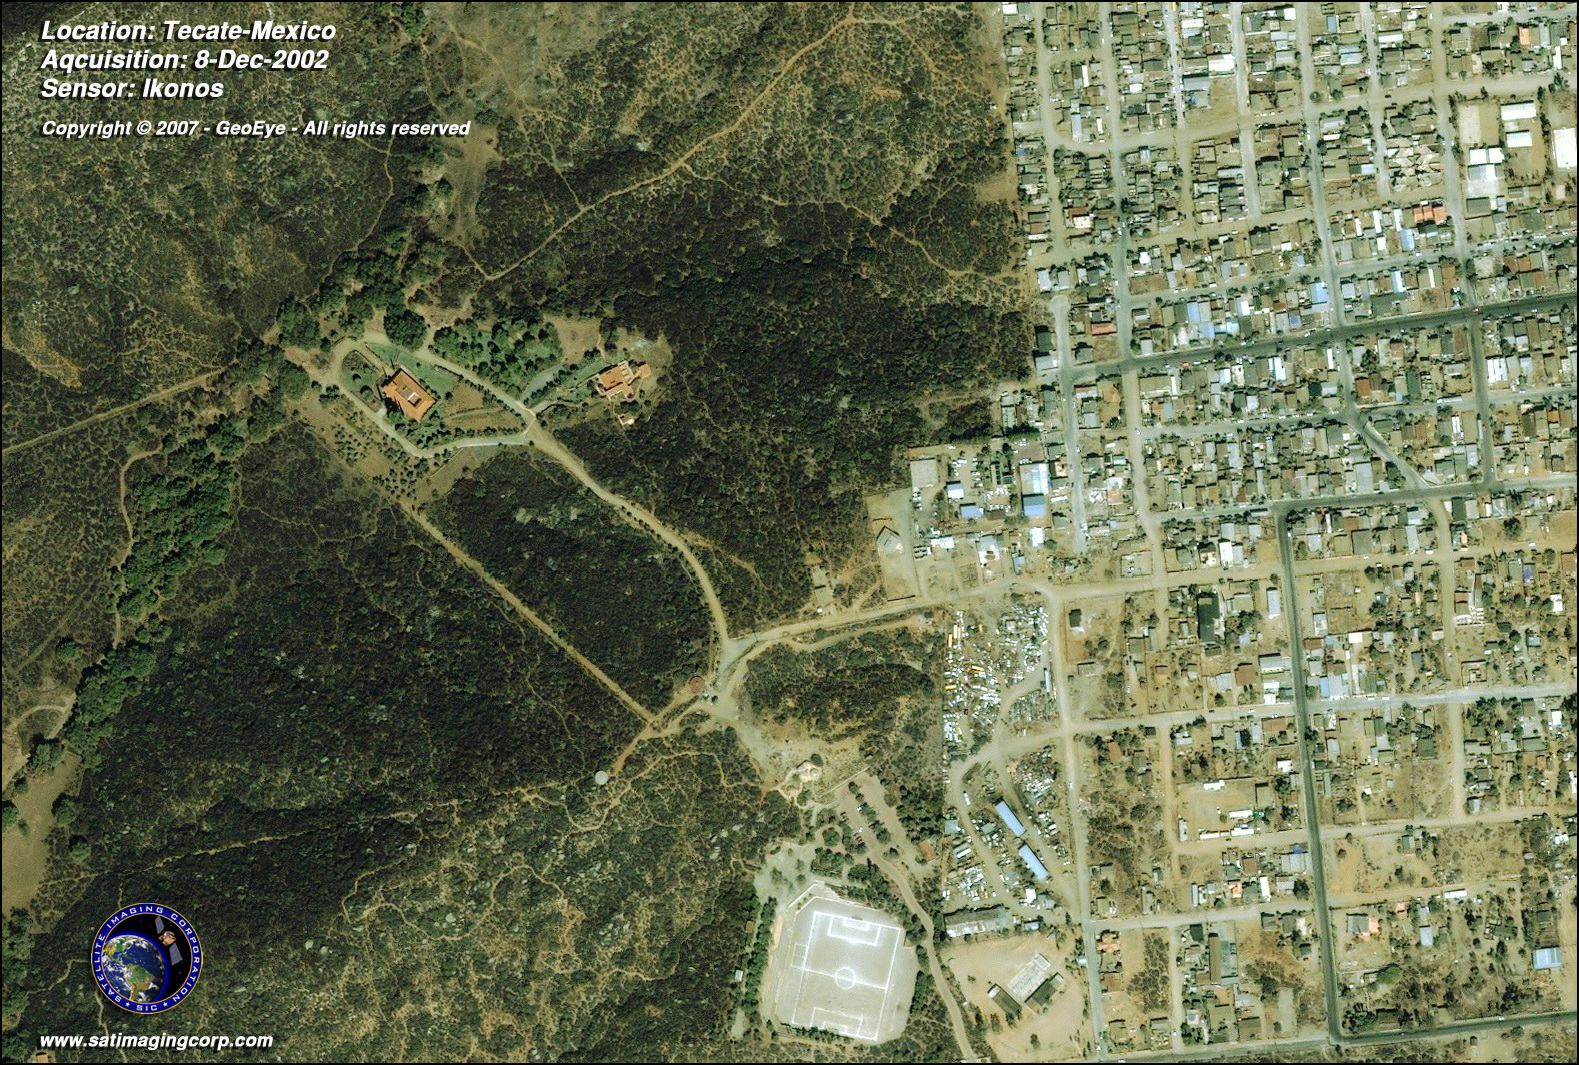
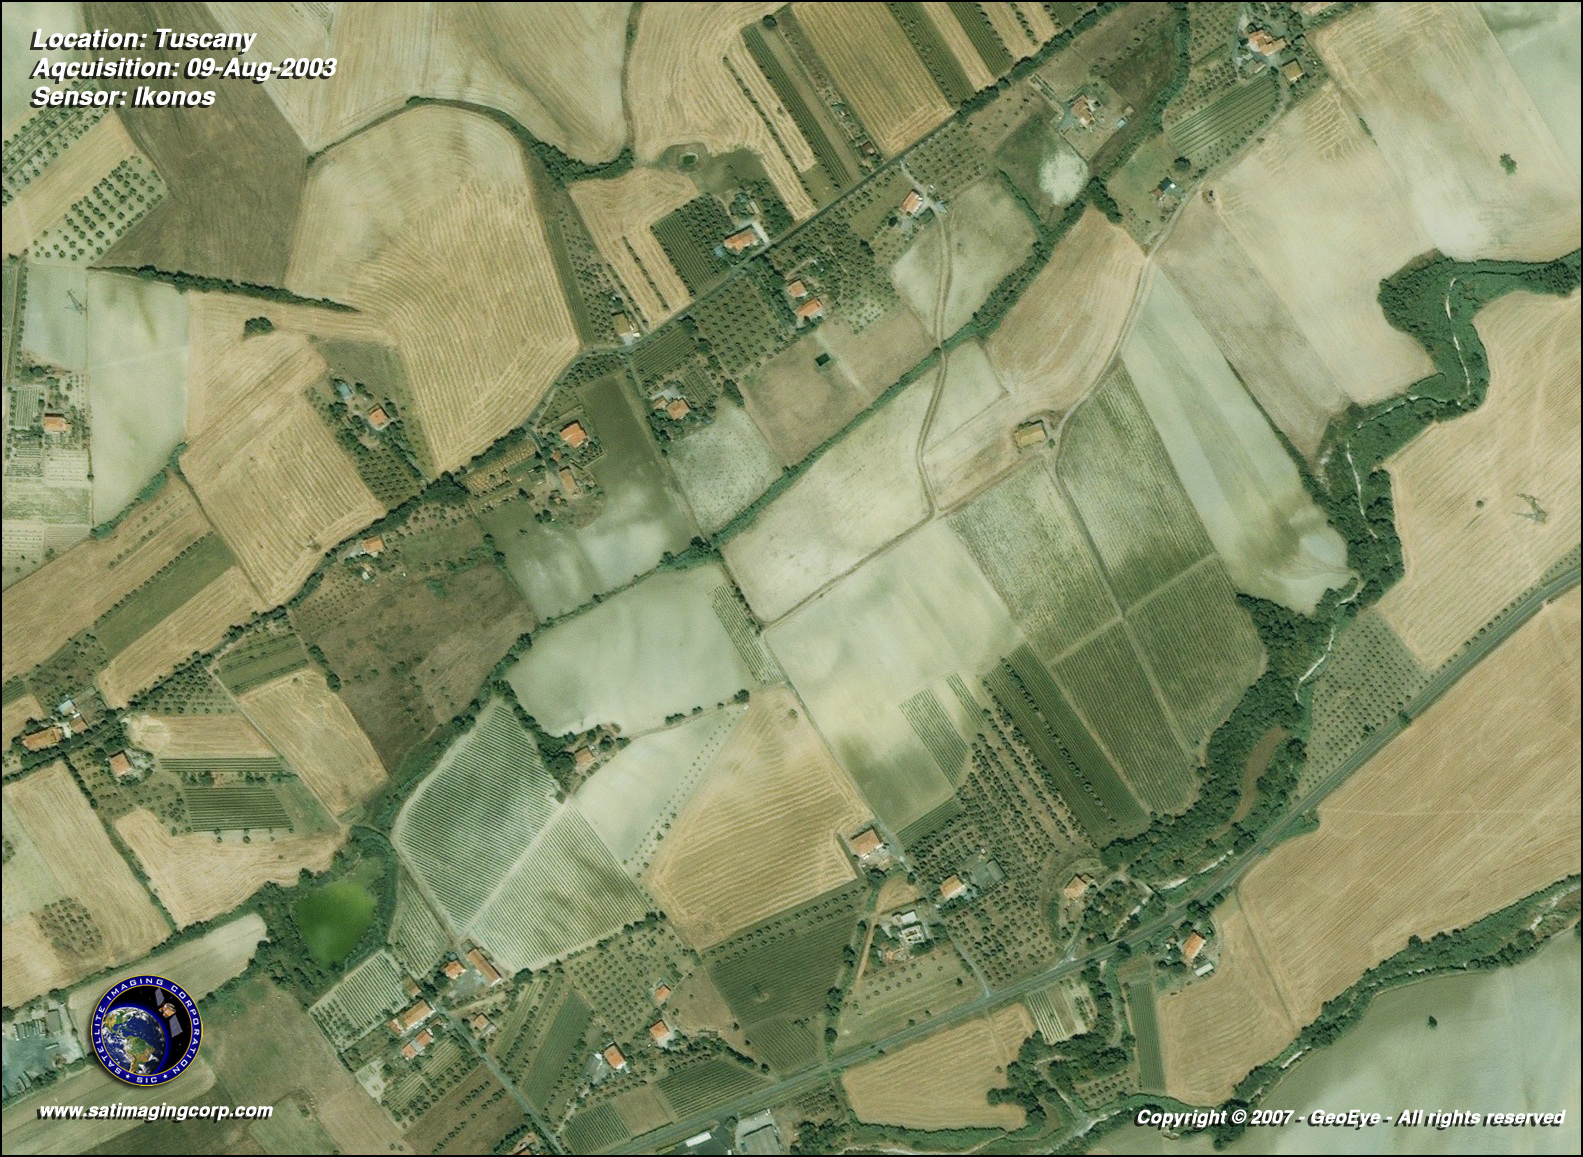
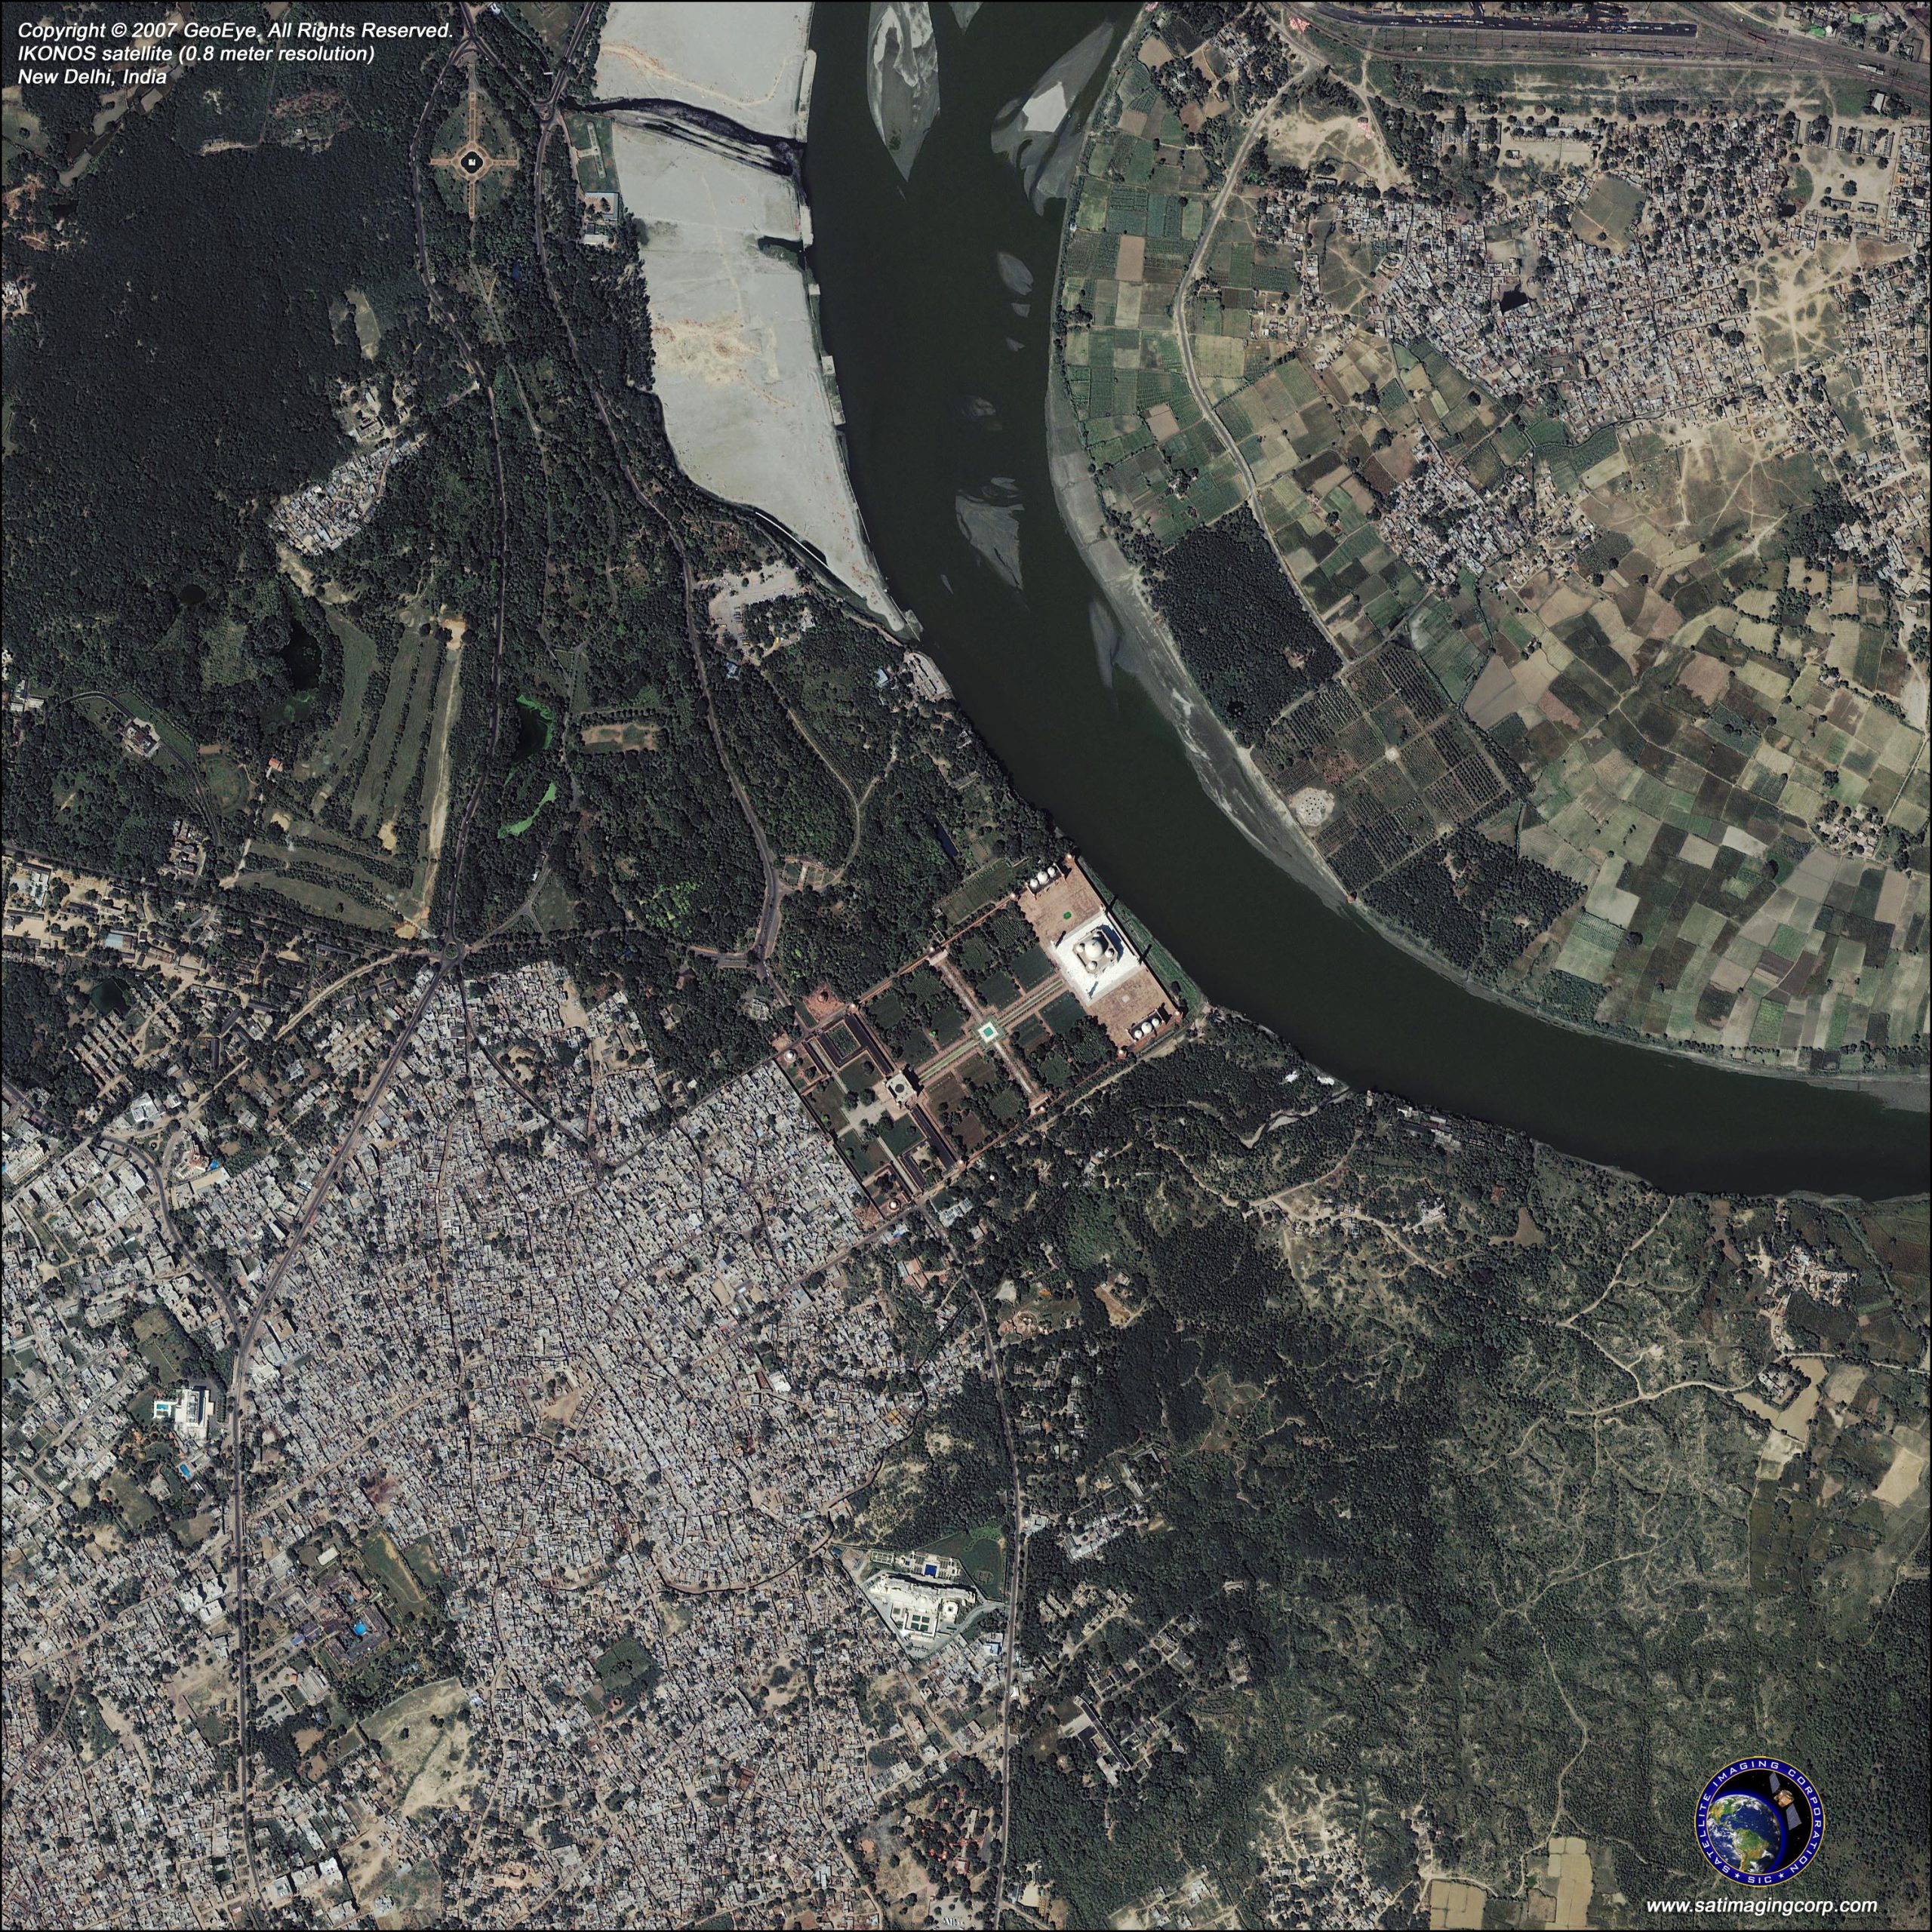
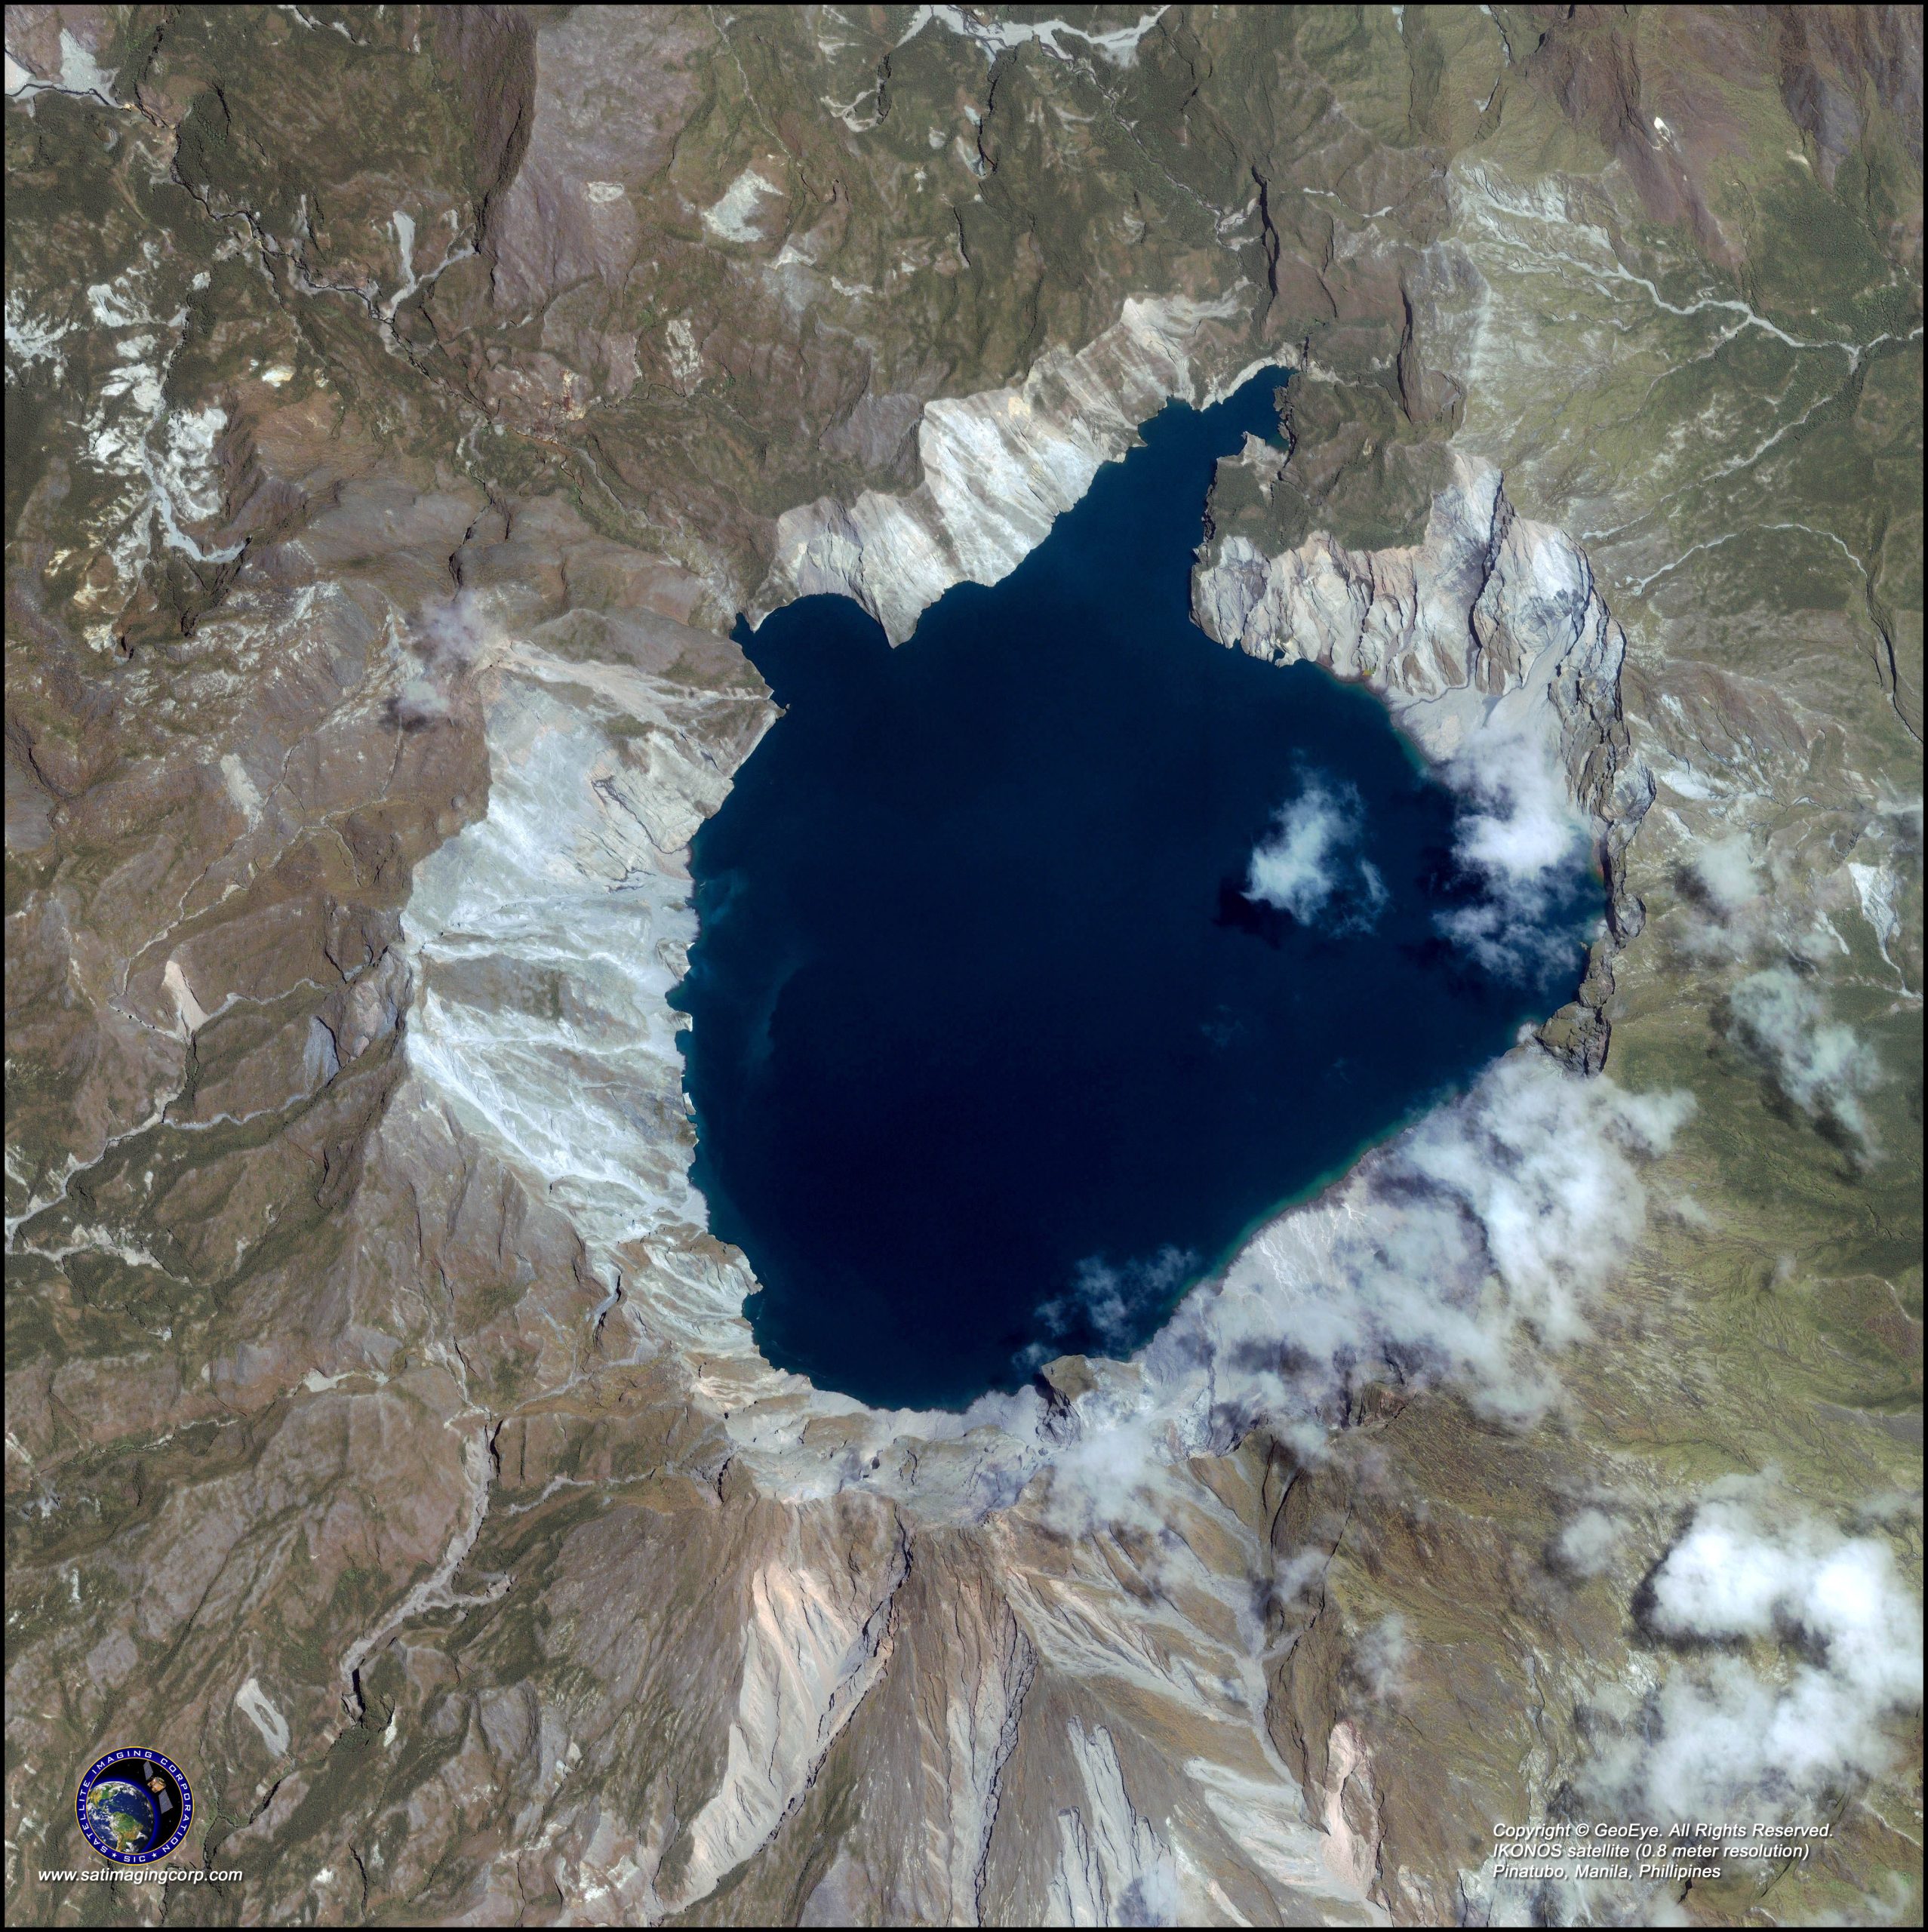
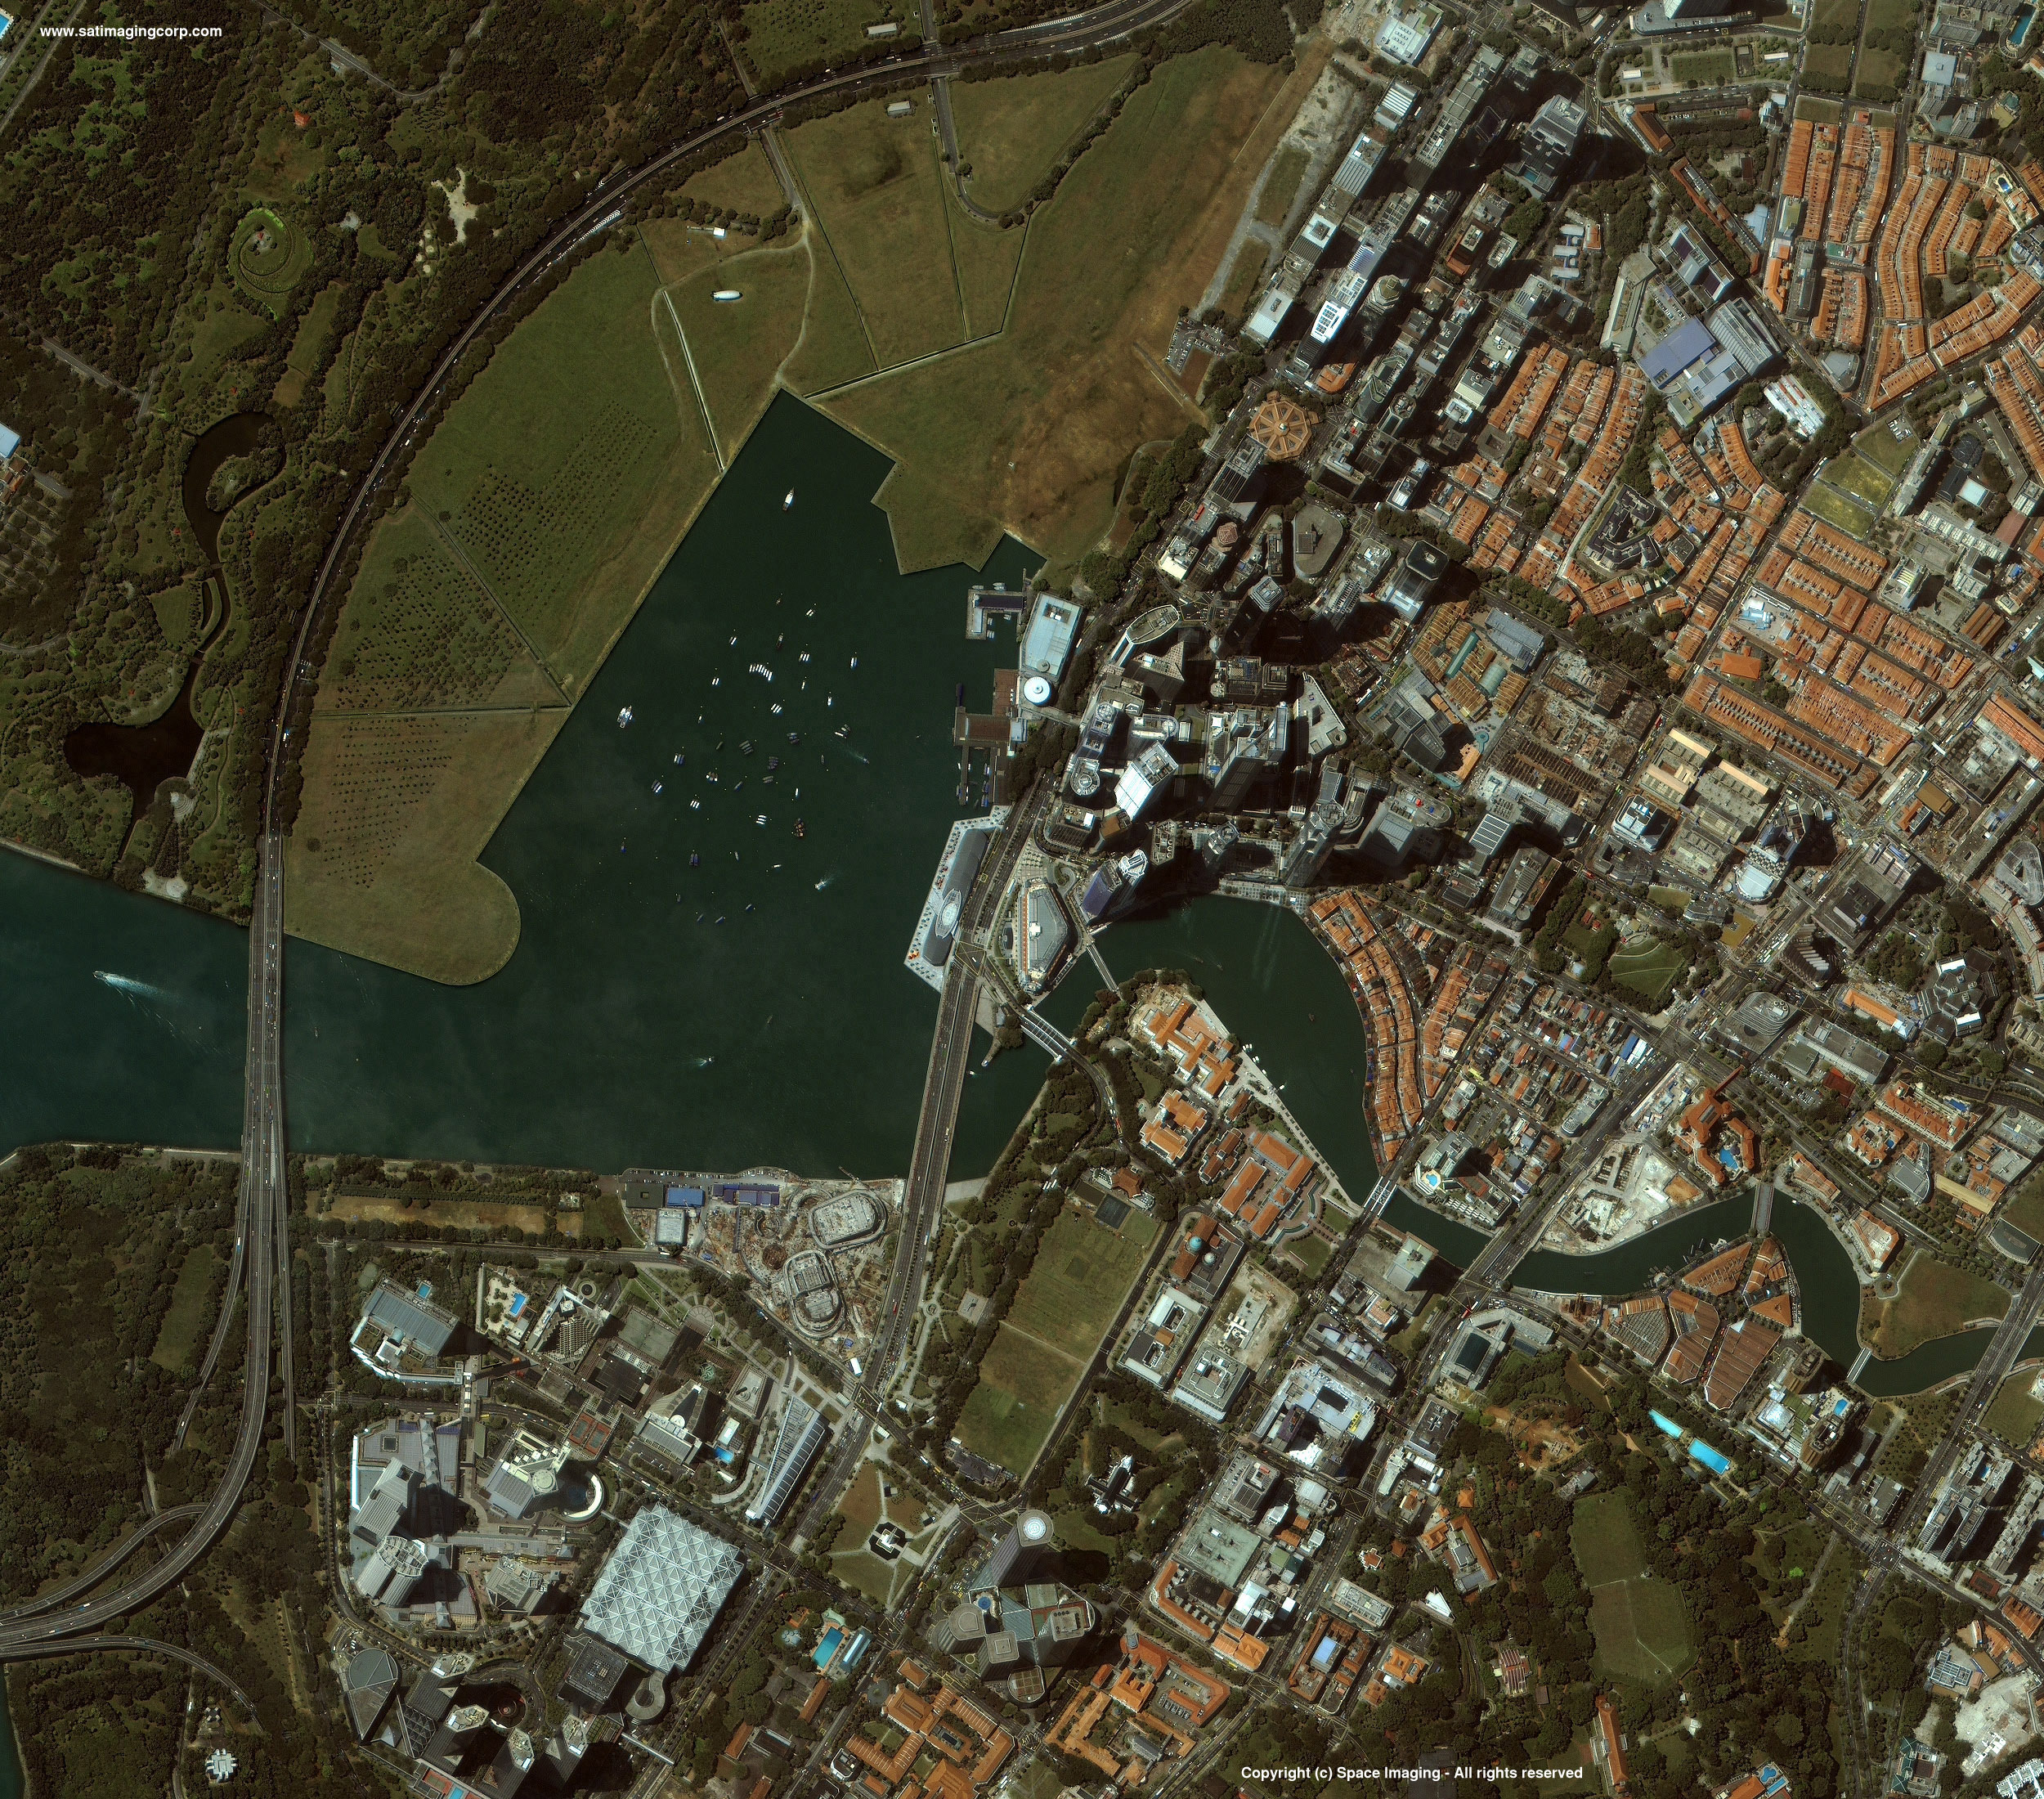
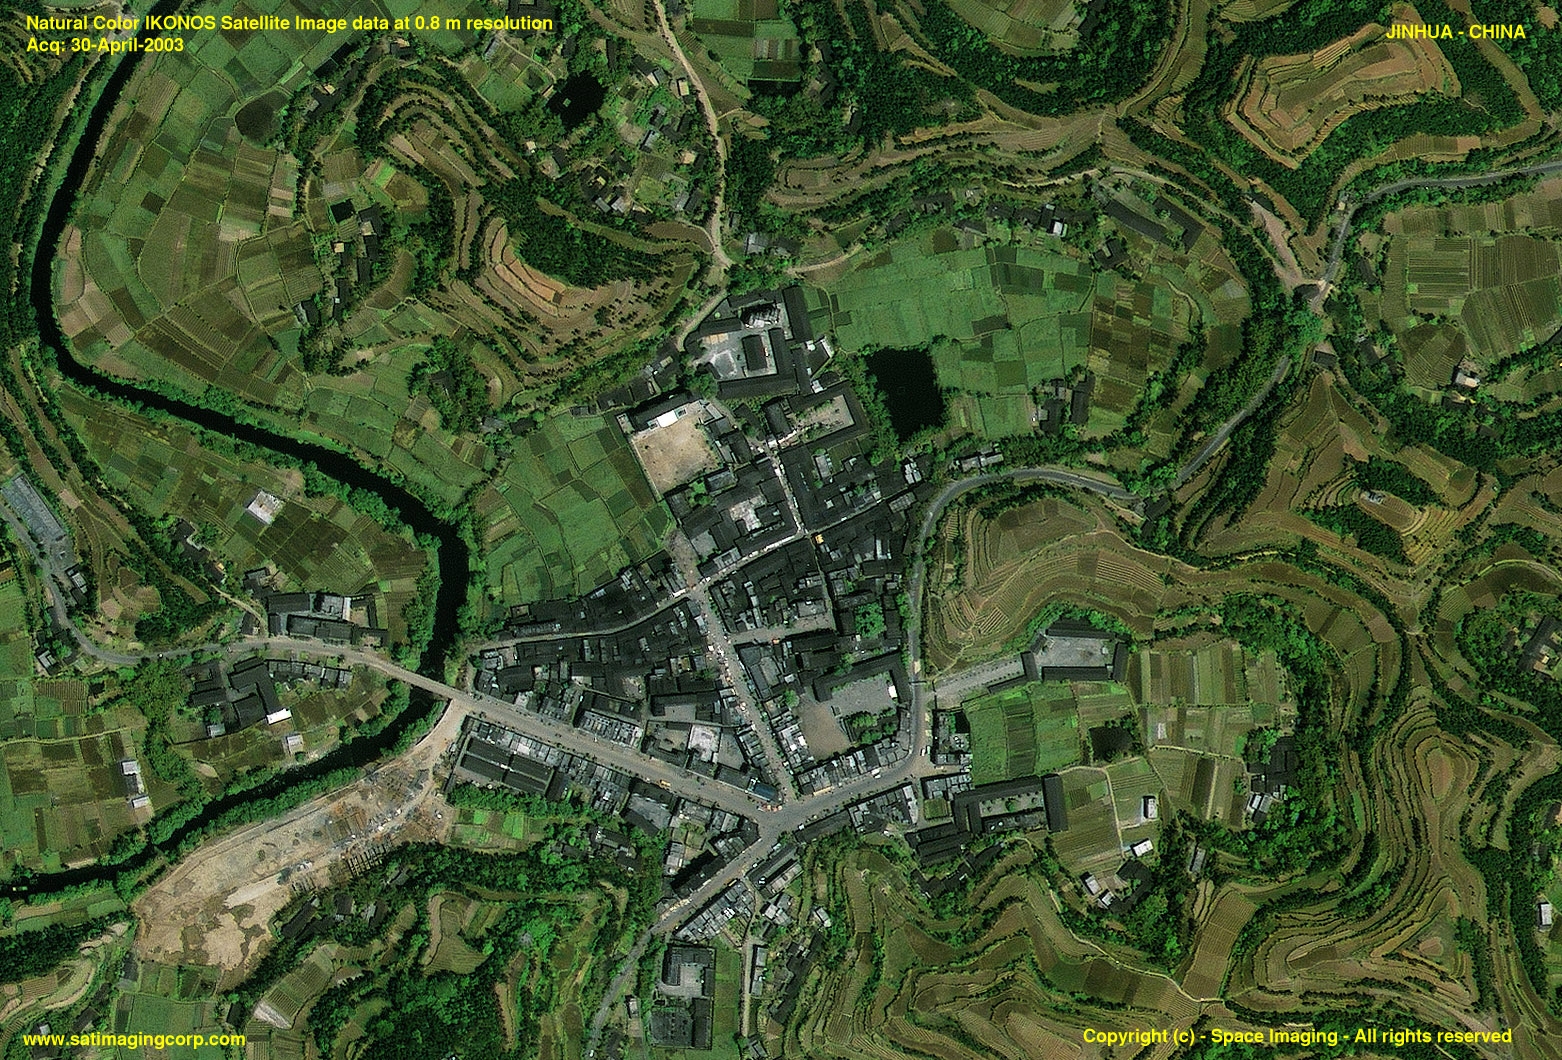
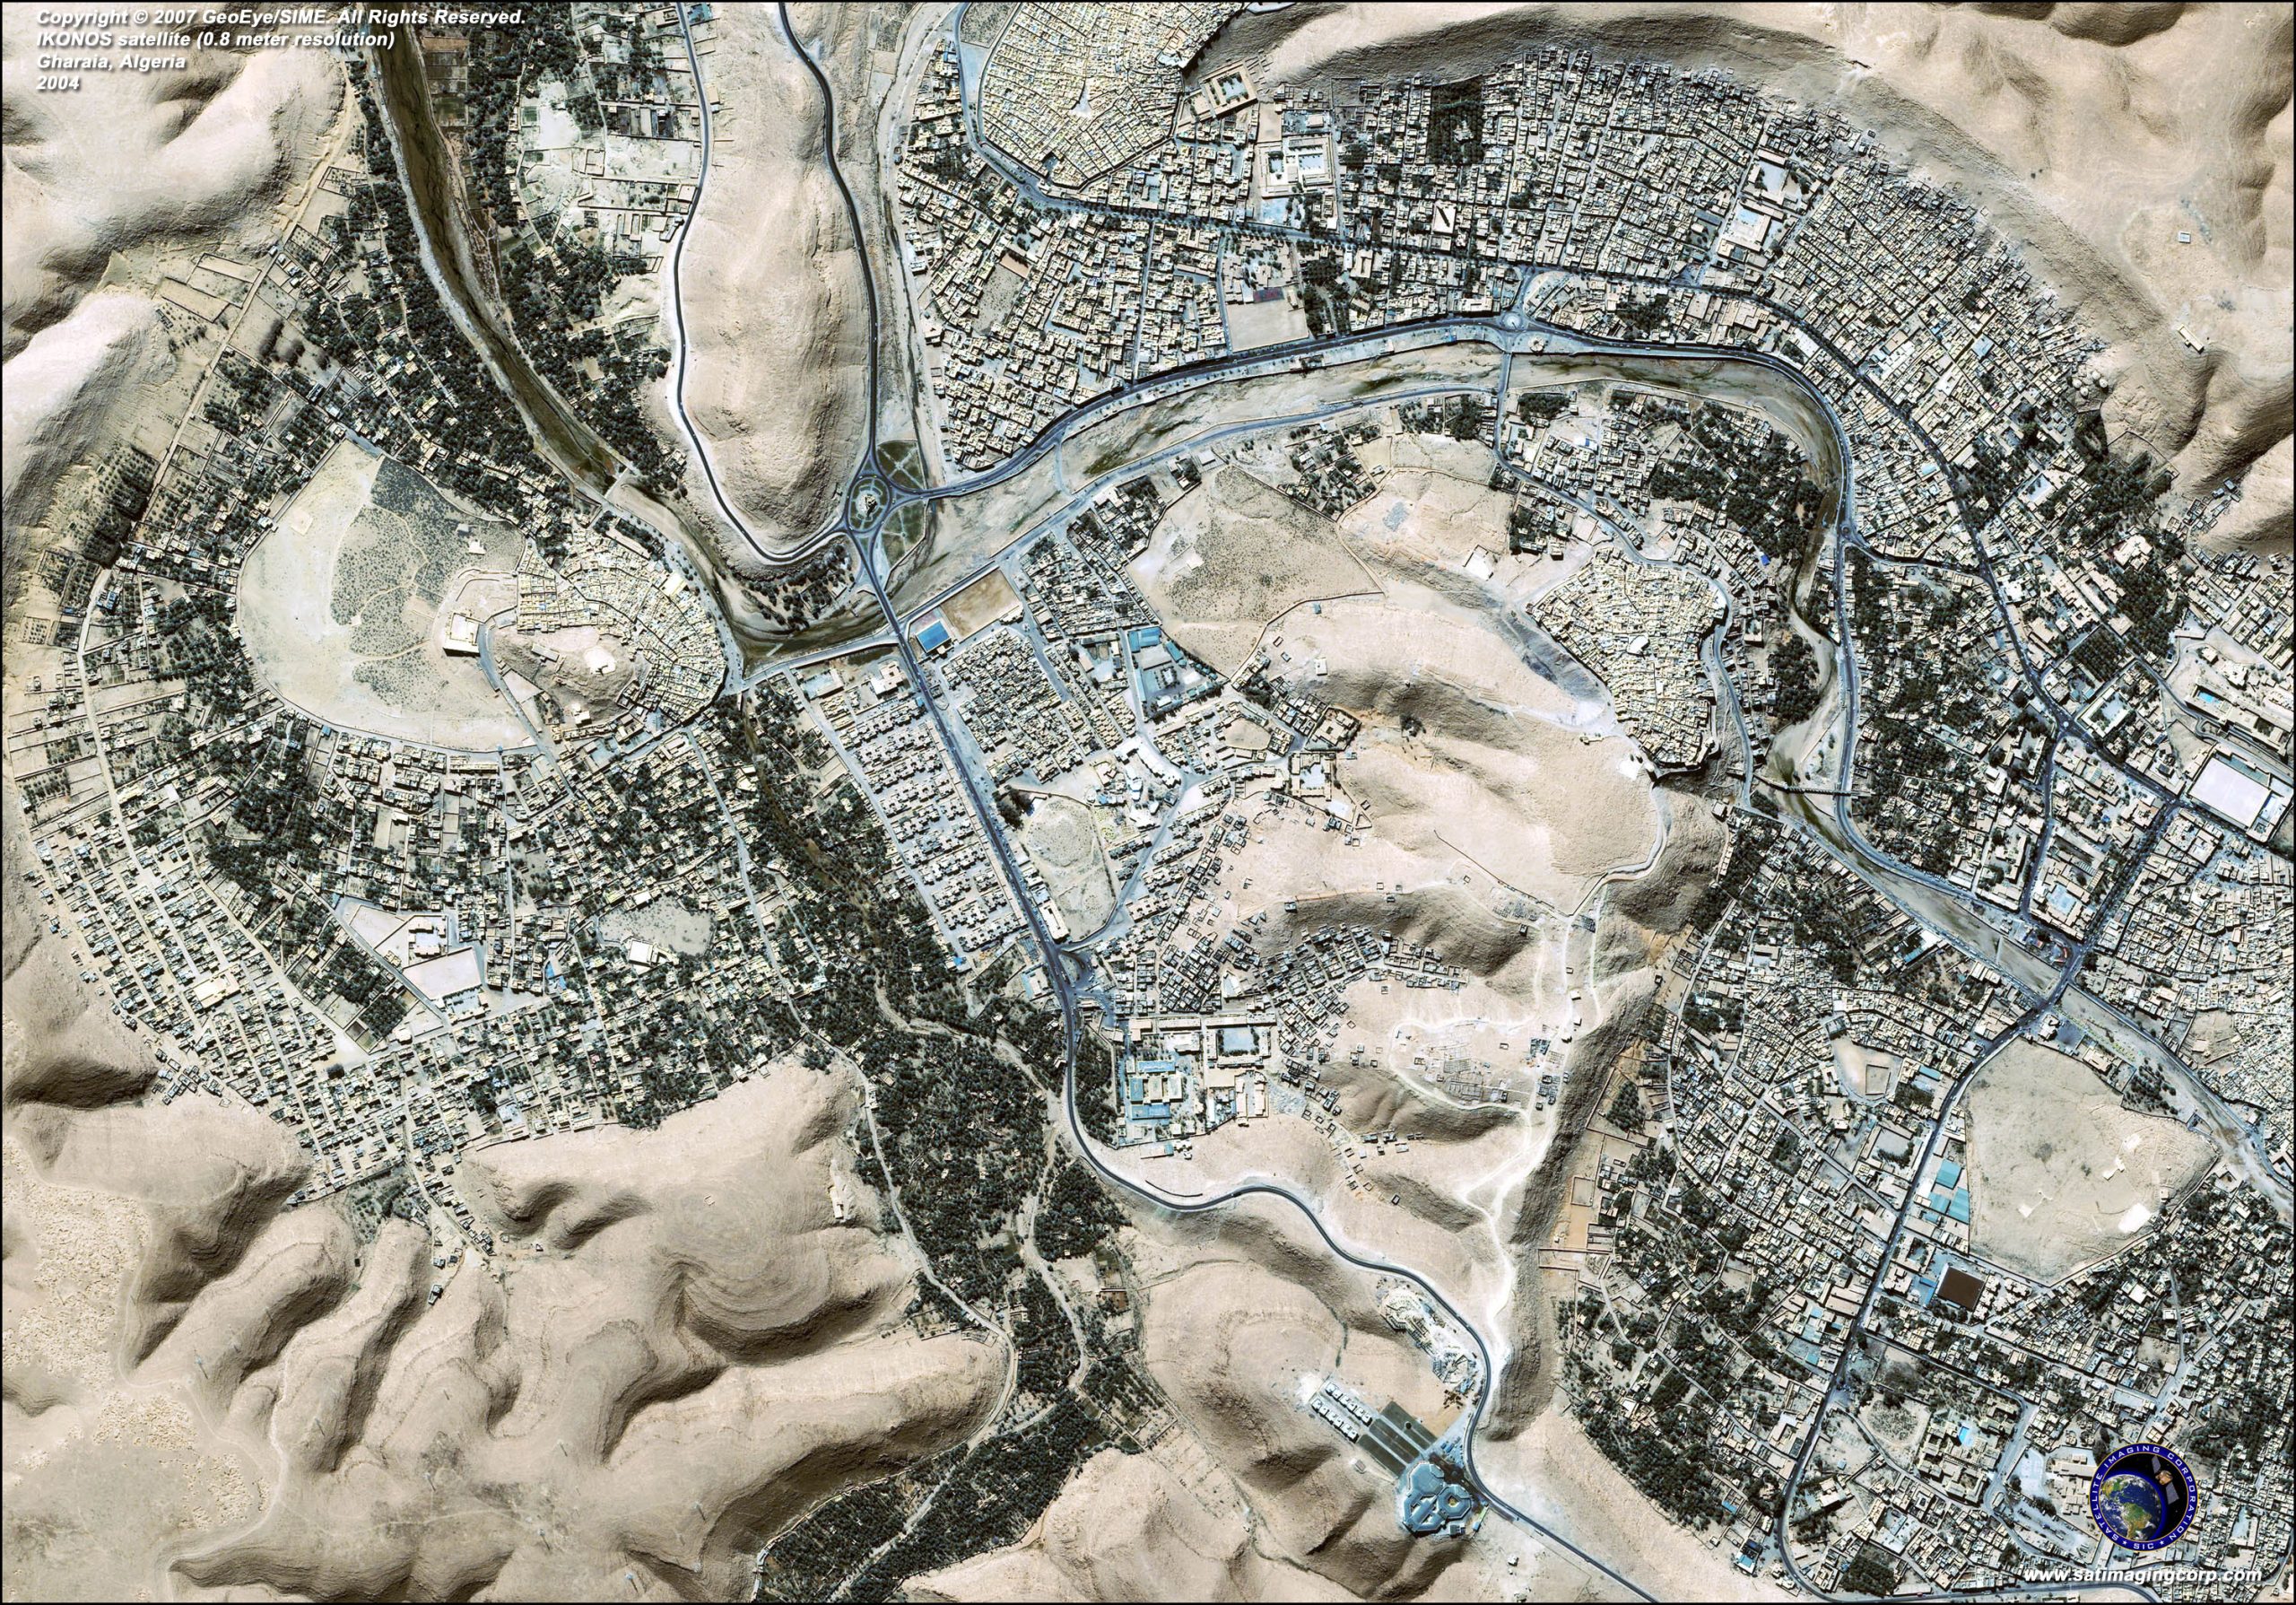
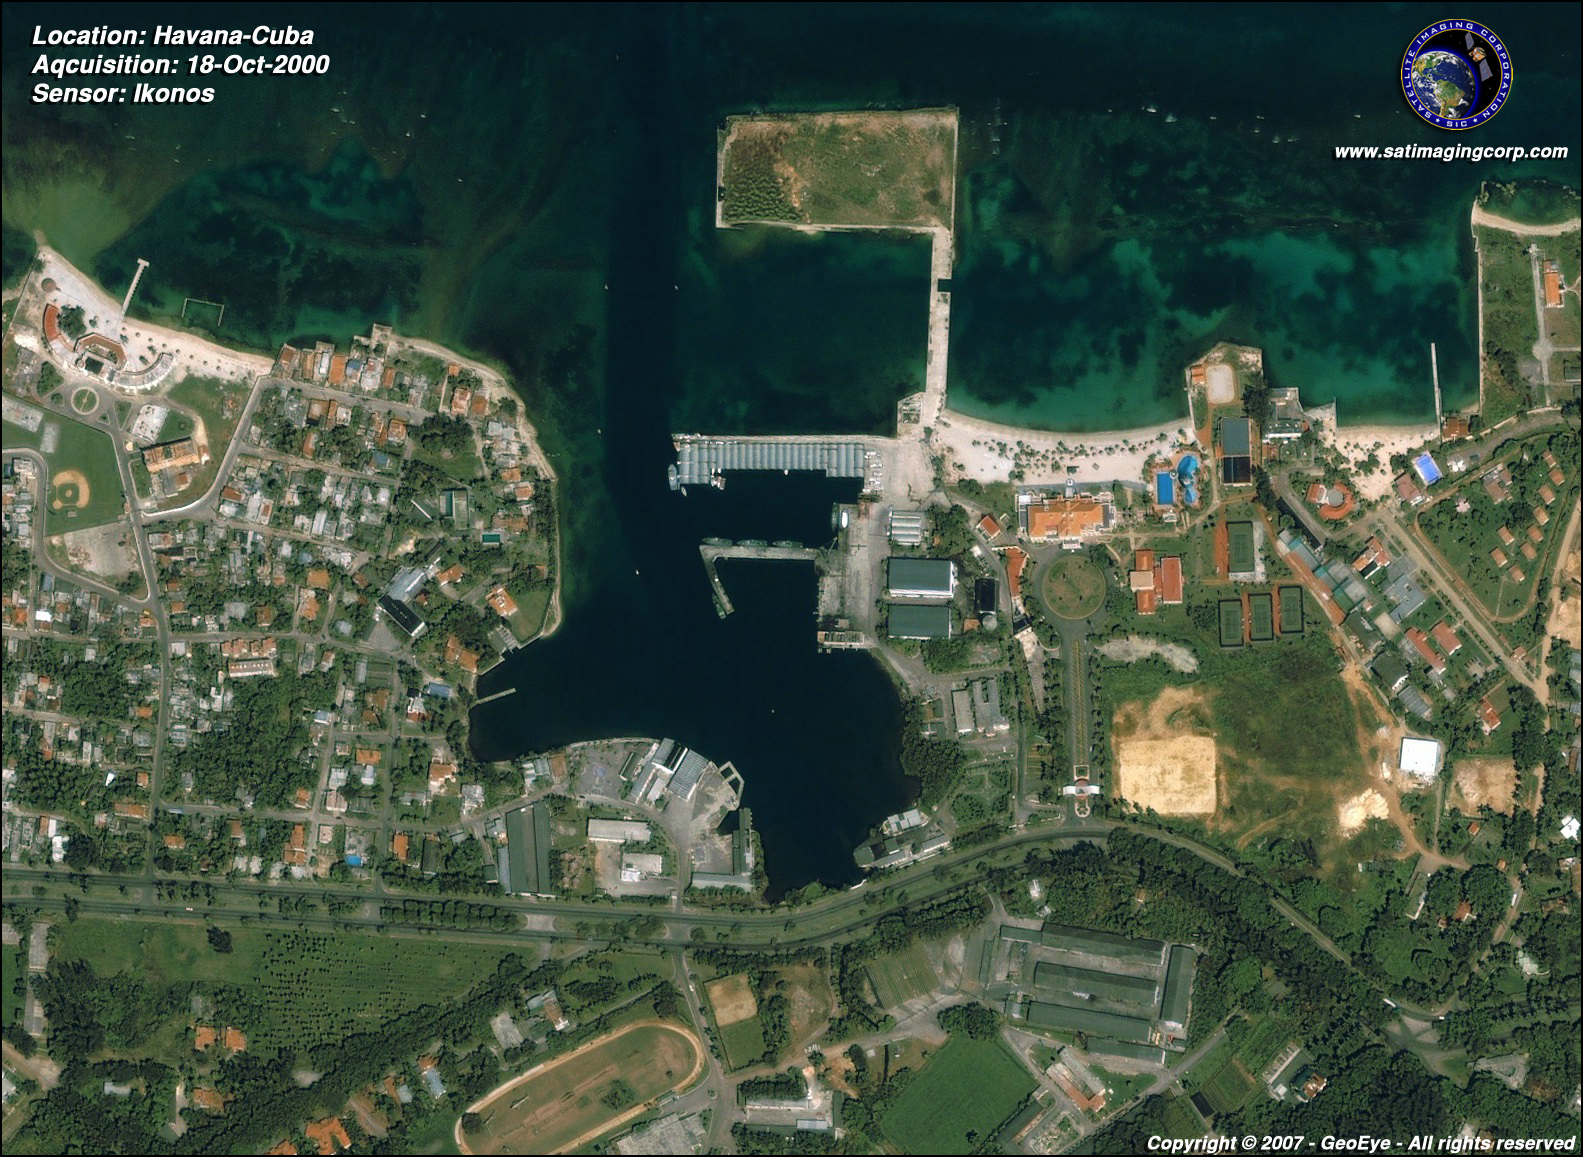
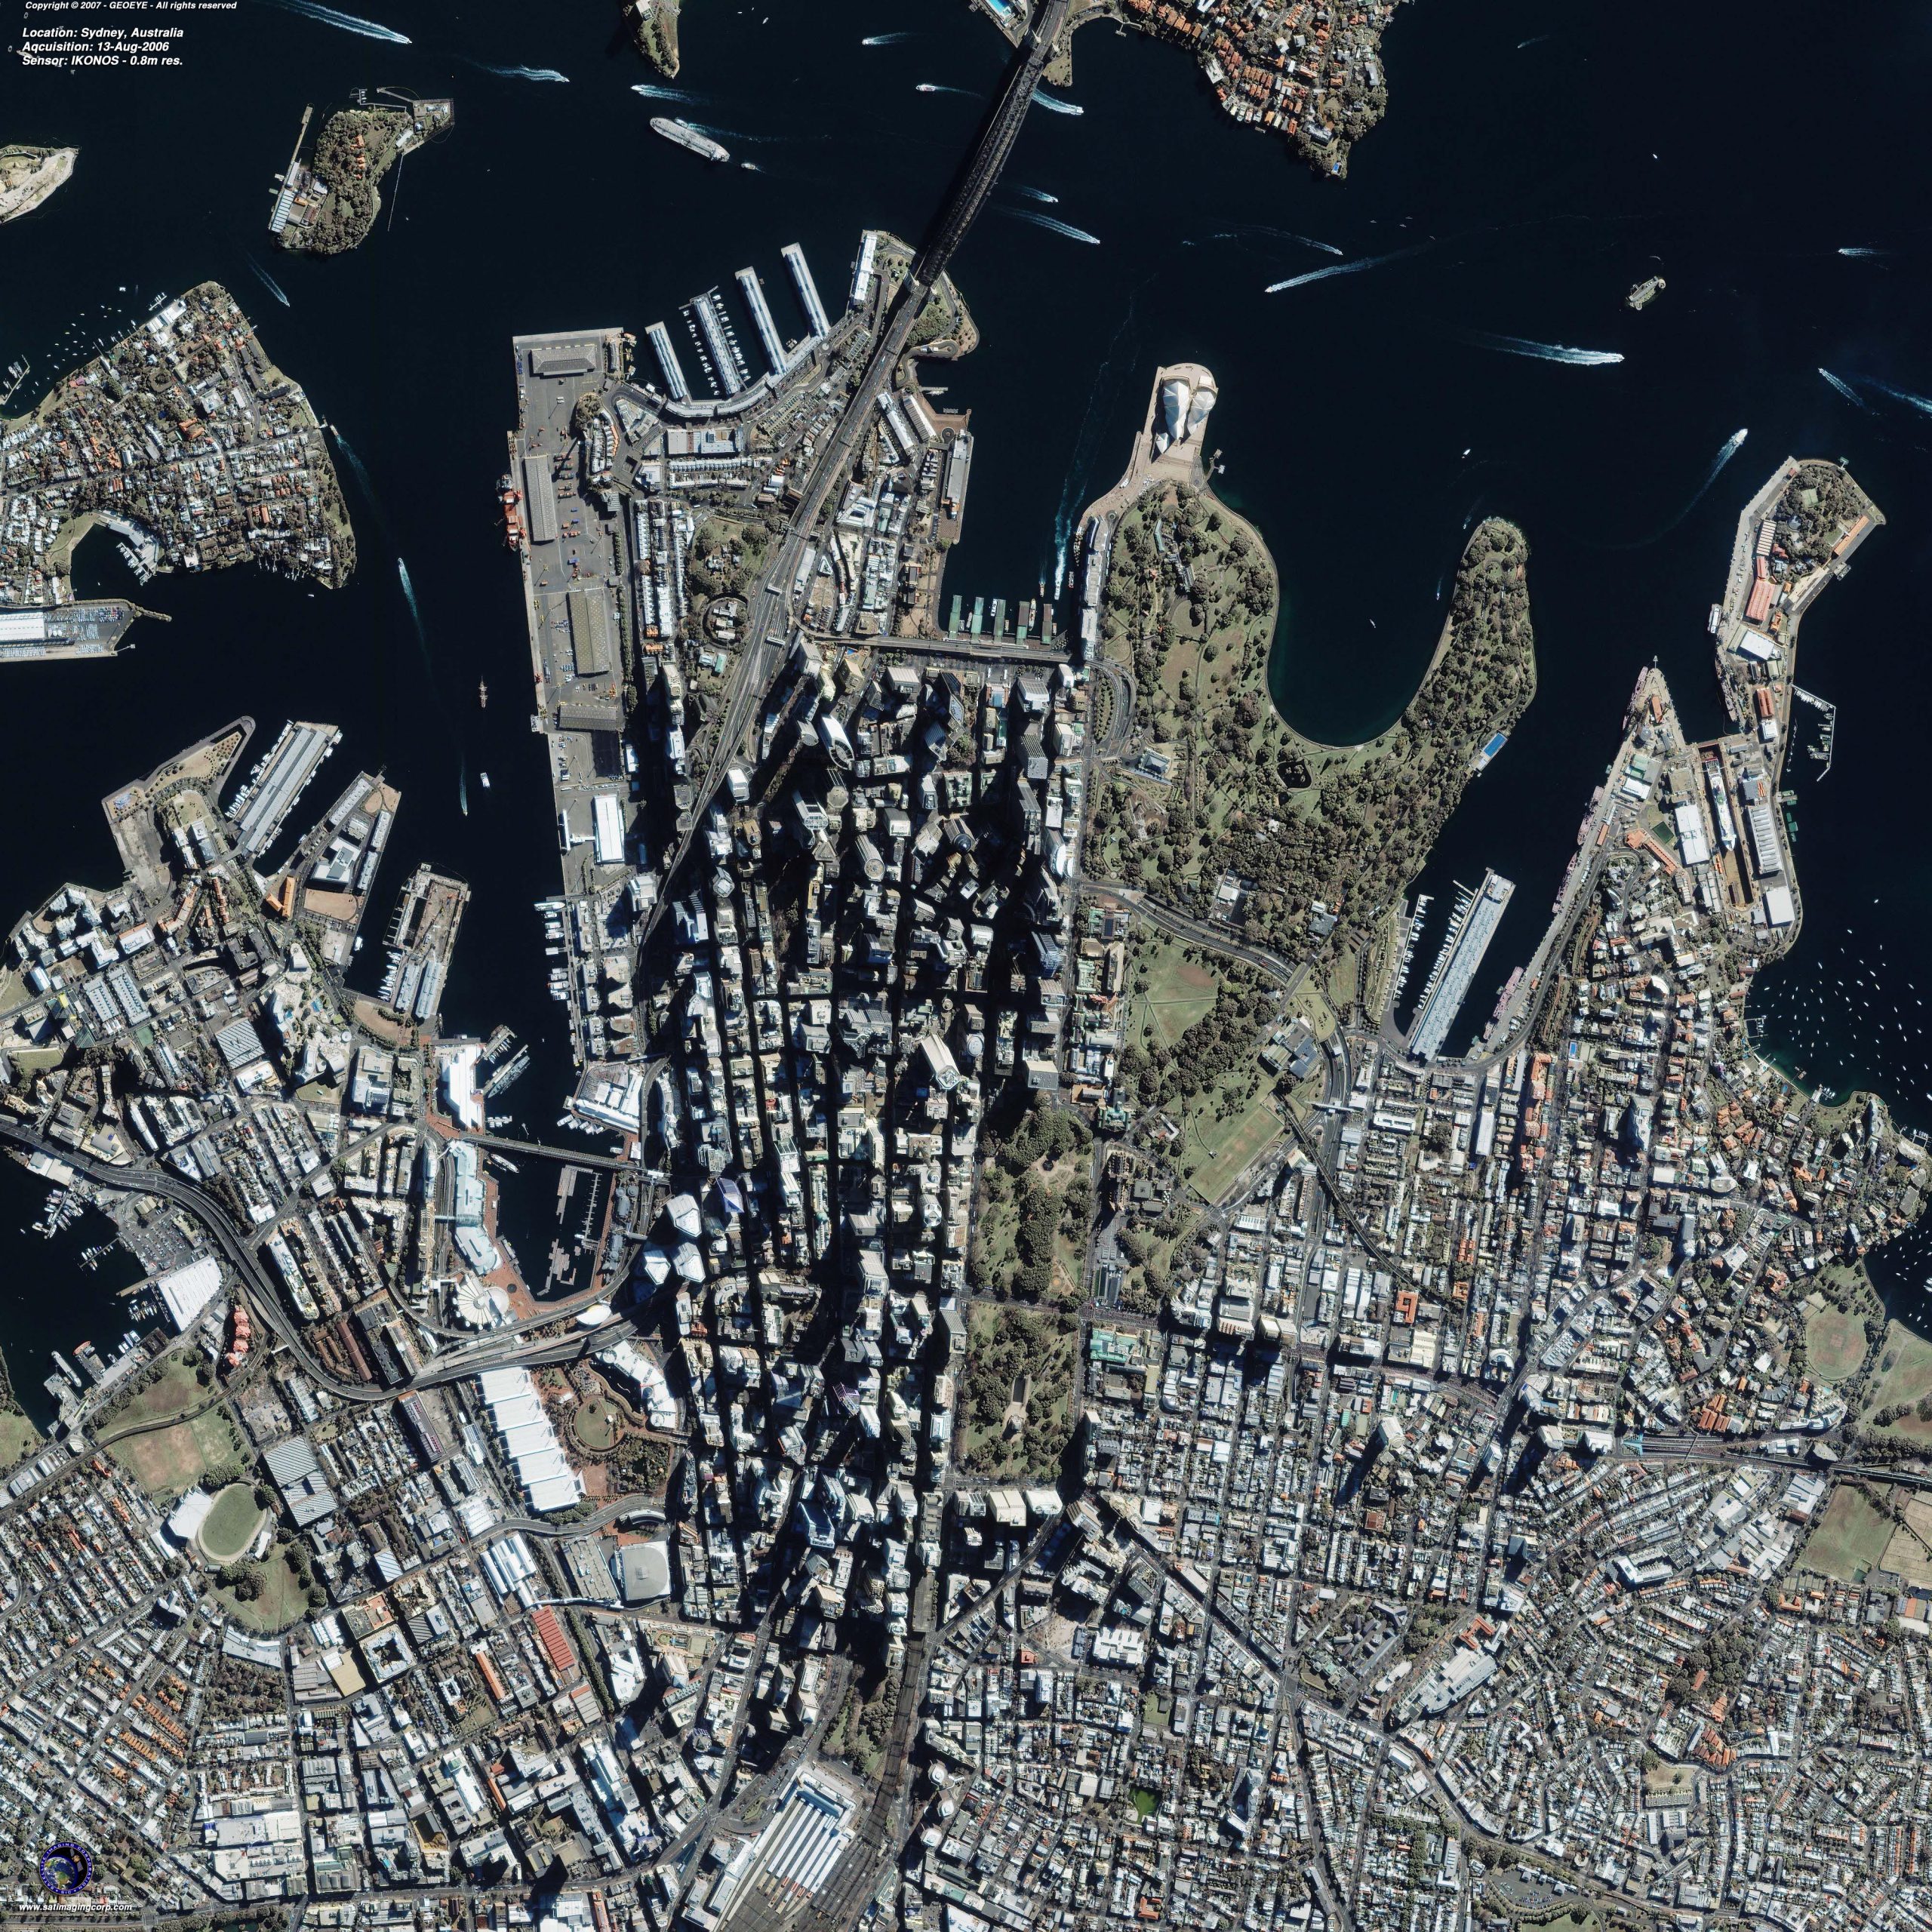
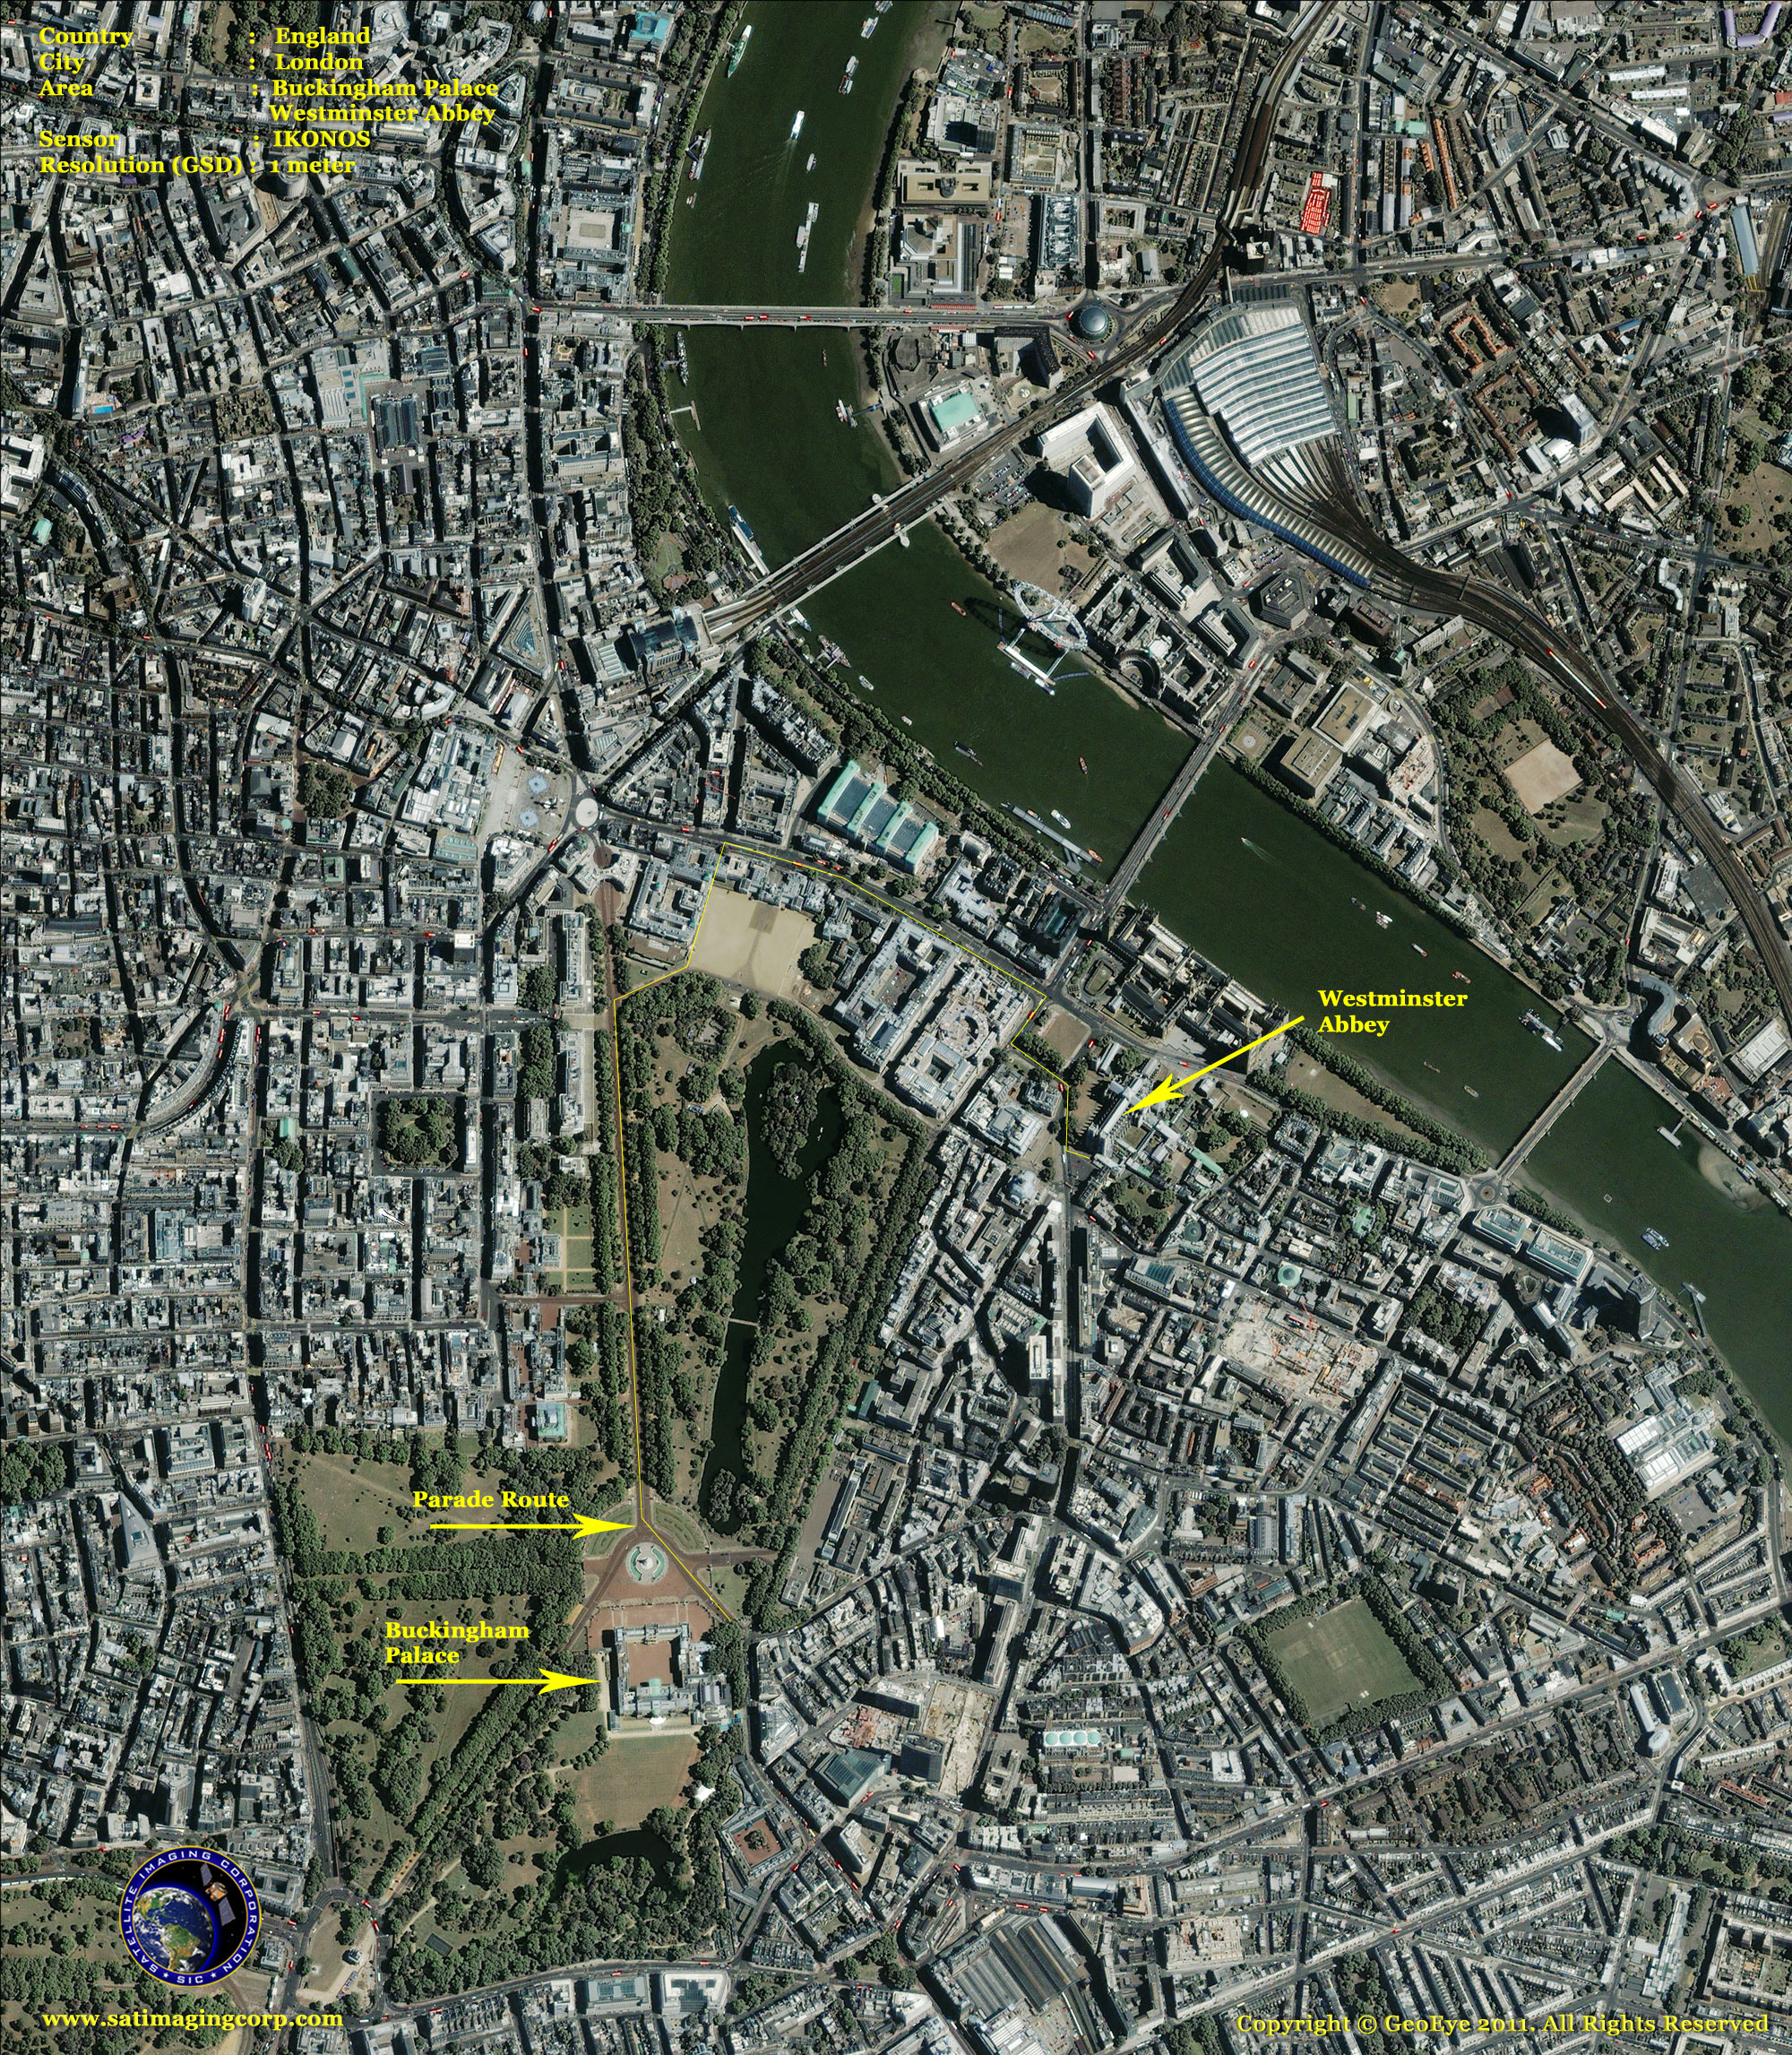
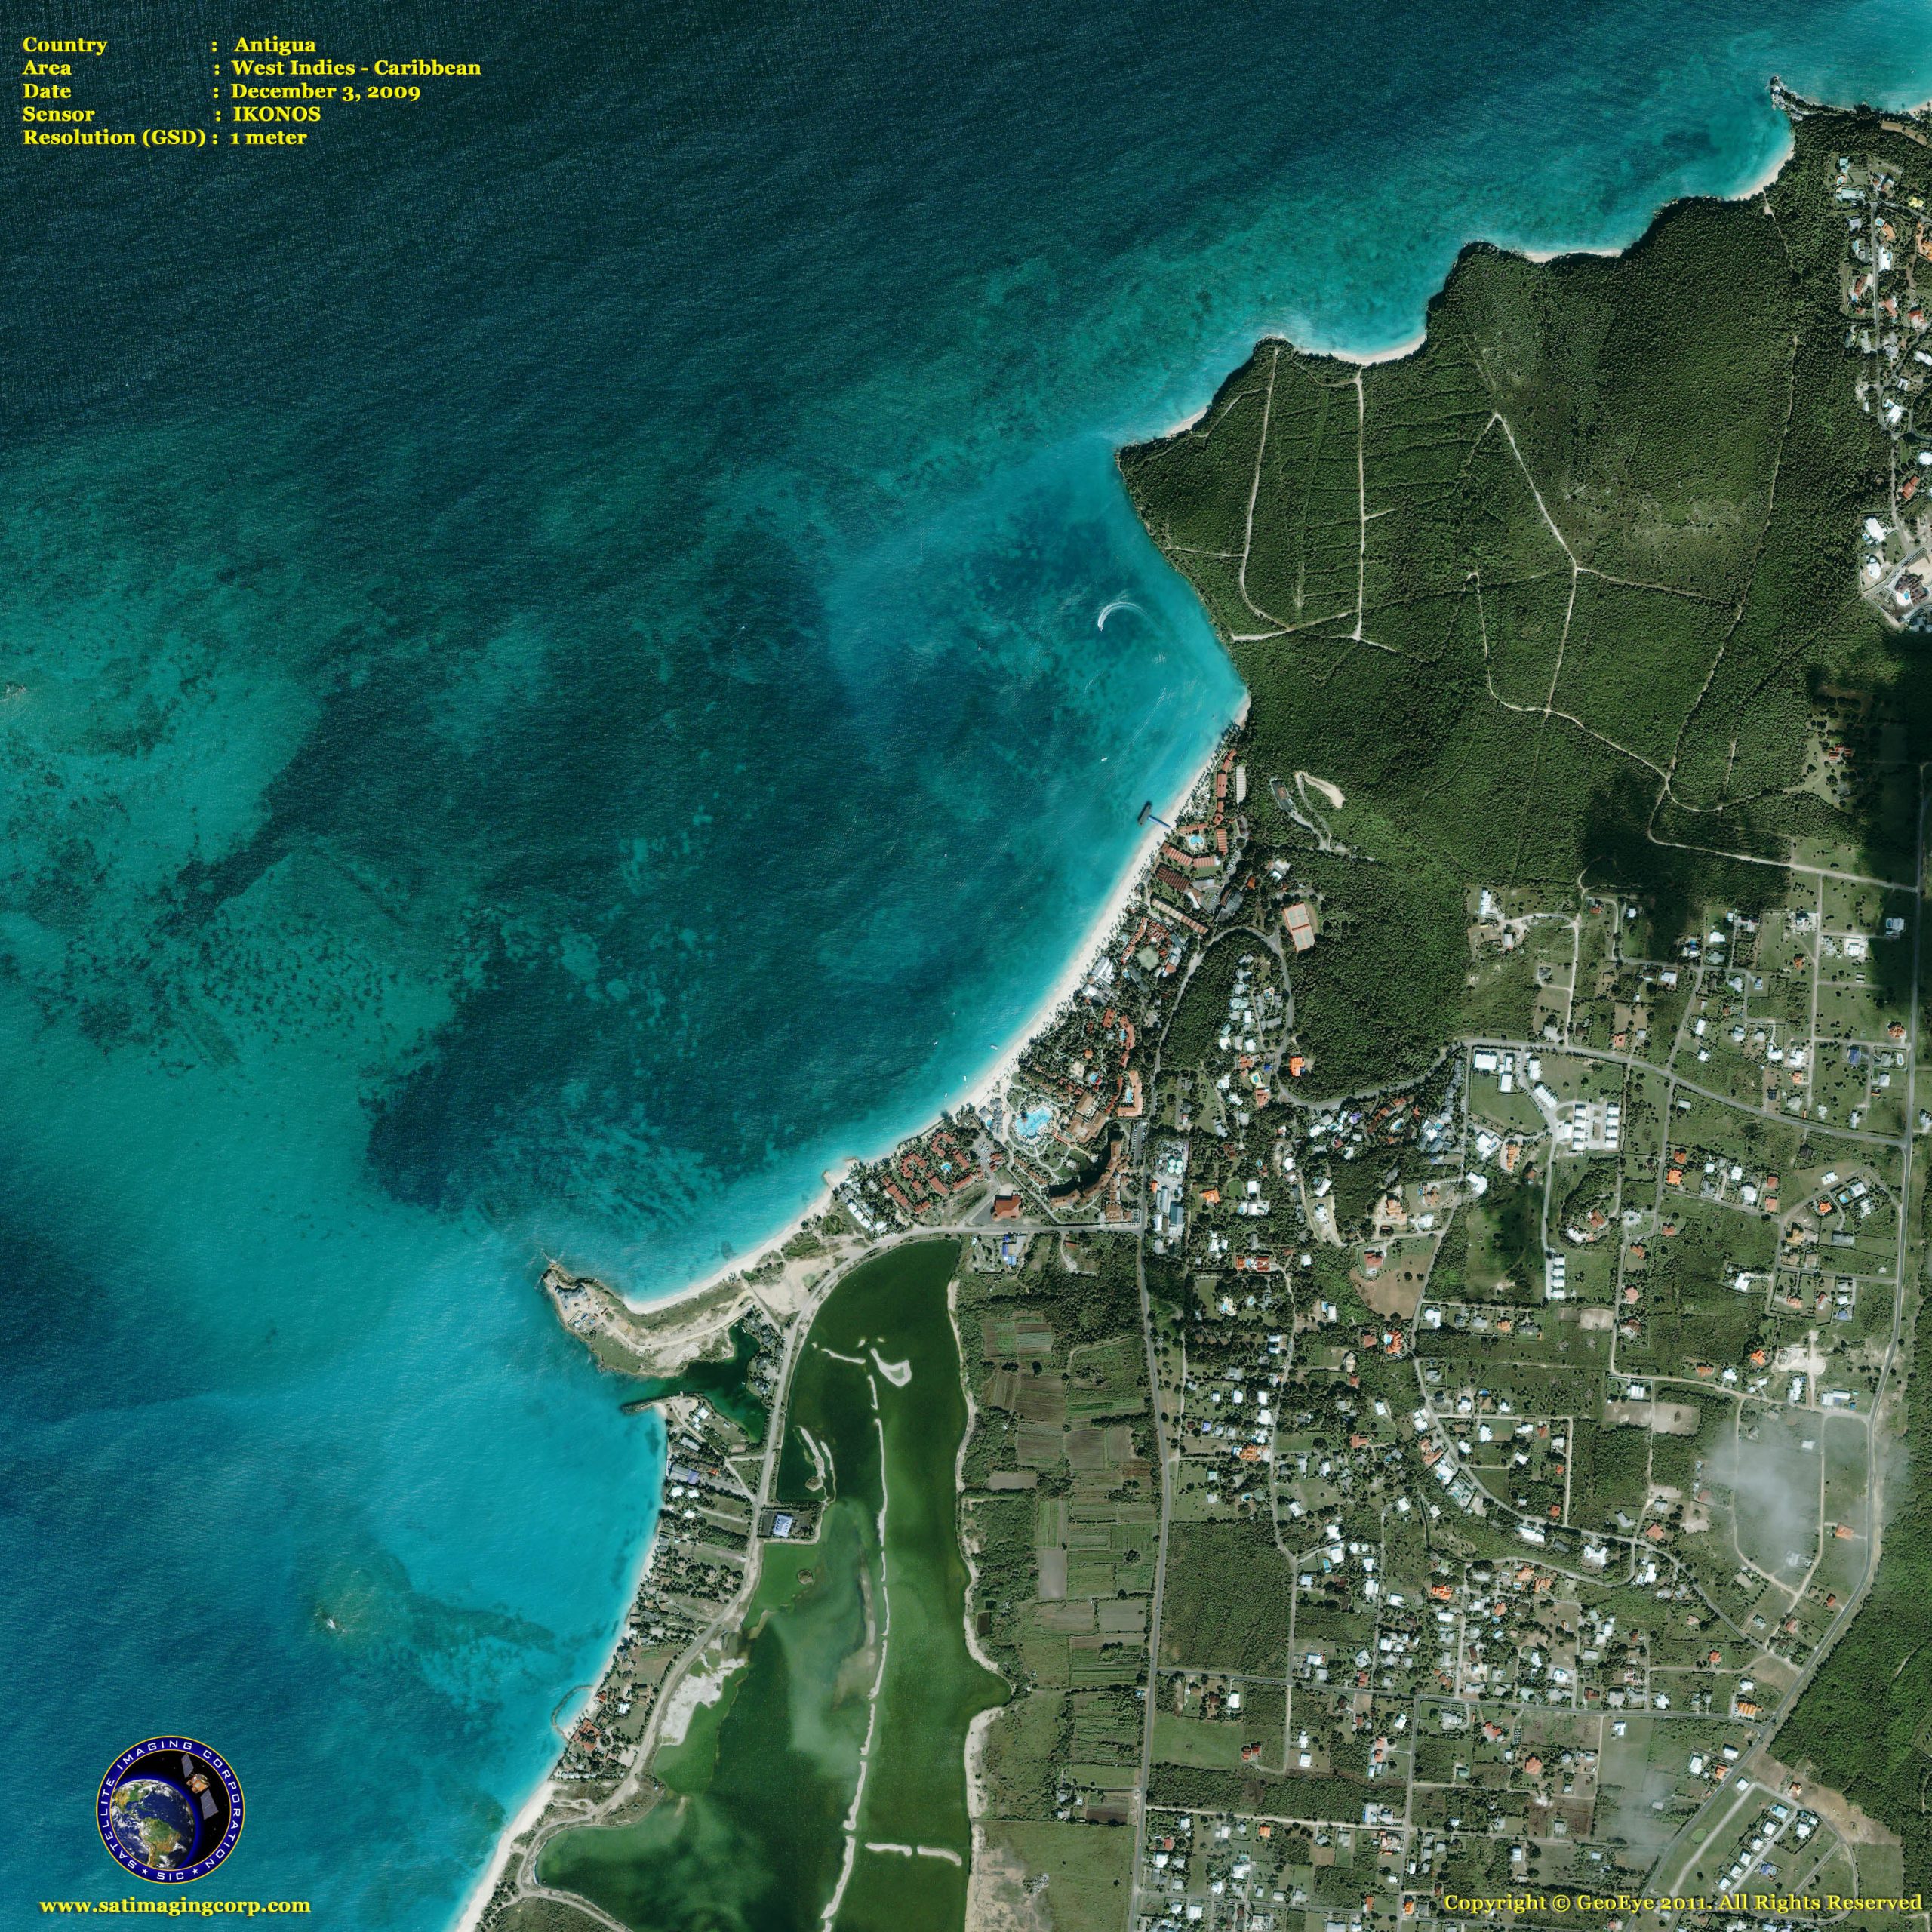
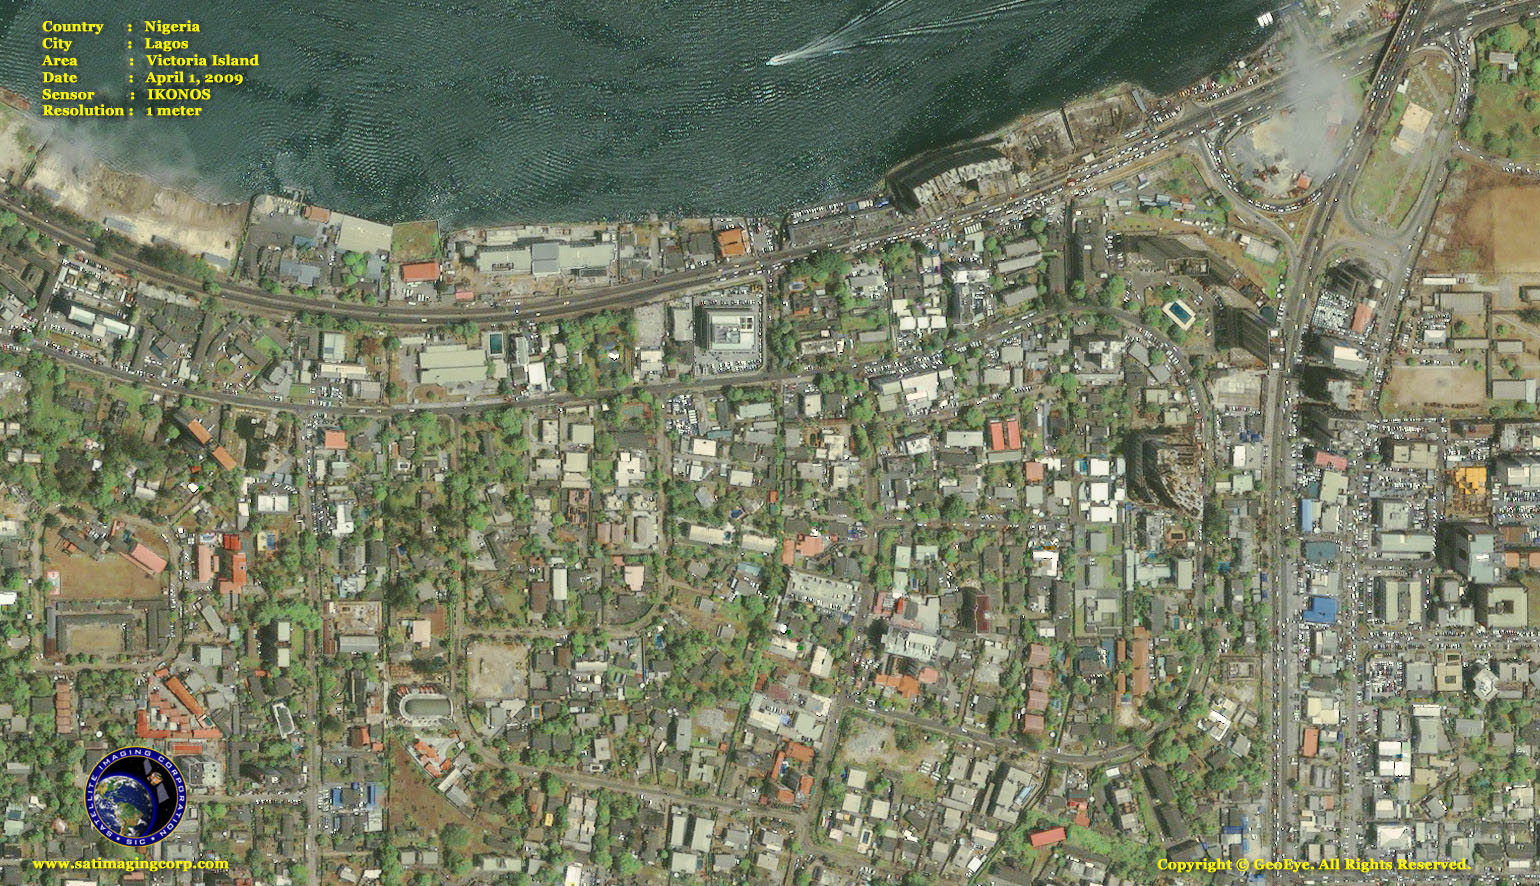
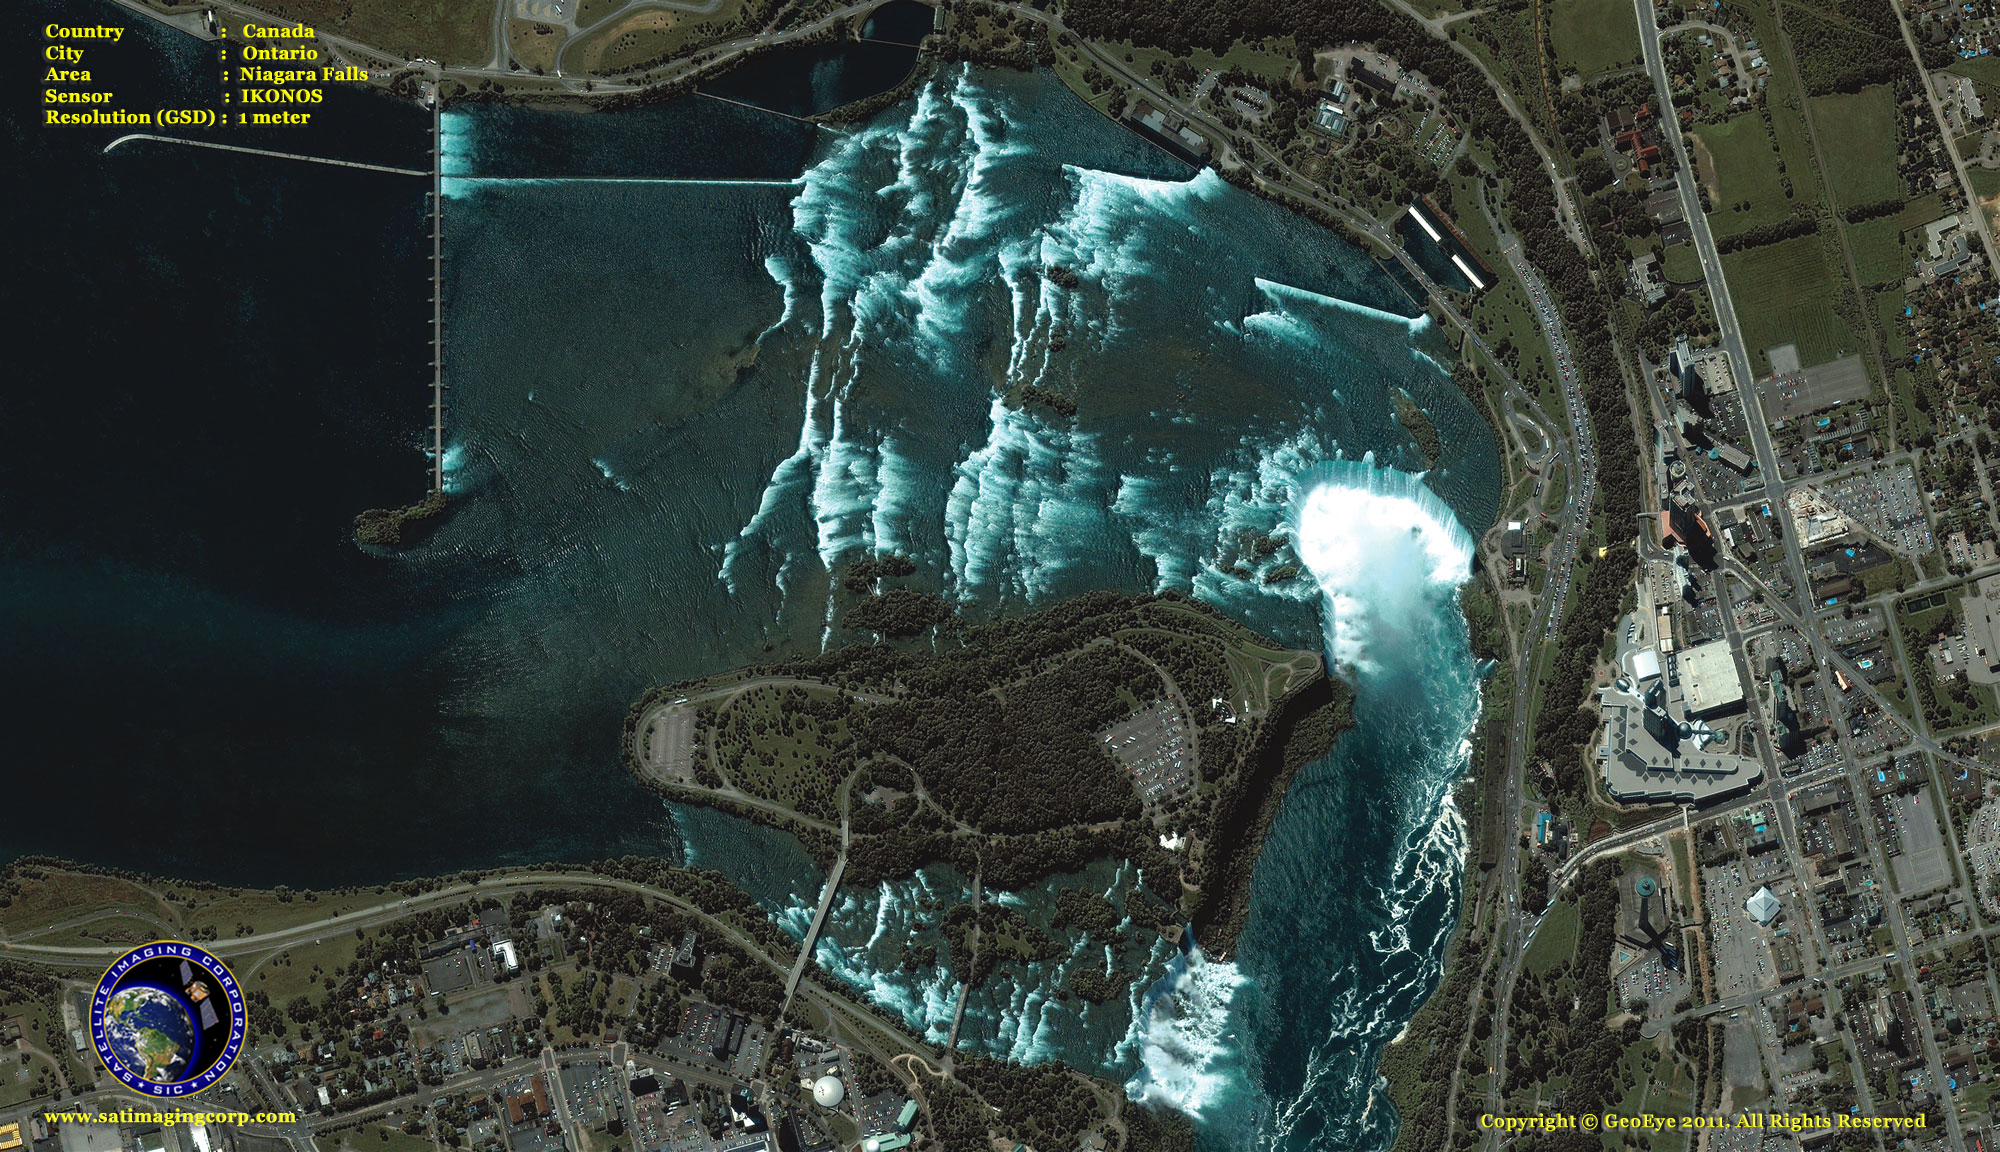
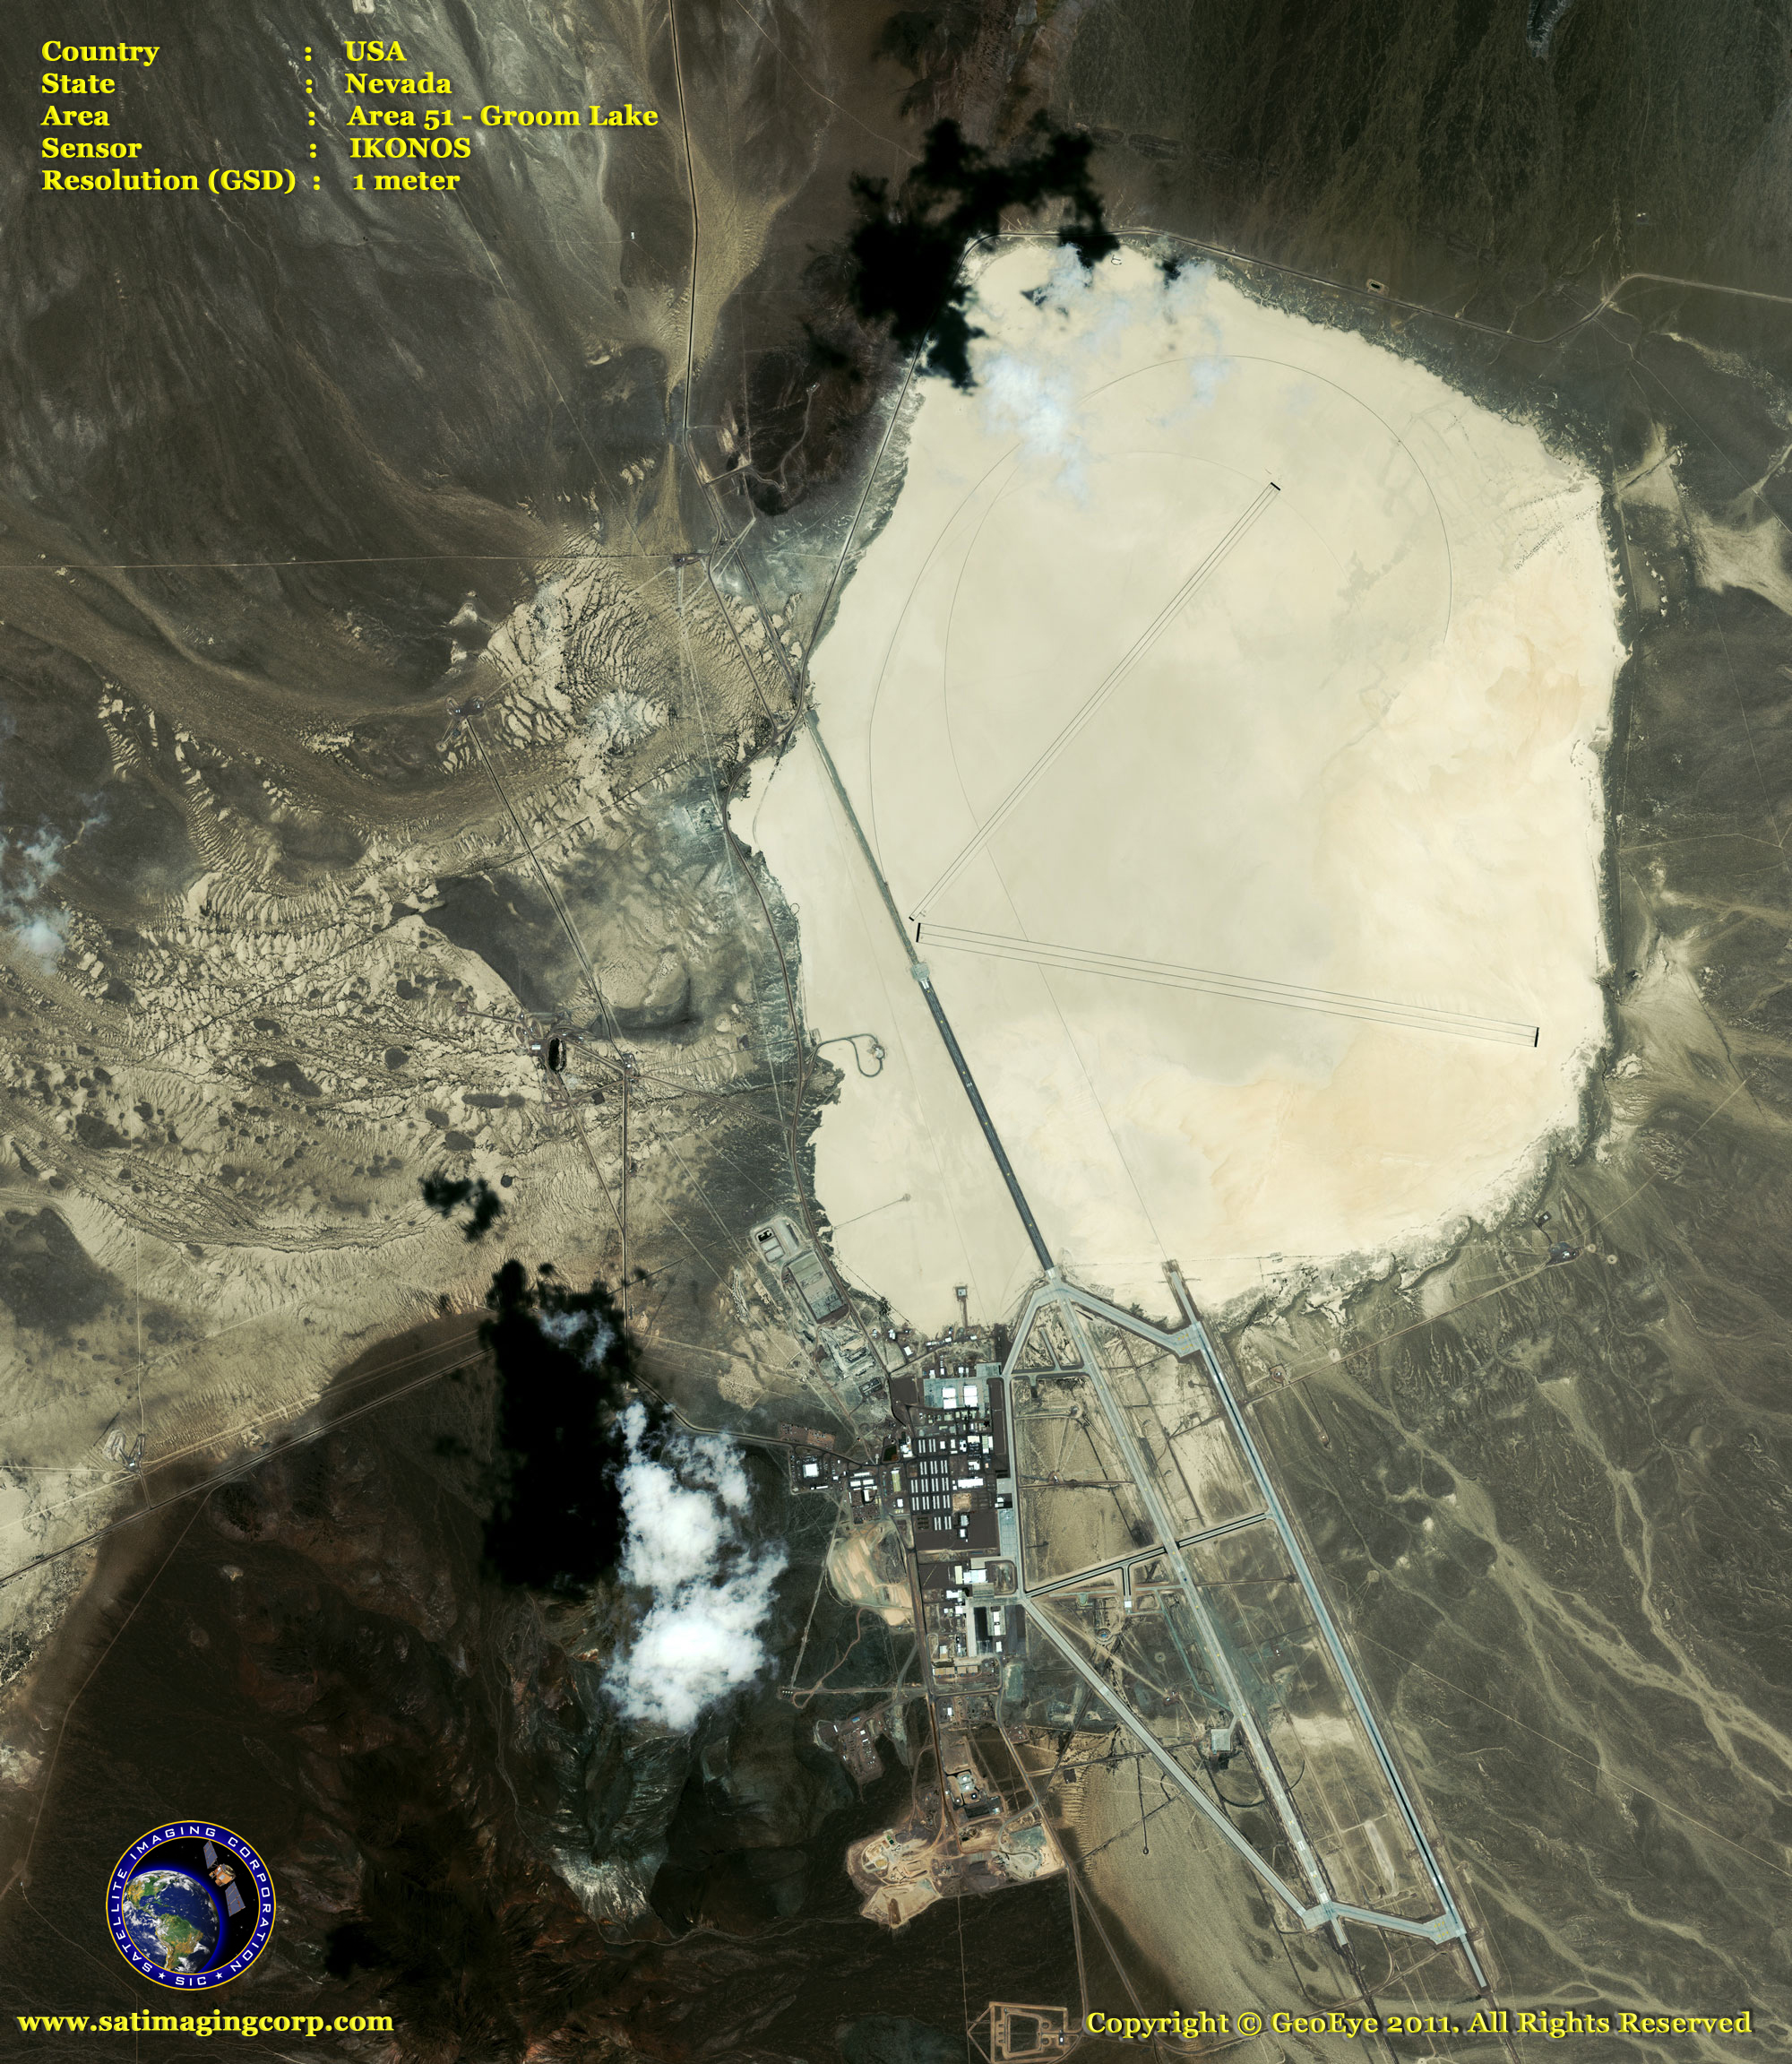
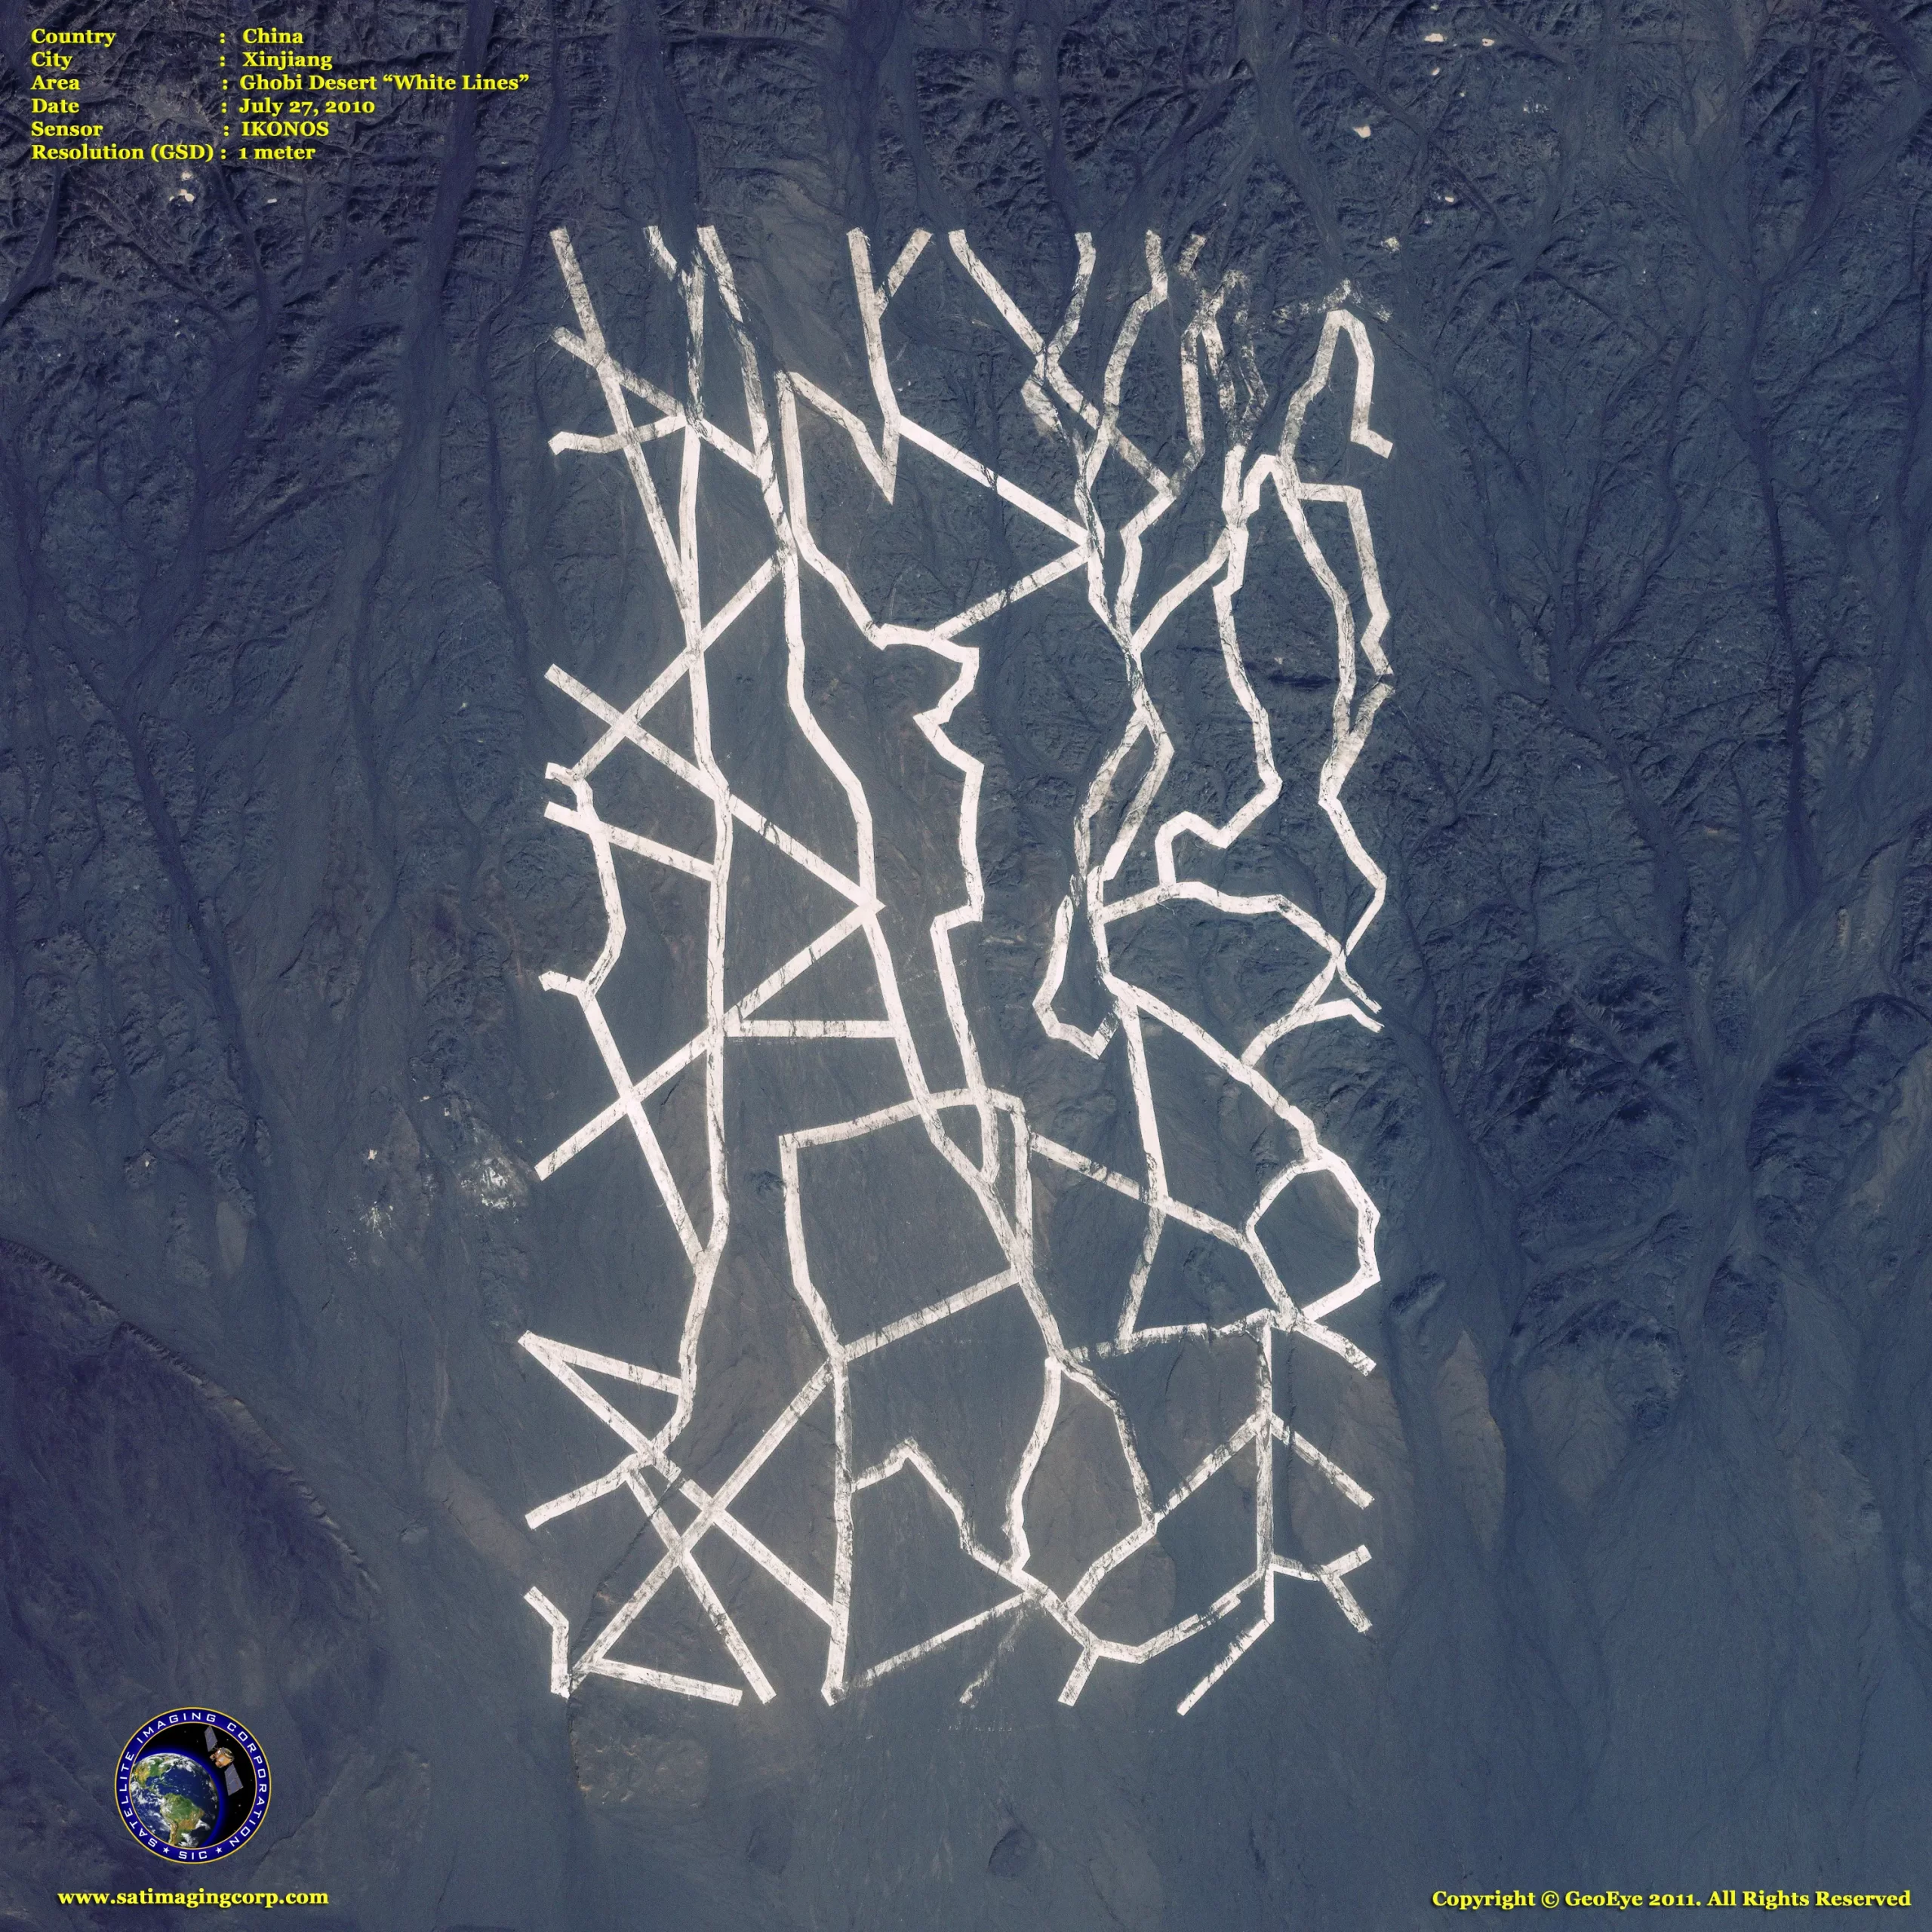
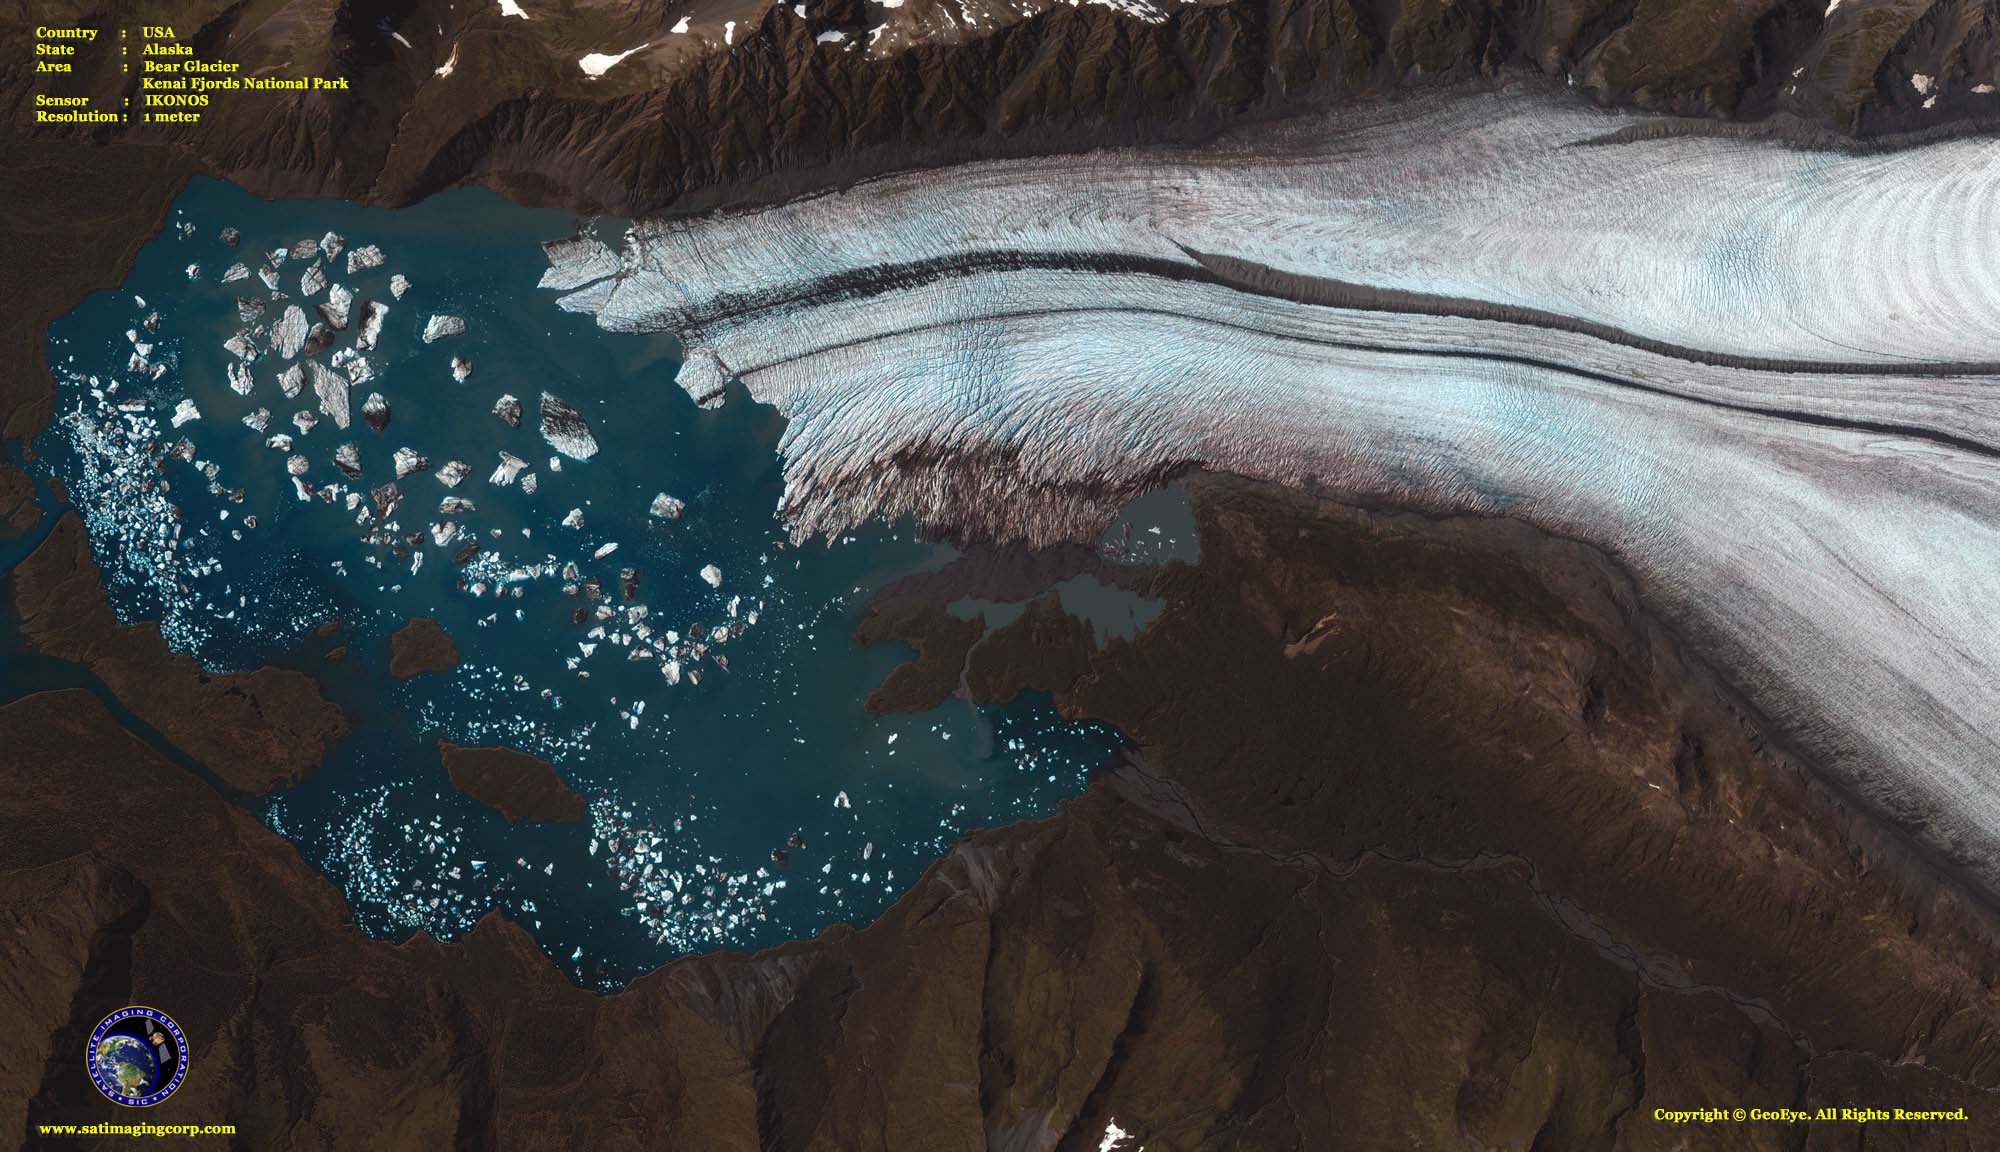
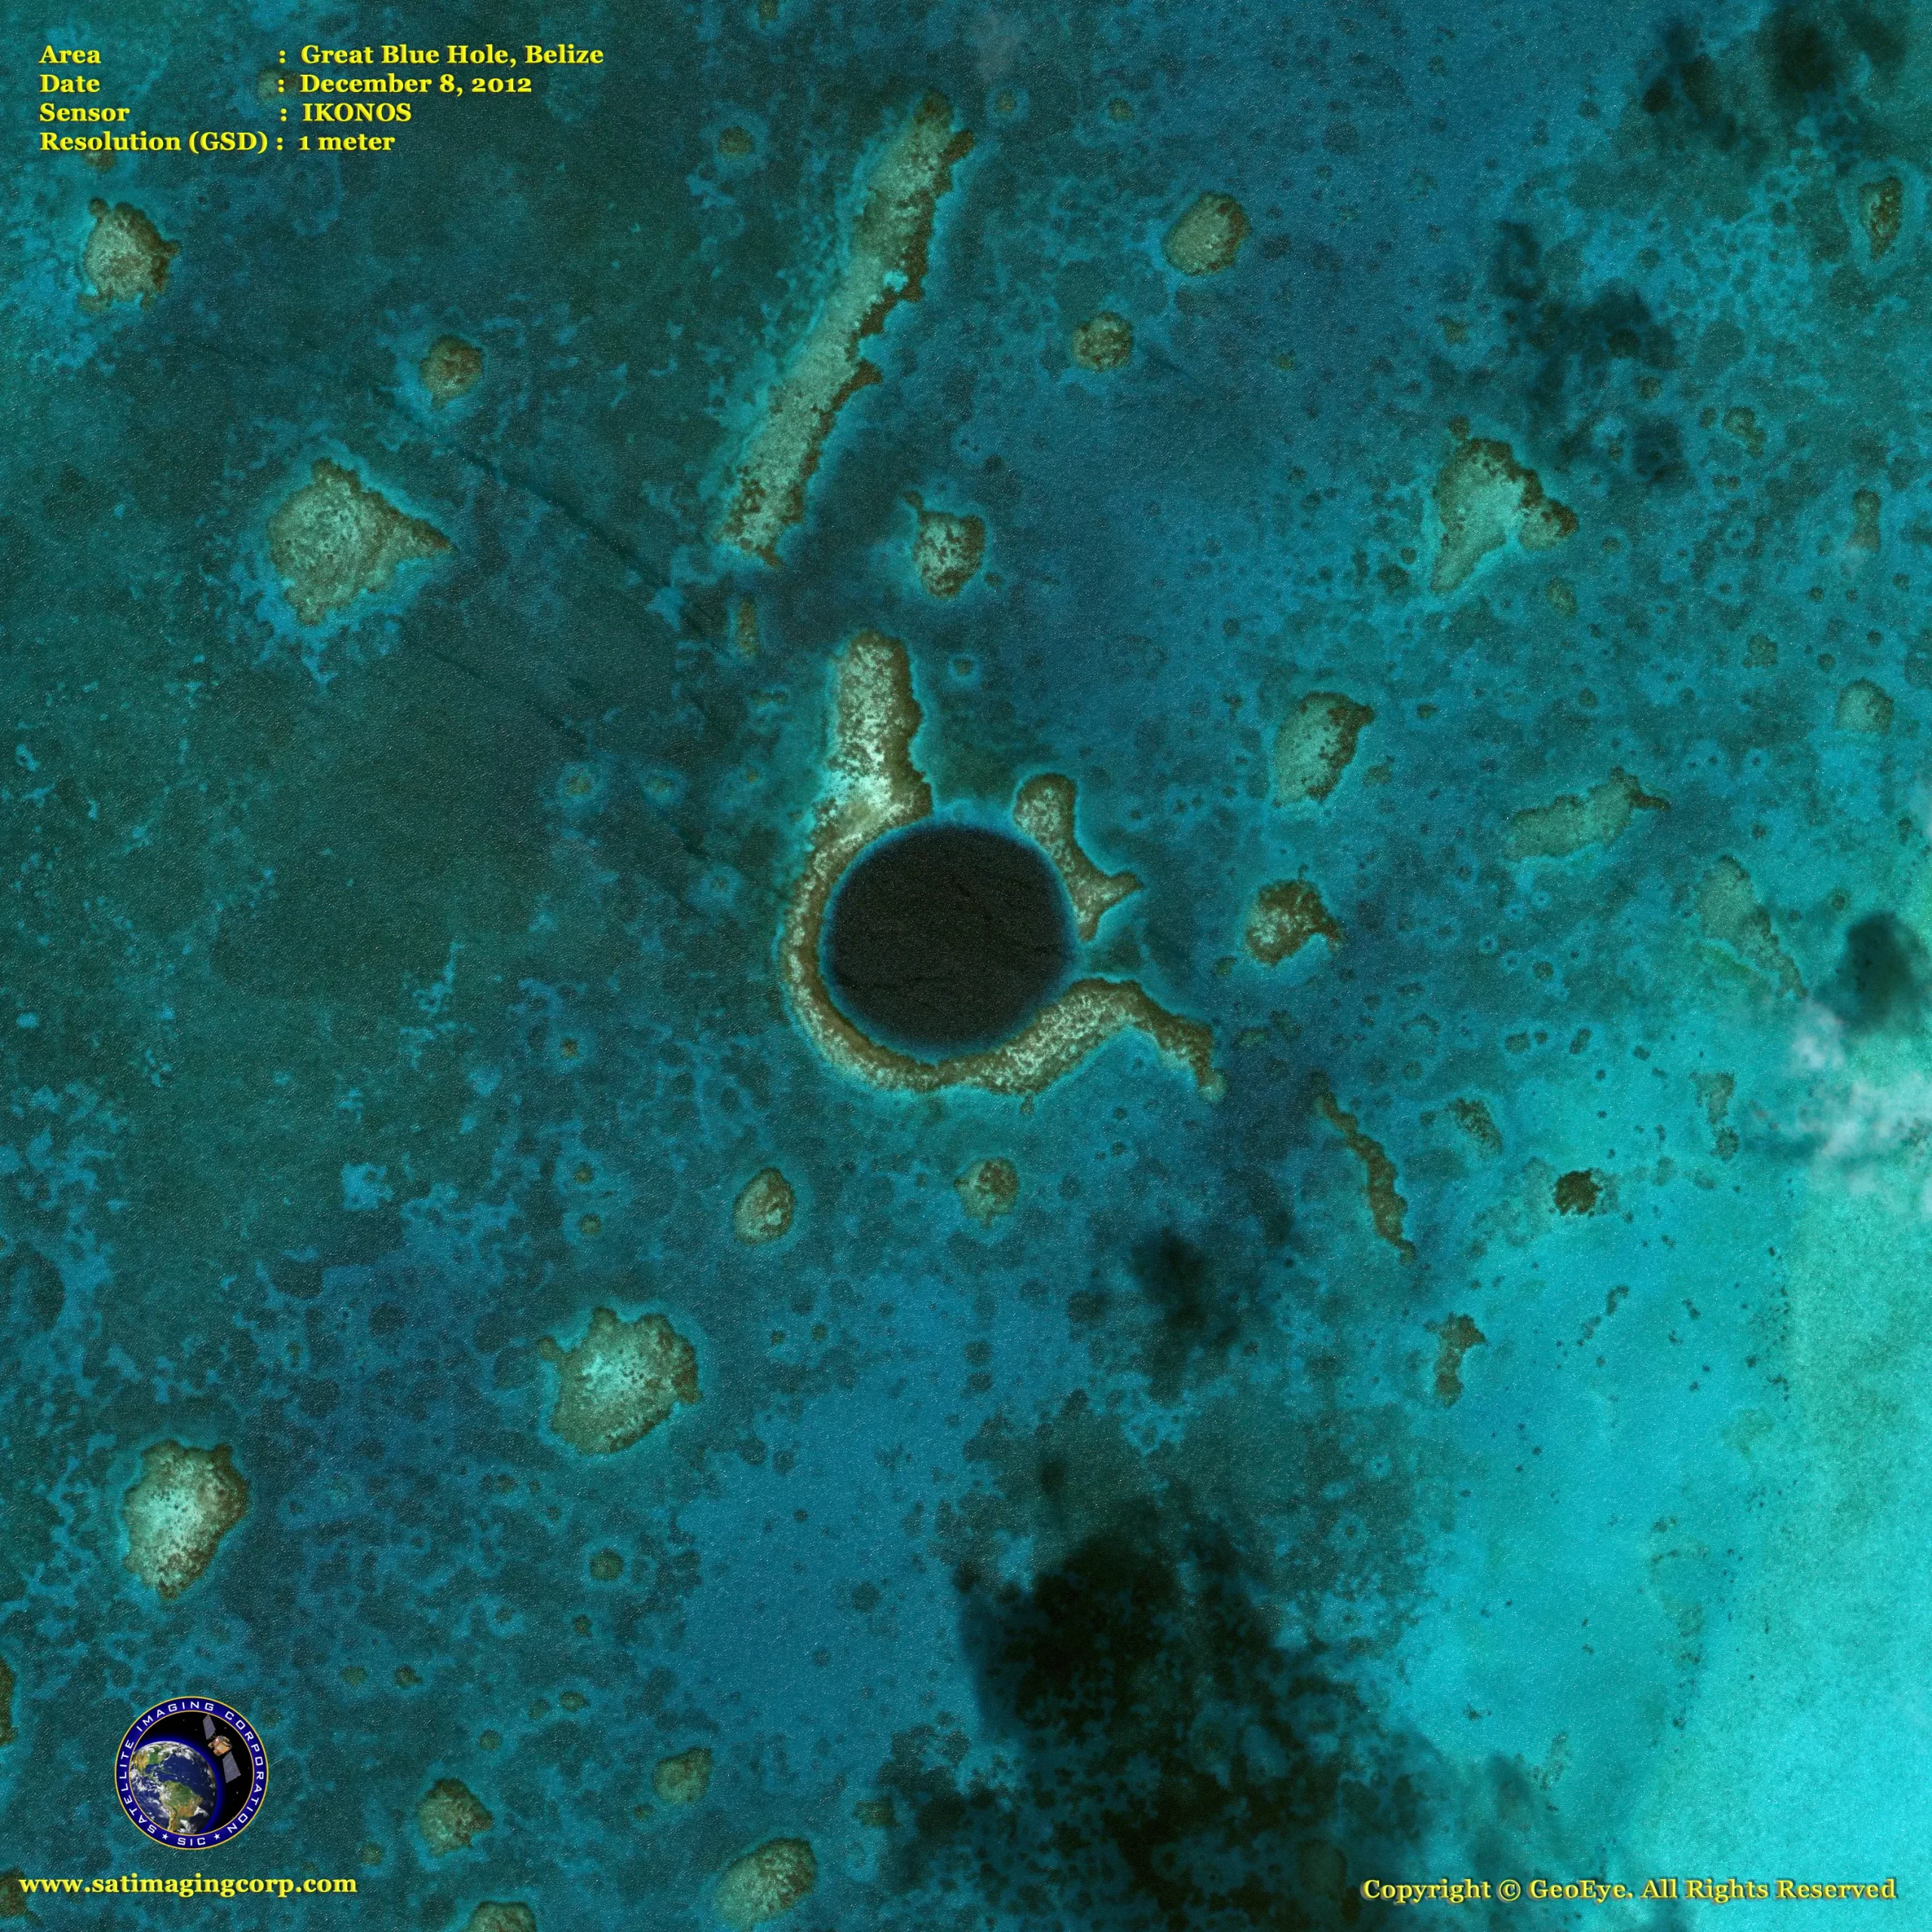
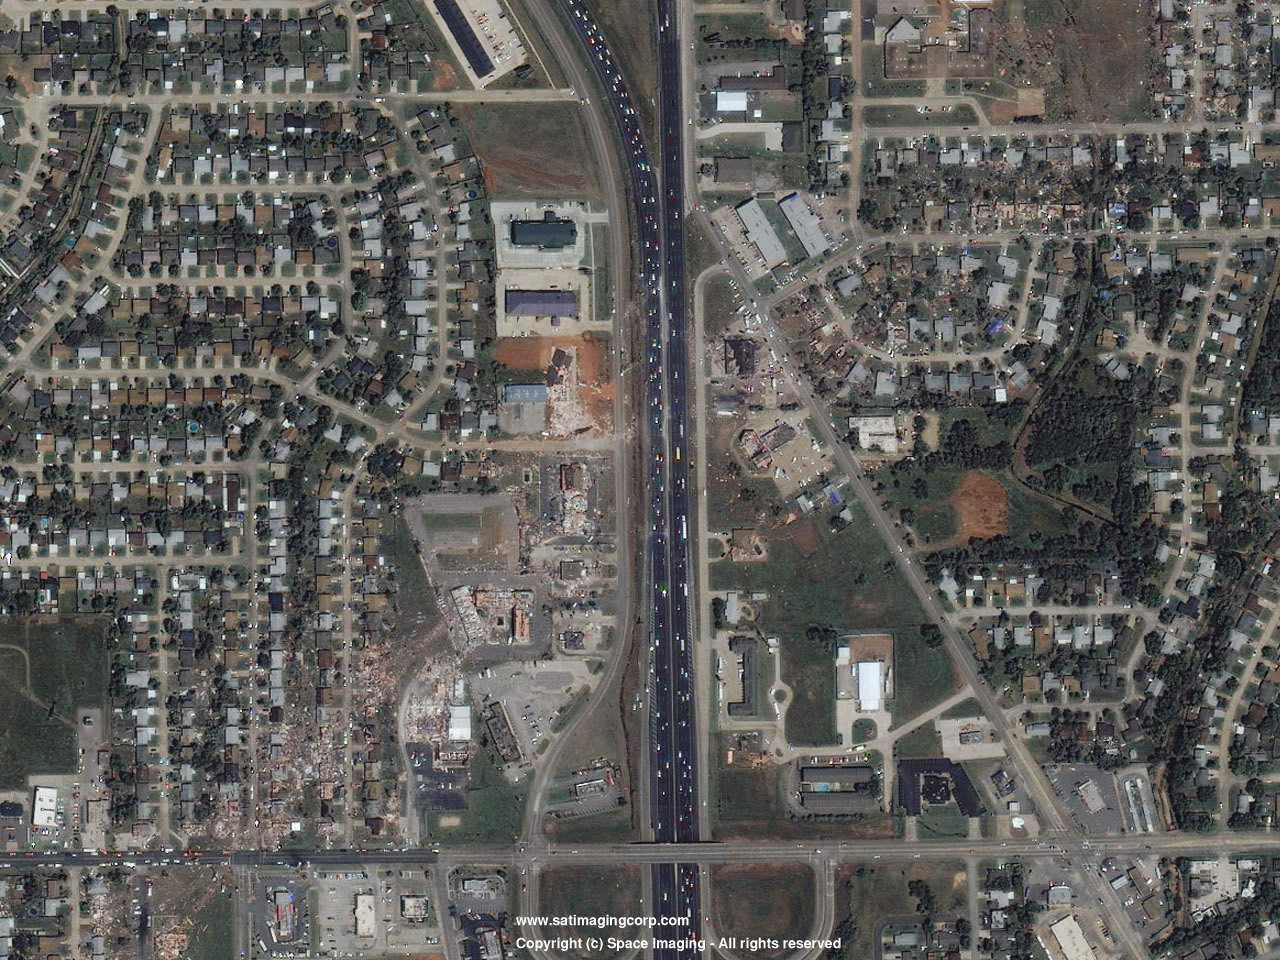
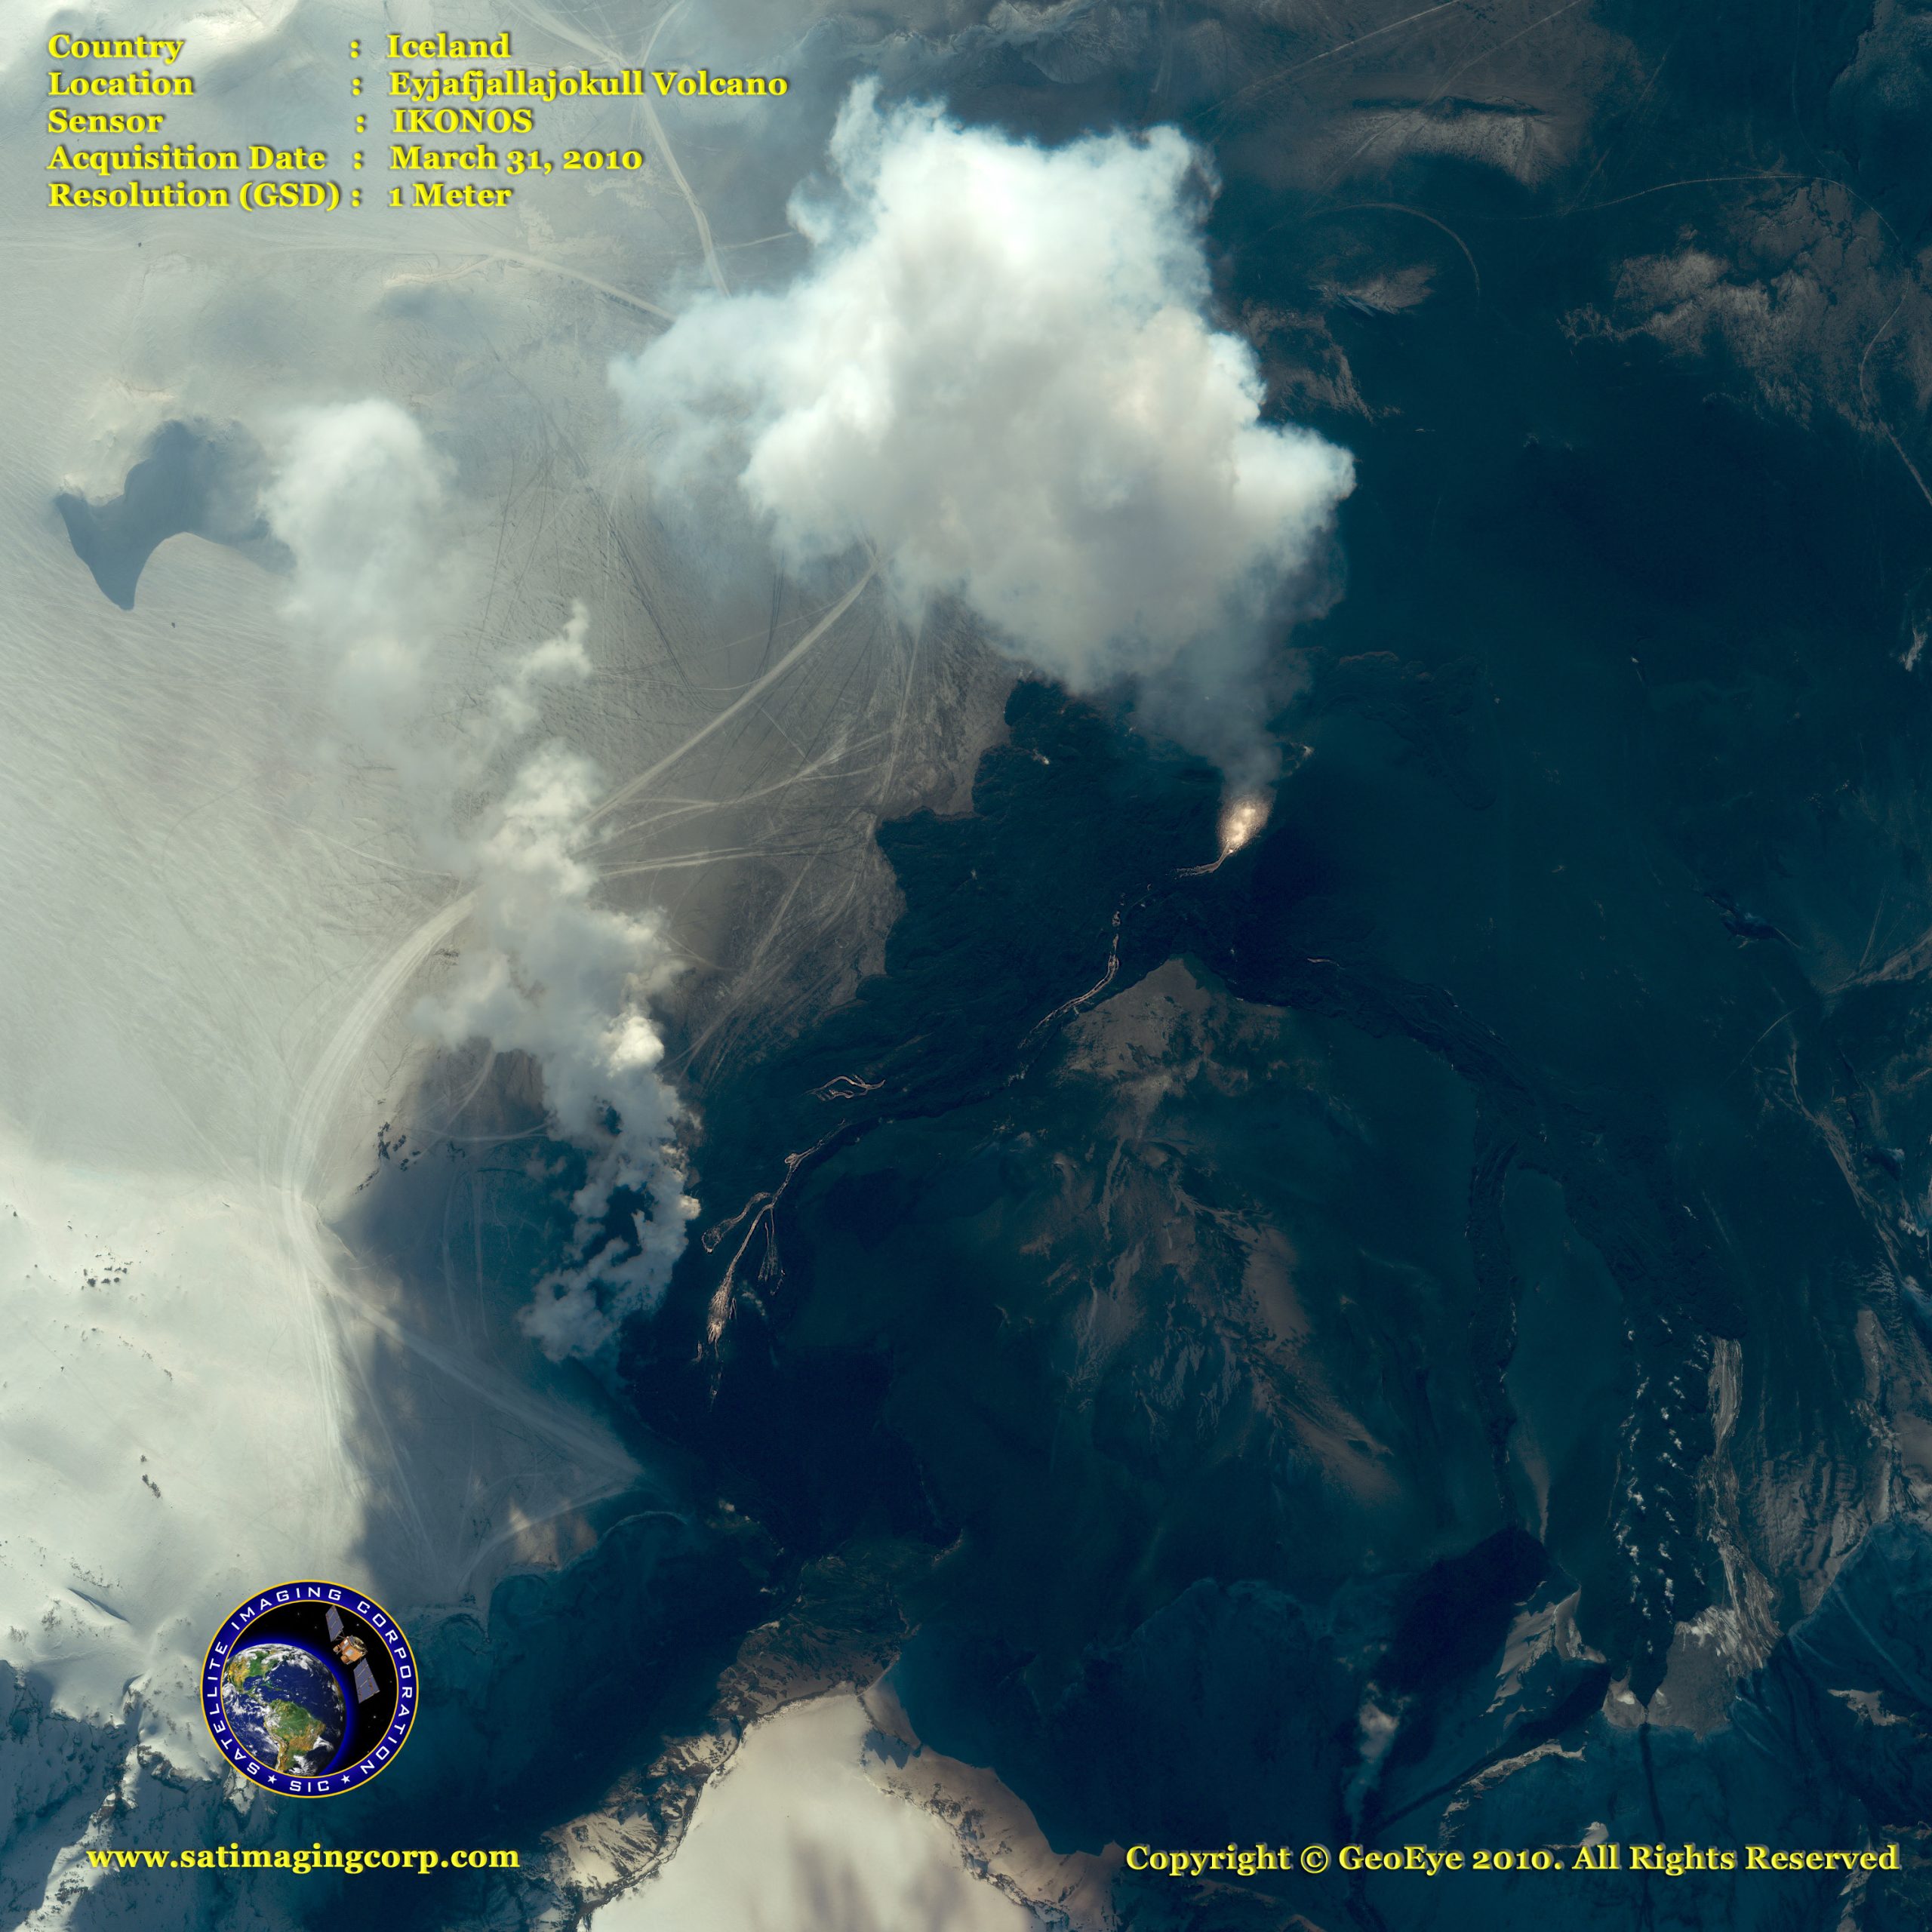
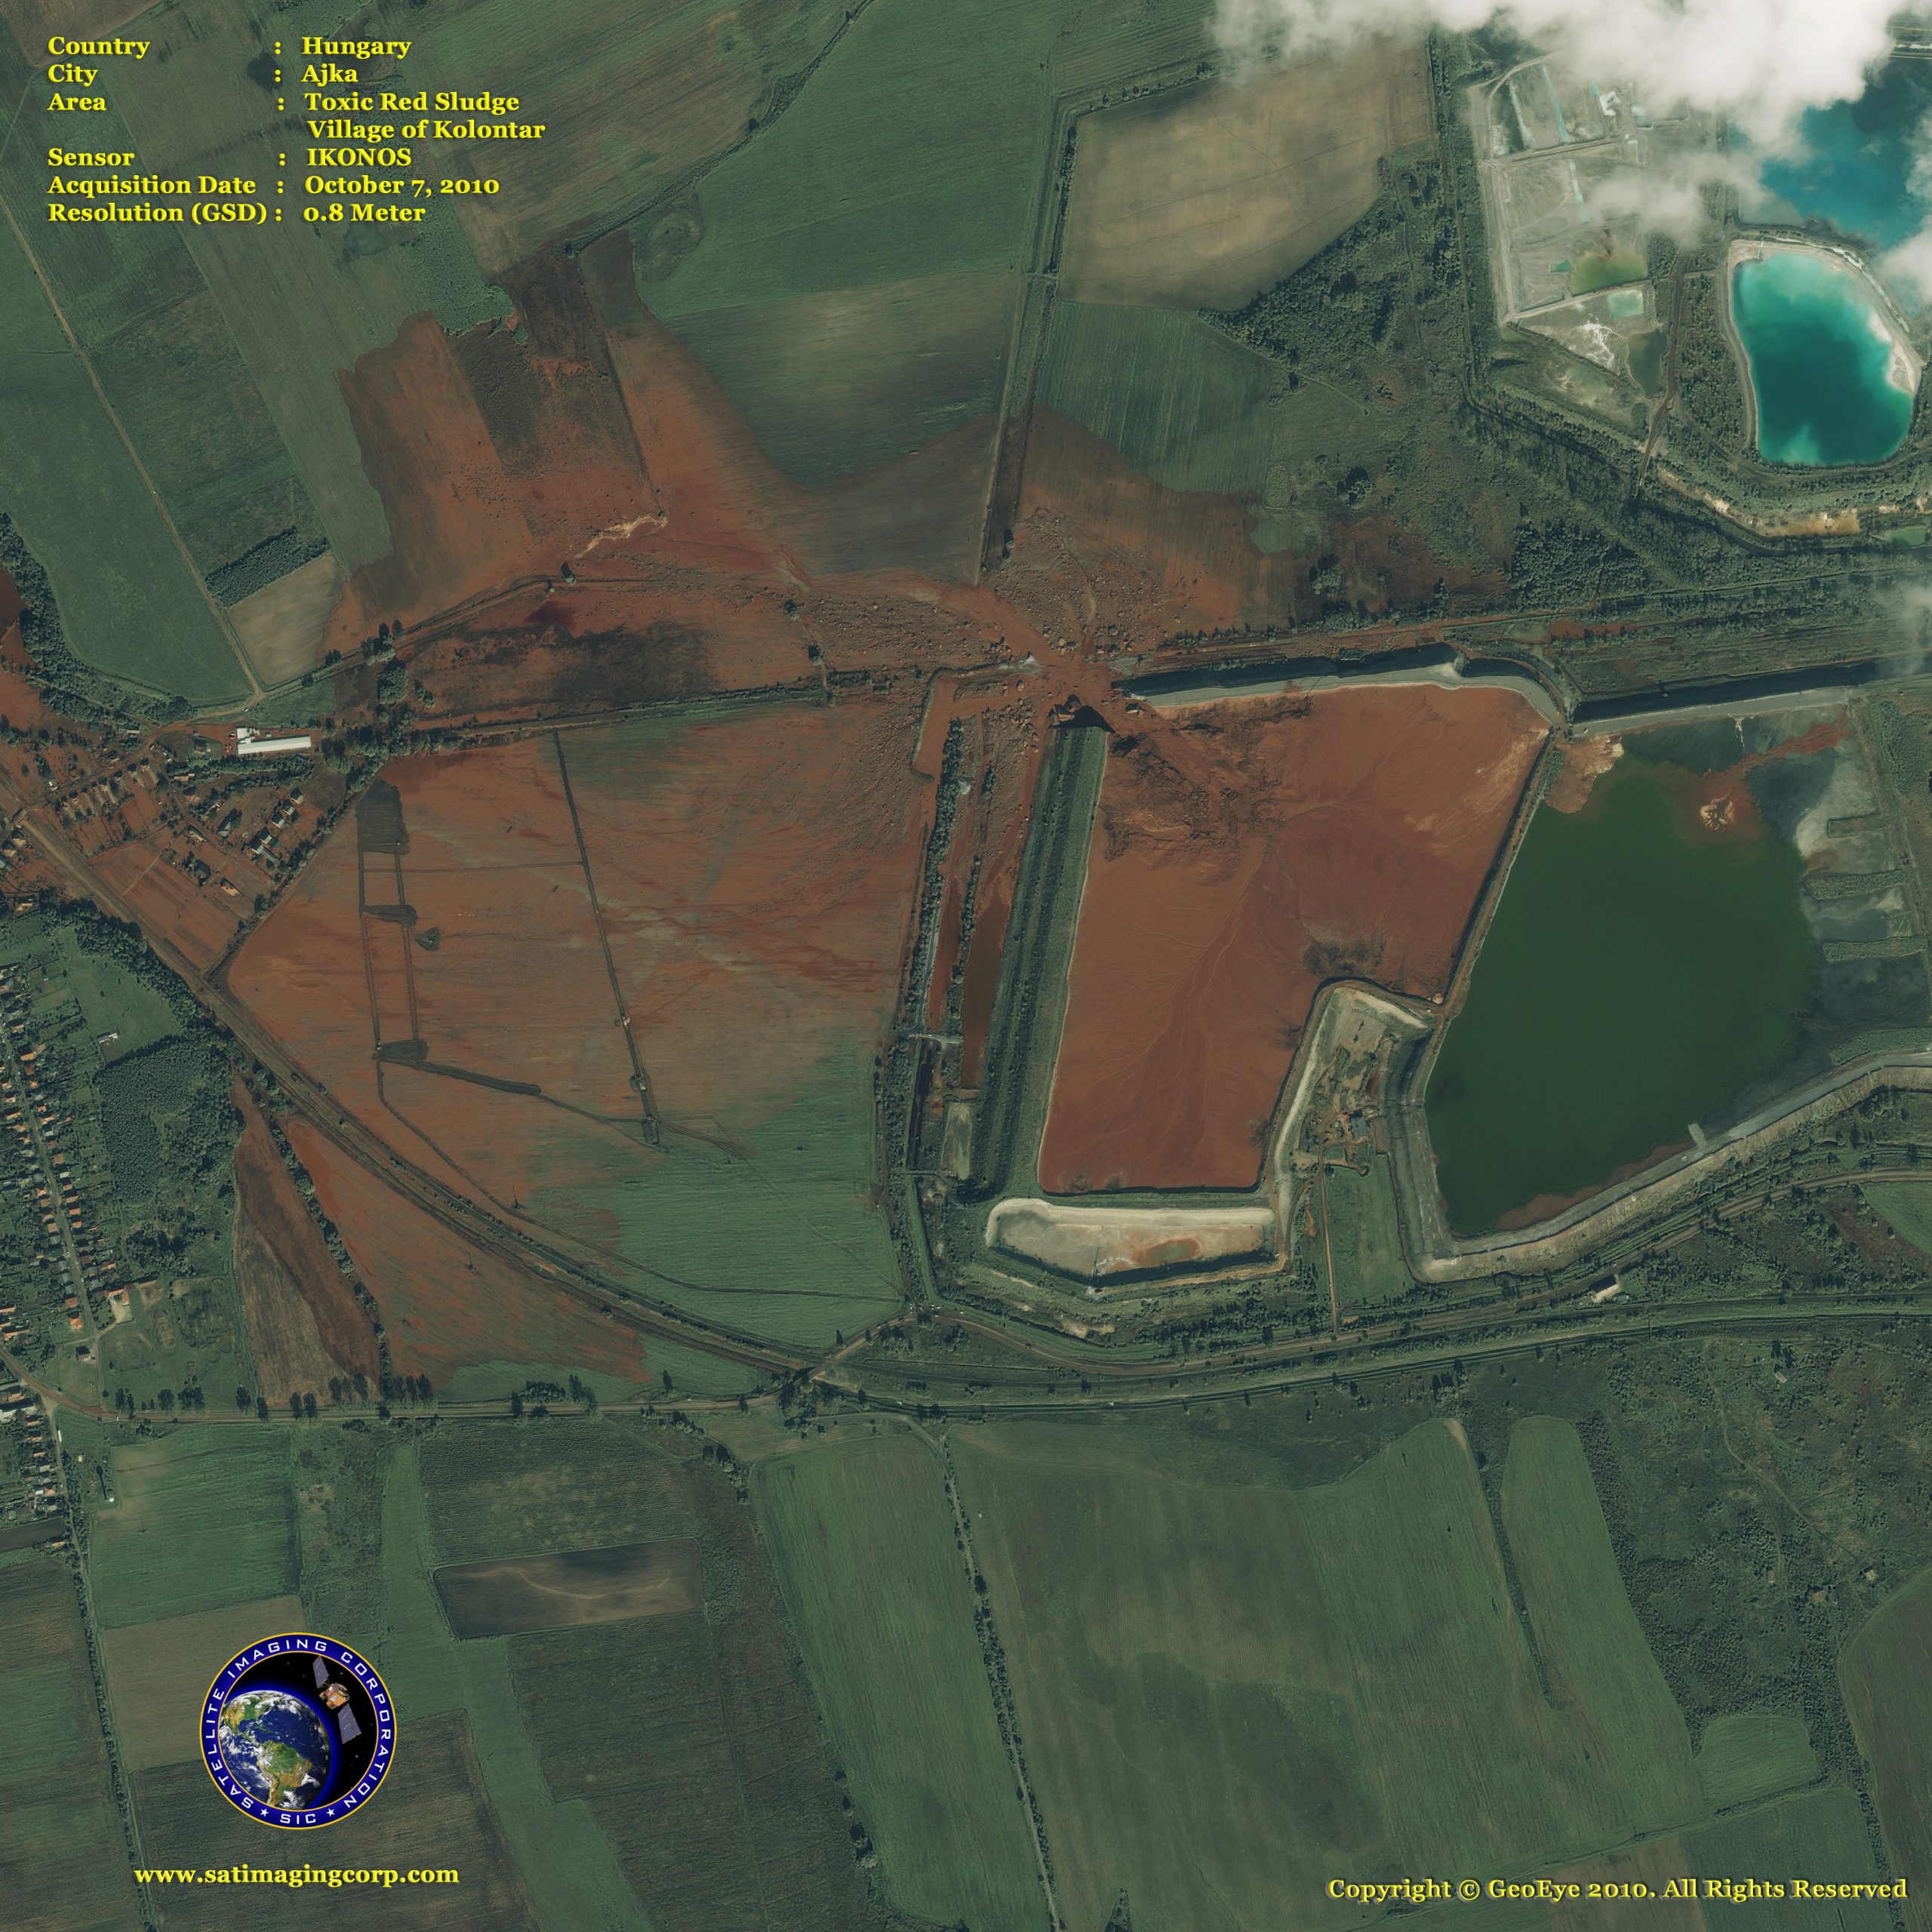
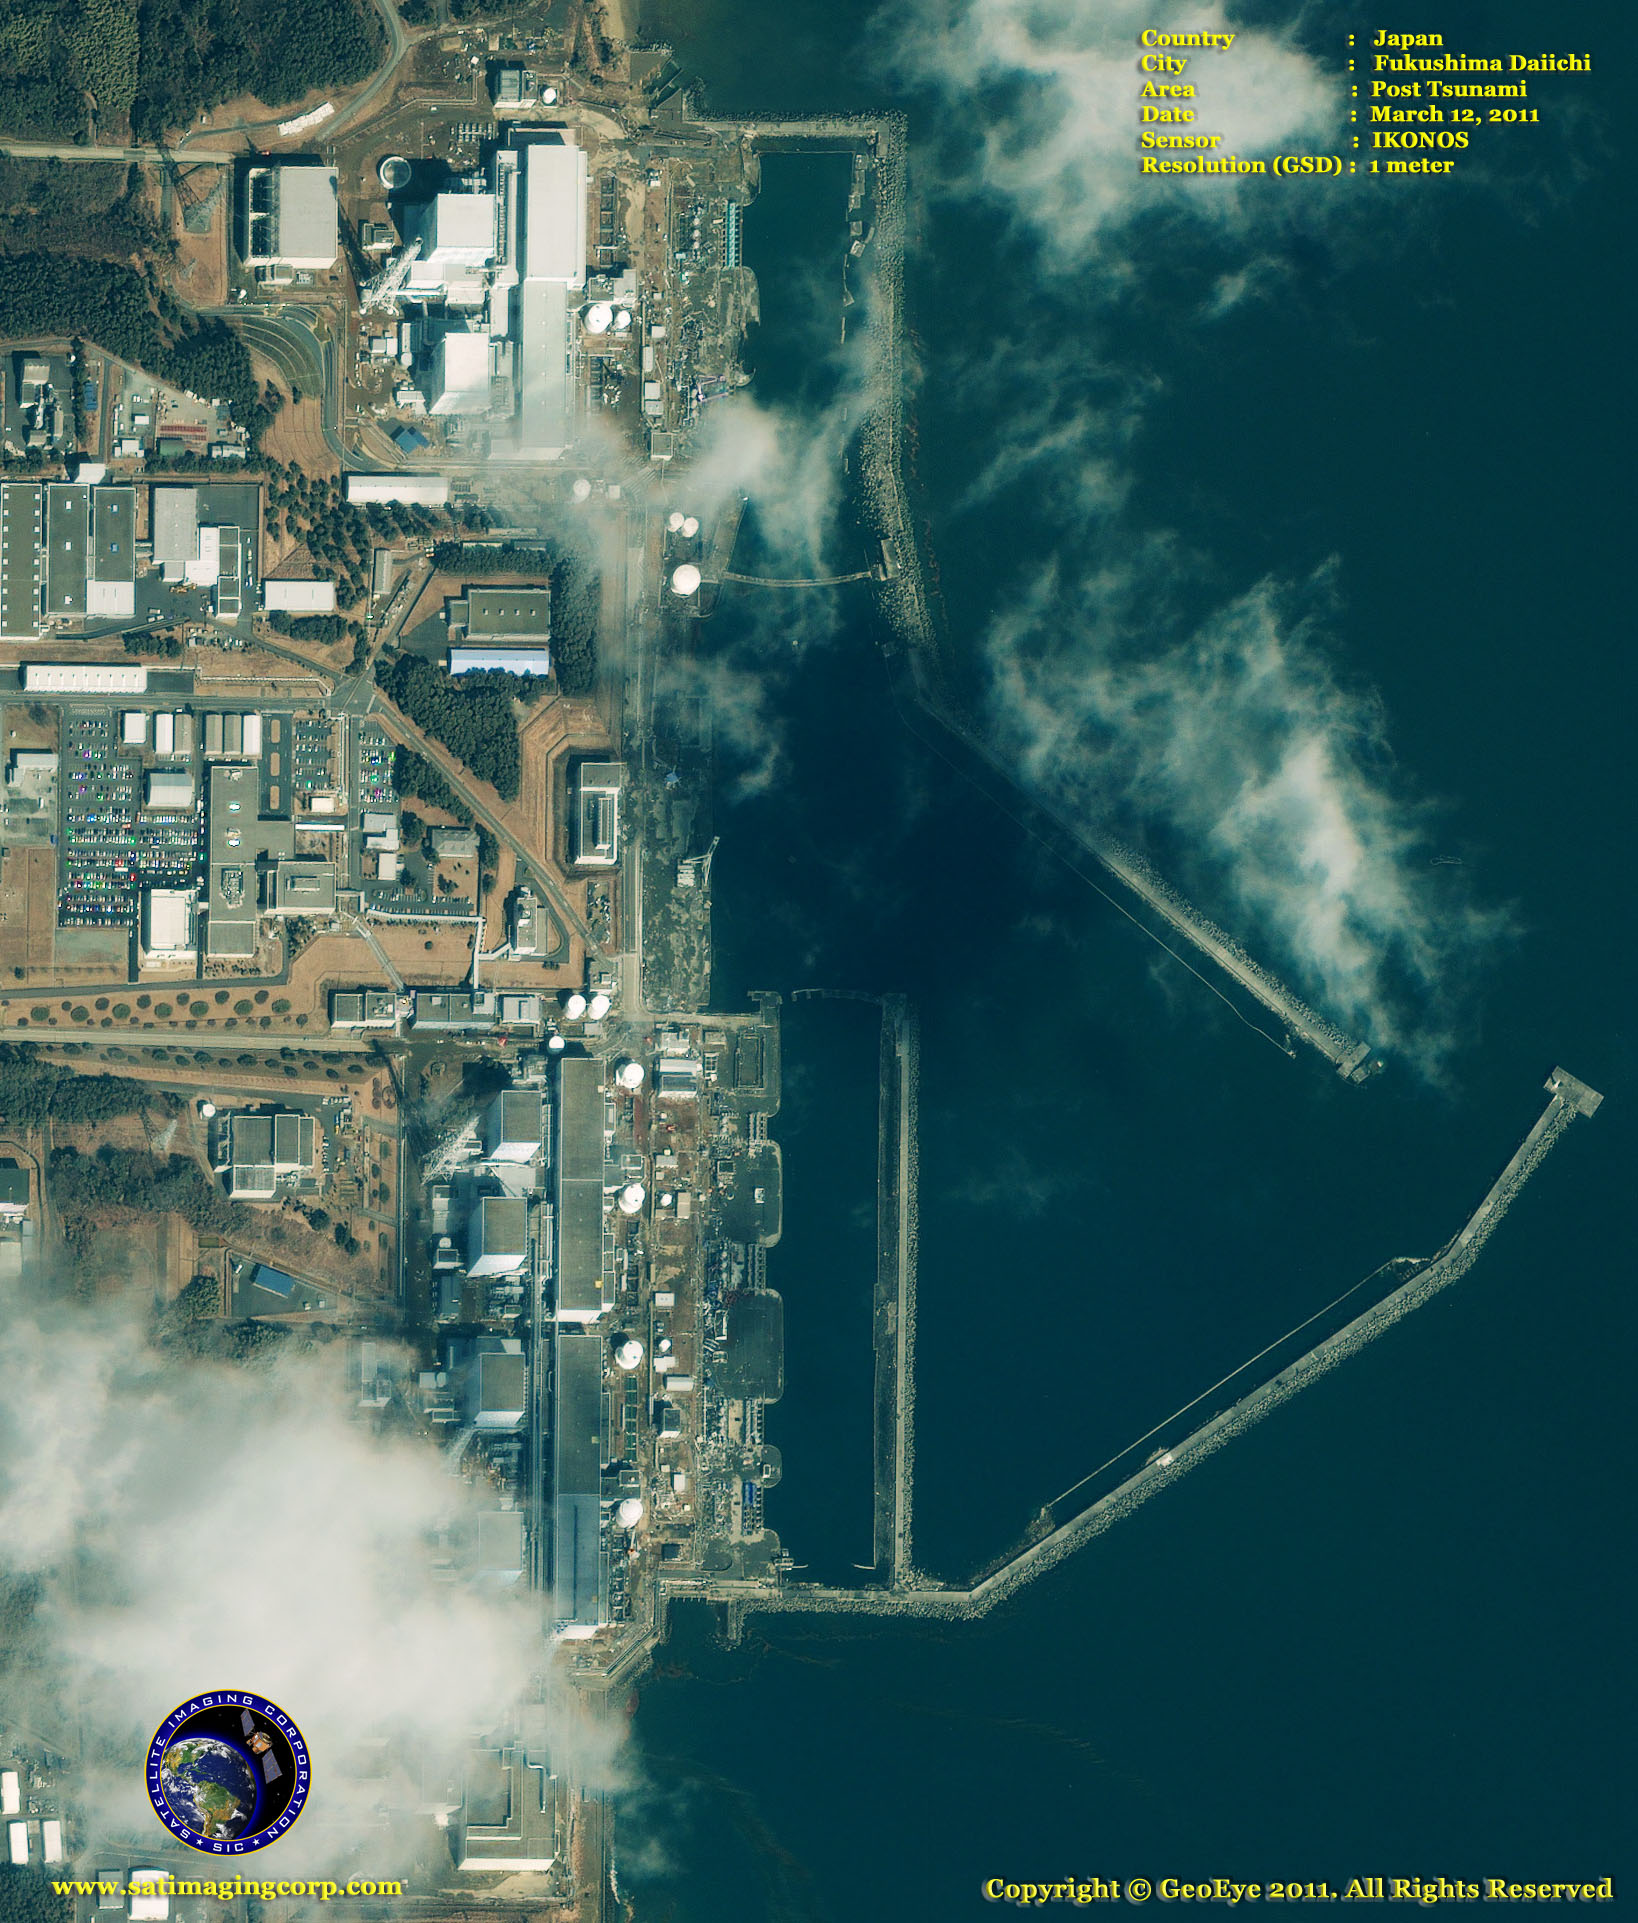
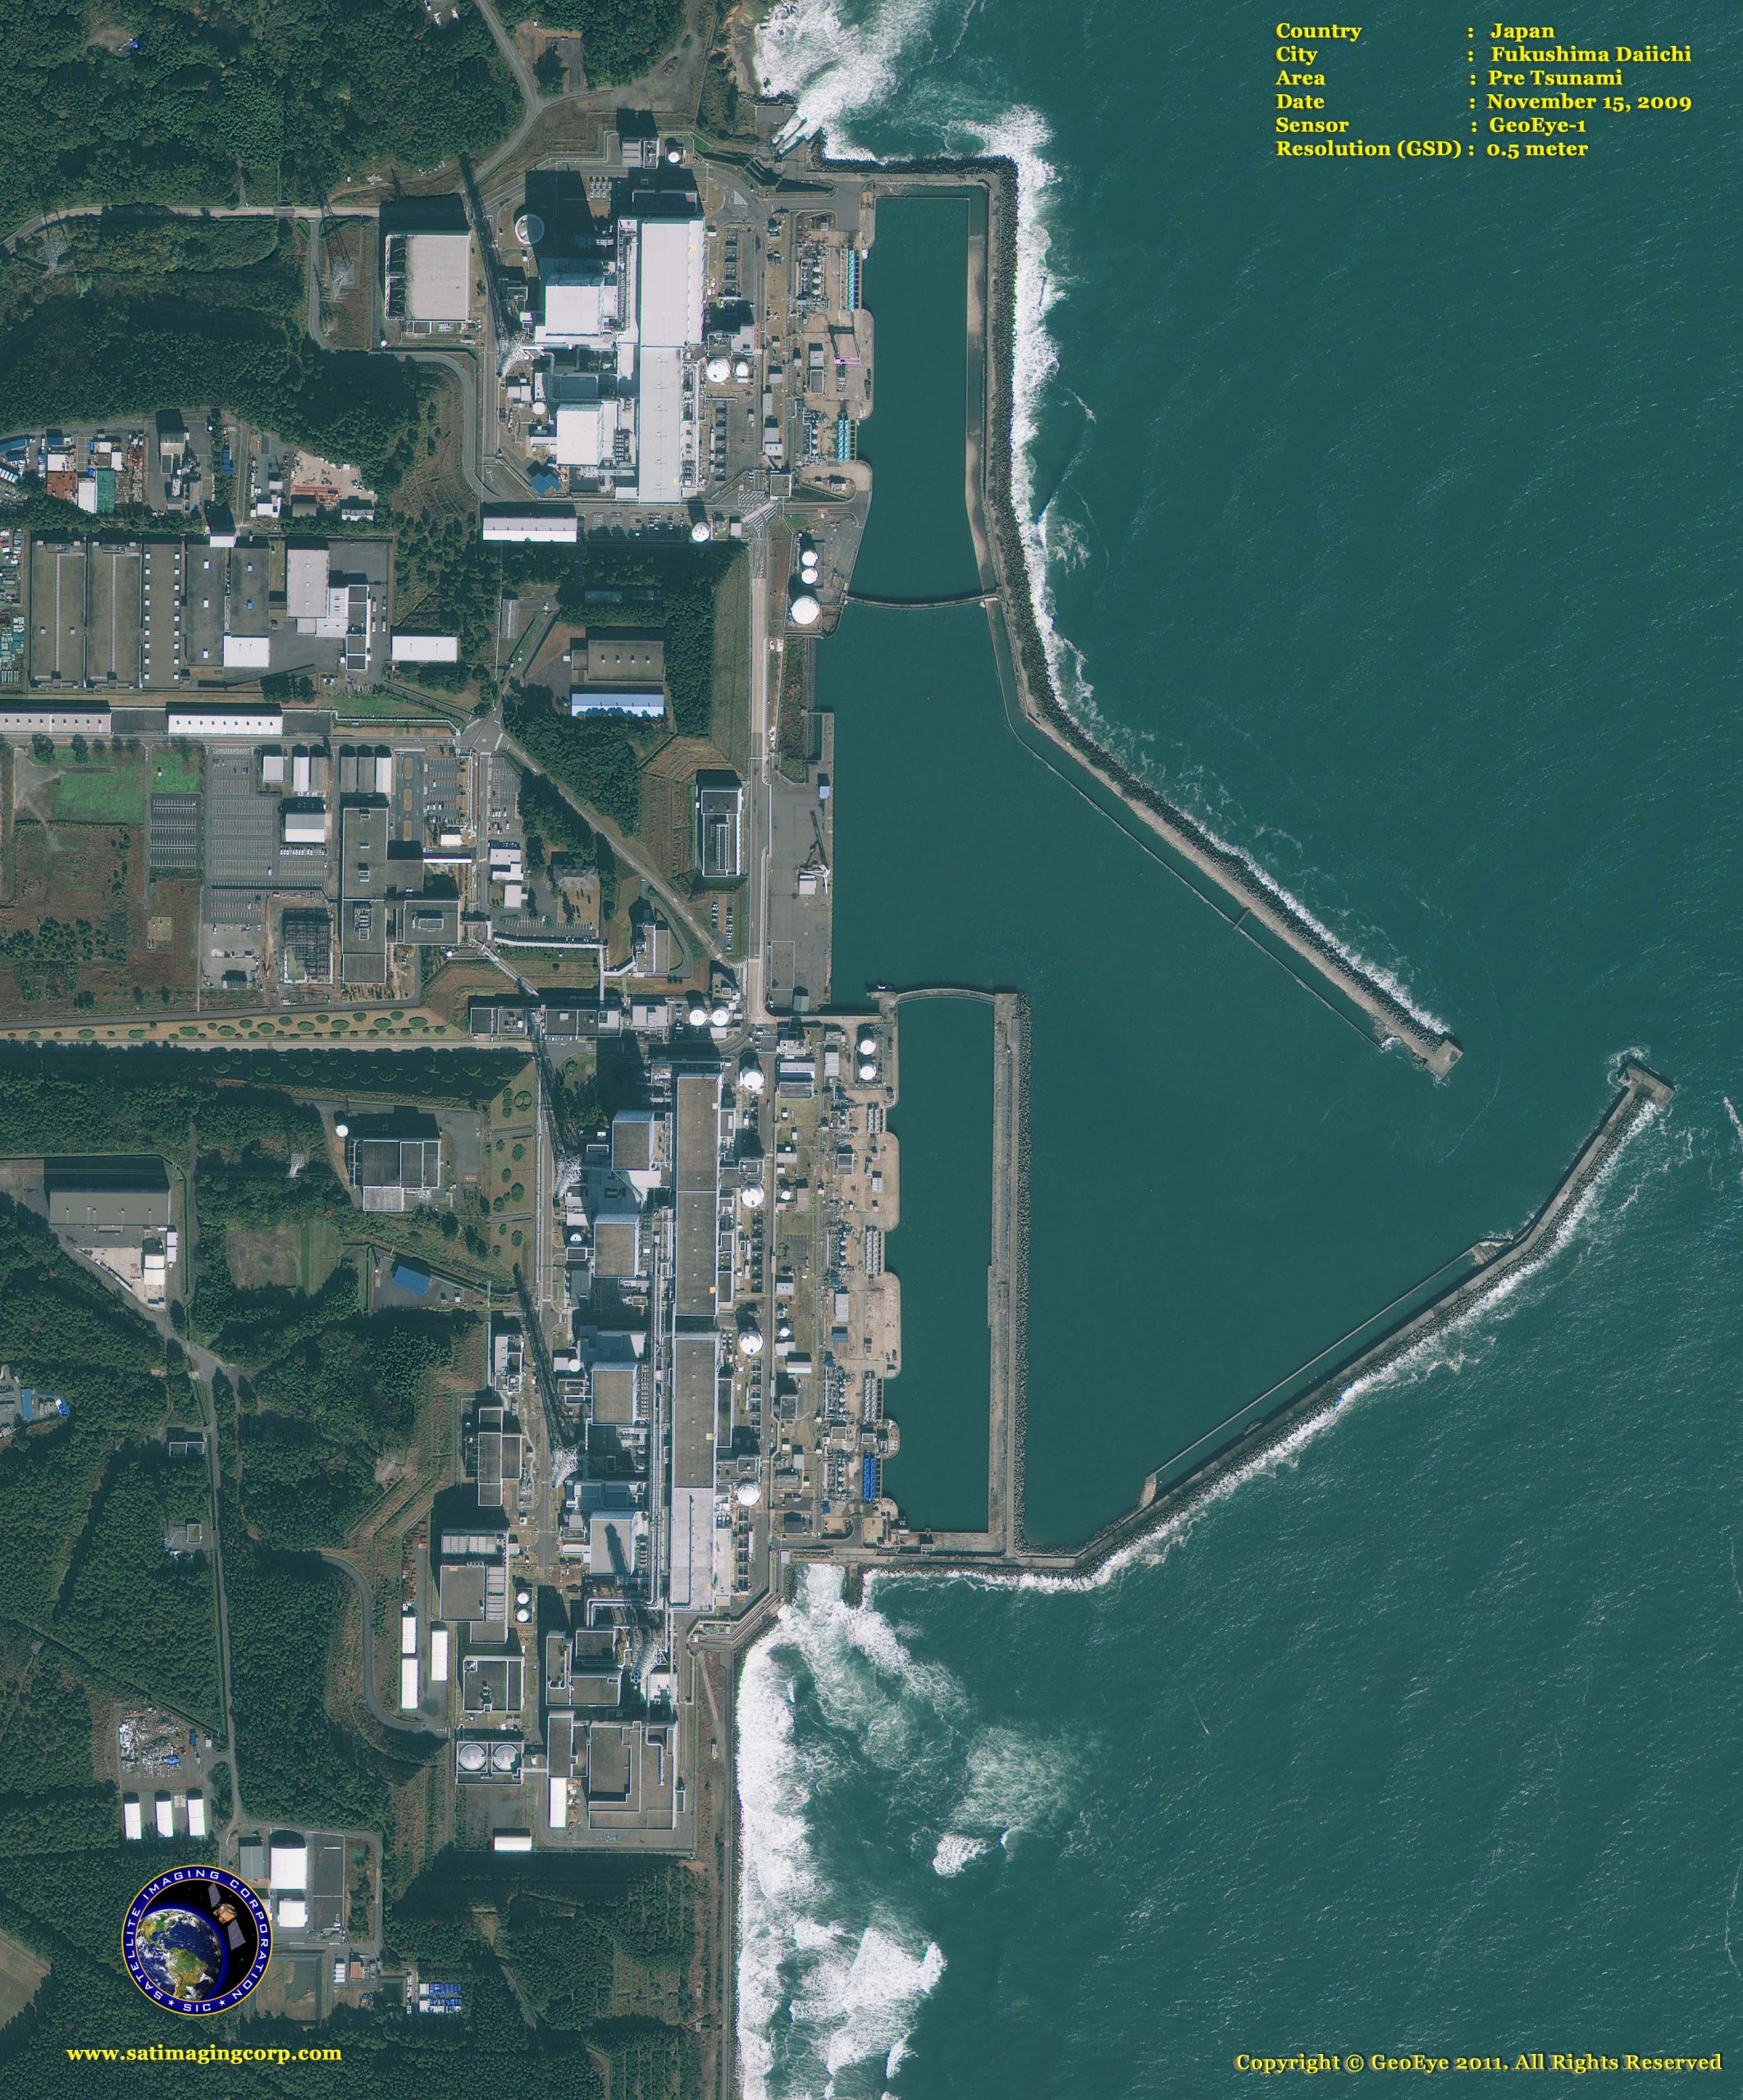
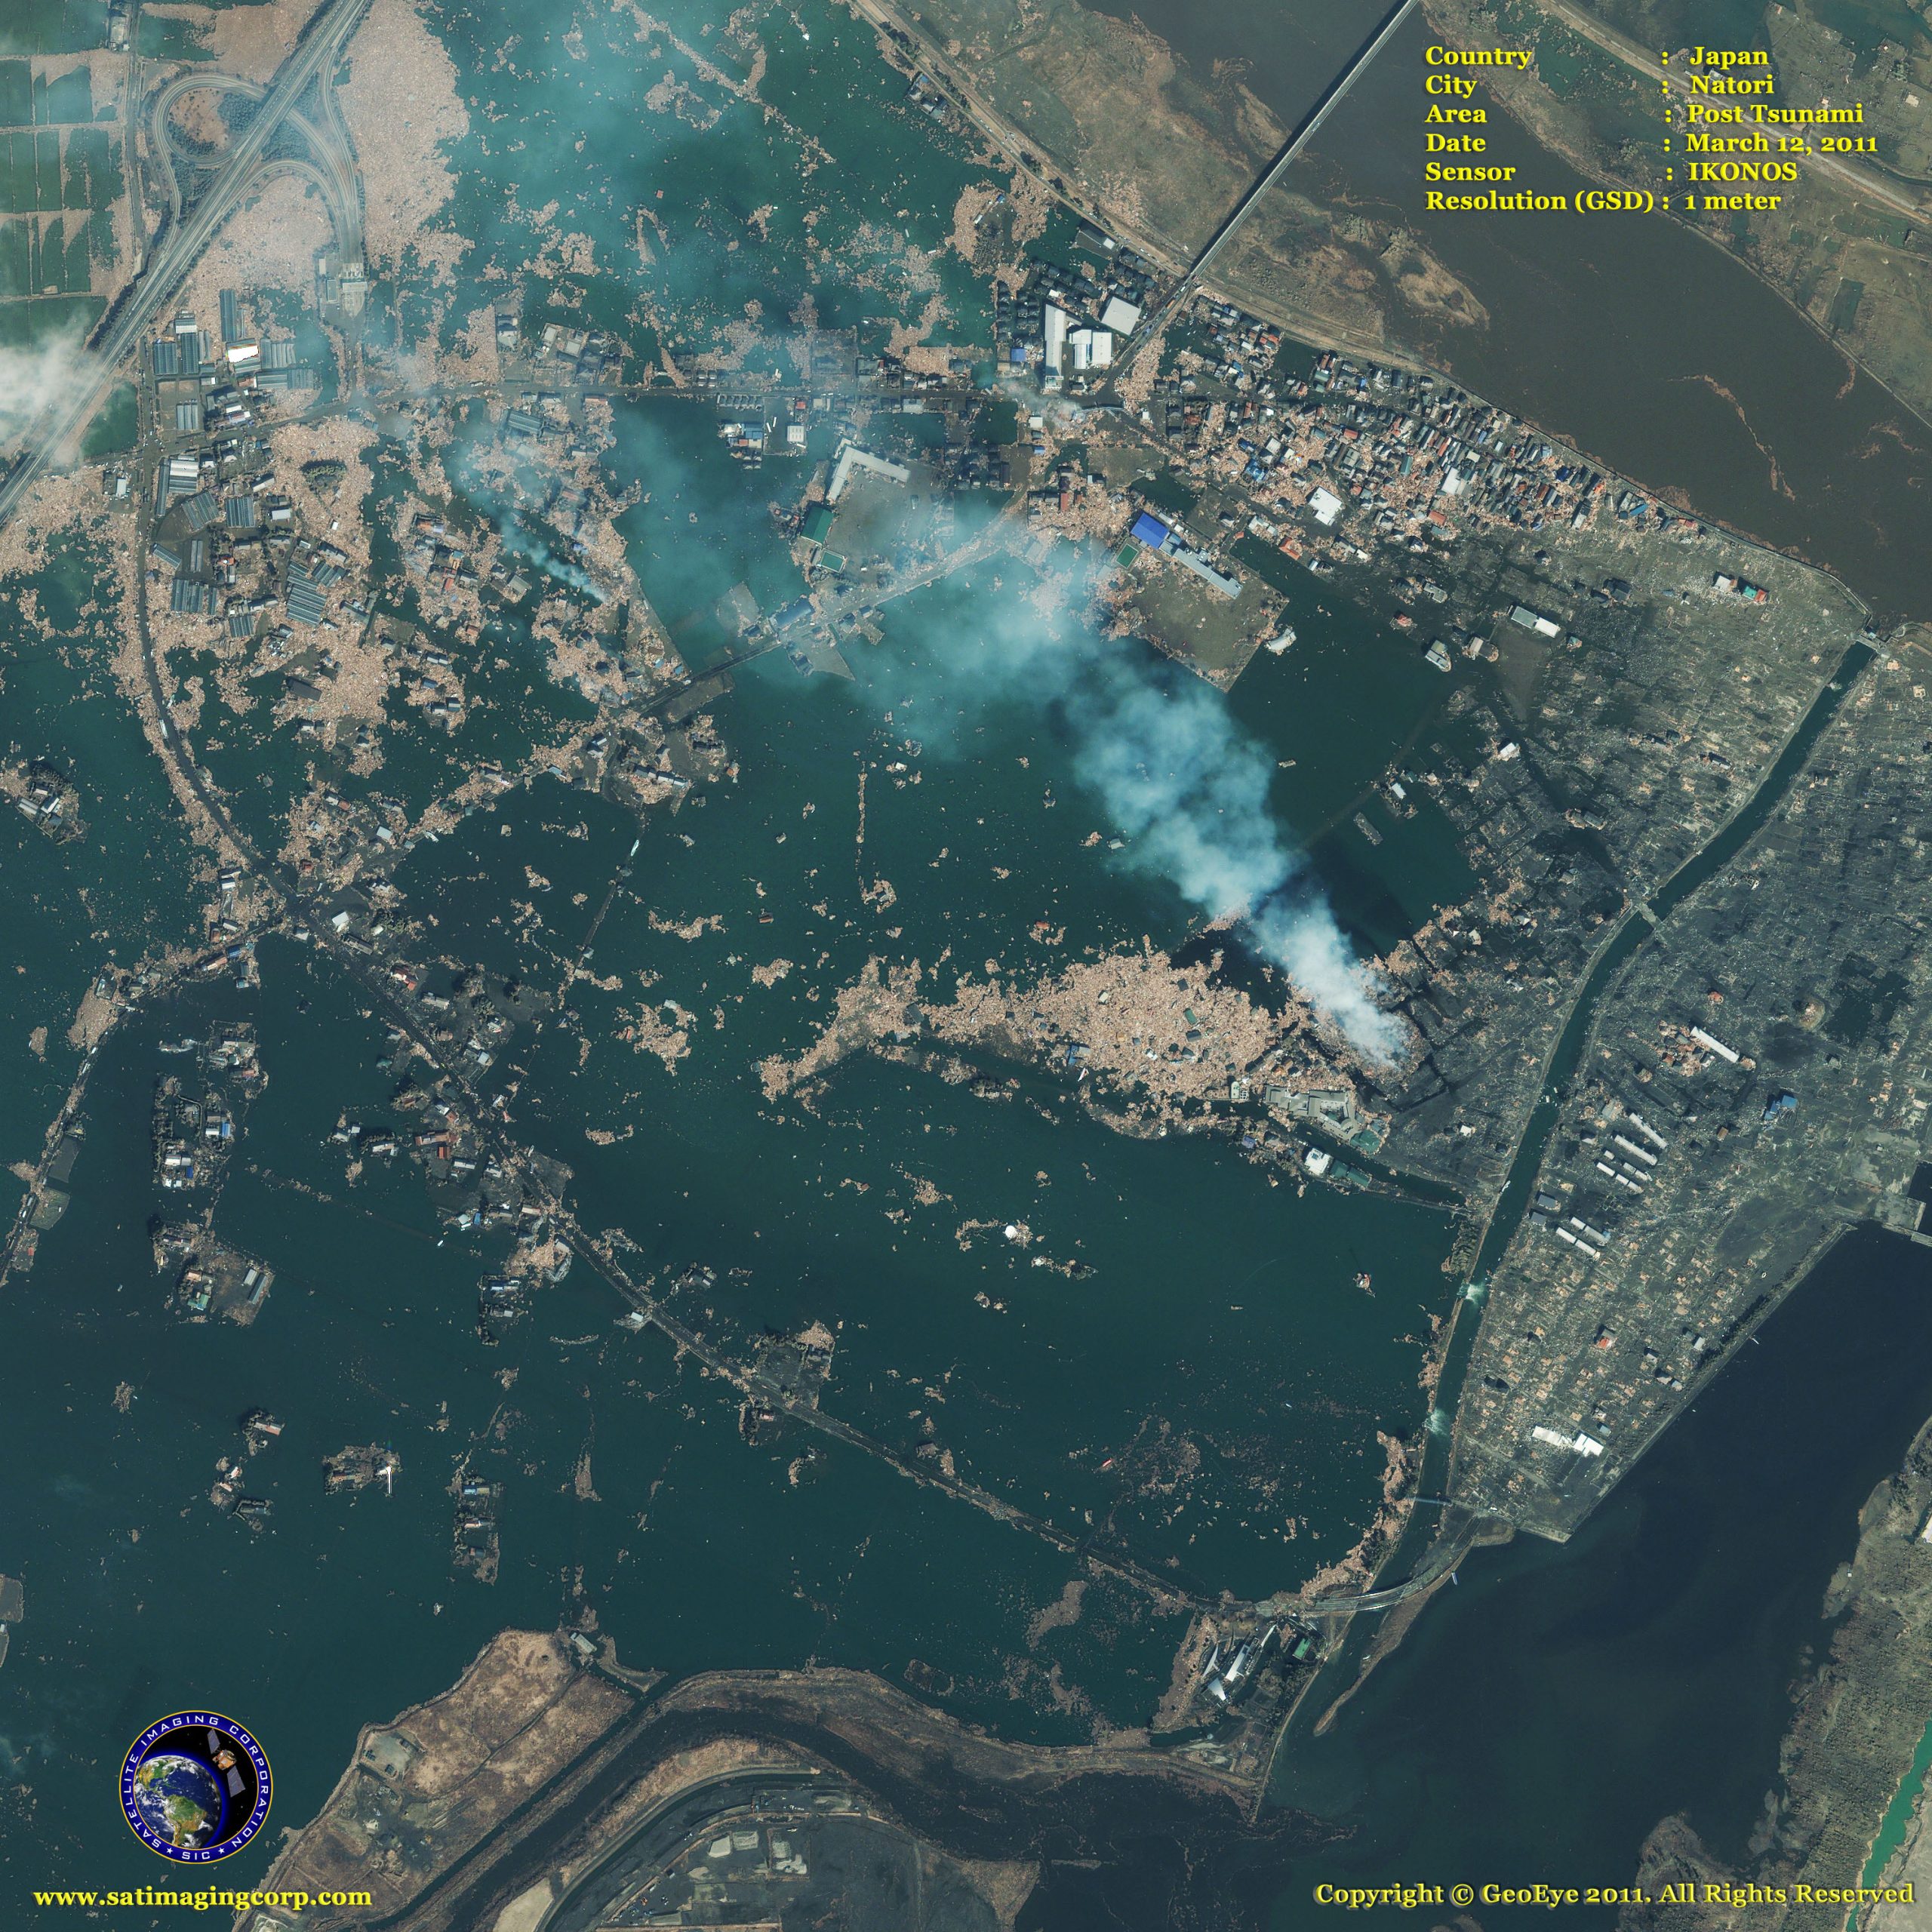
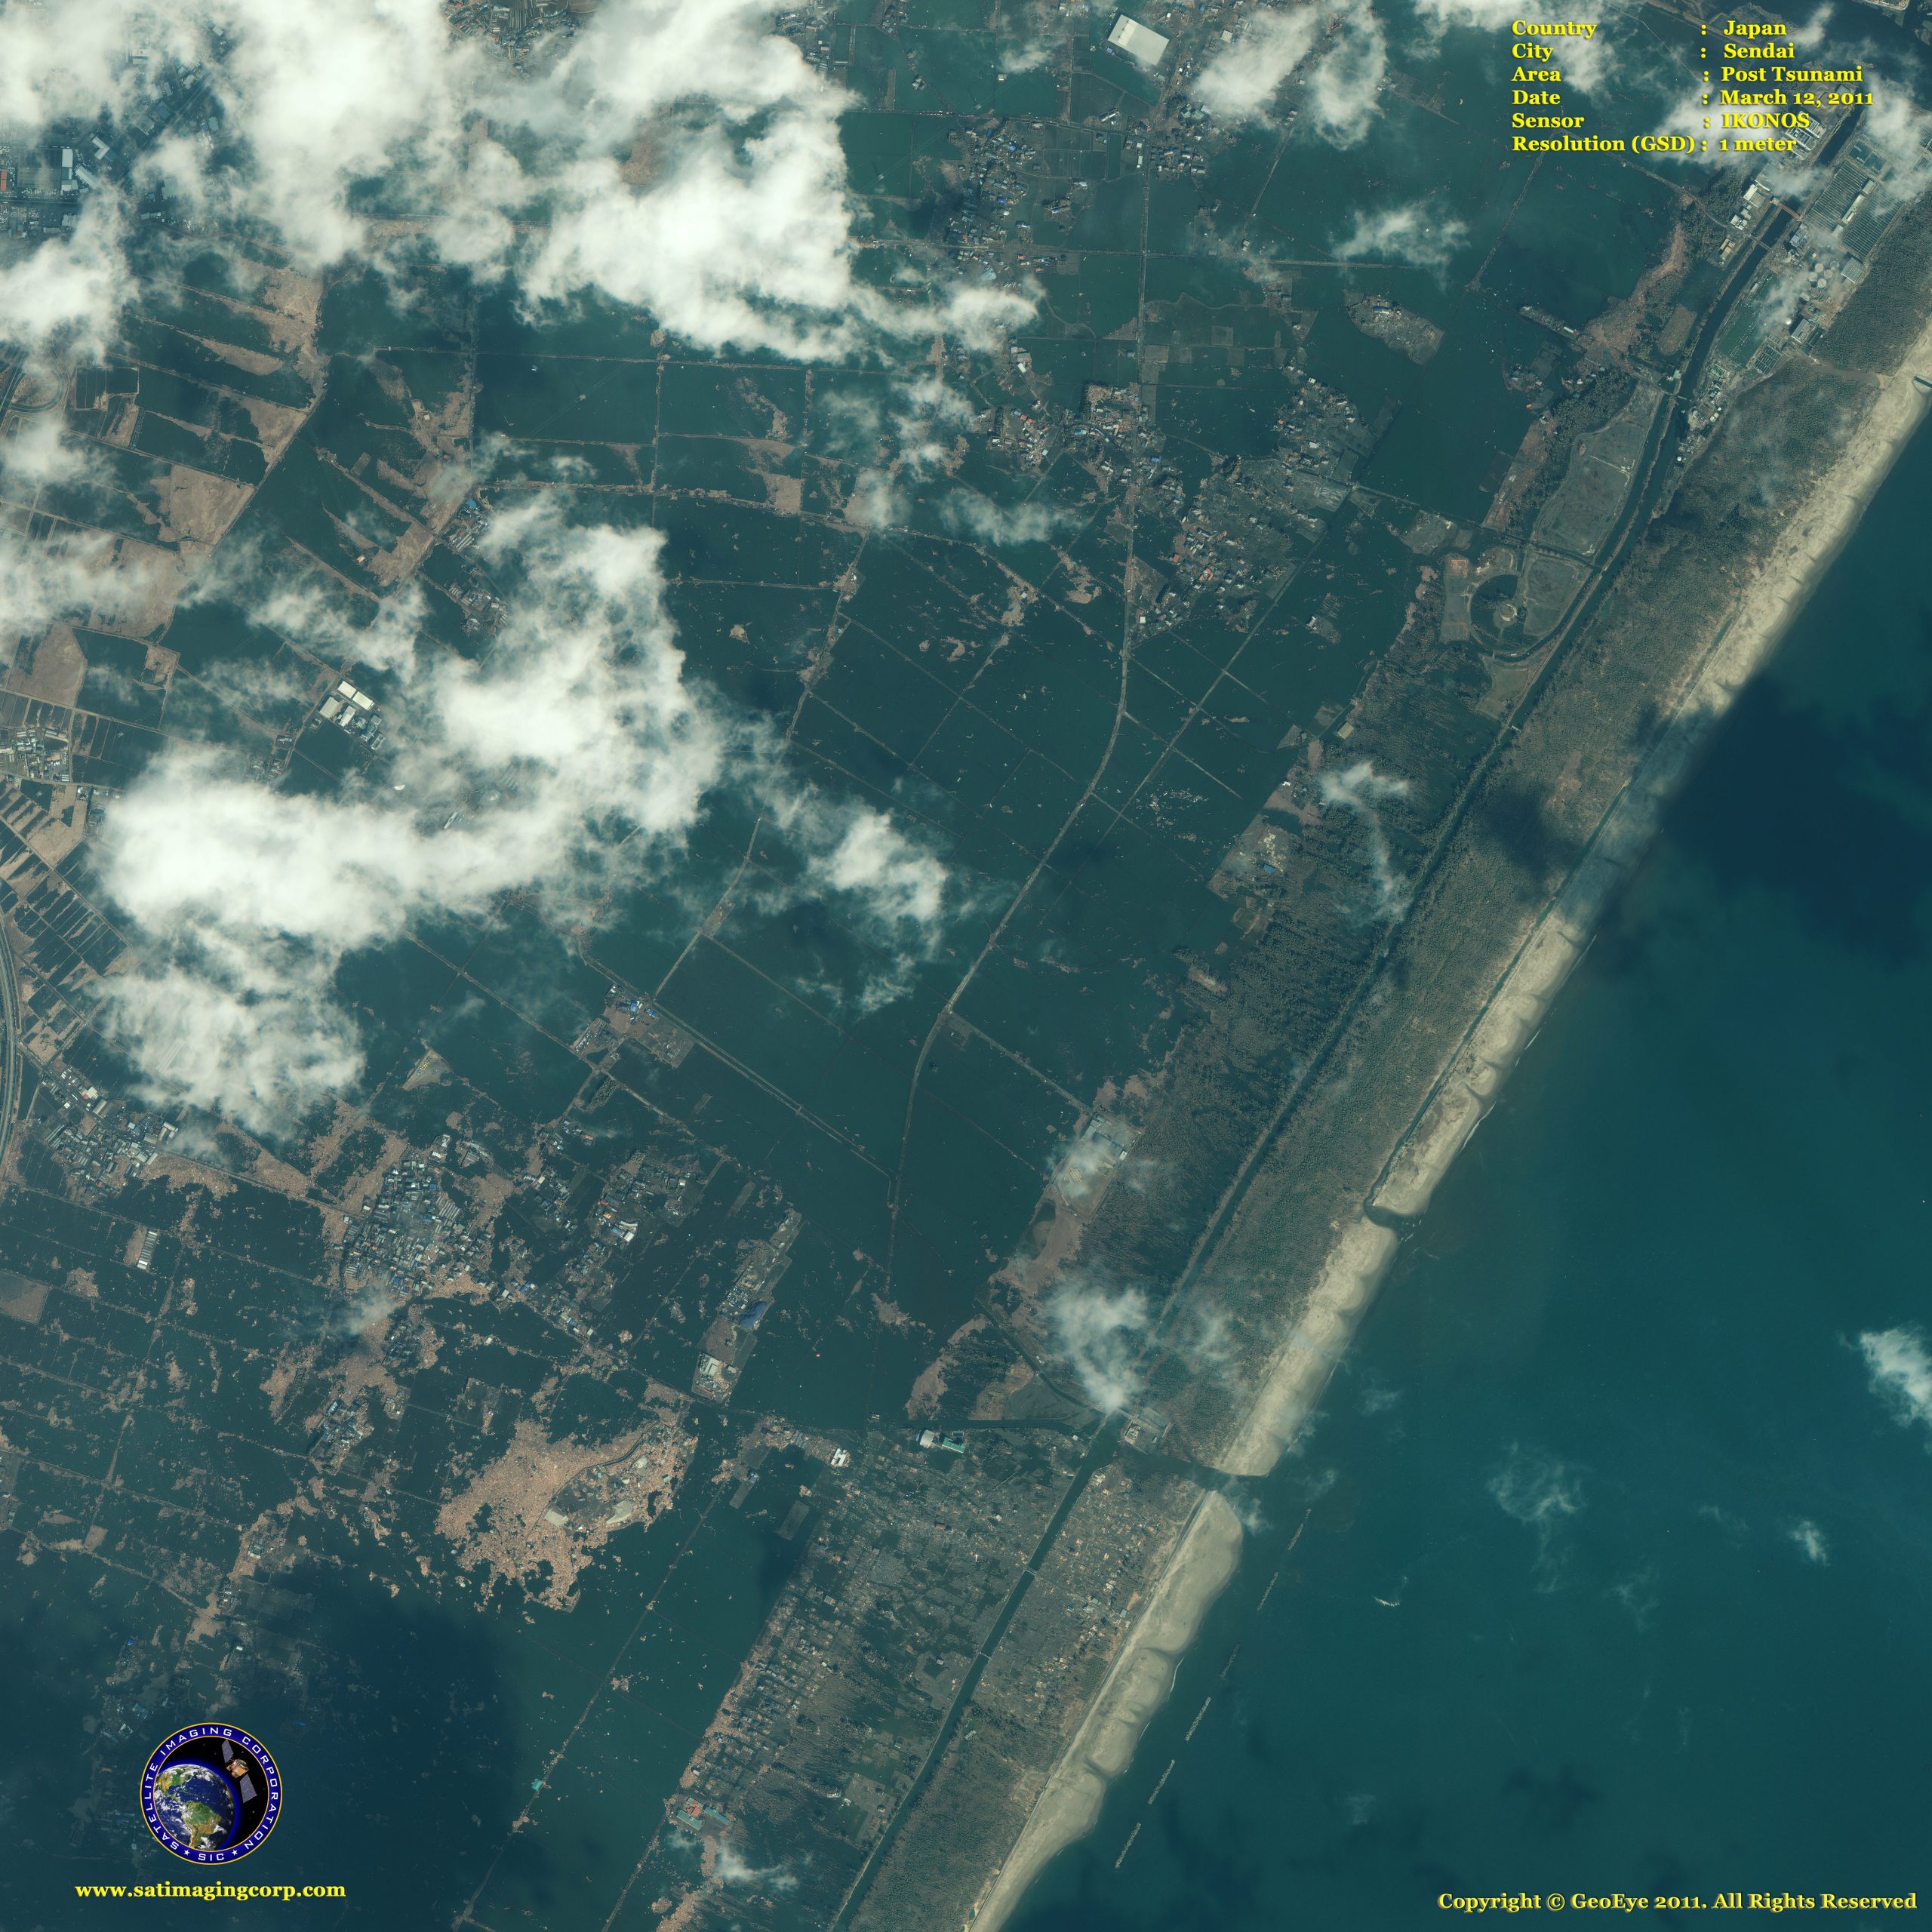
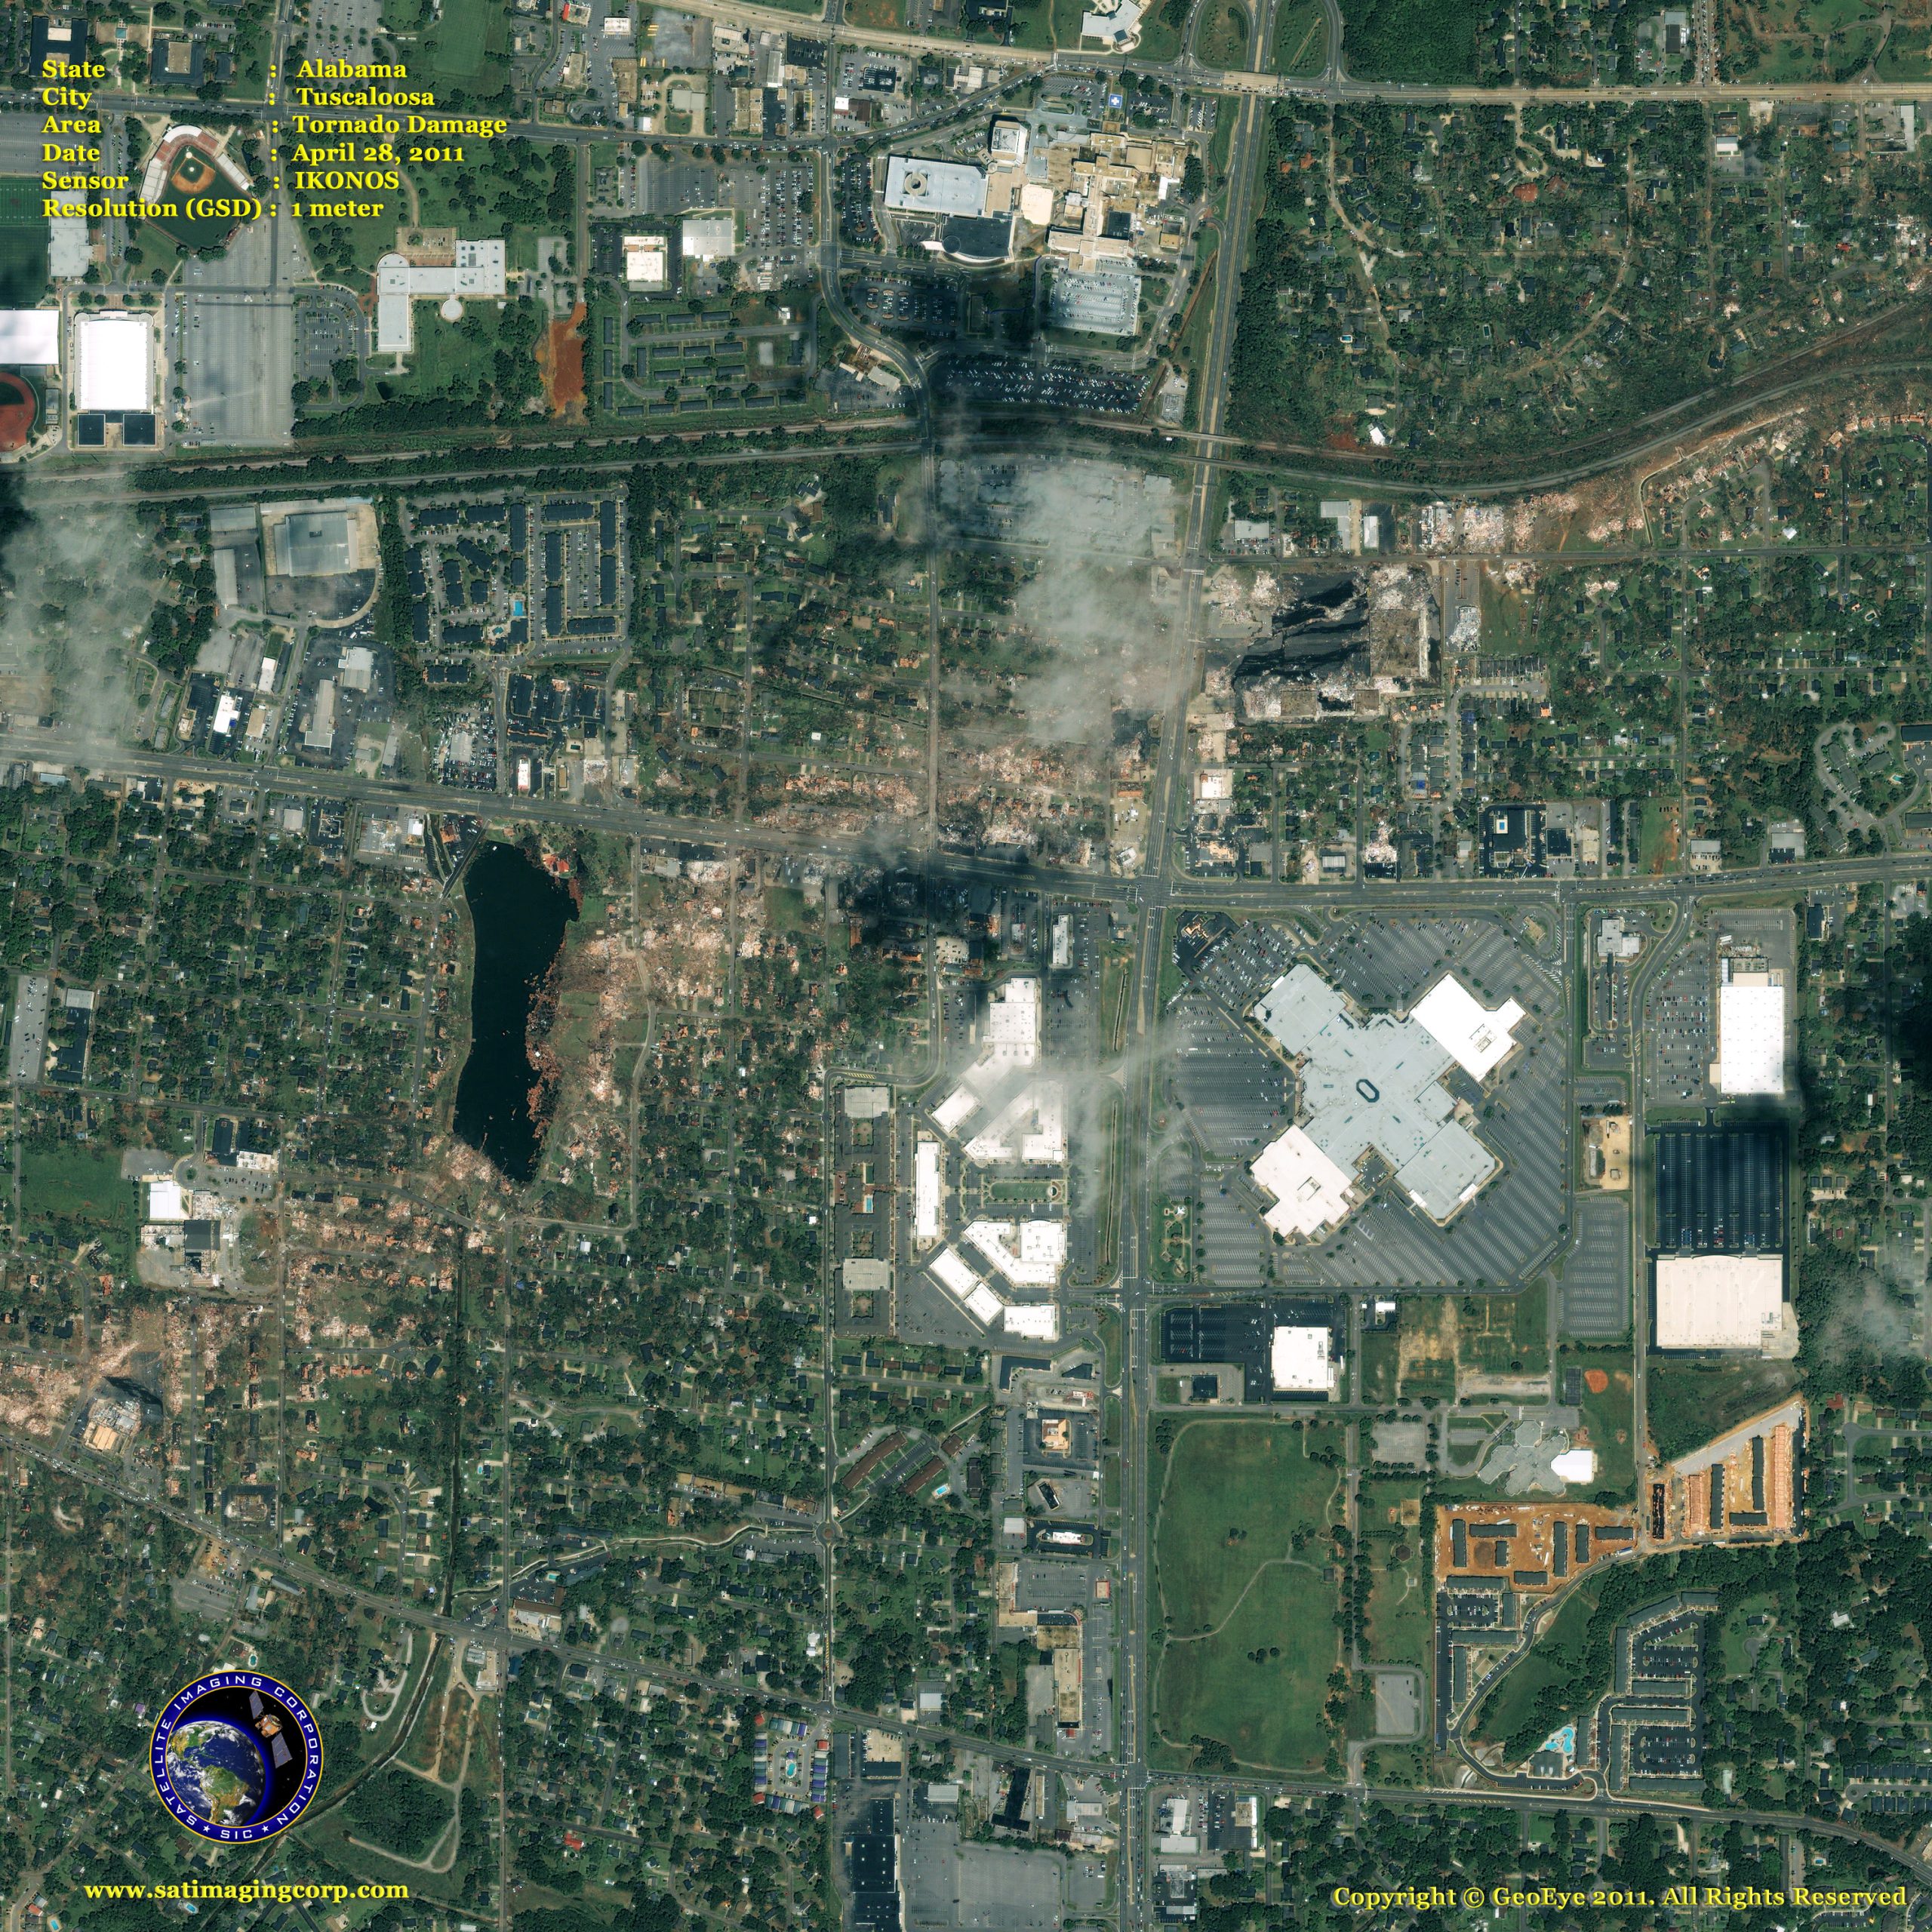
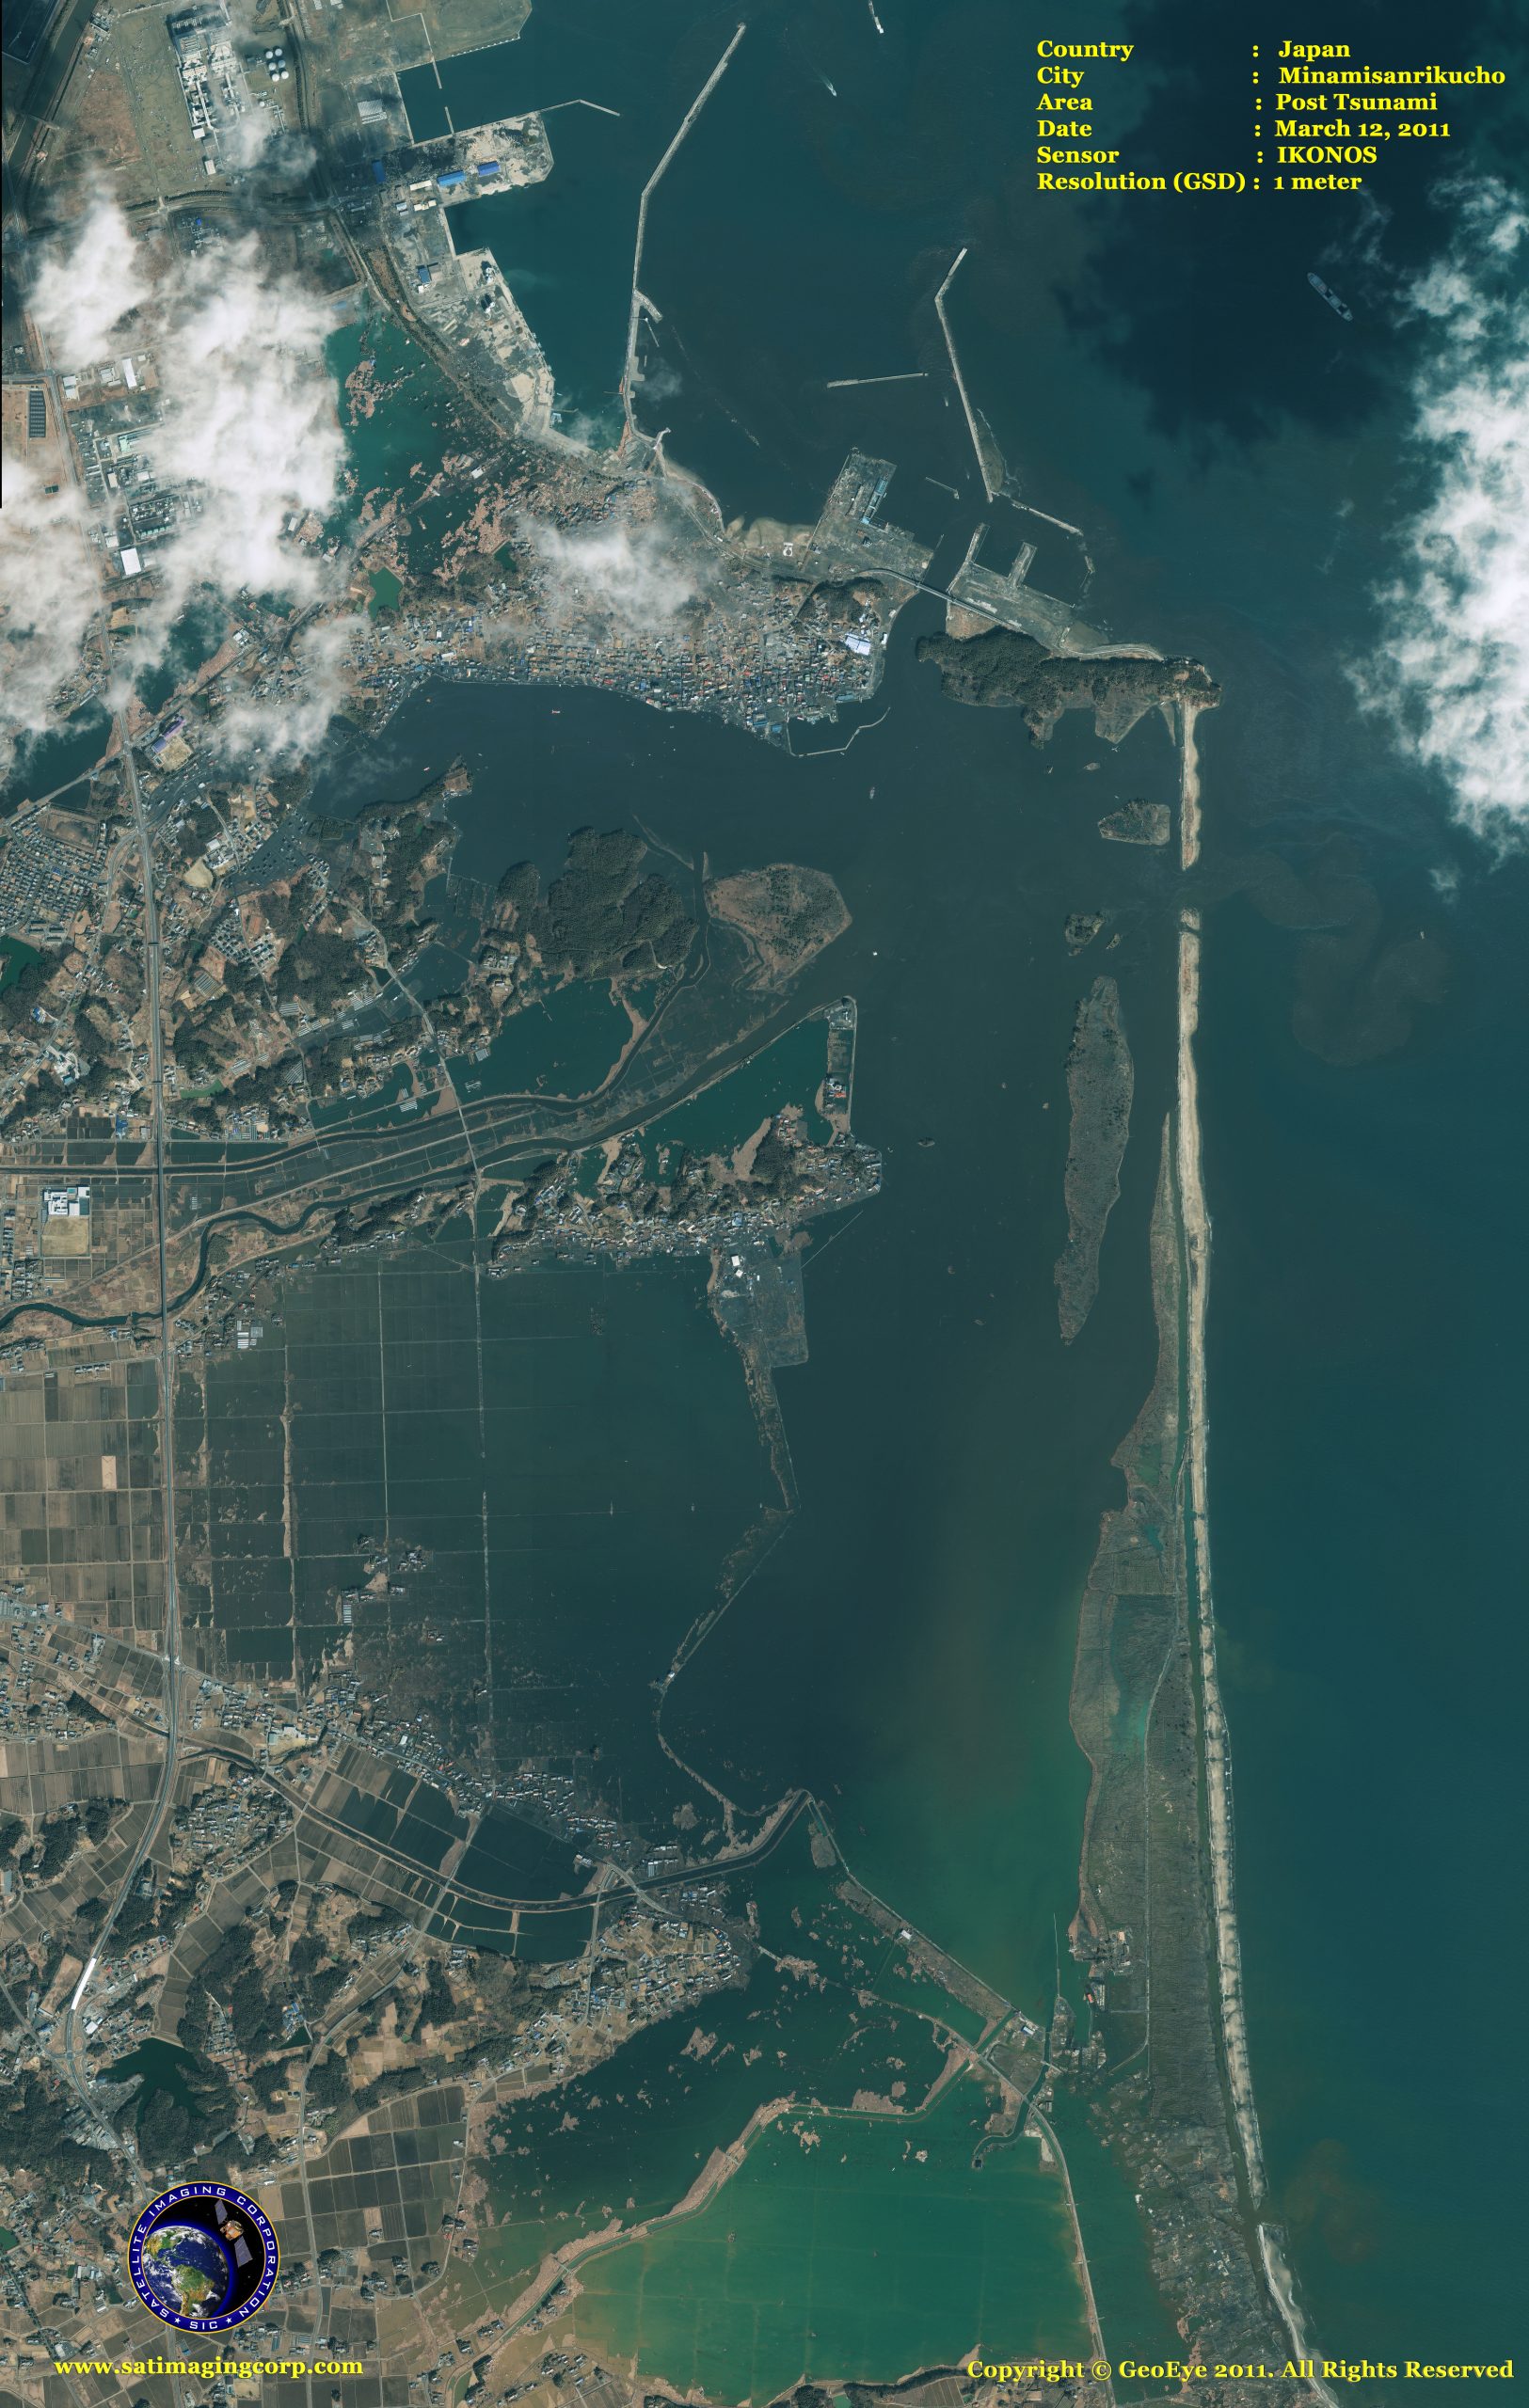
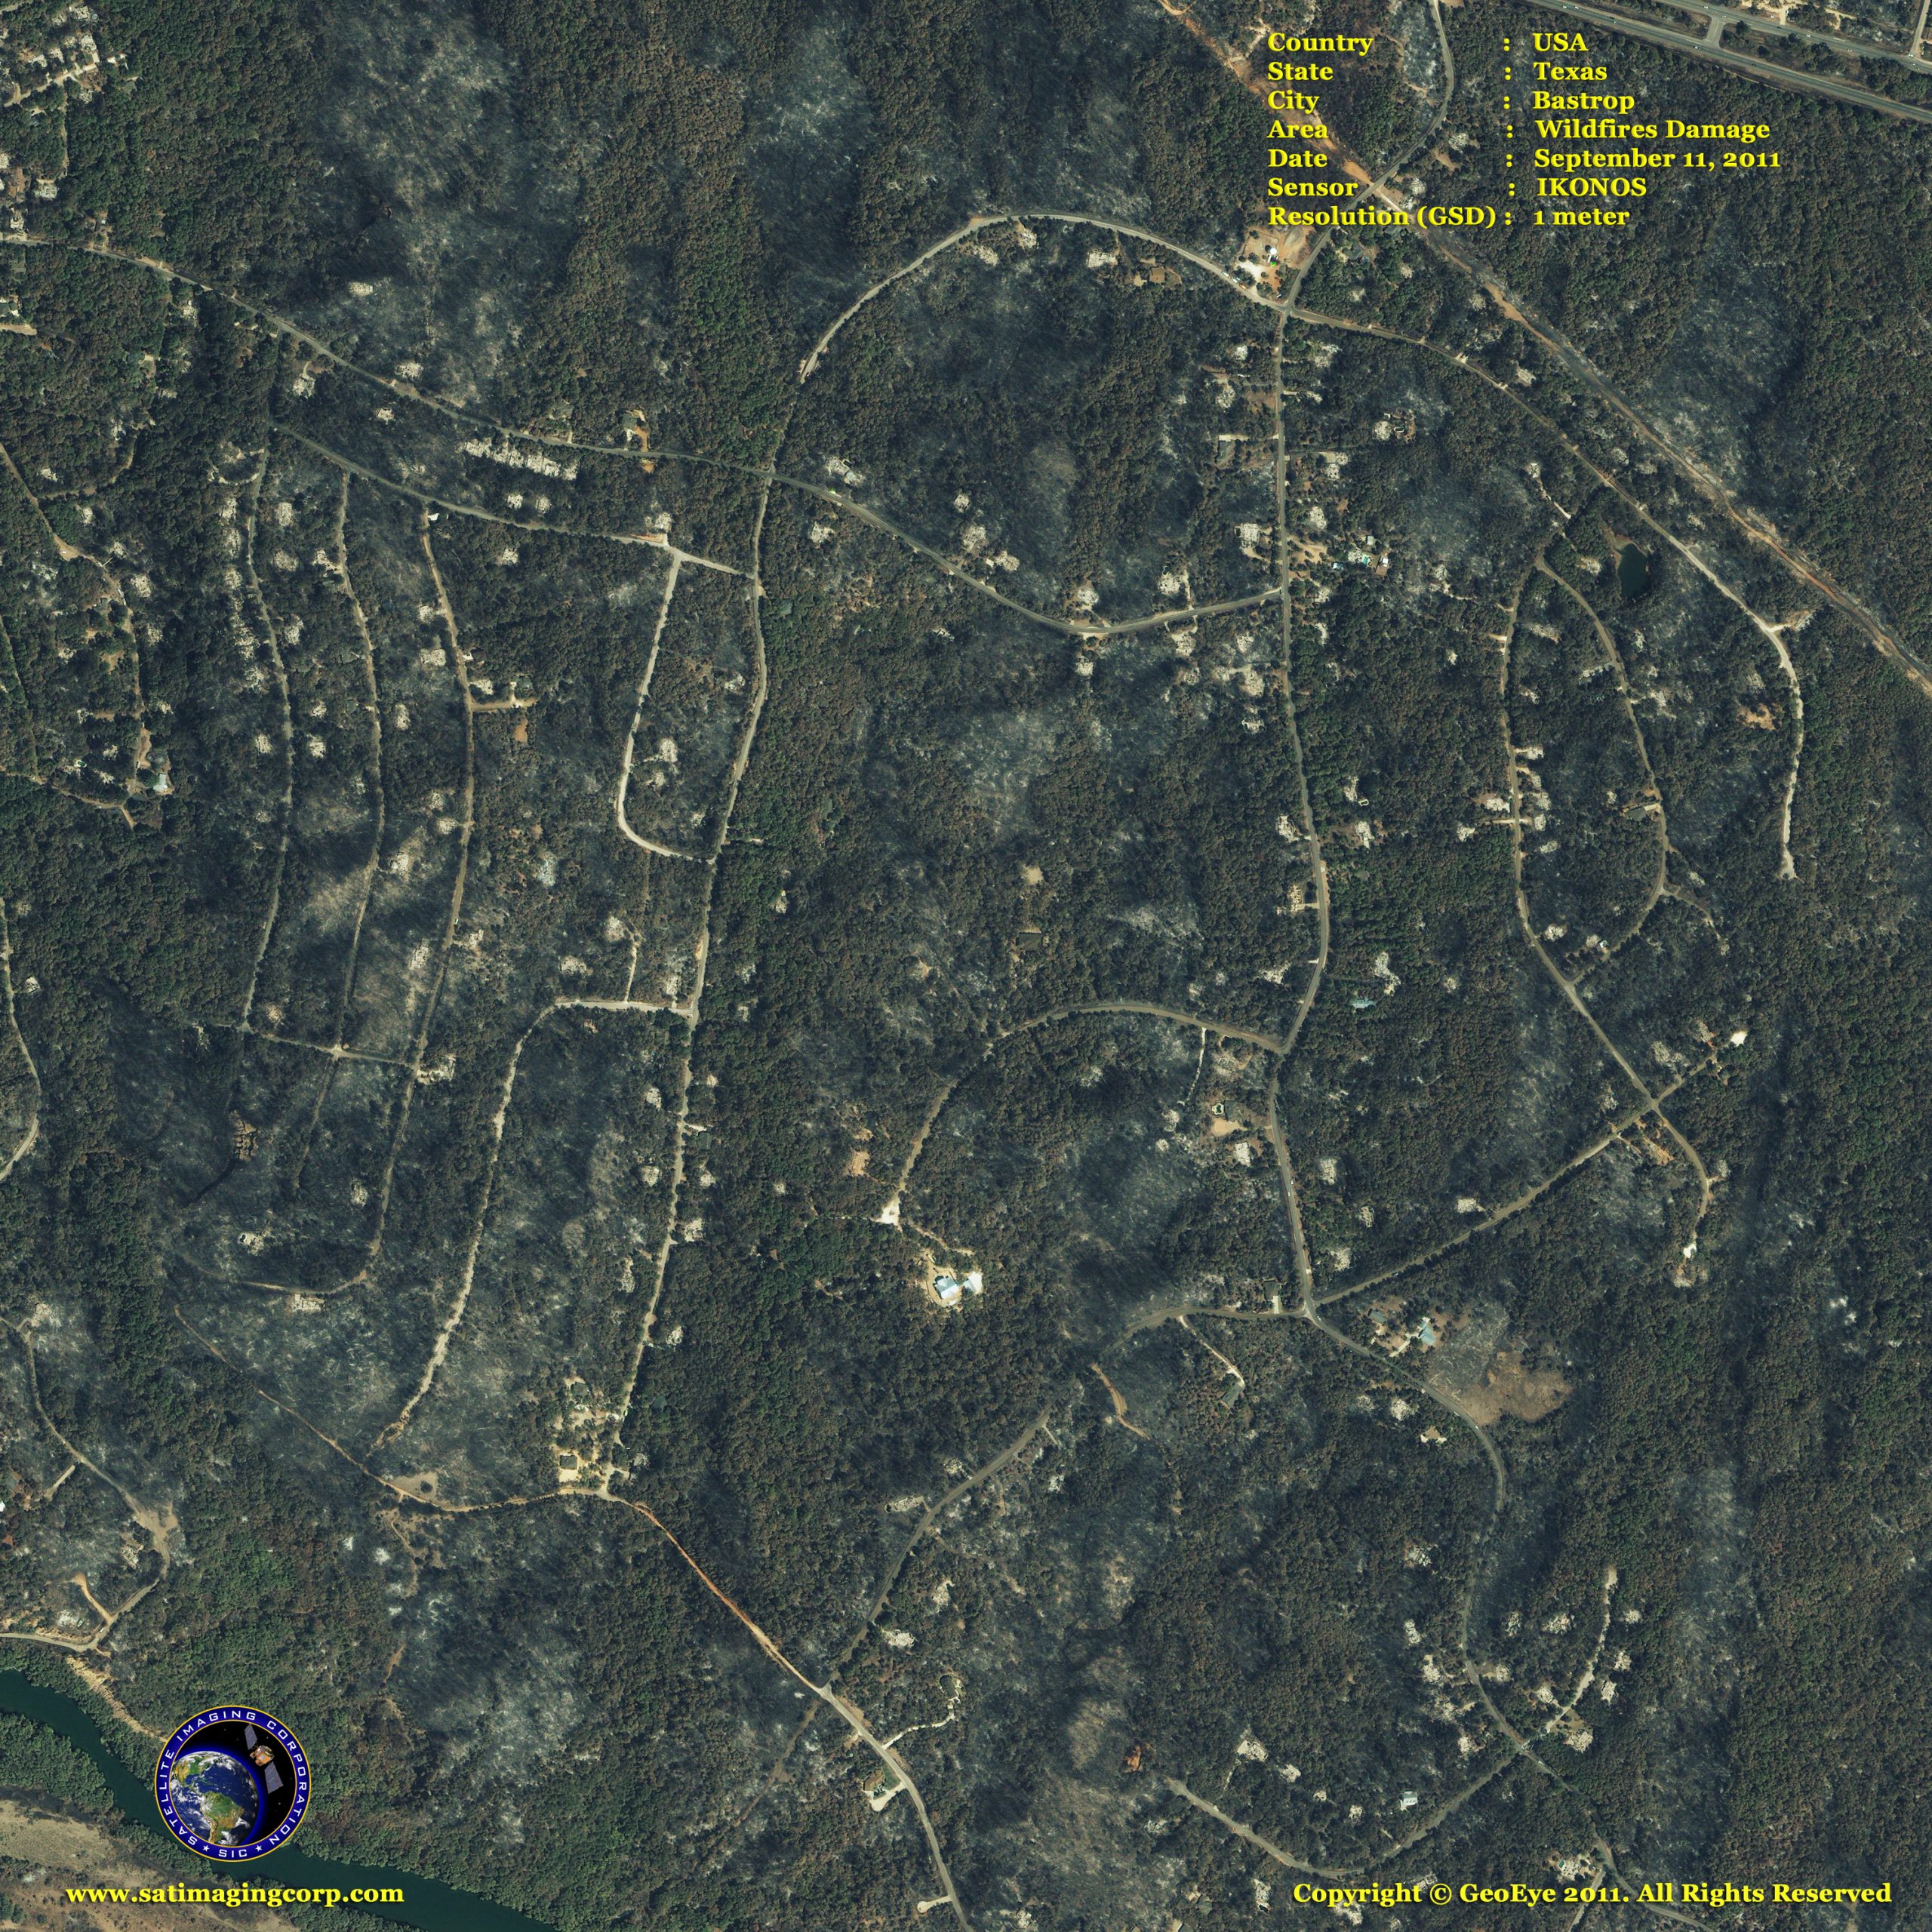
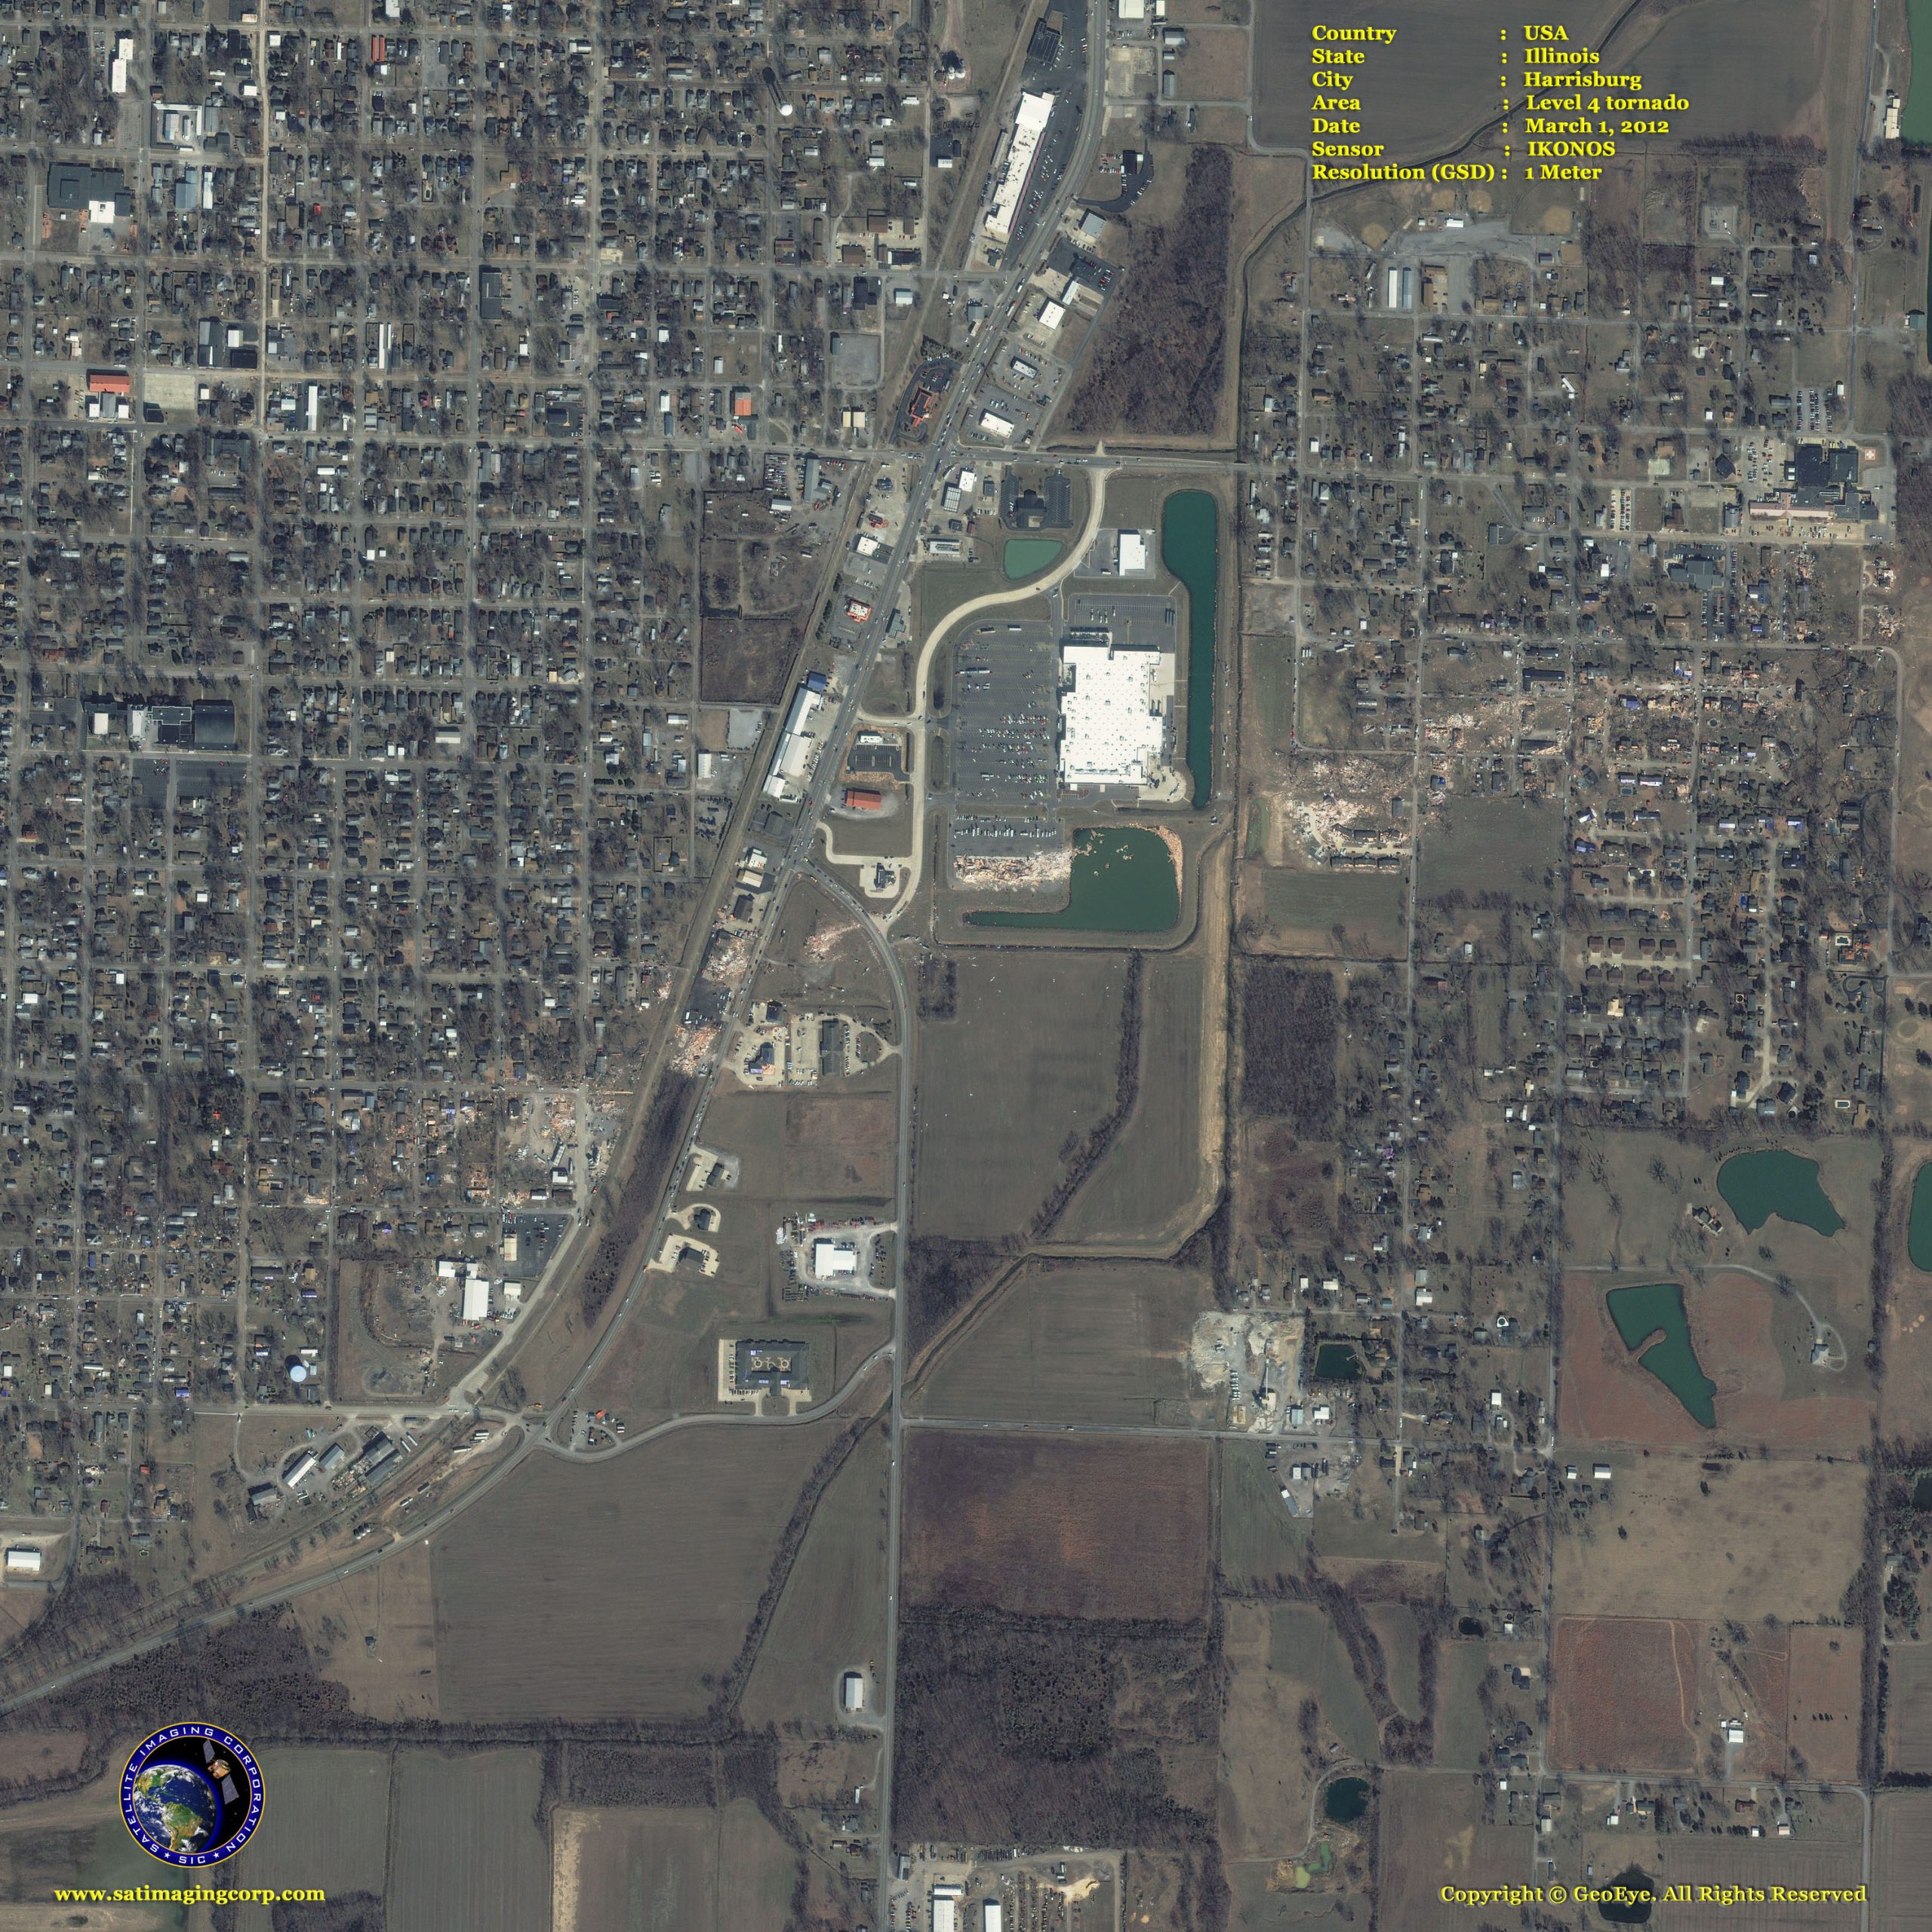
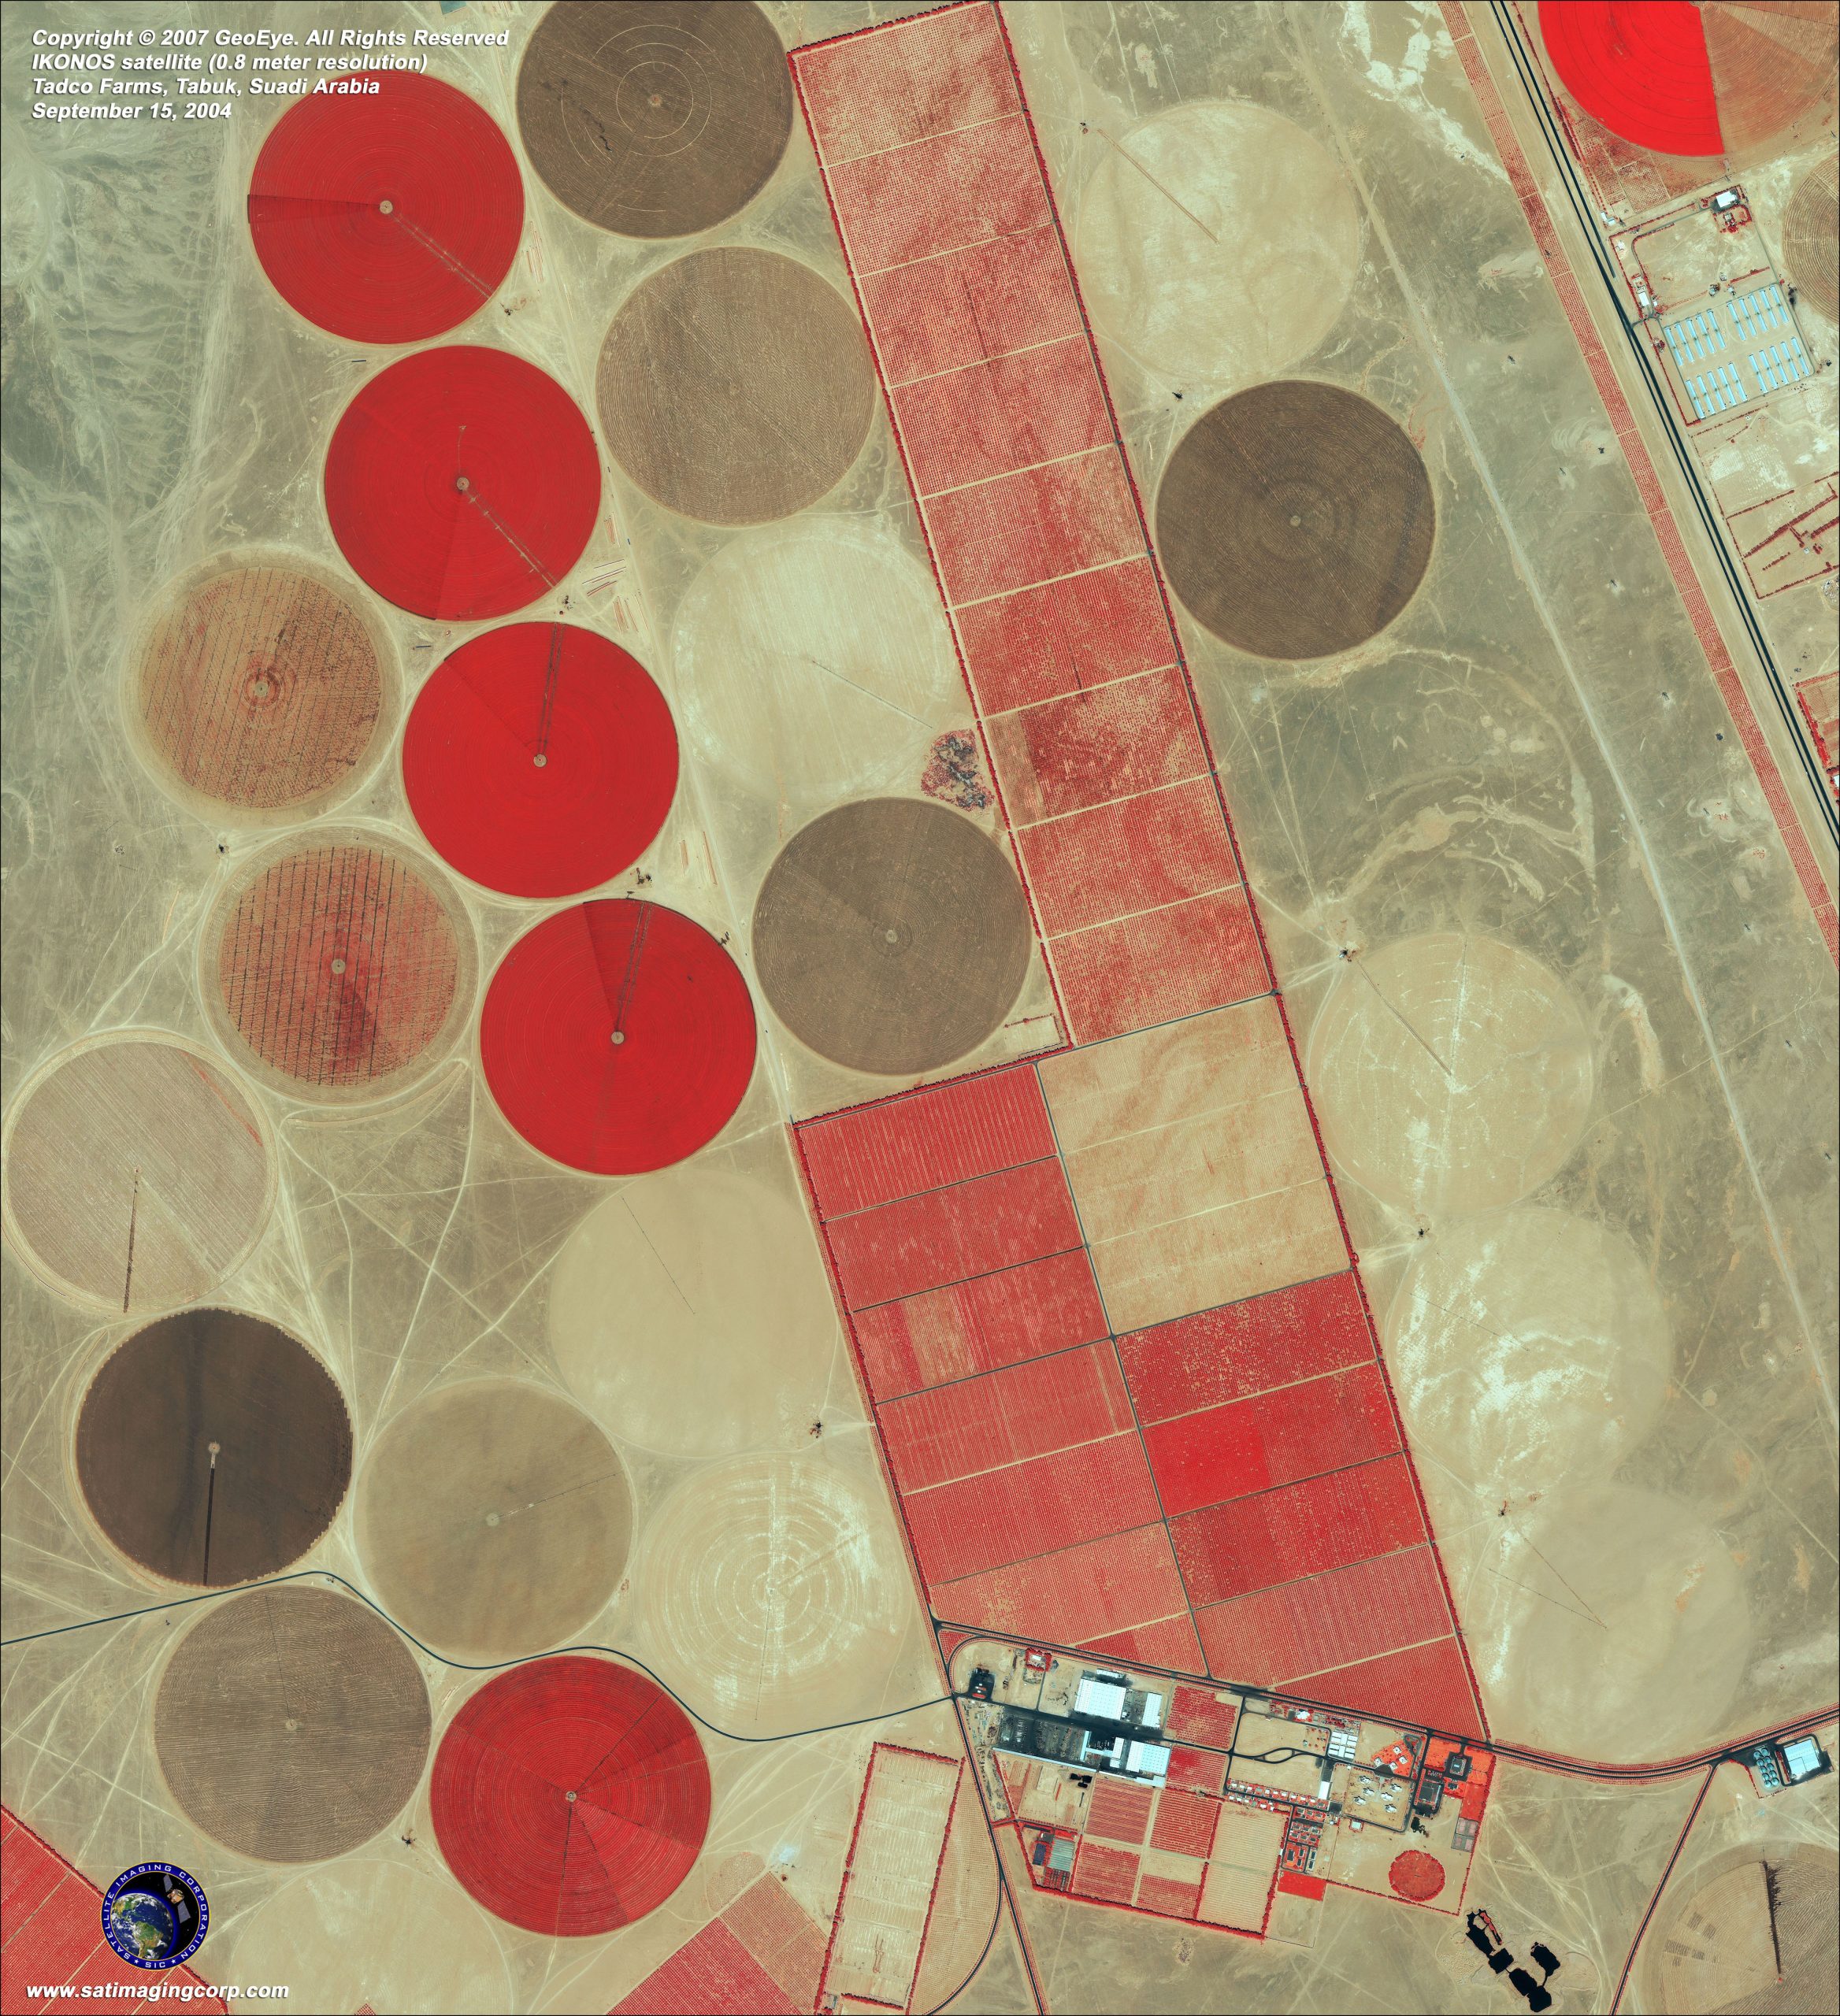
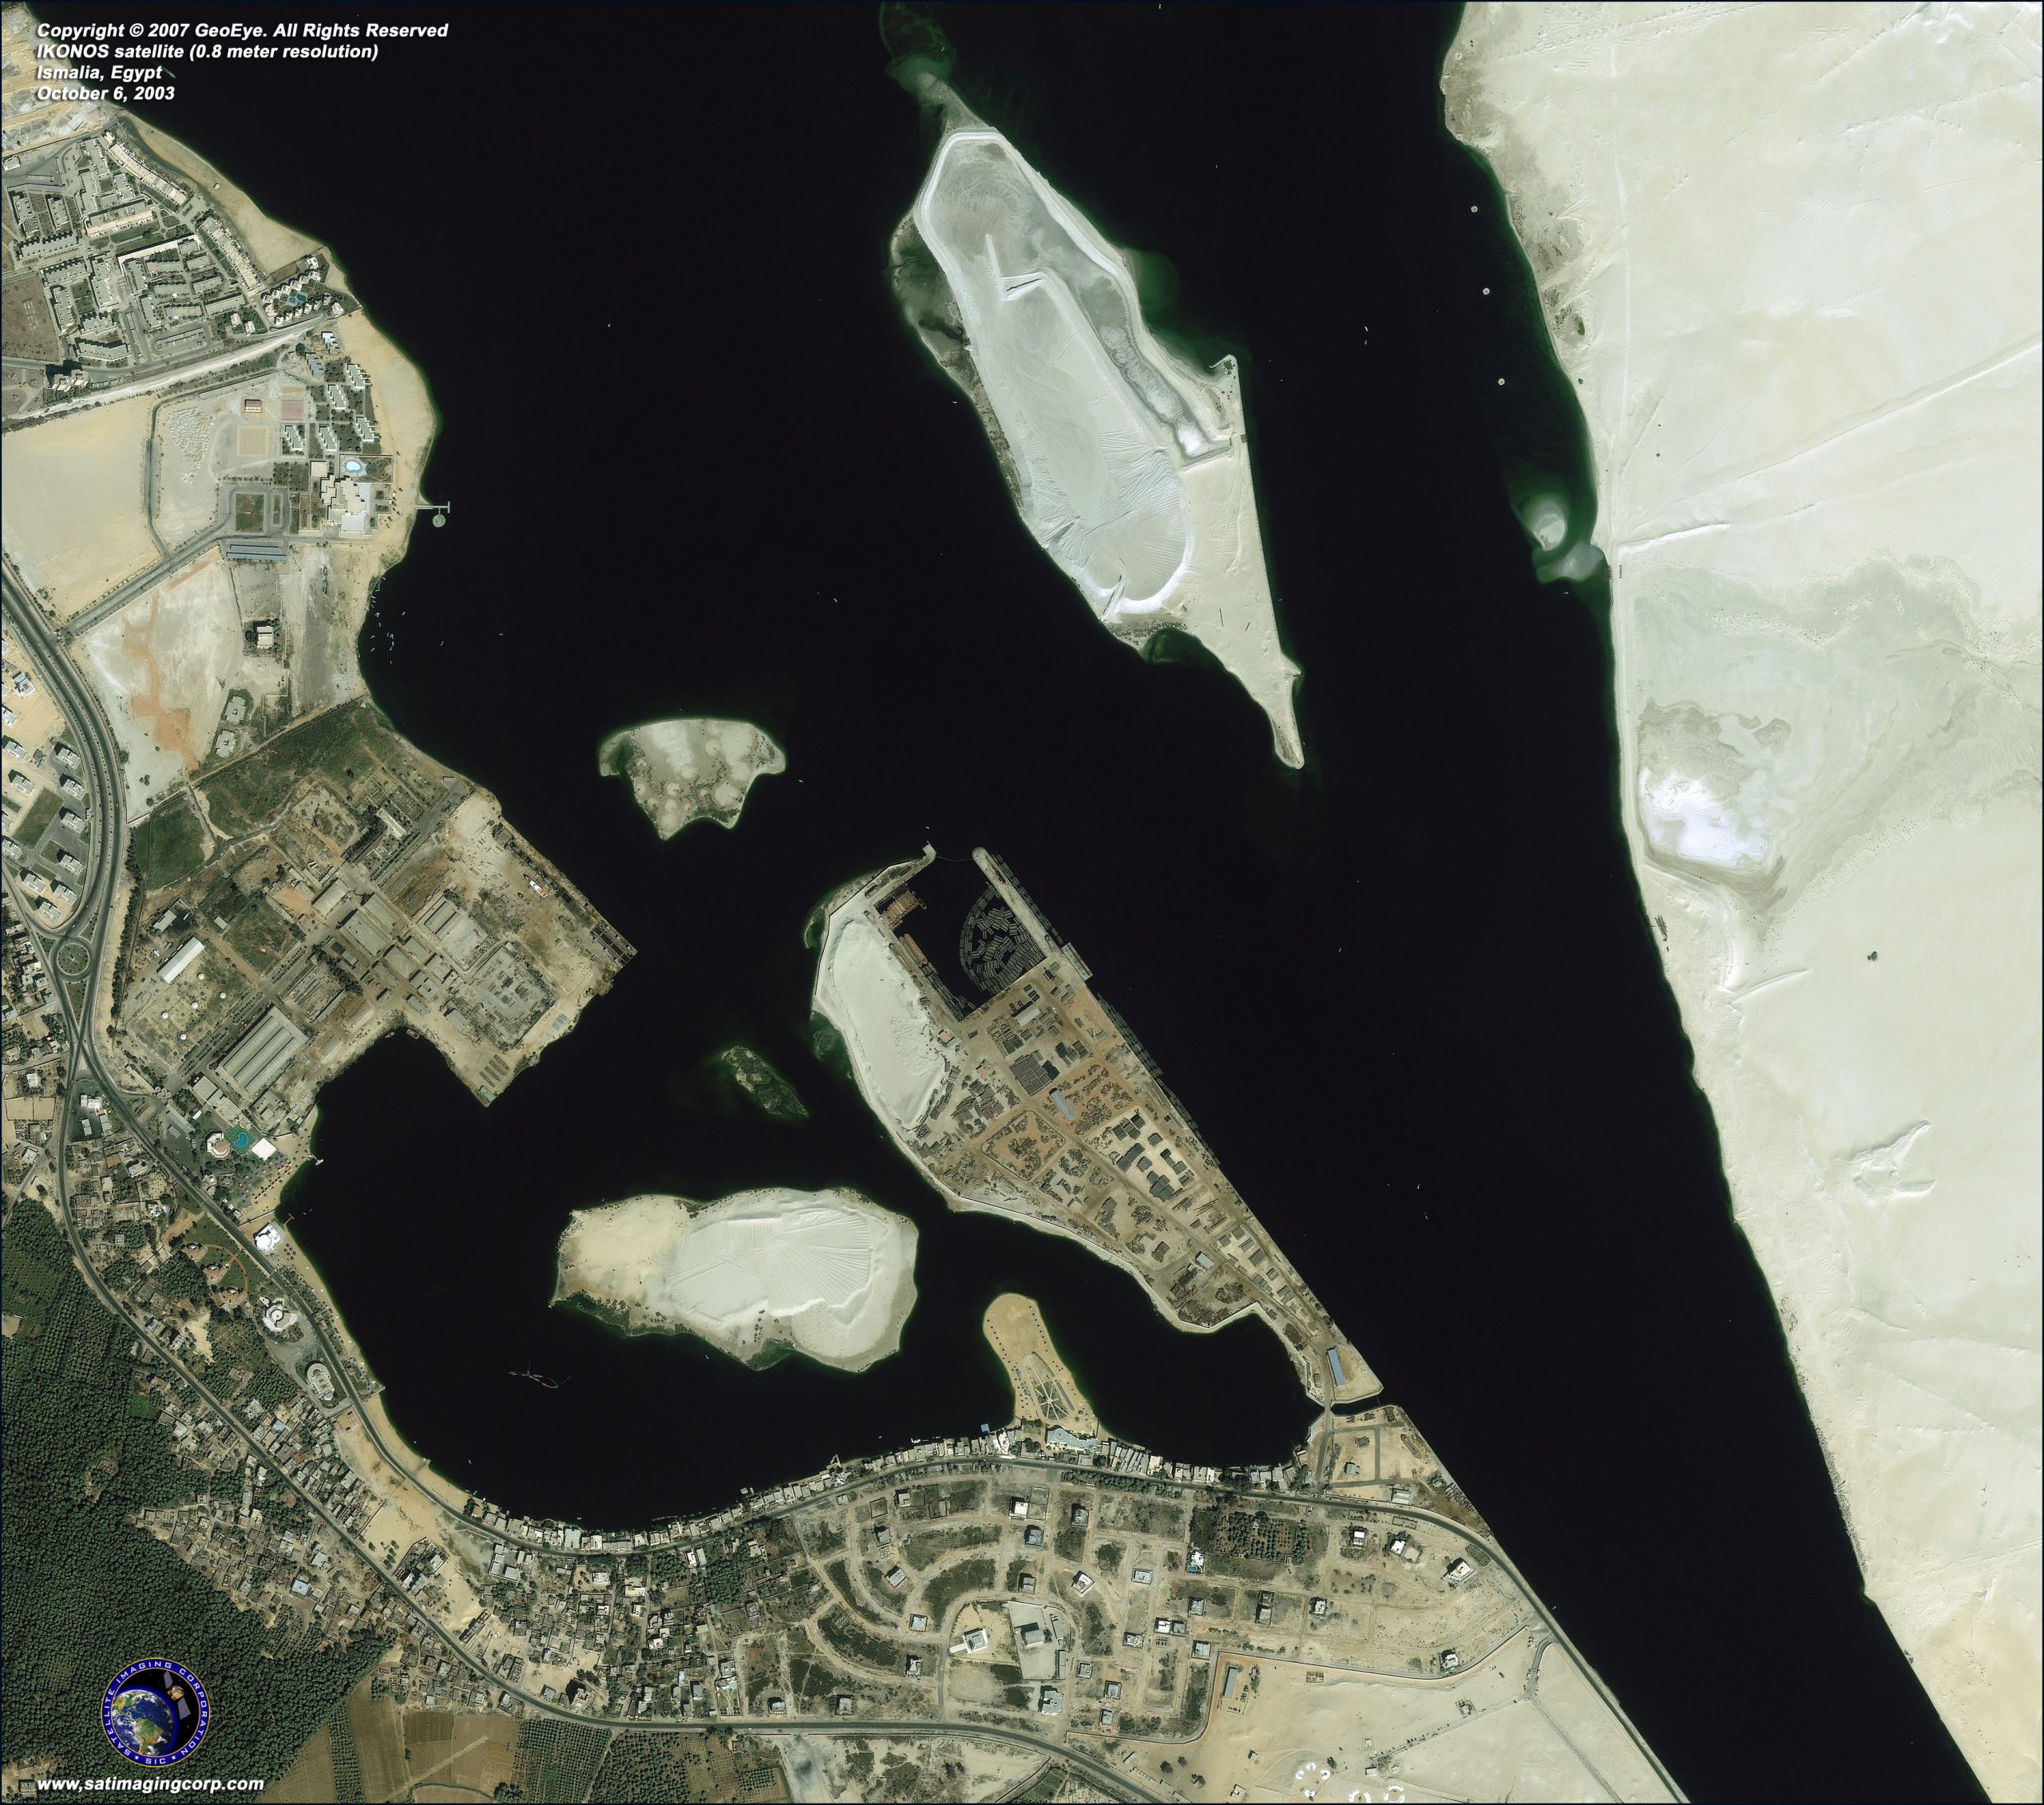
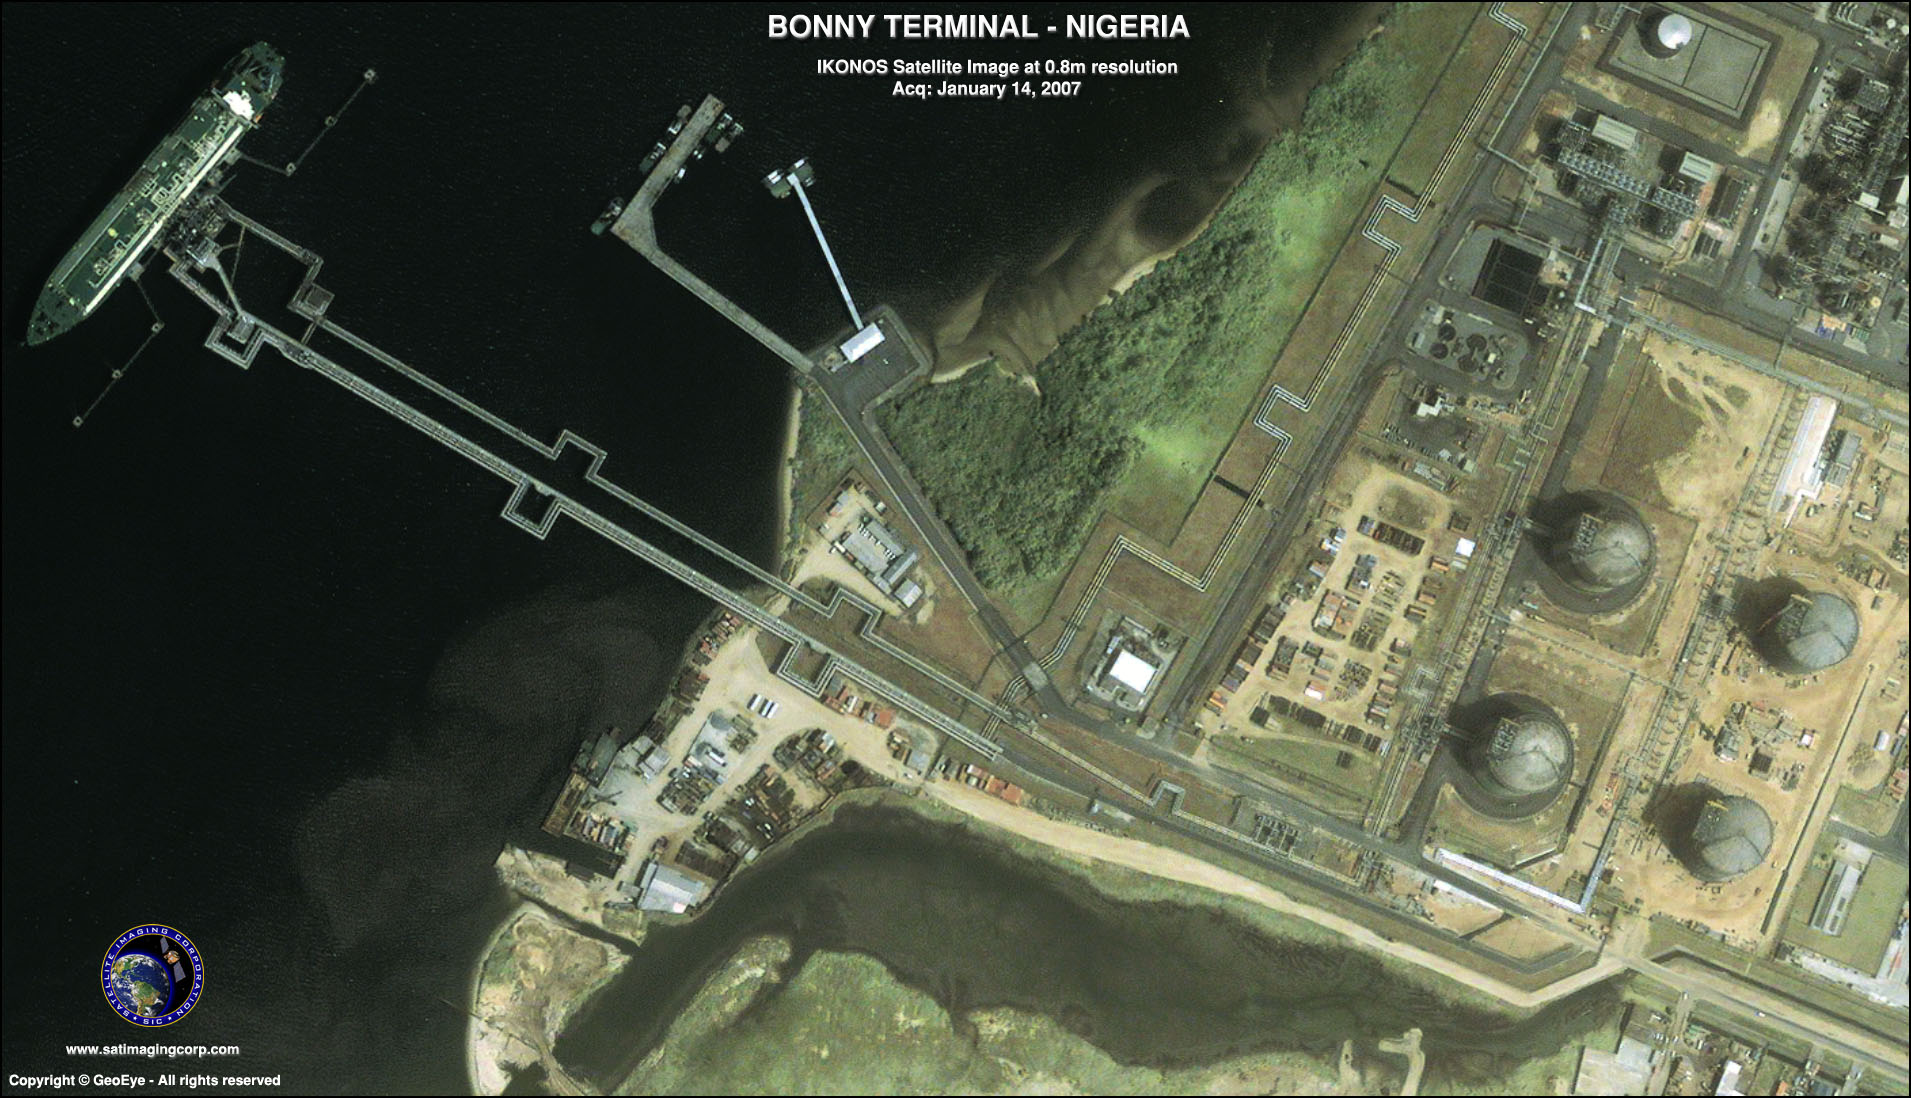
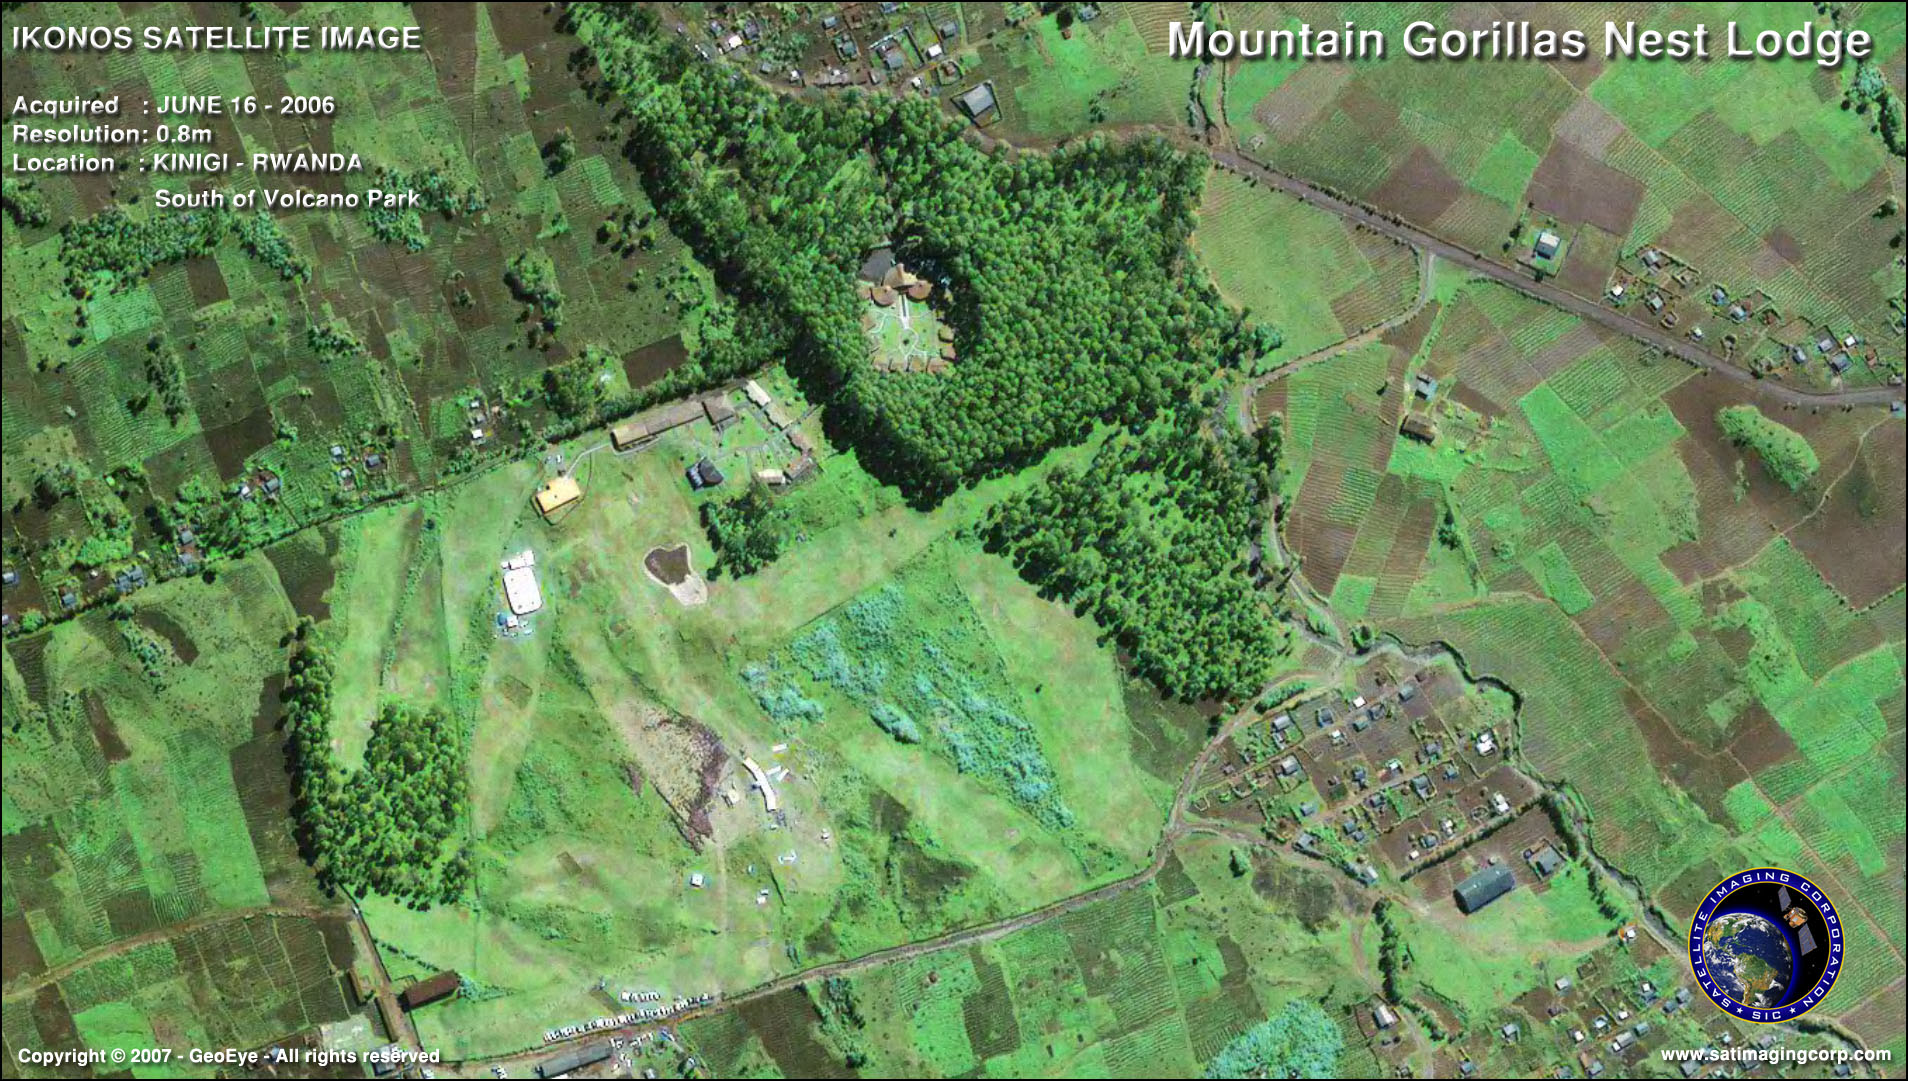
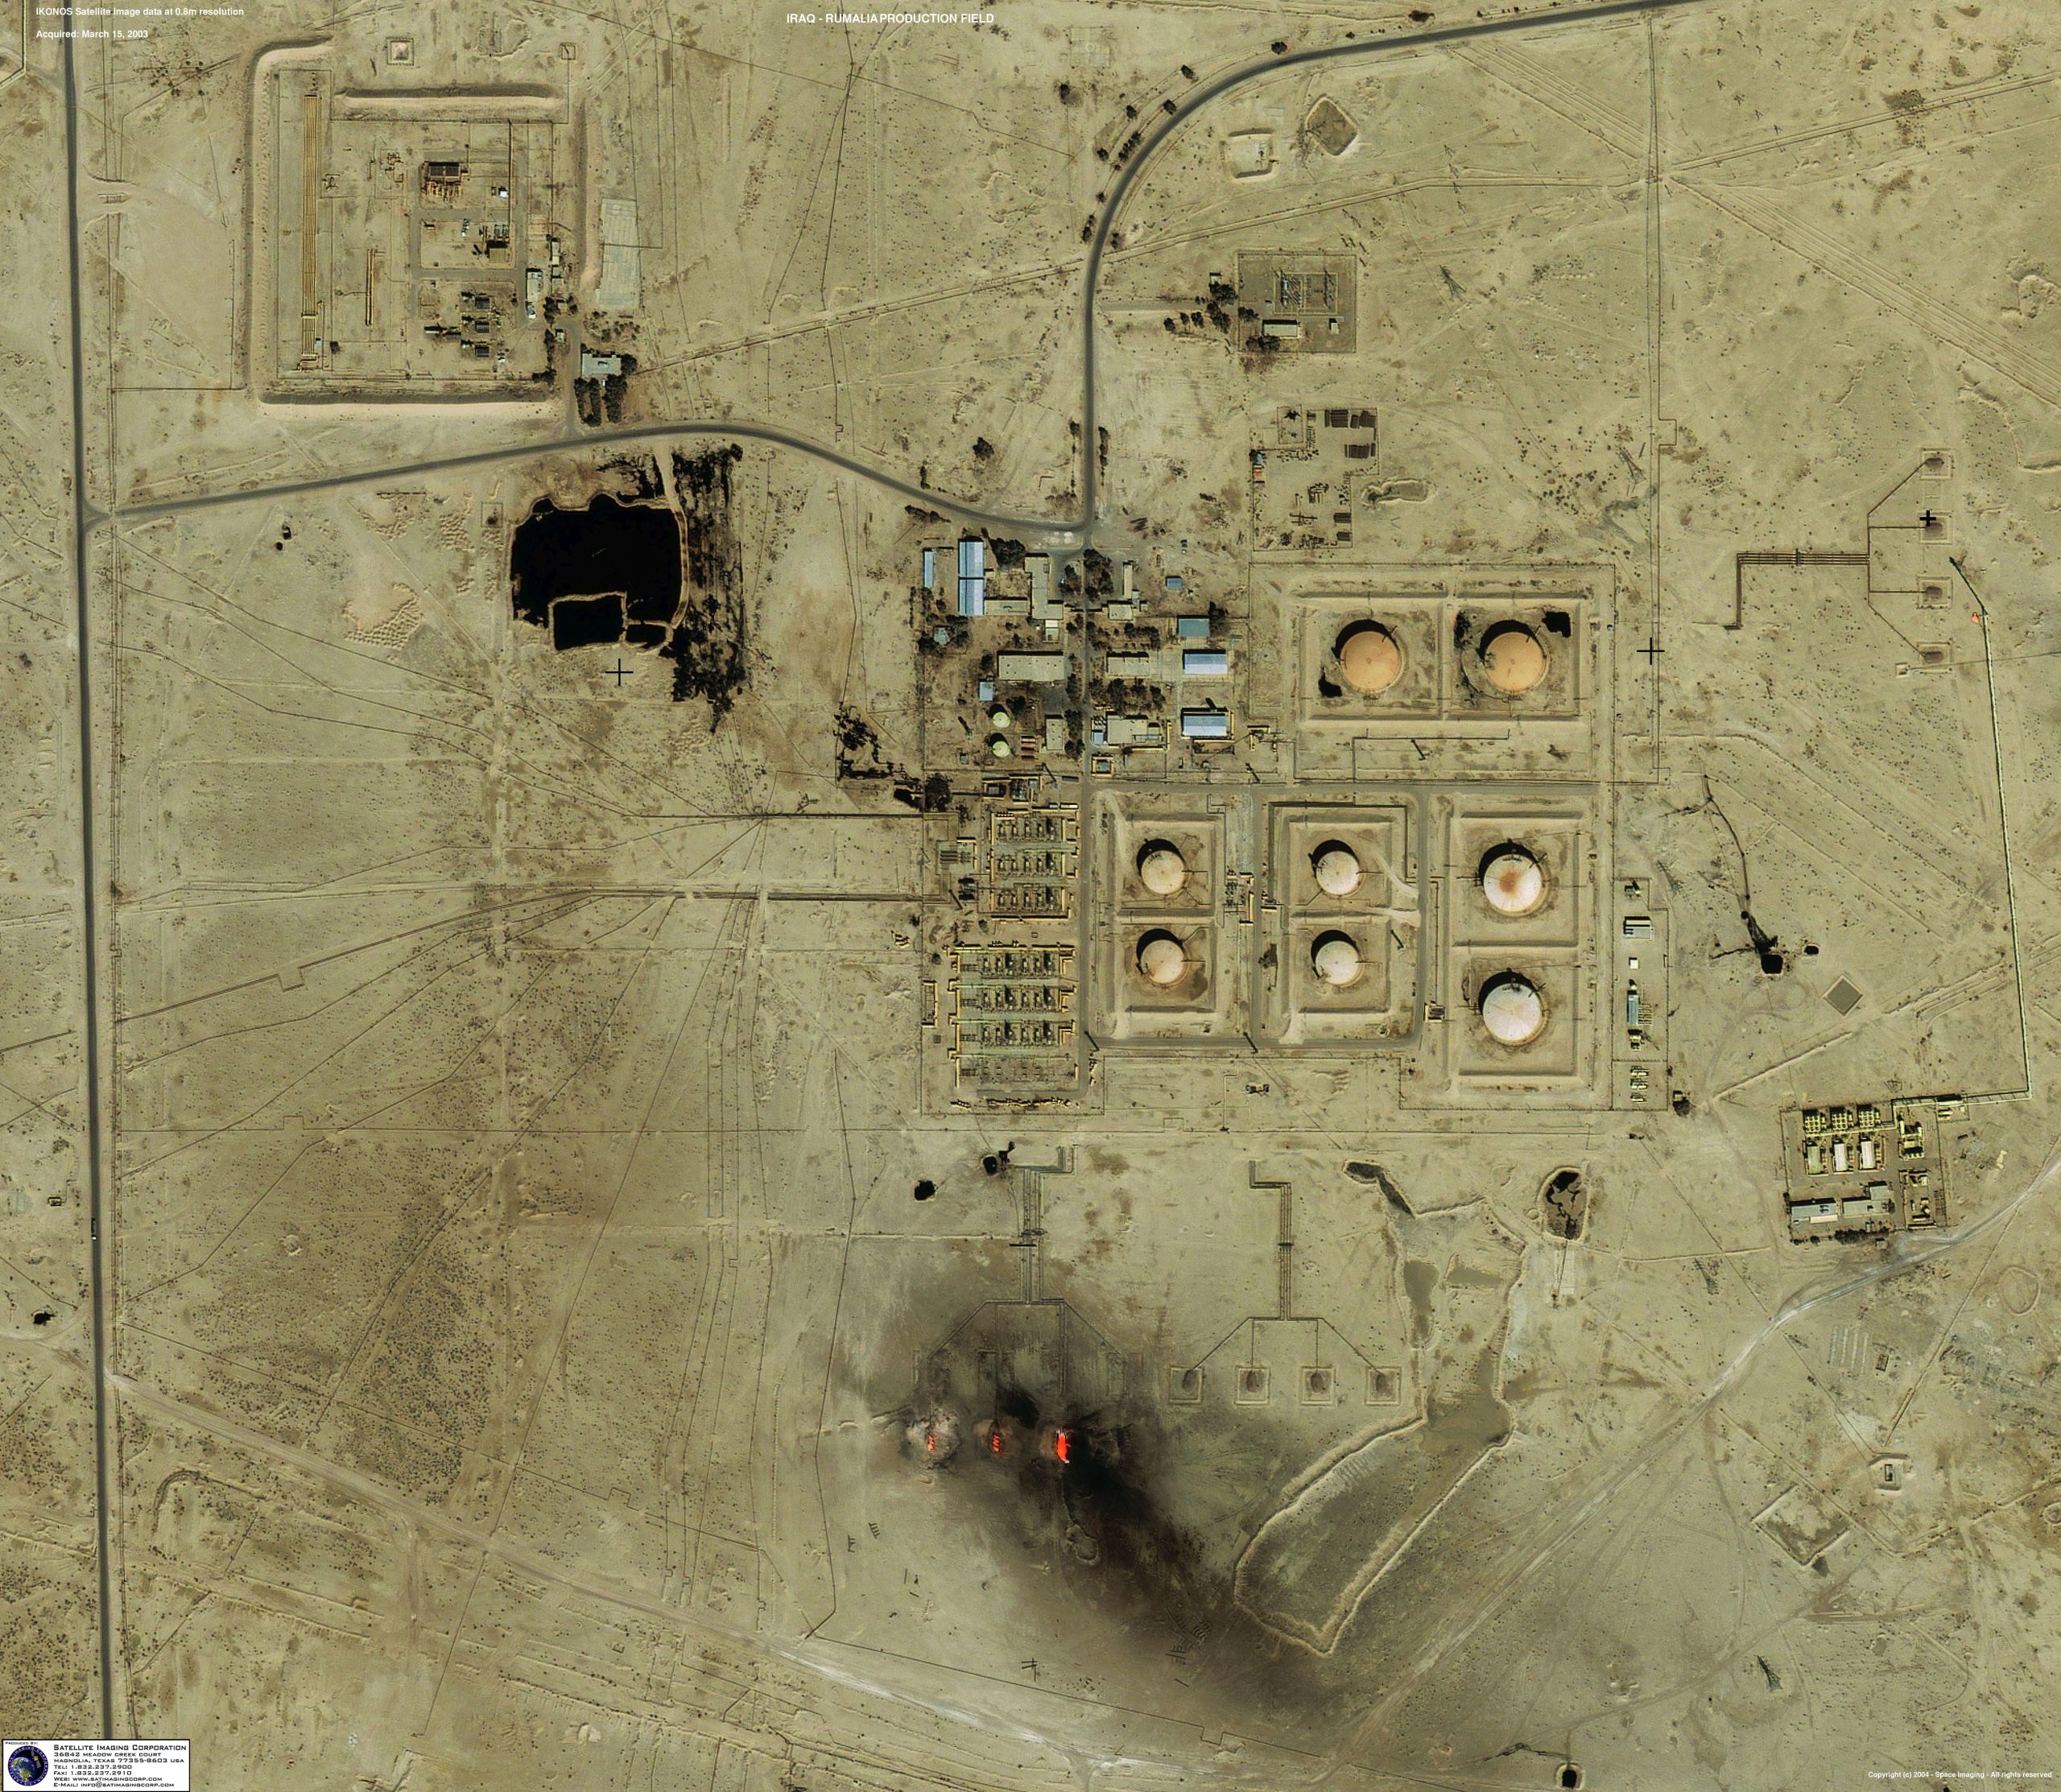
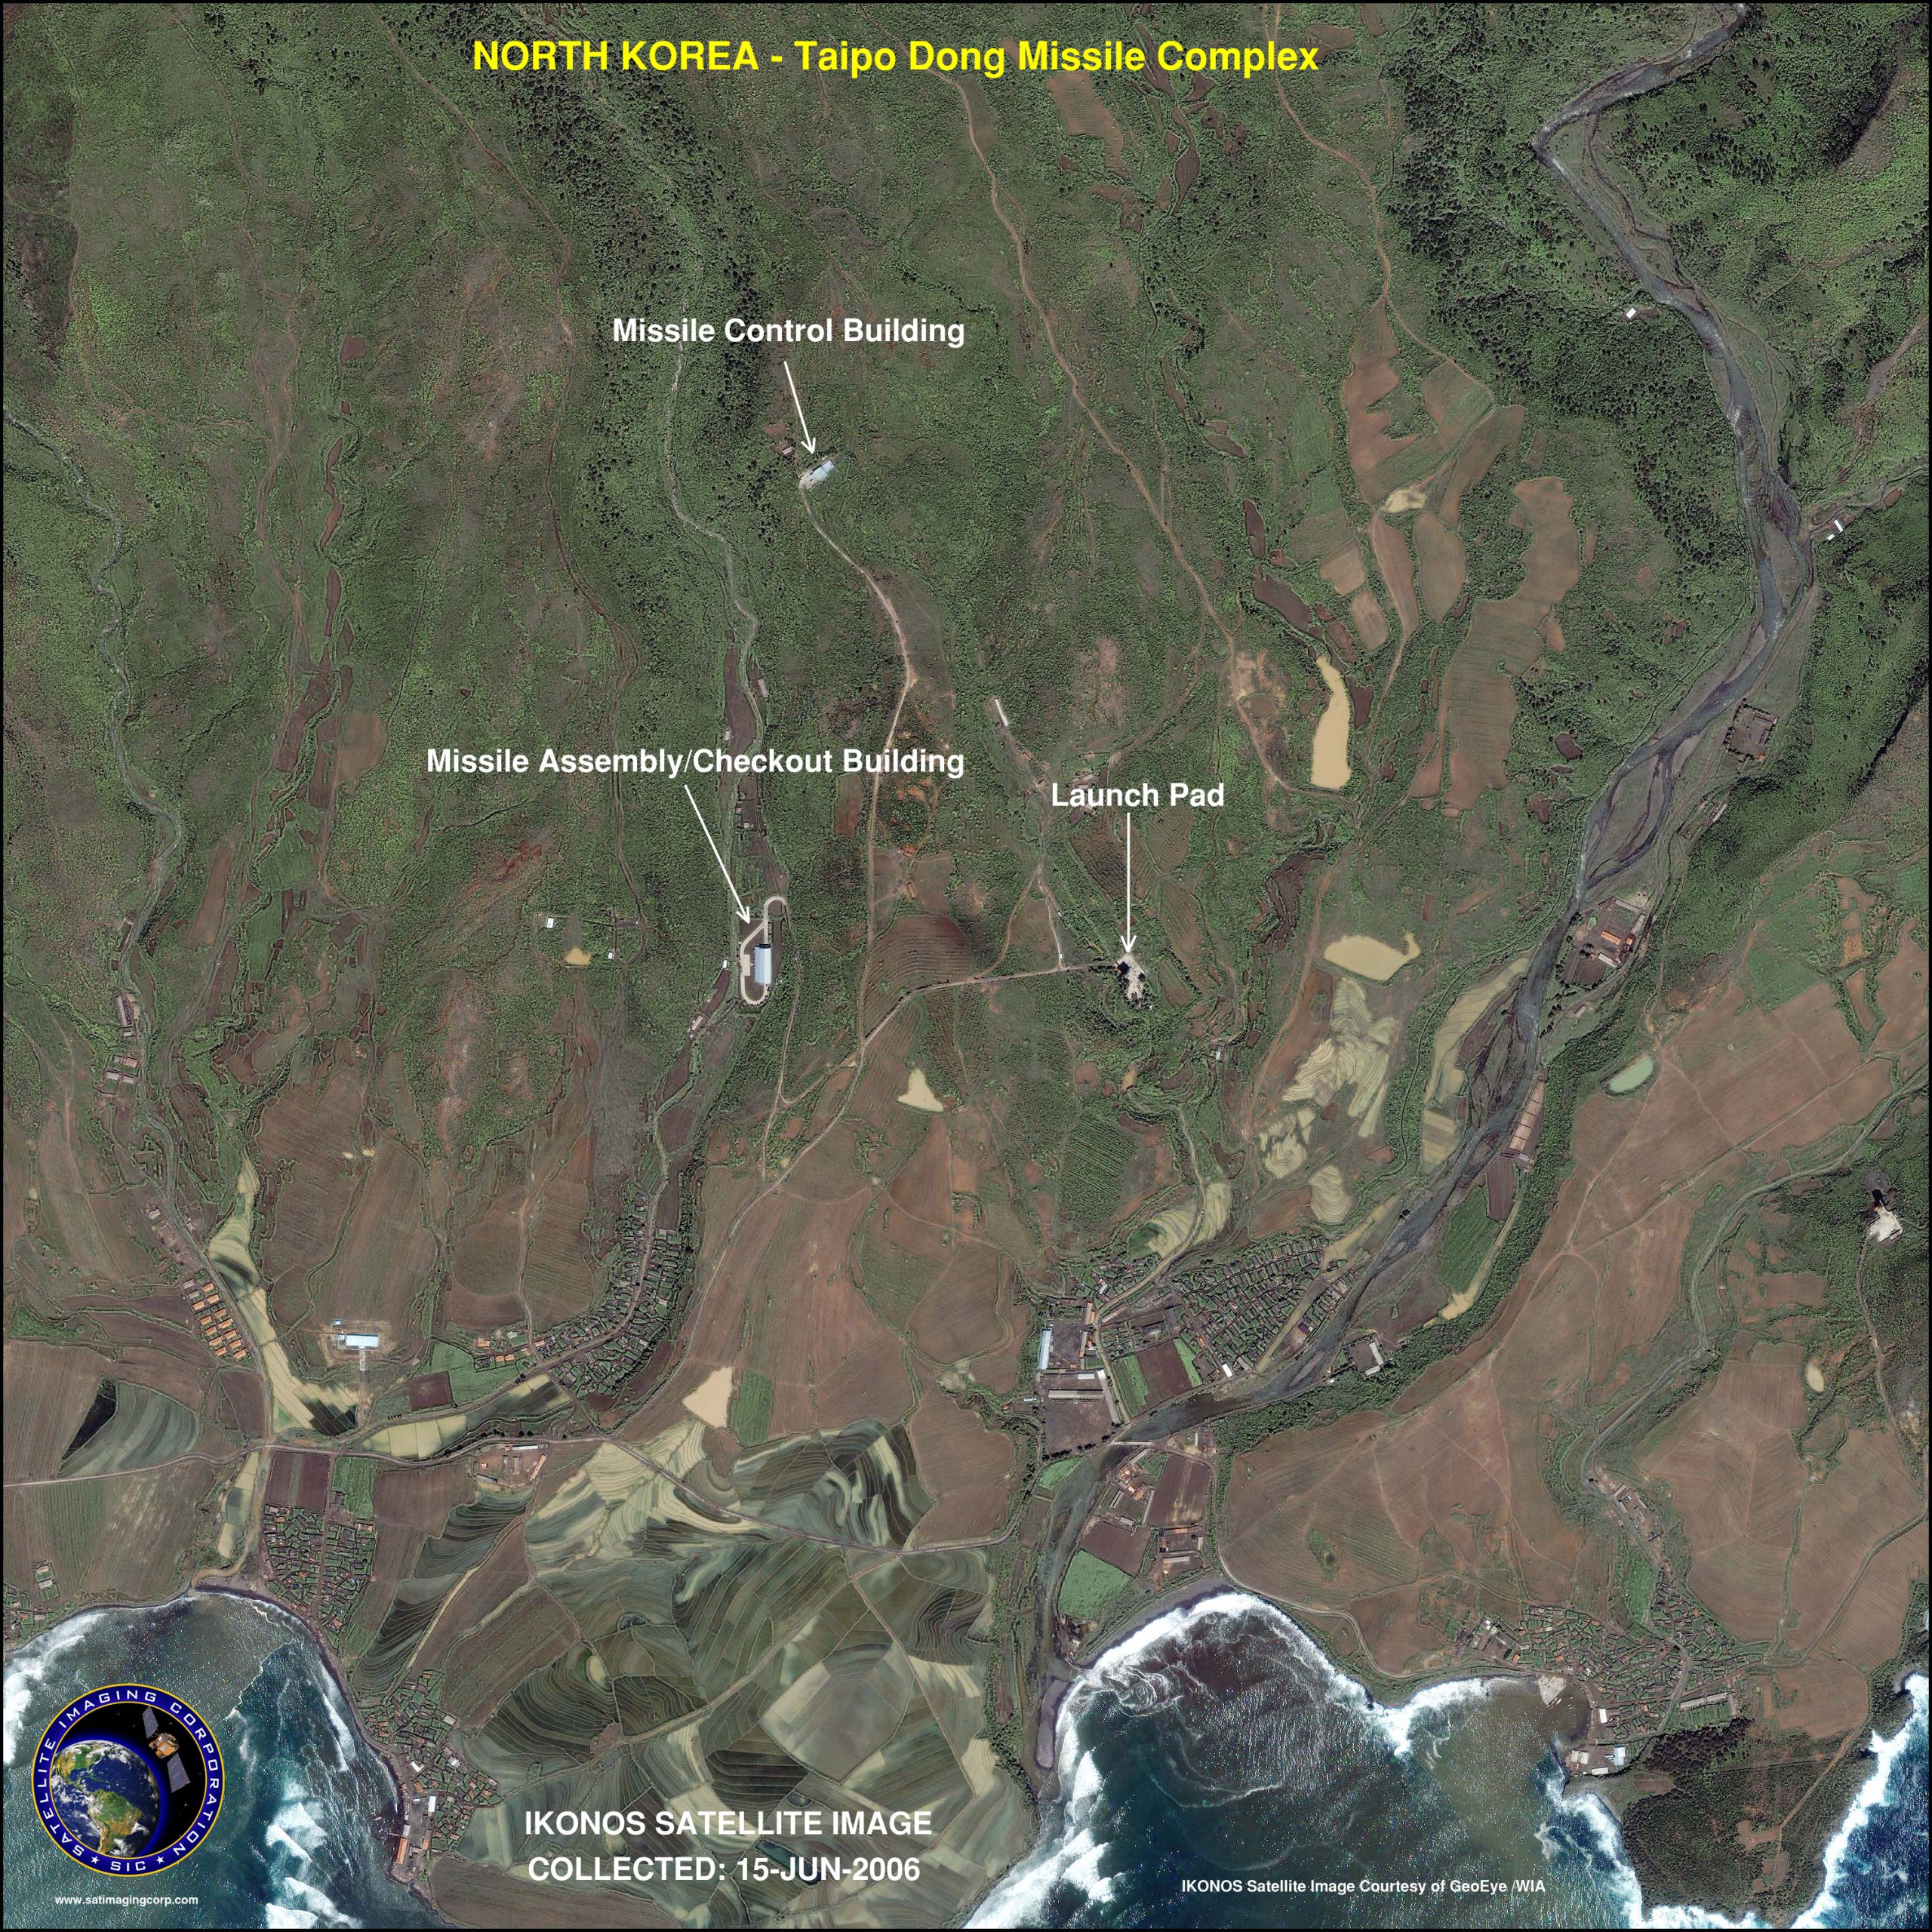
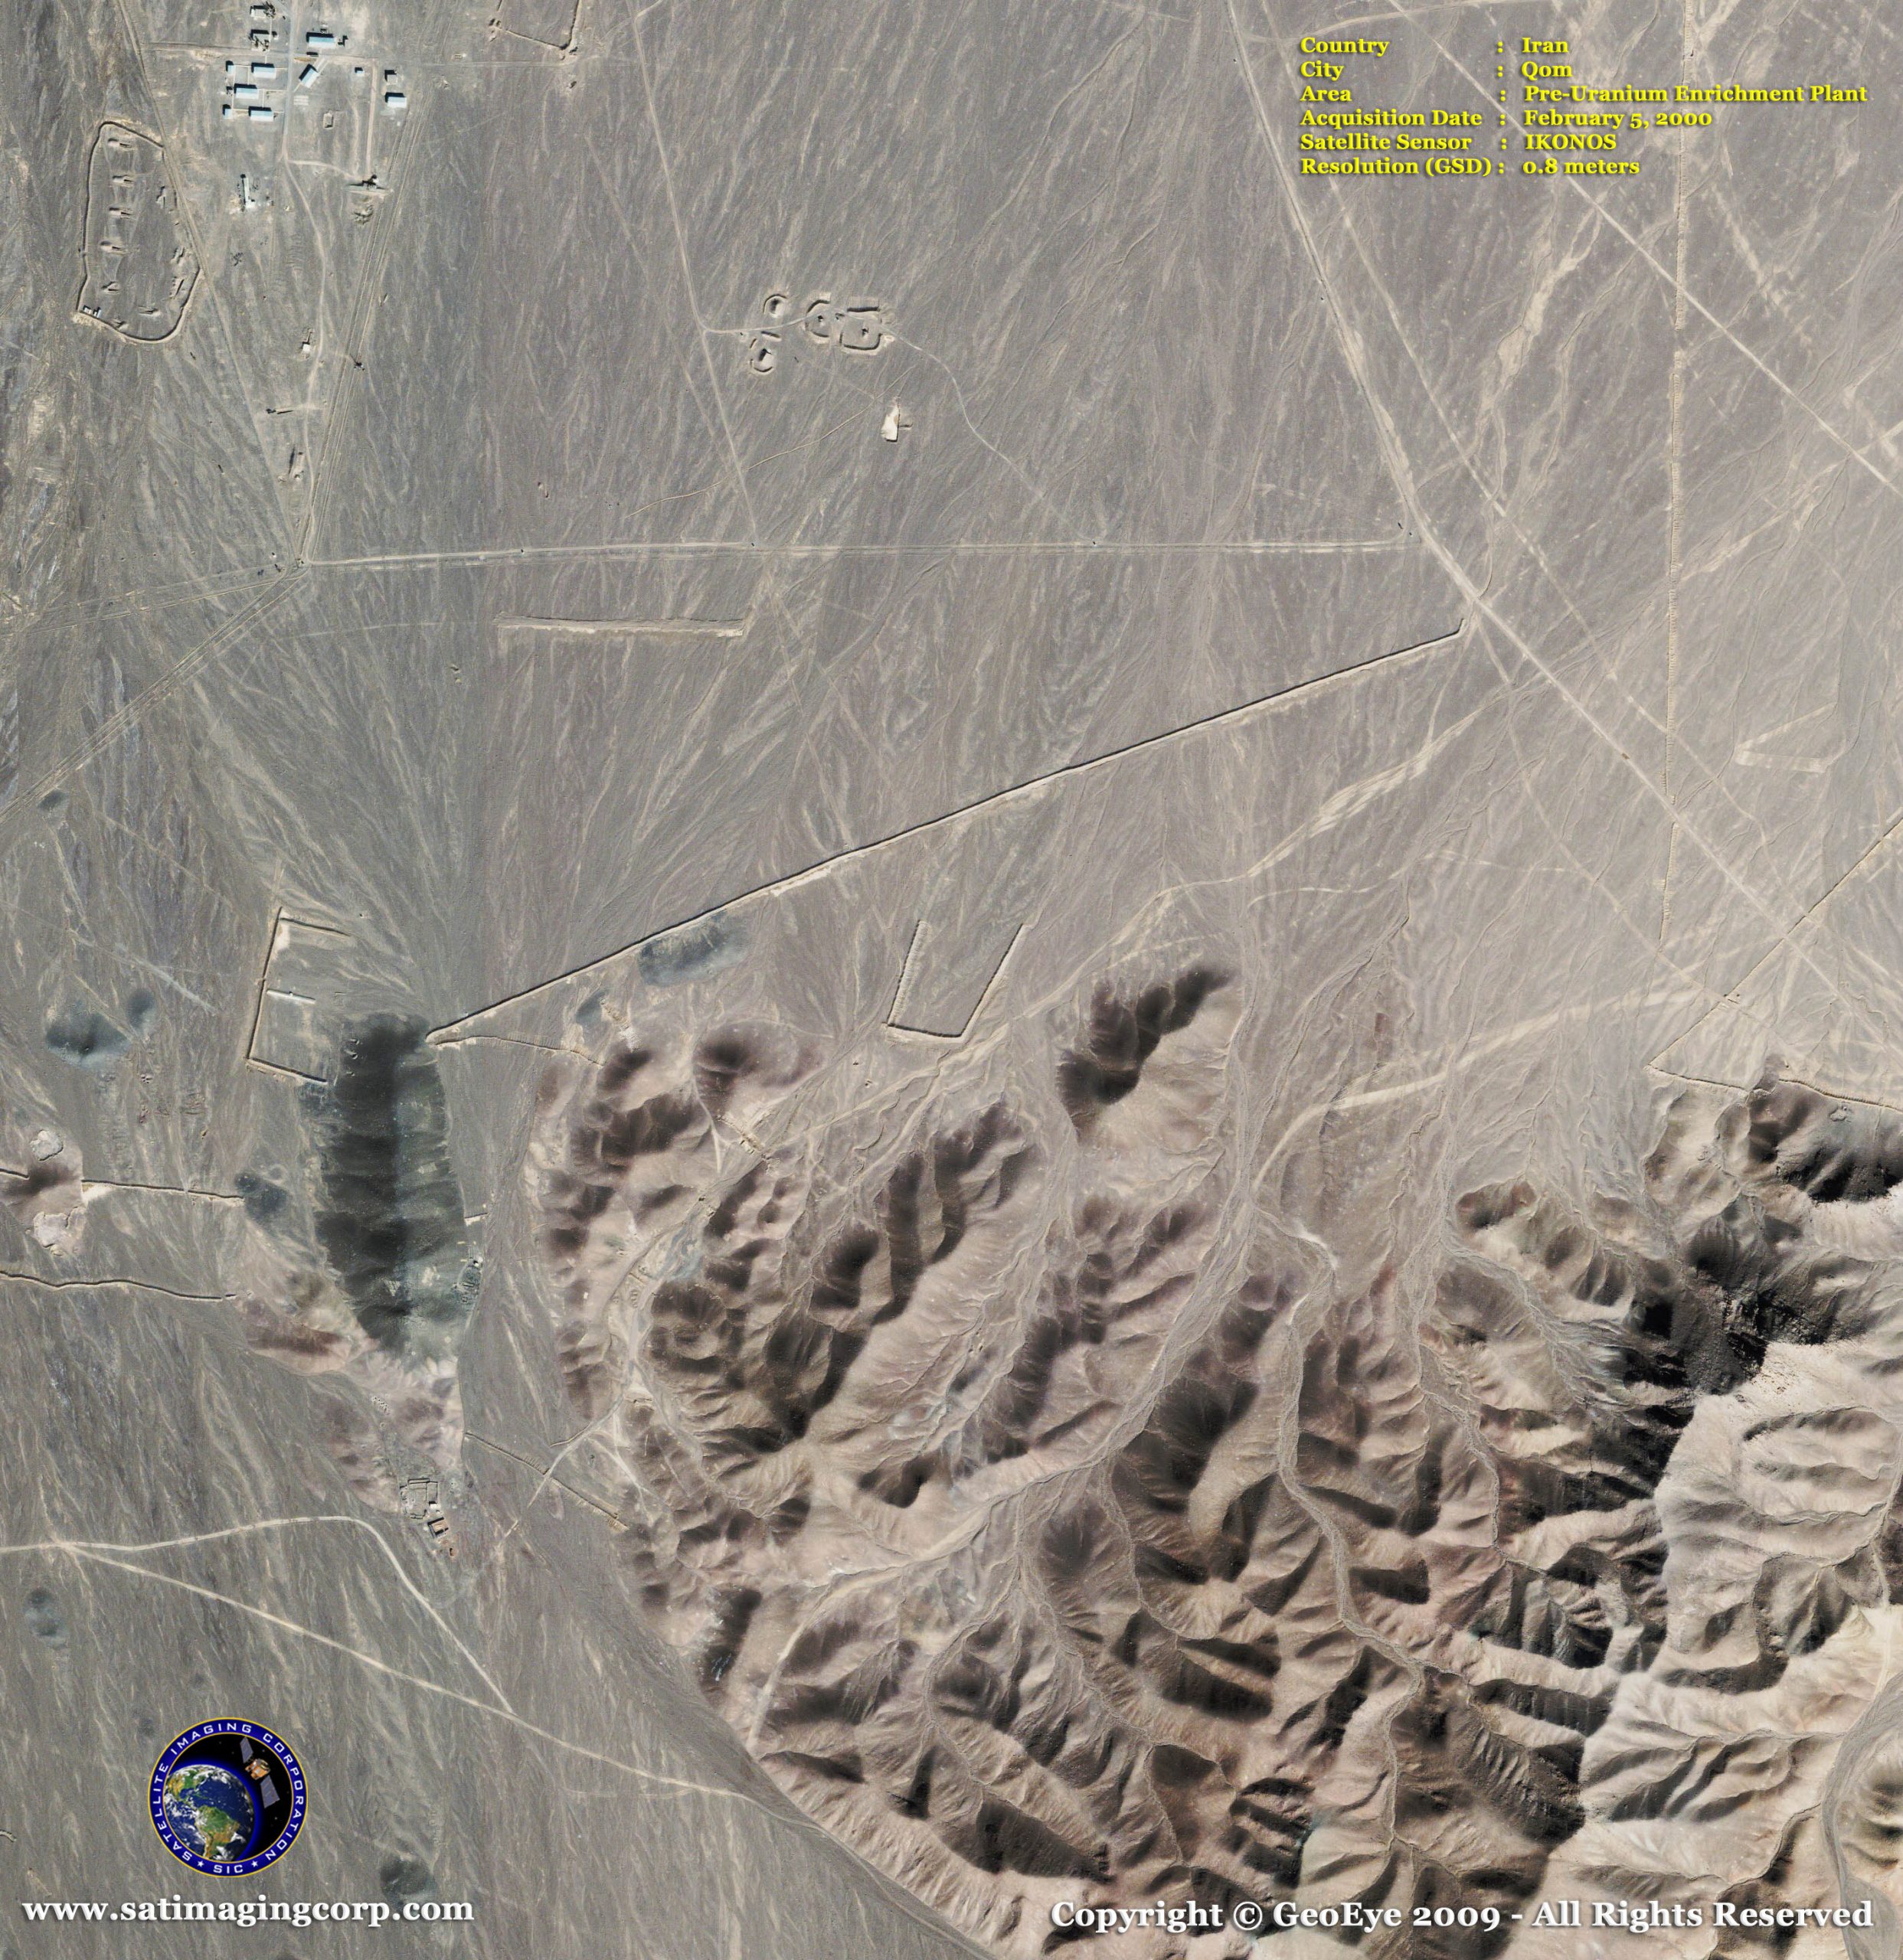
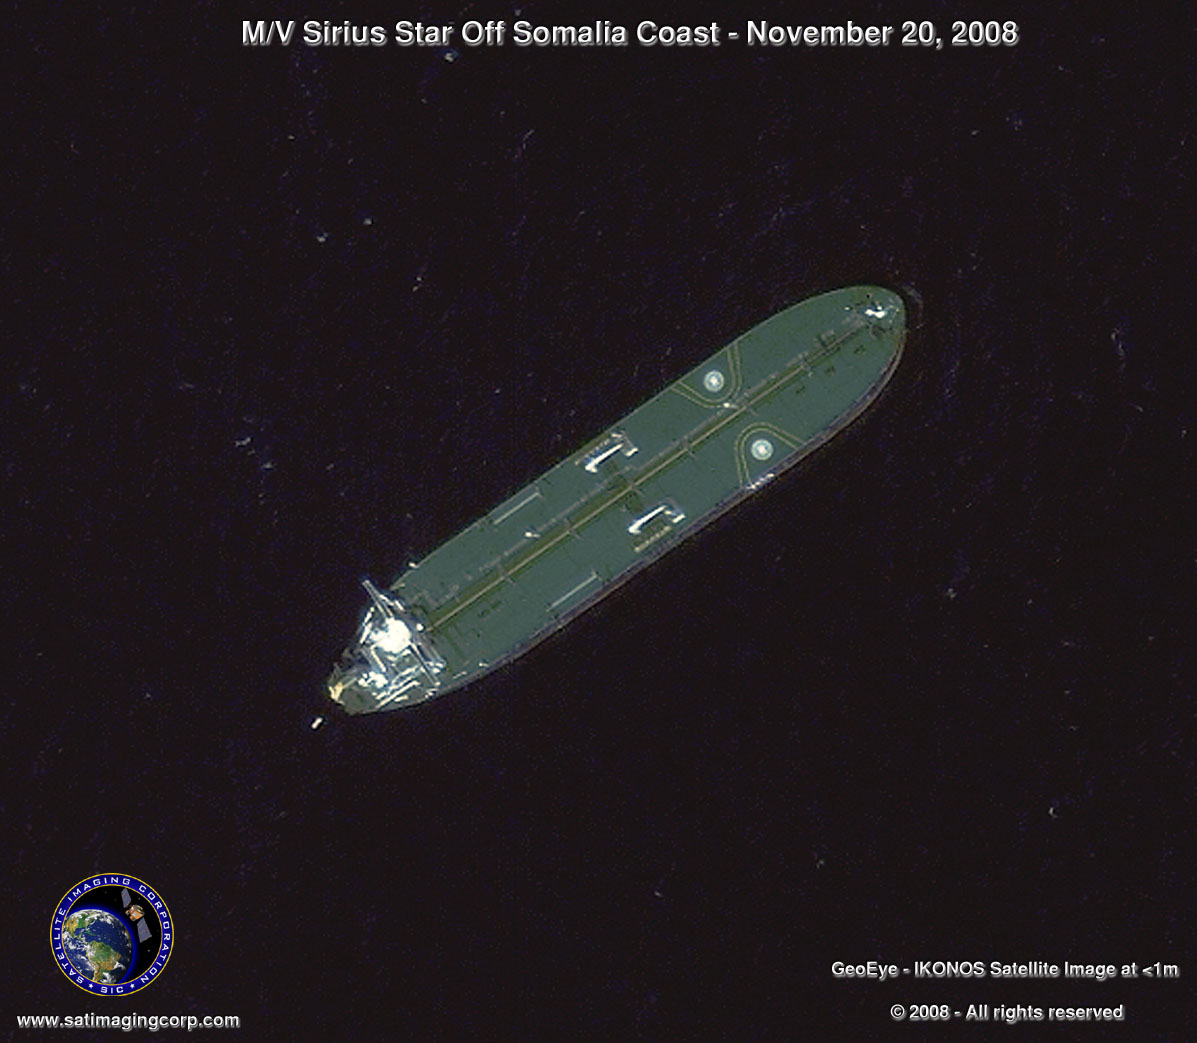
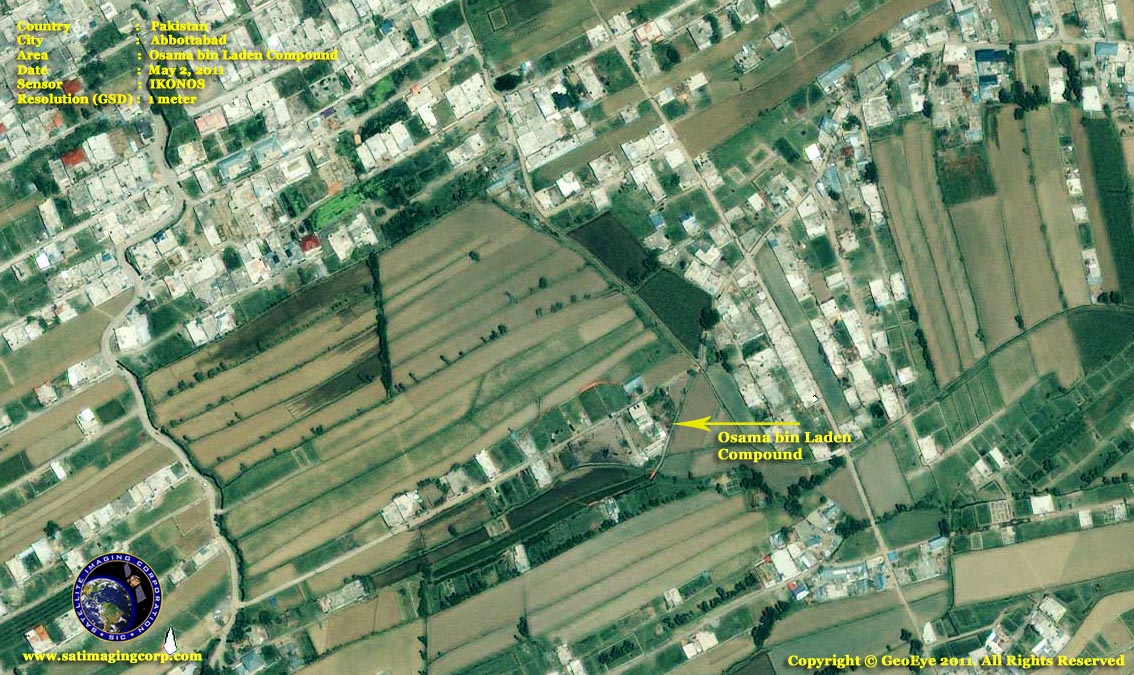
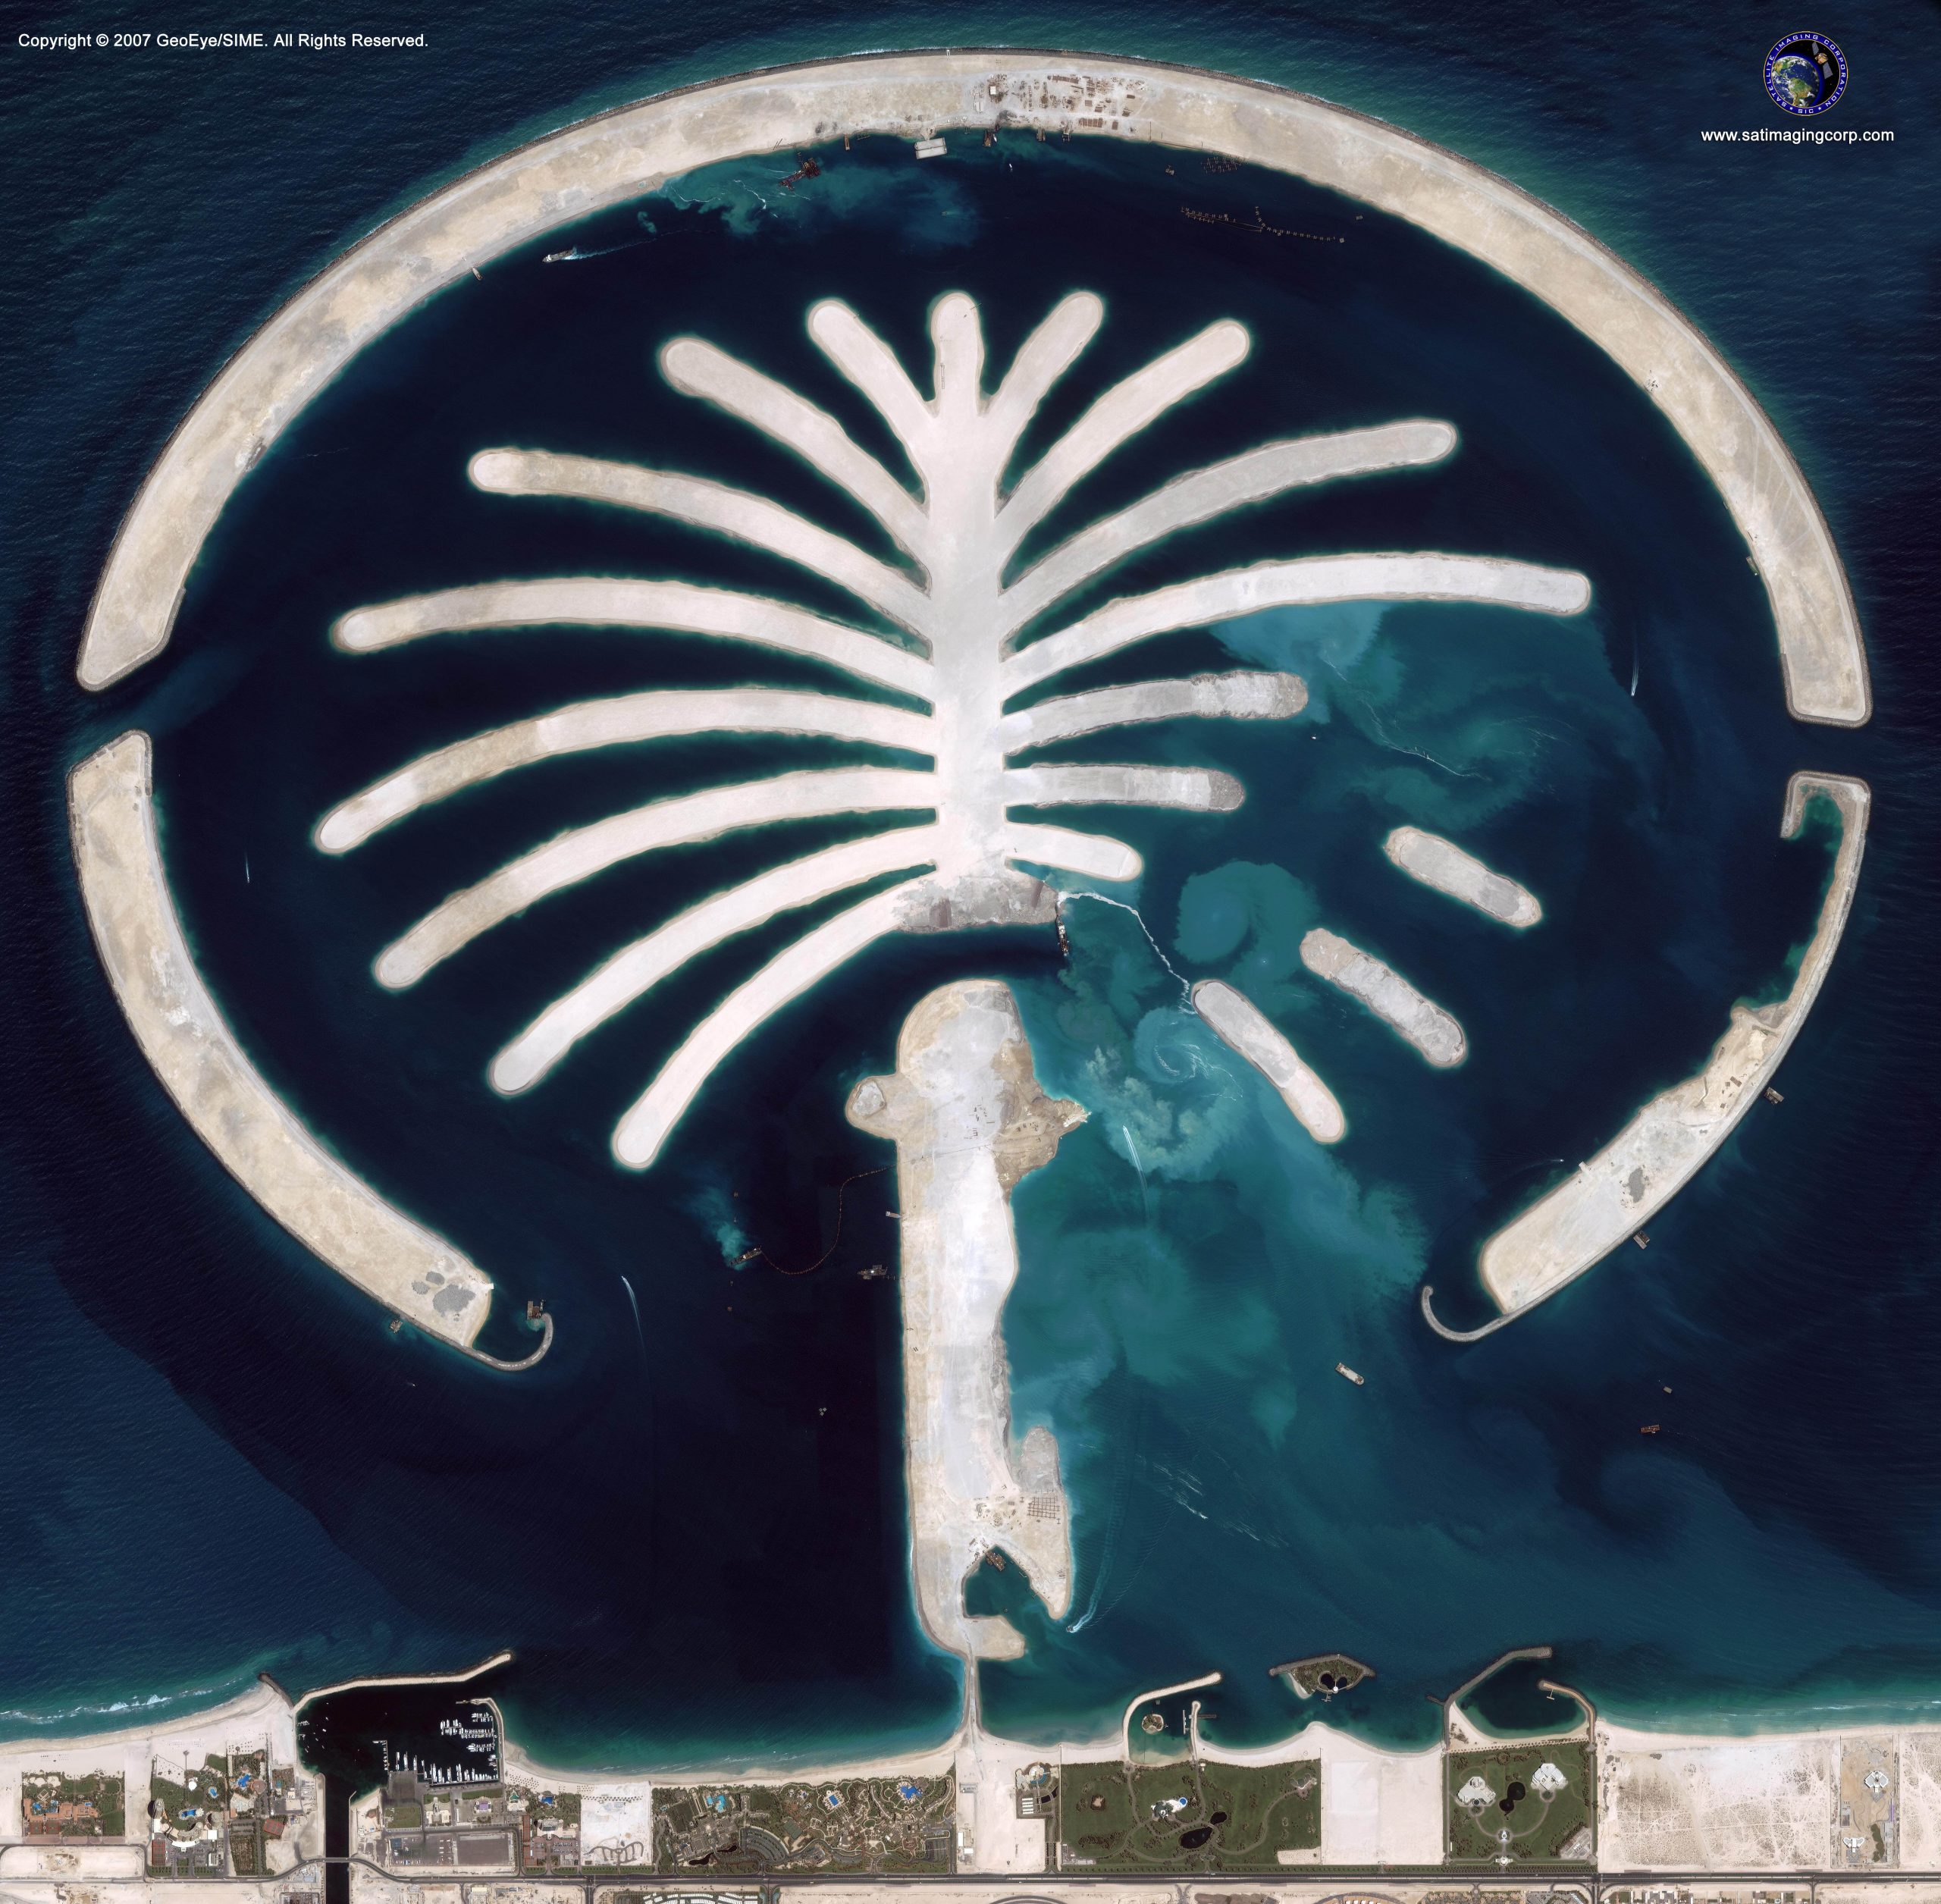
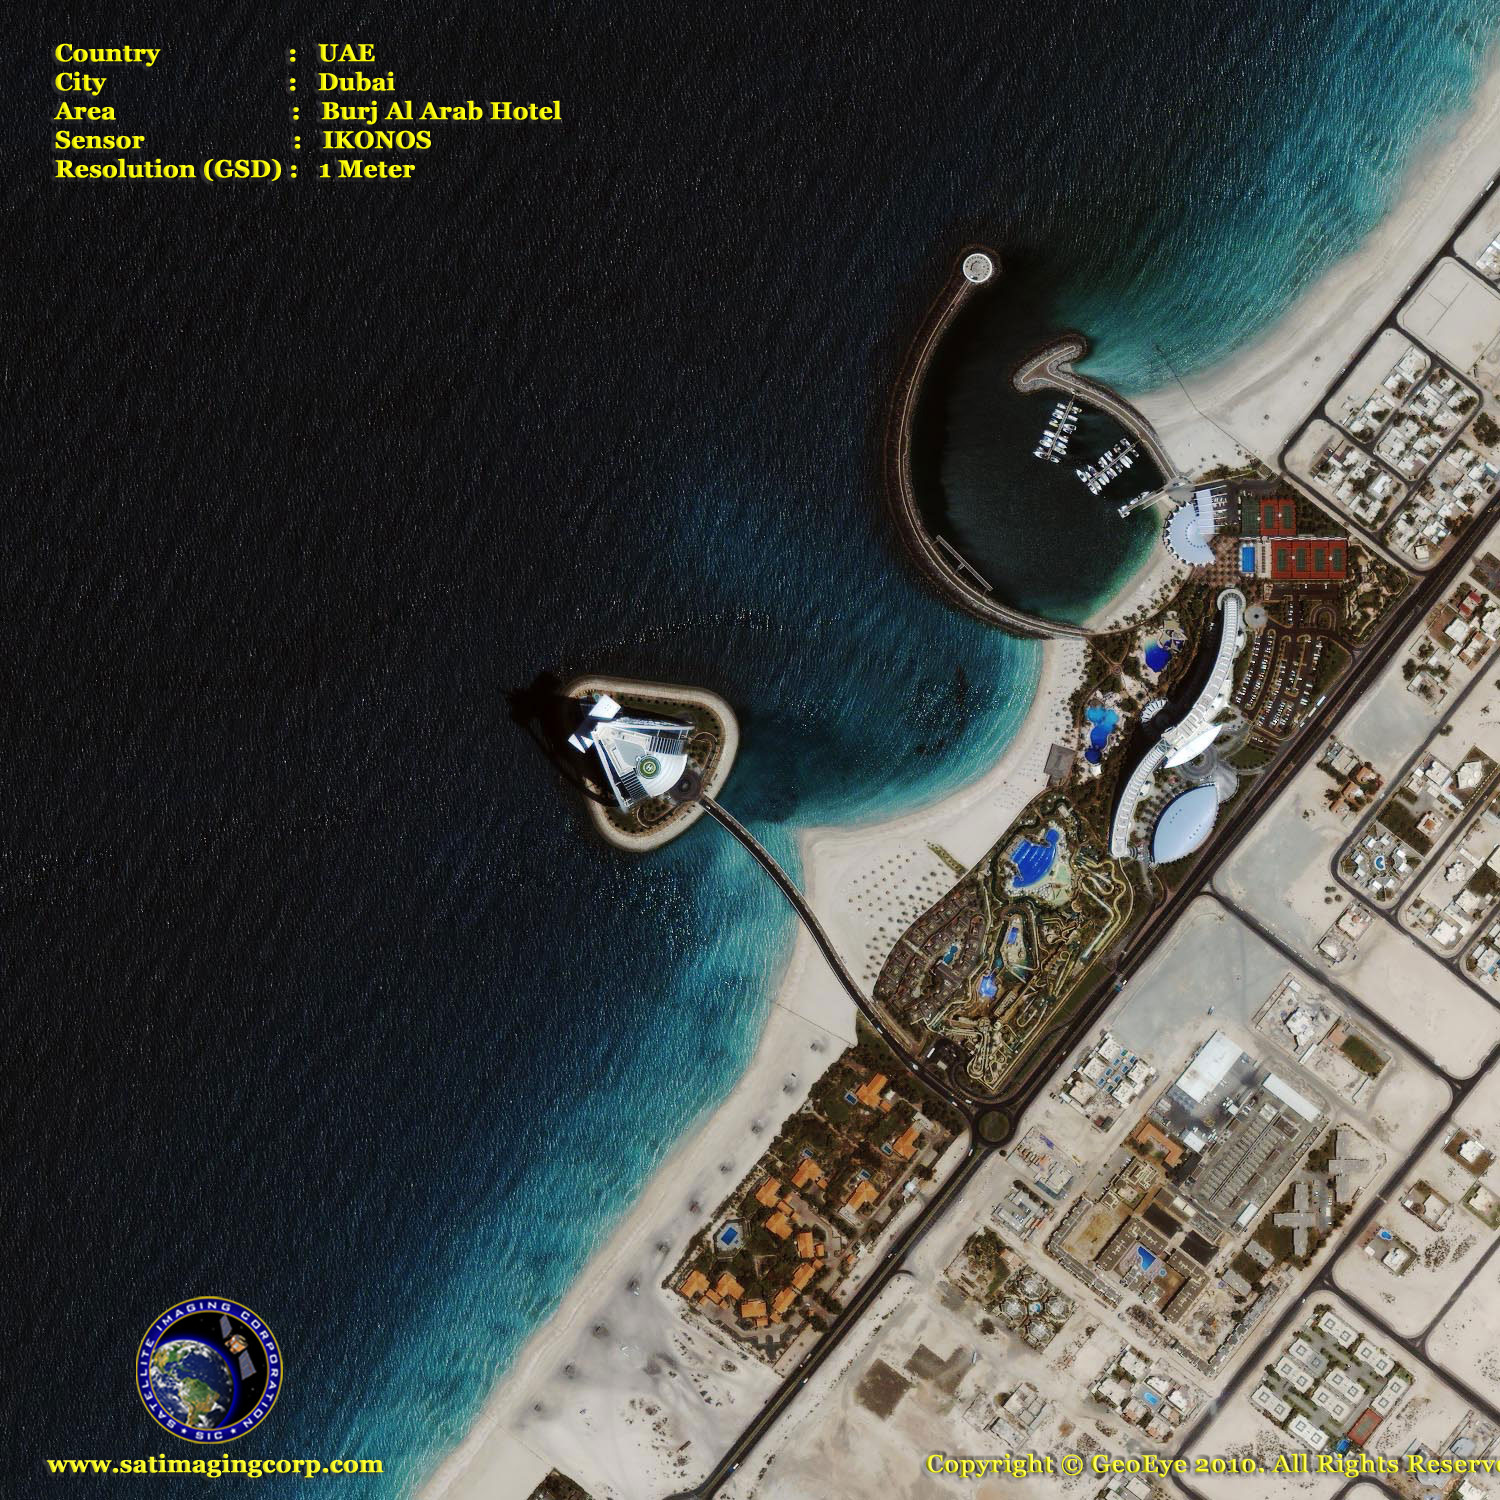
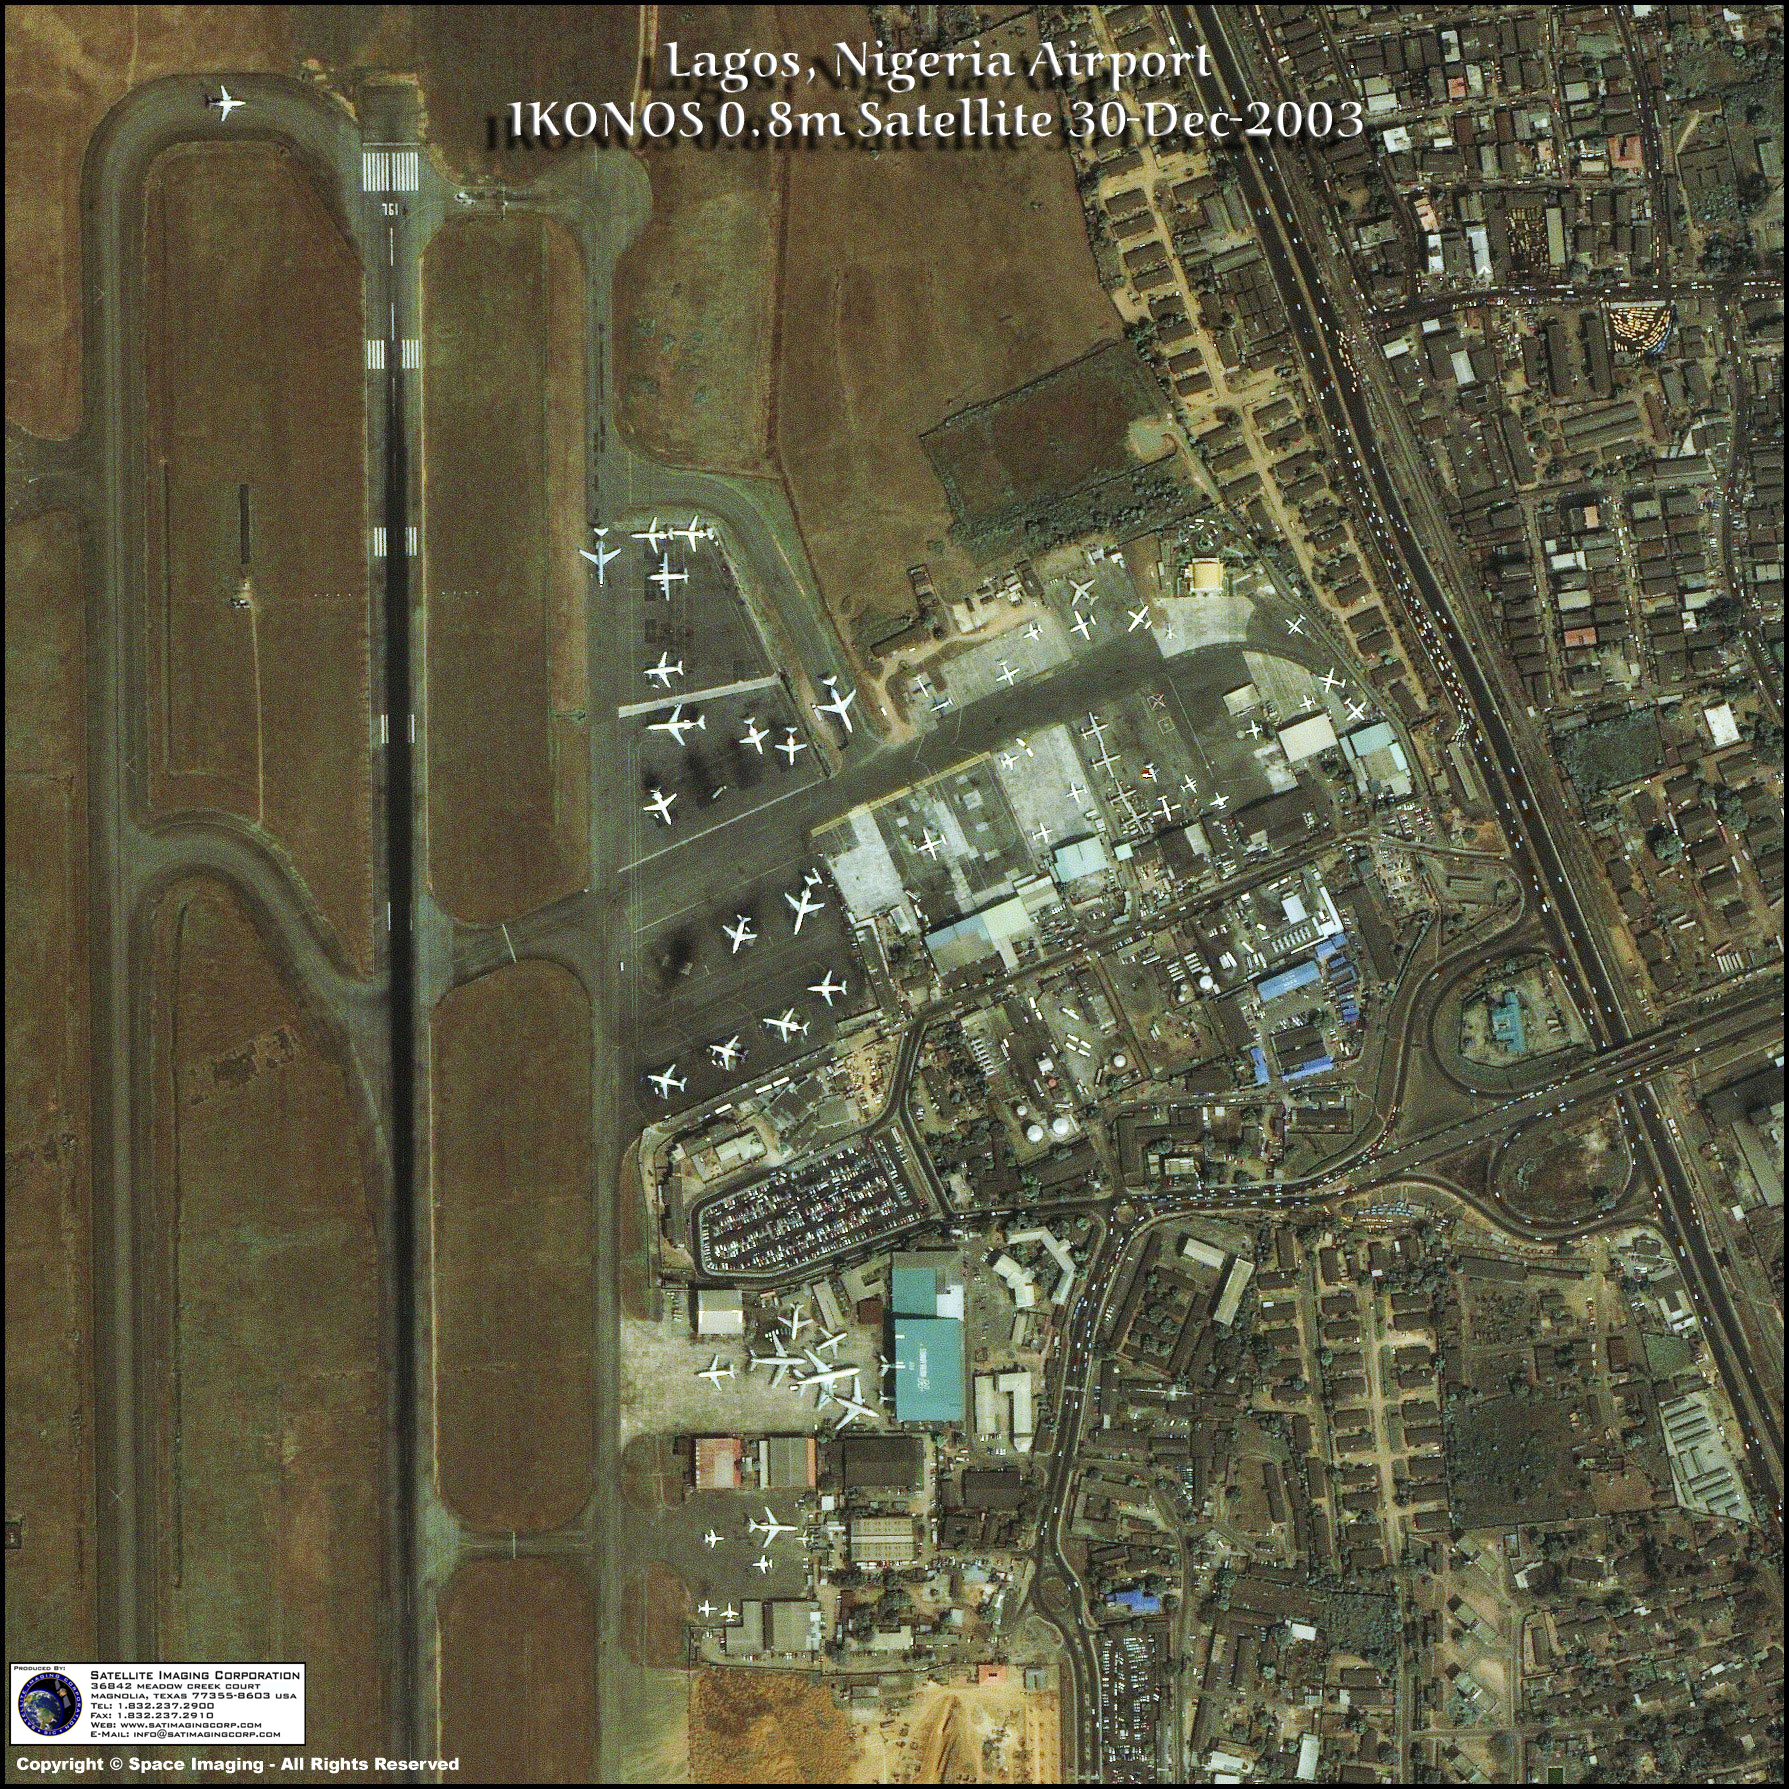
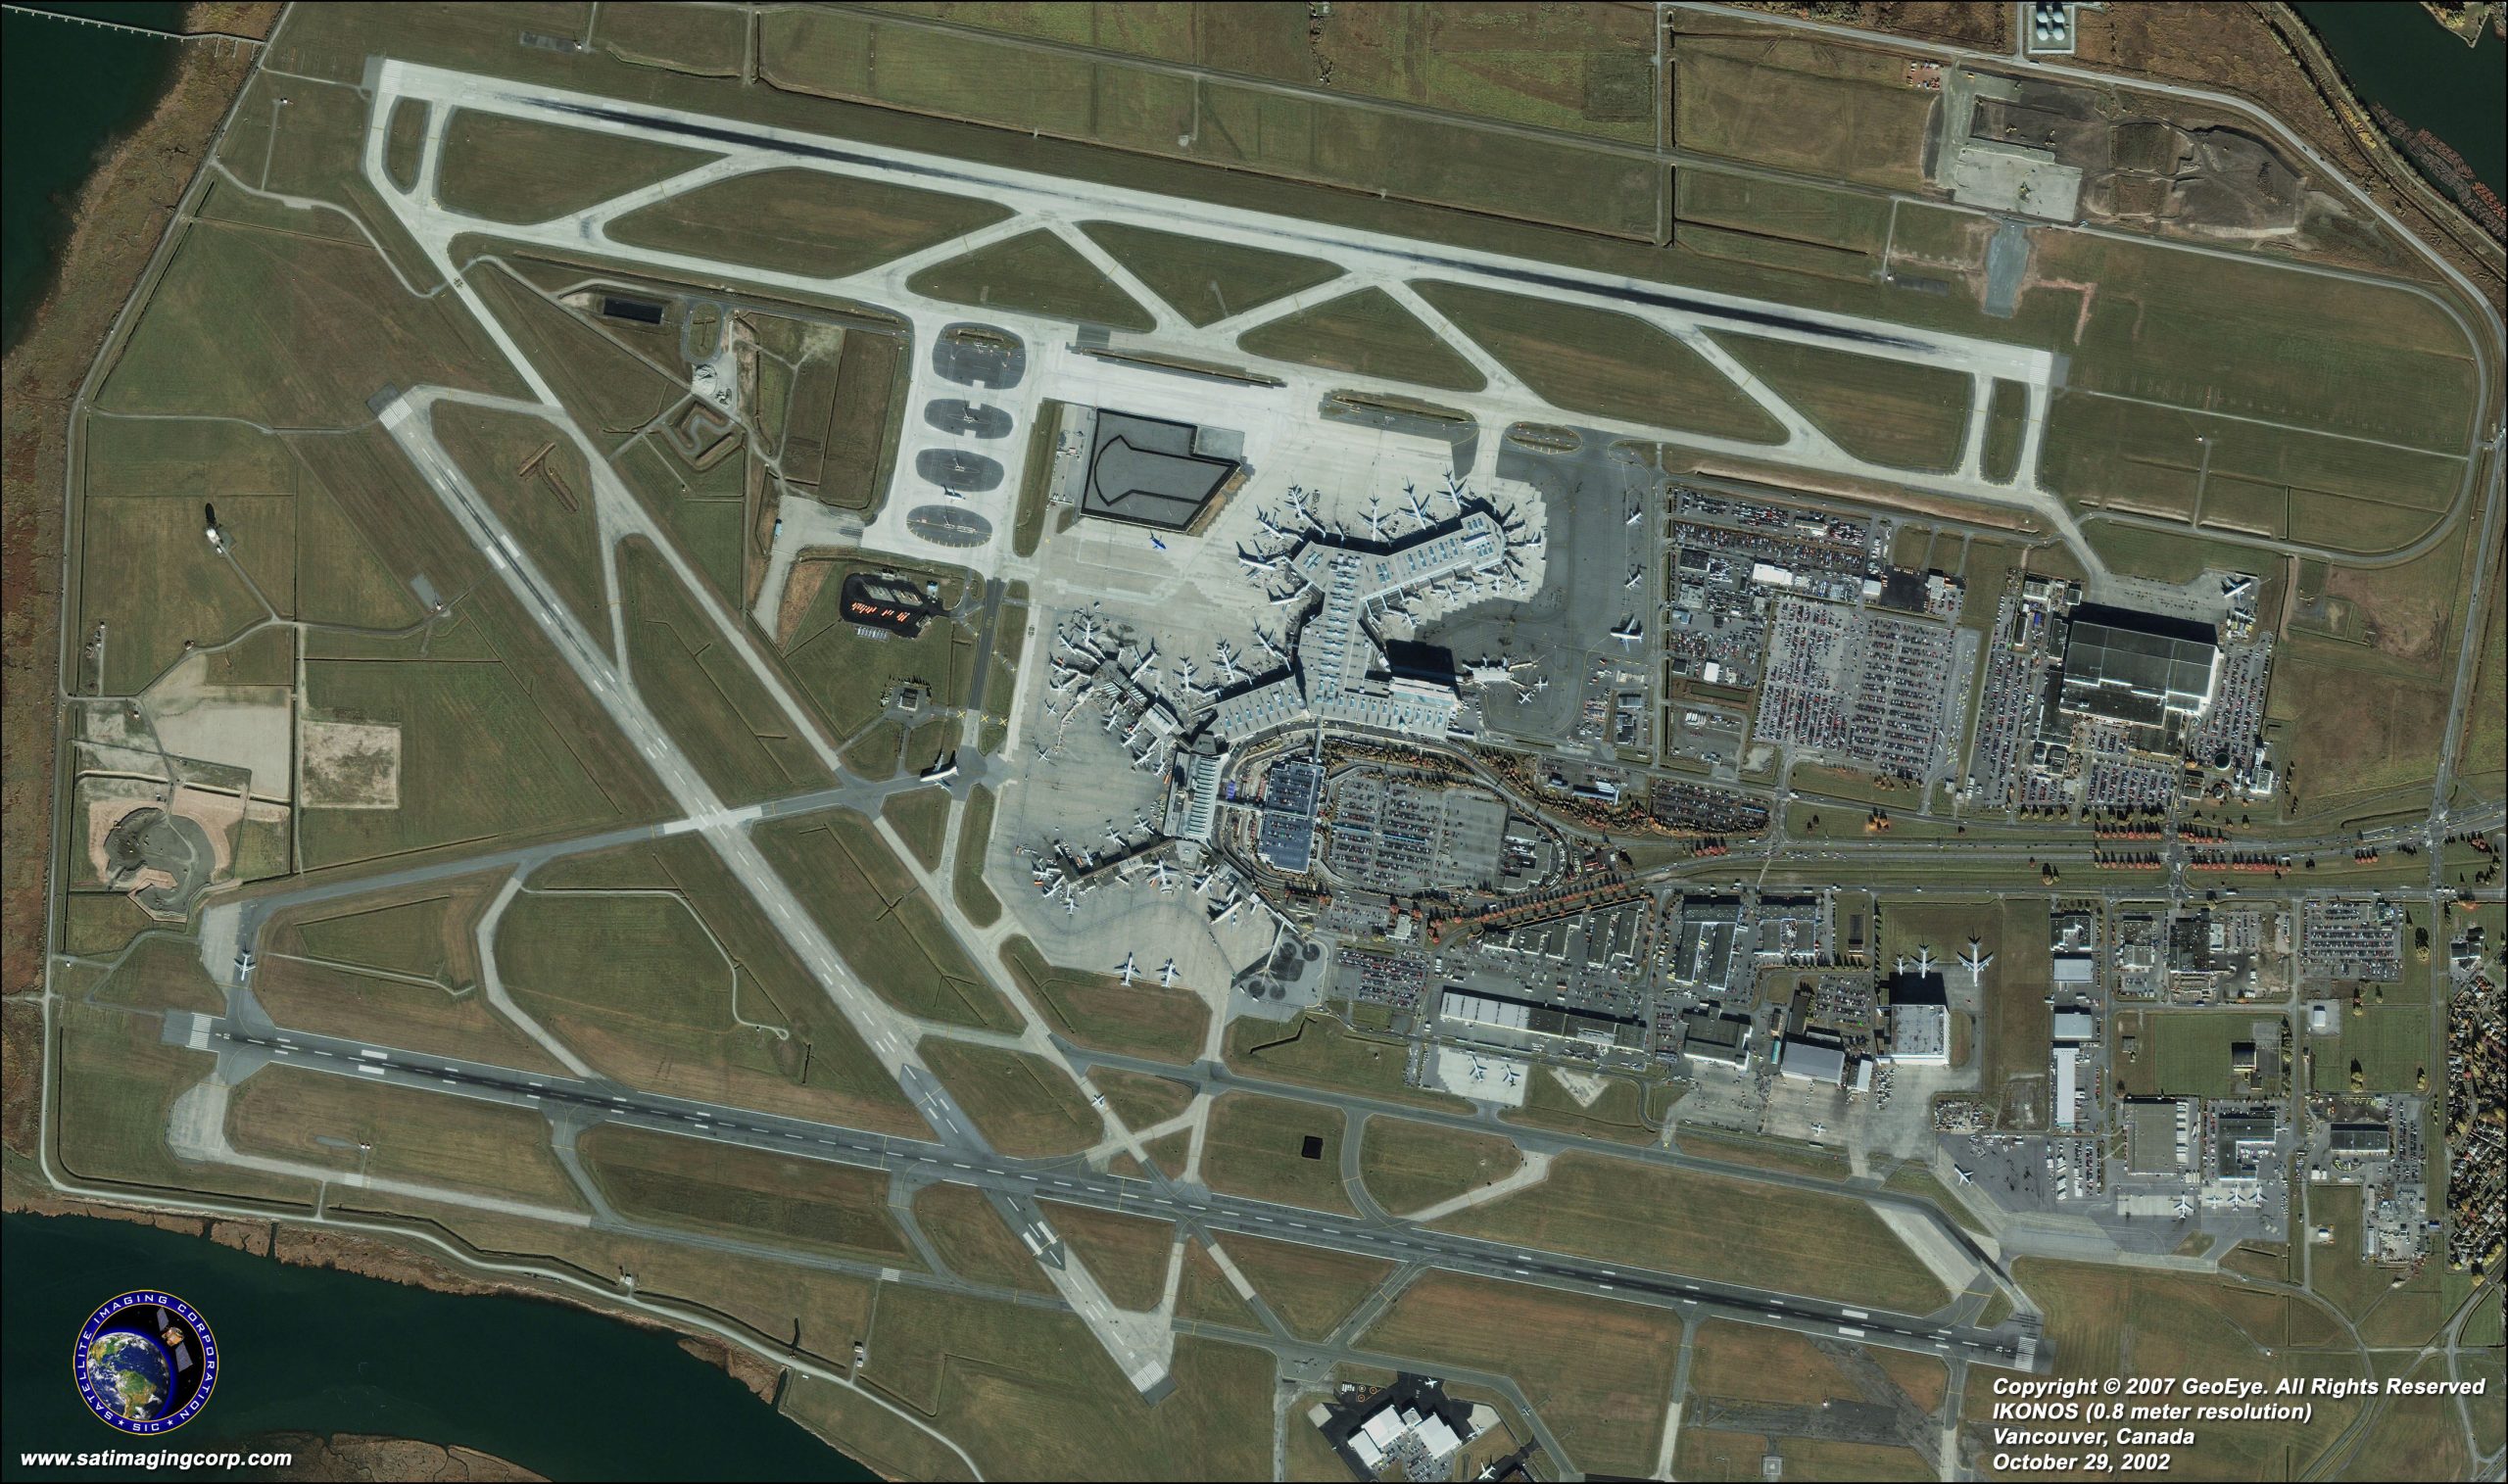
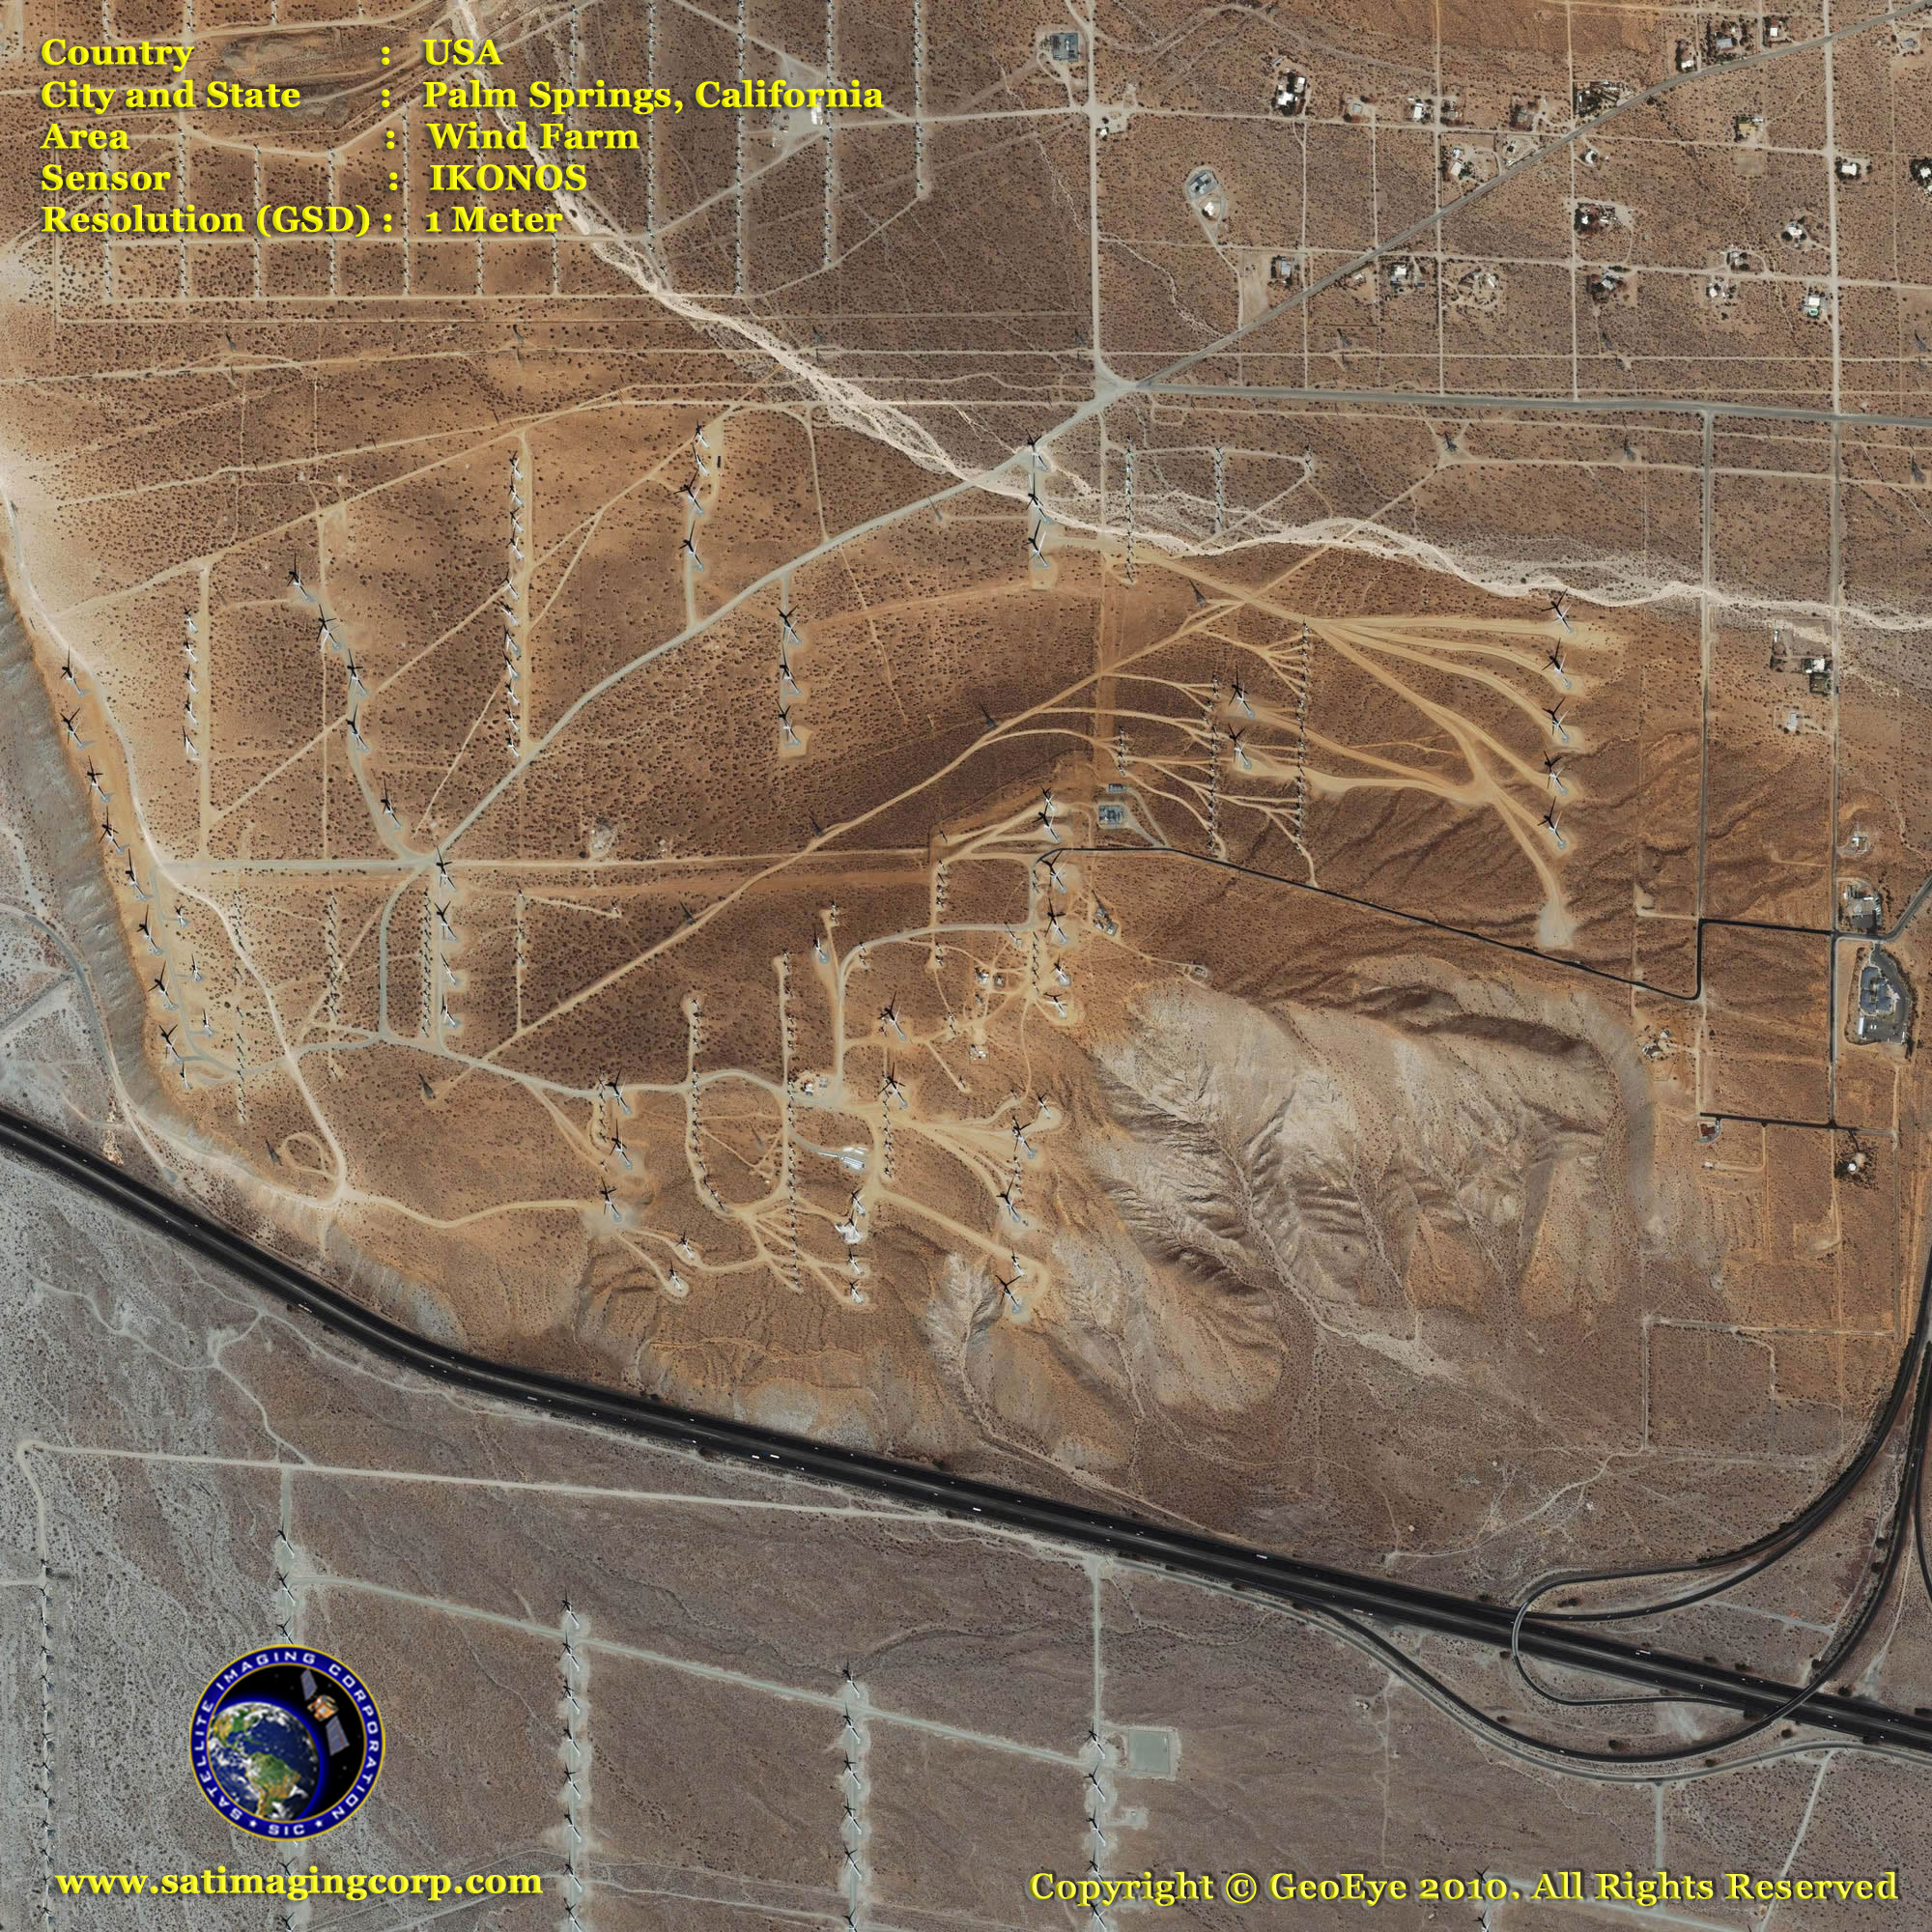
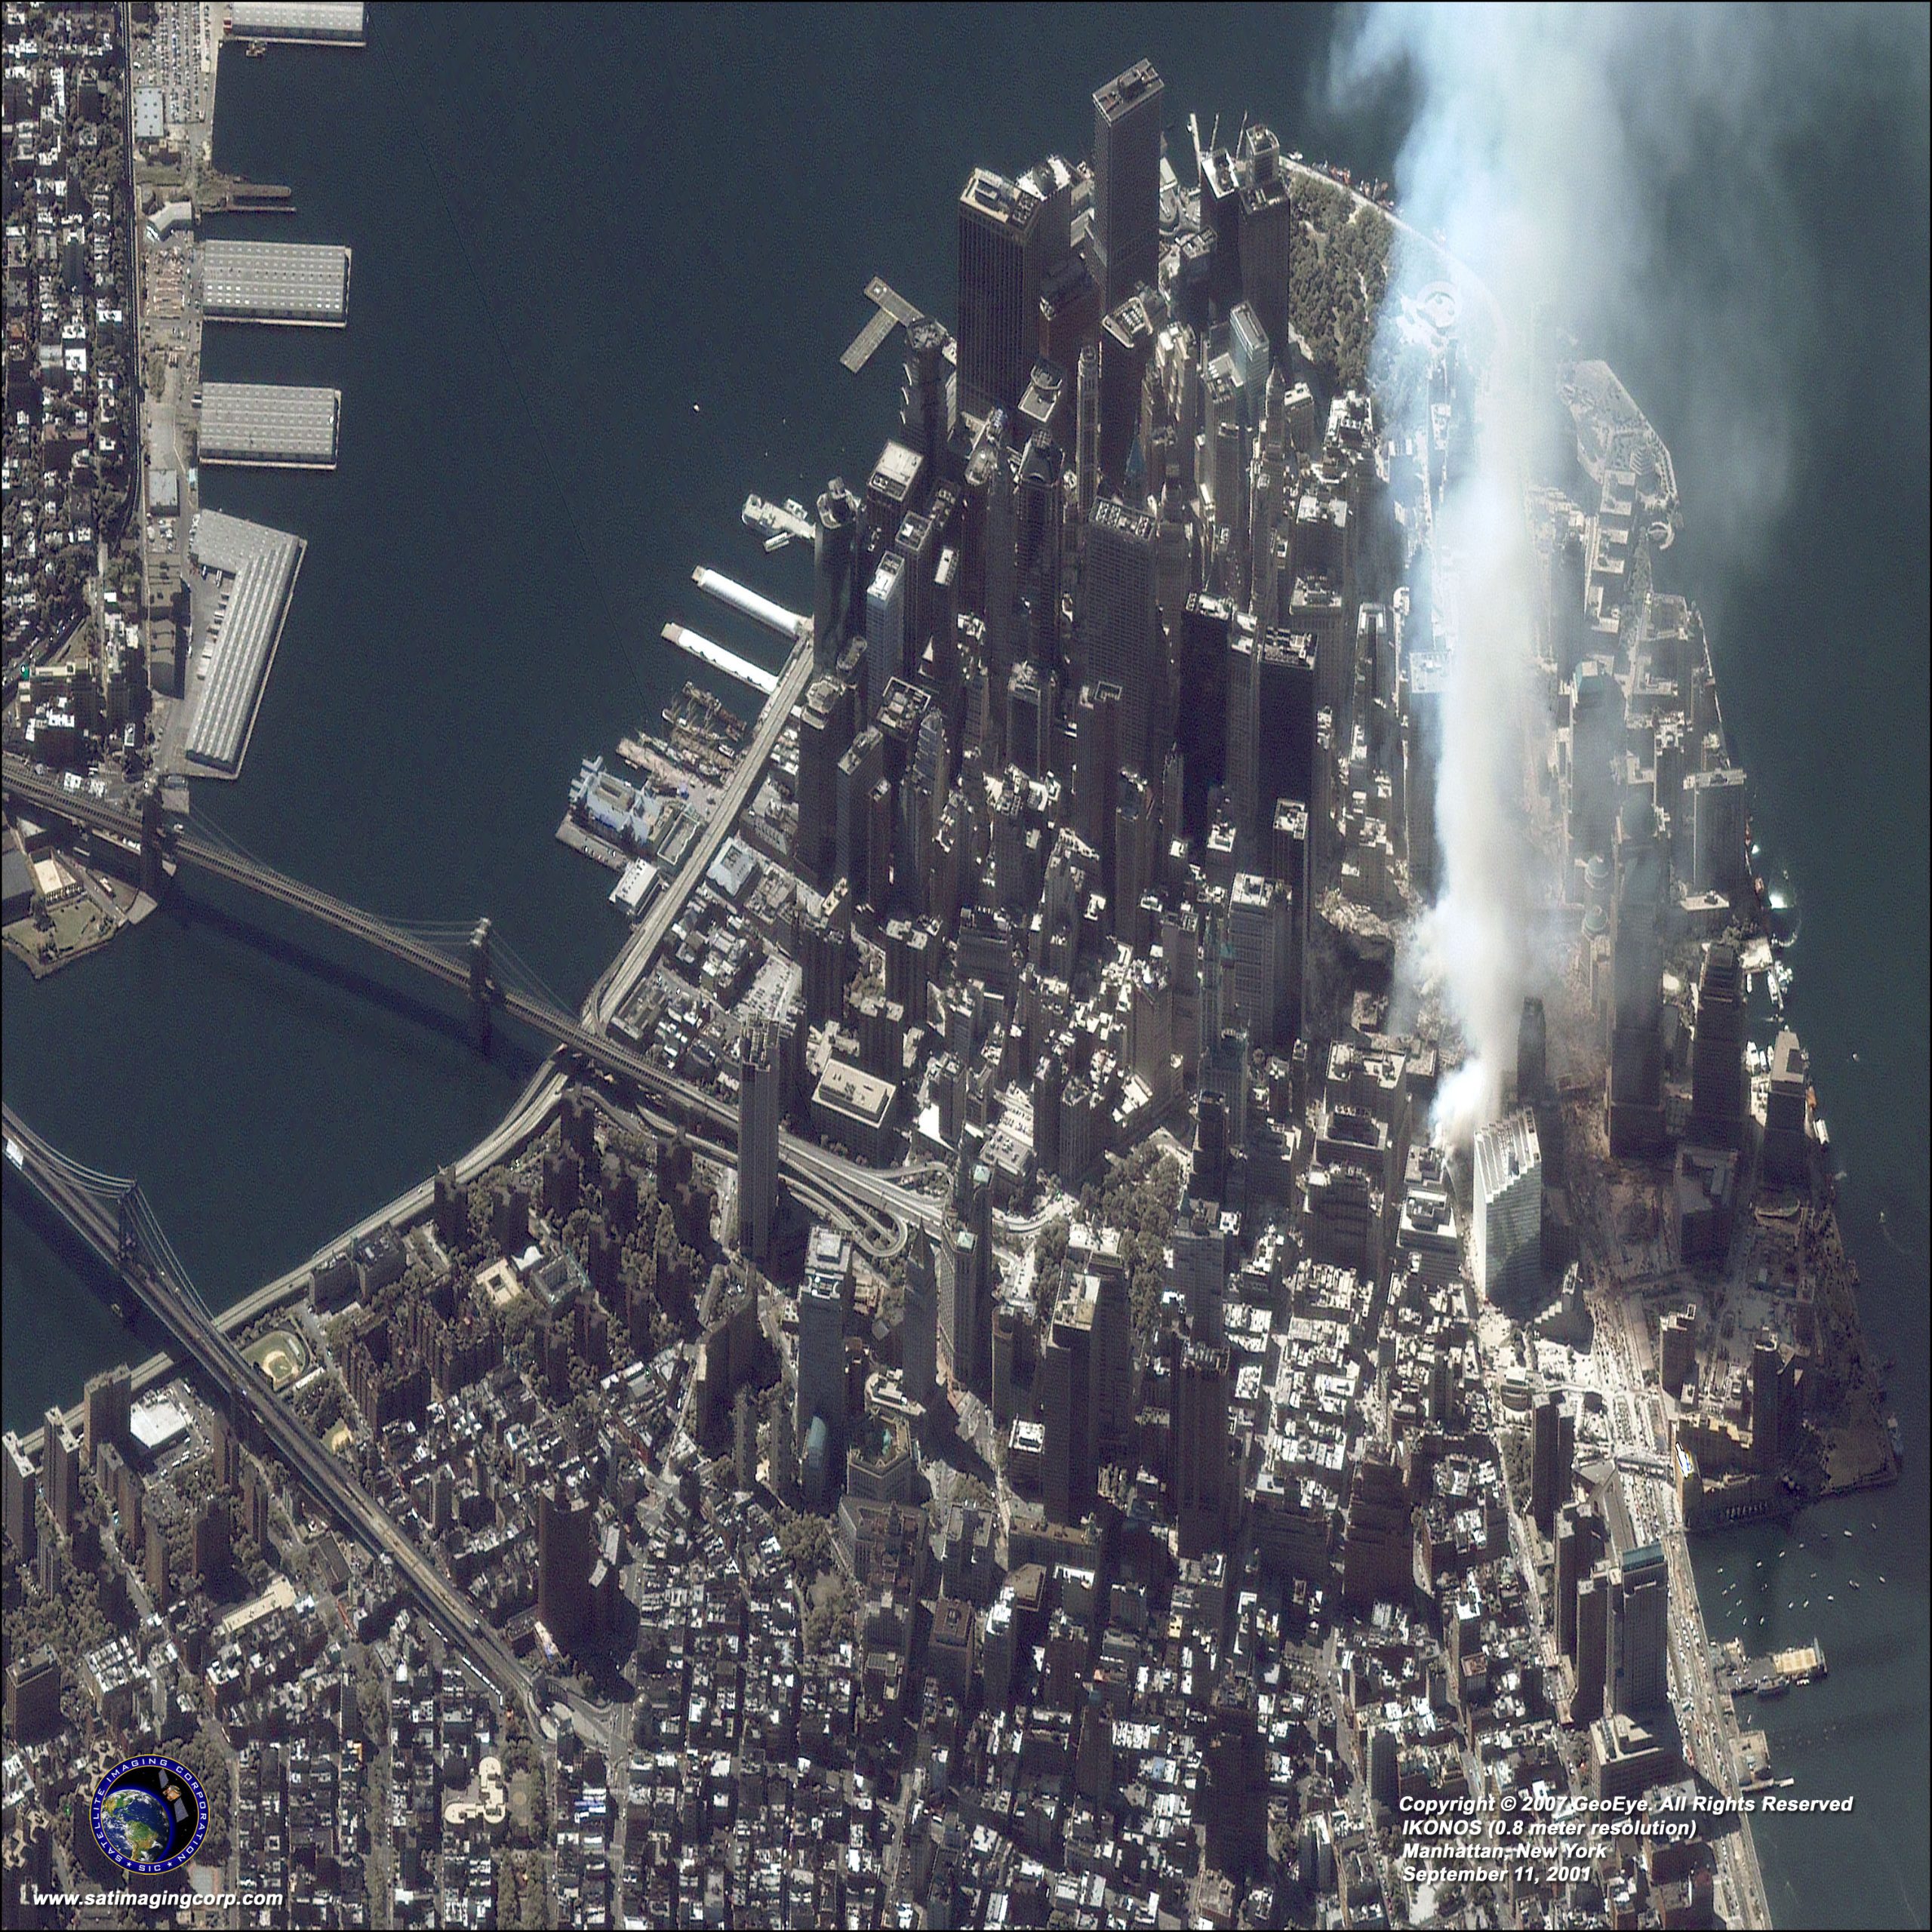
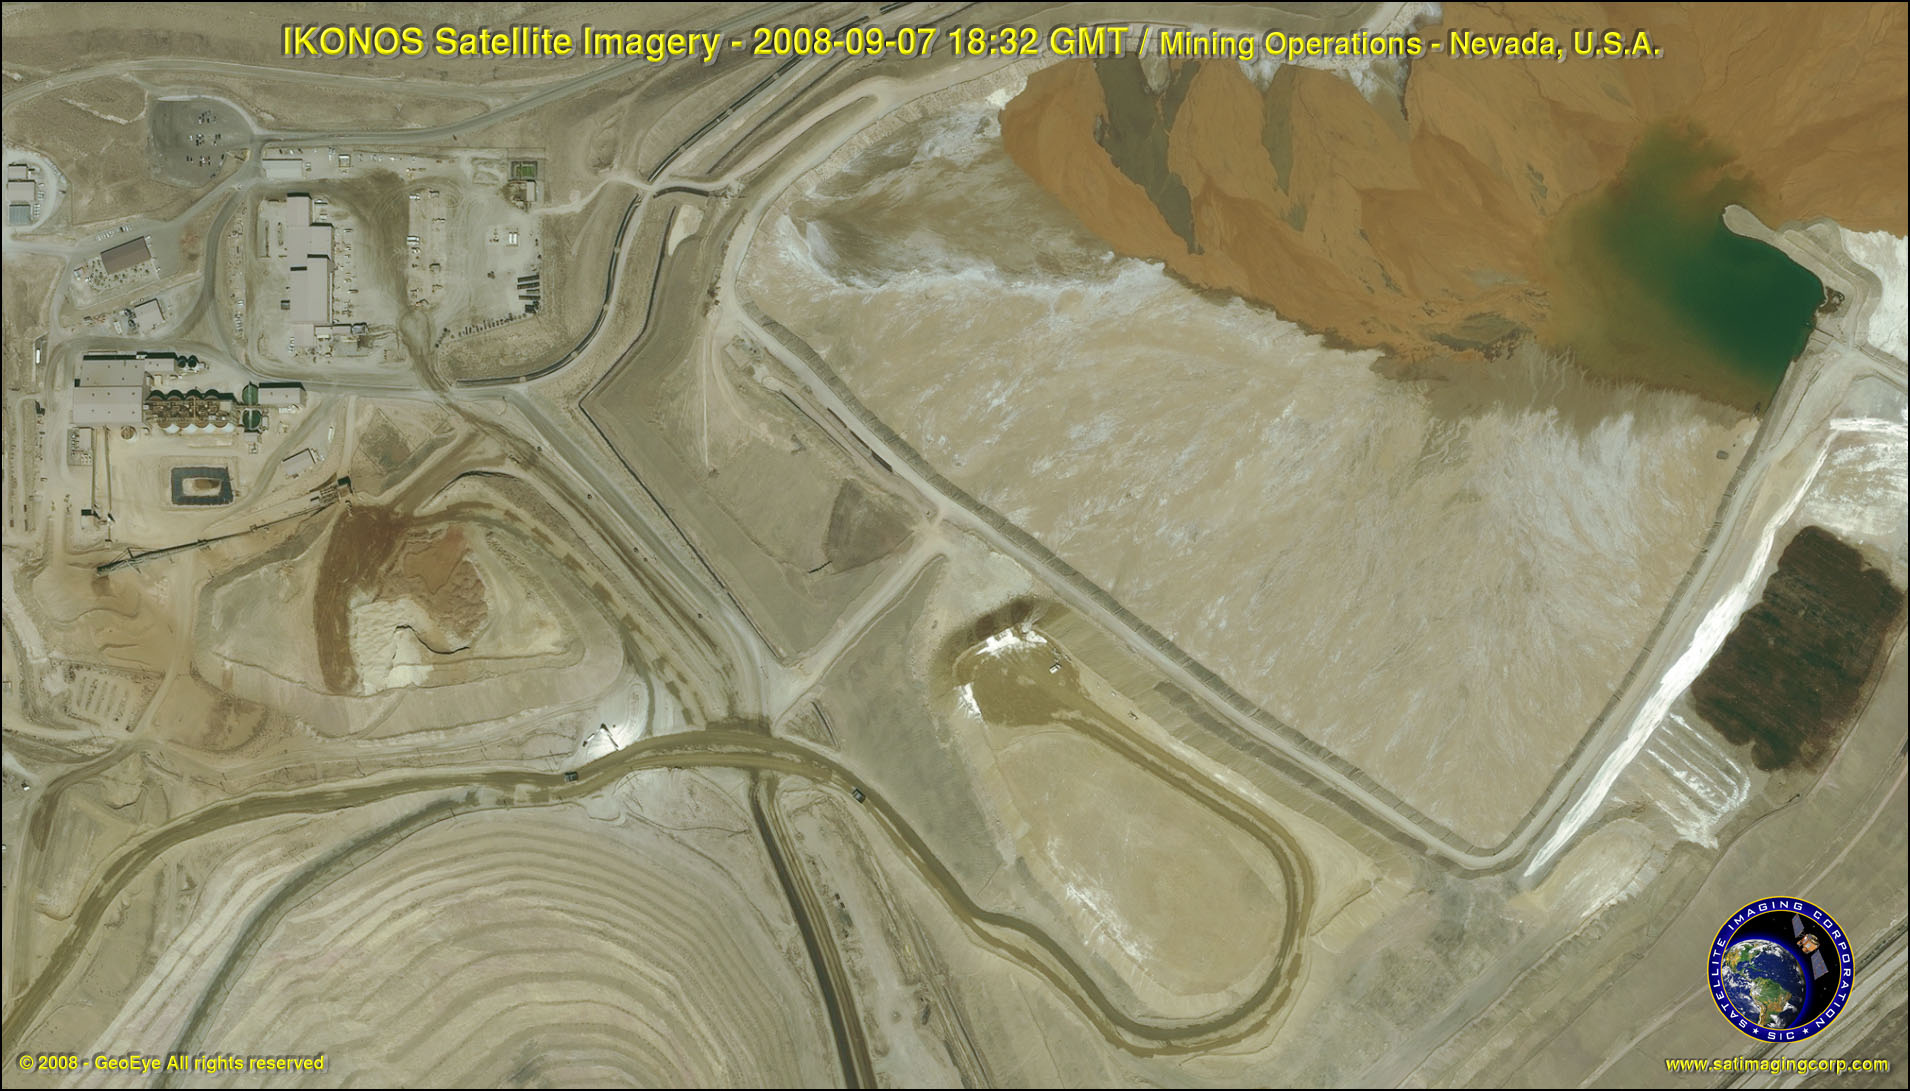
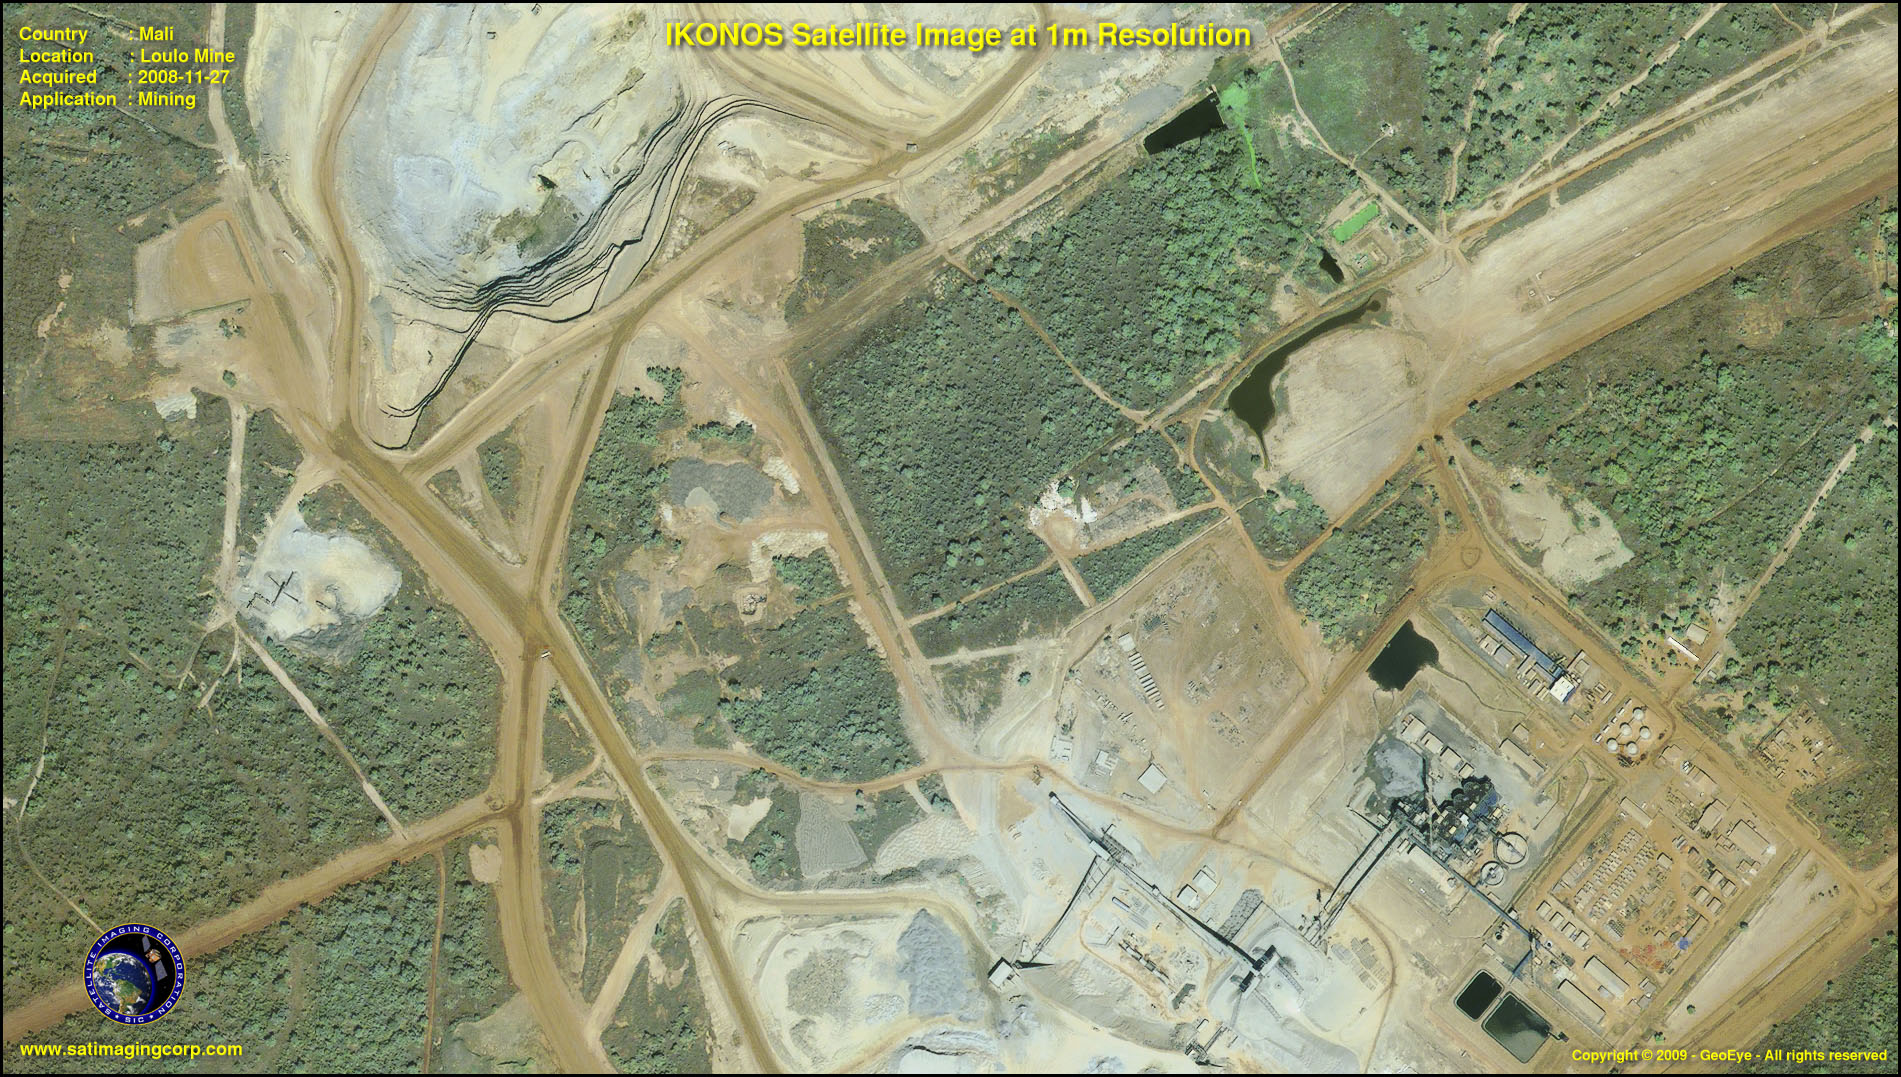
Sample Images
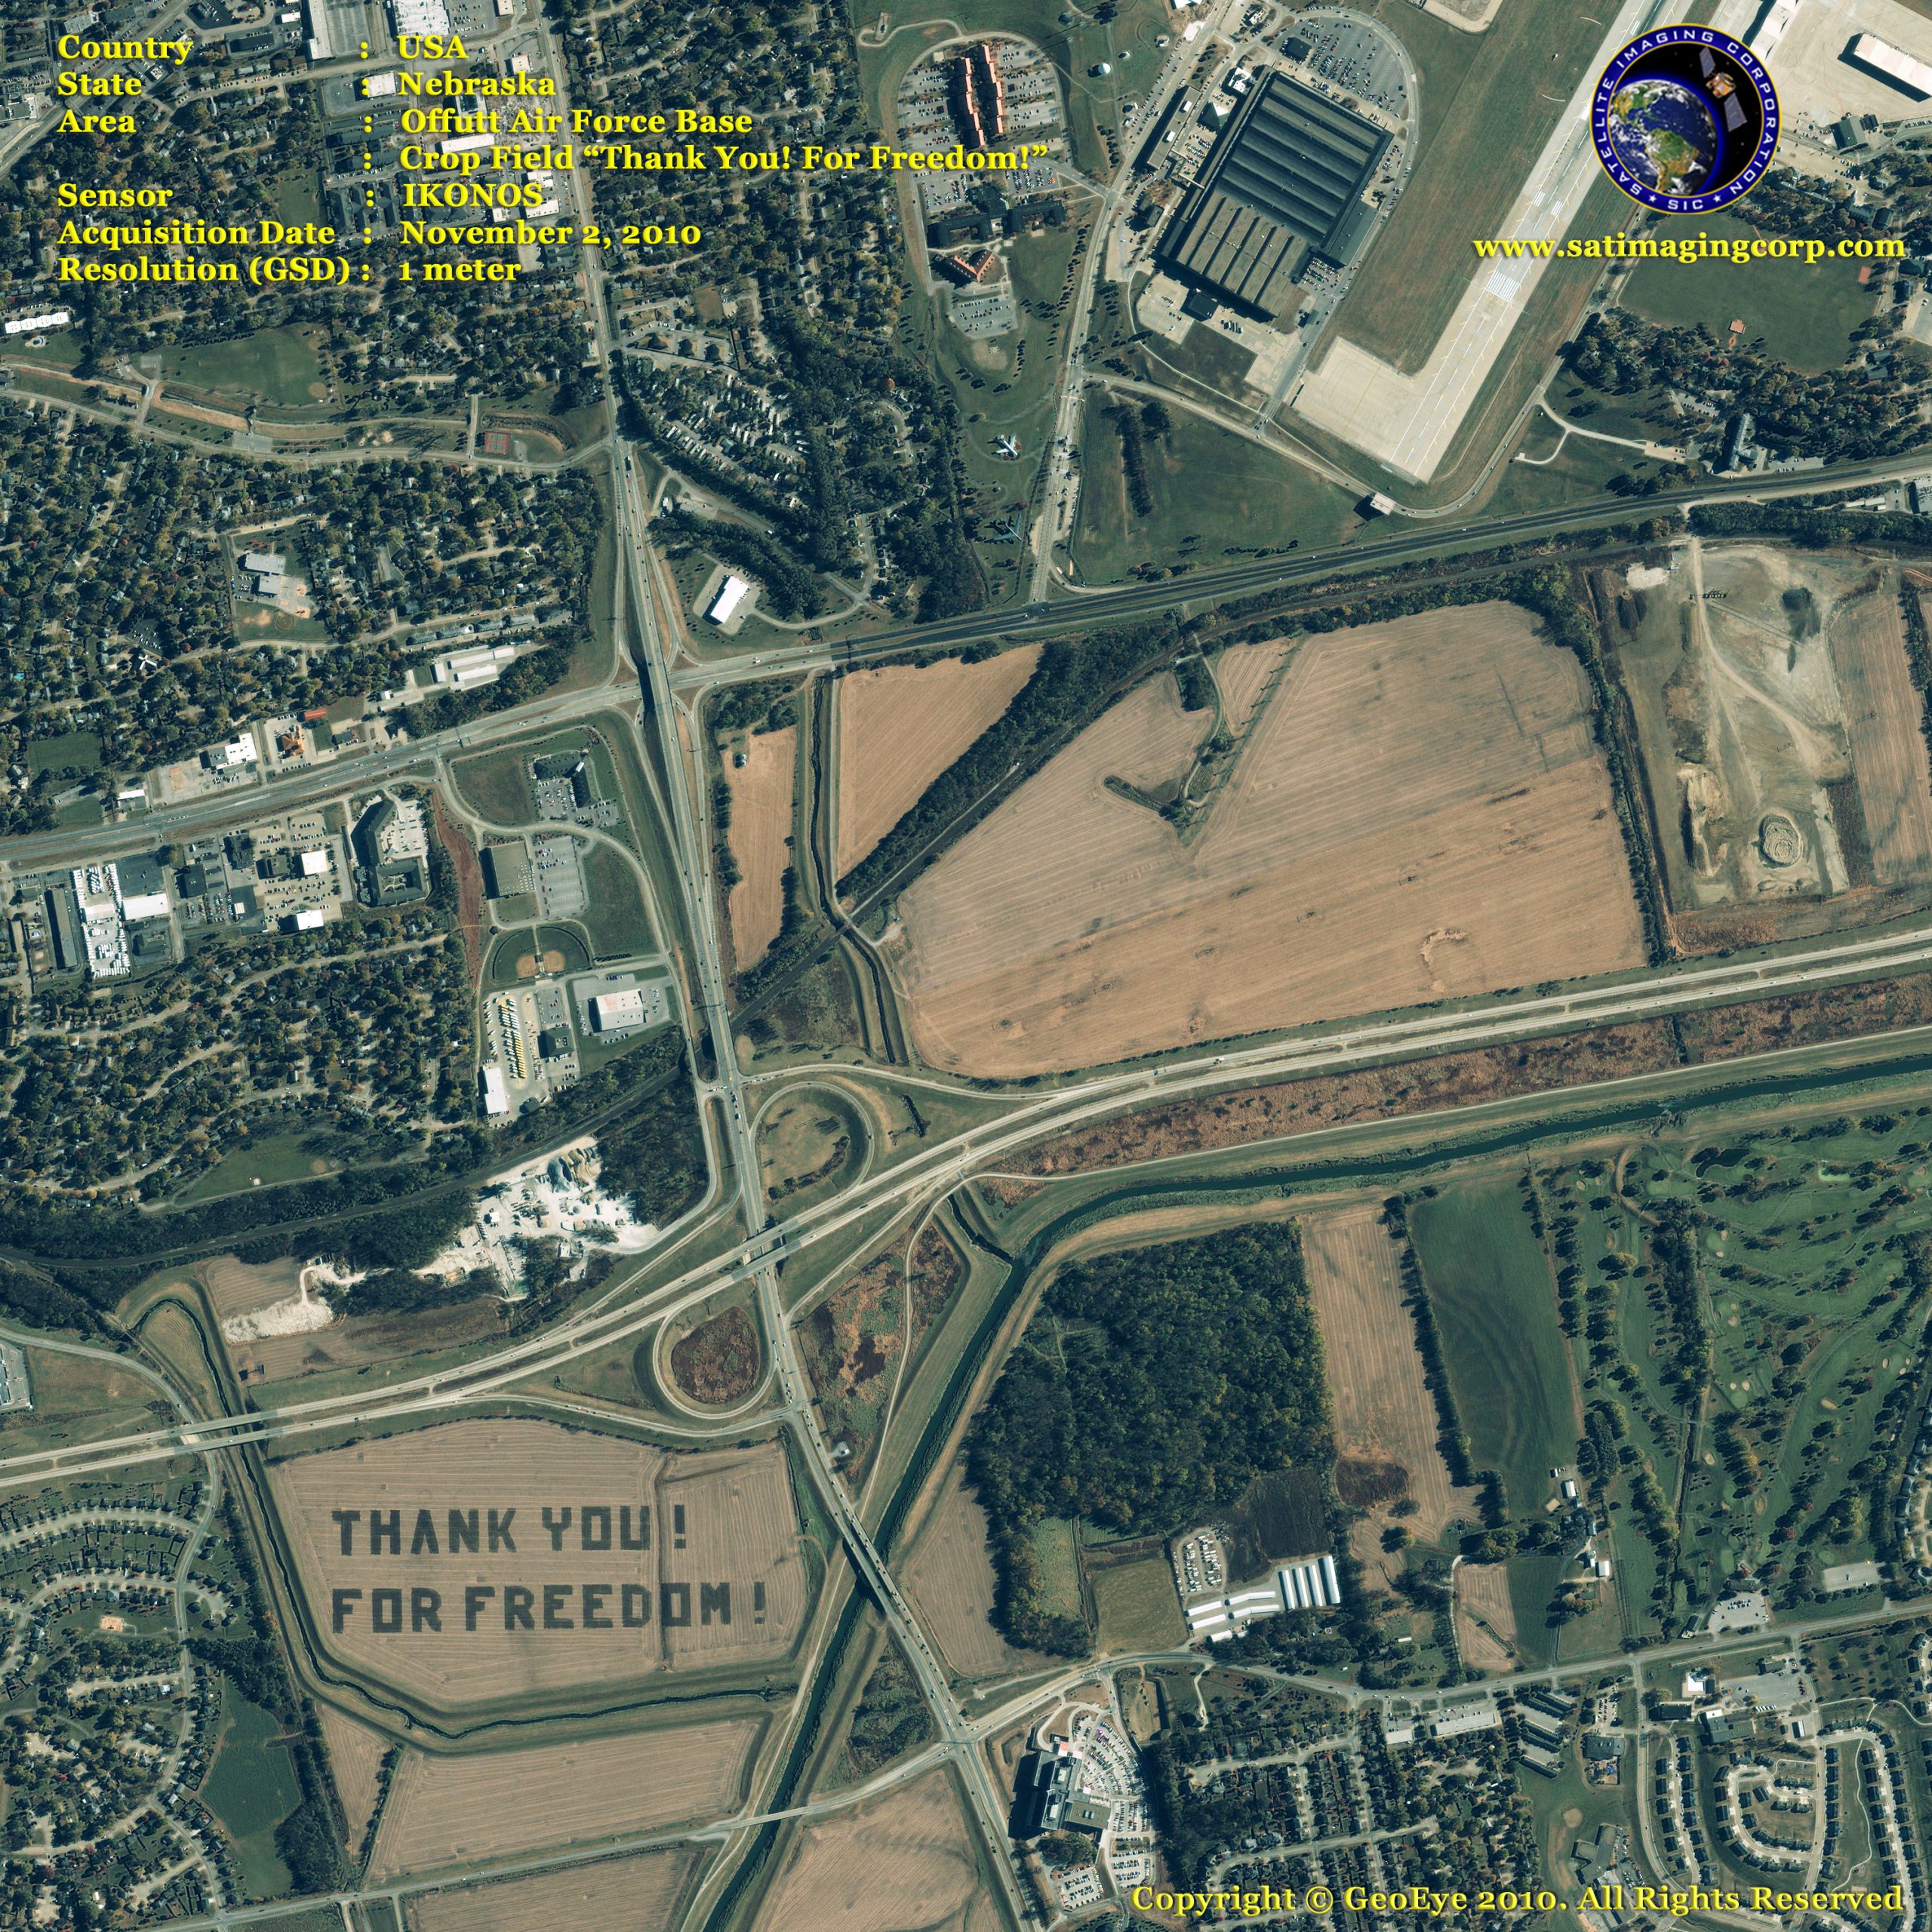
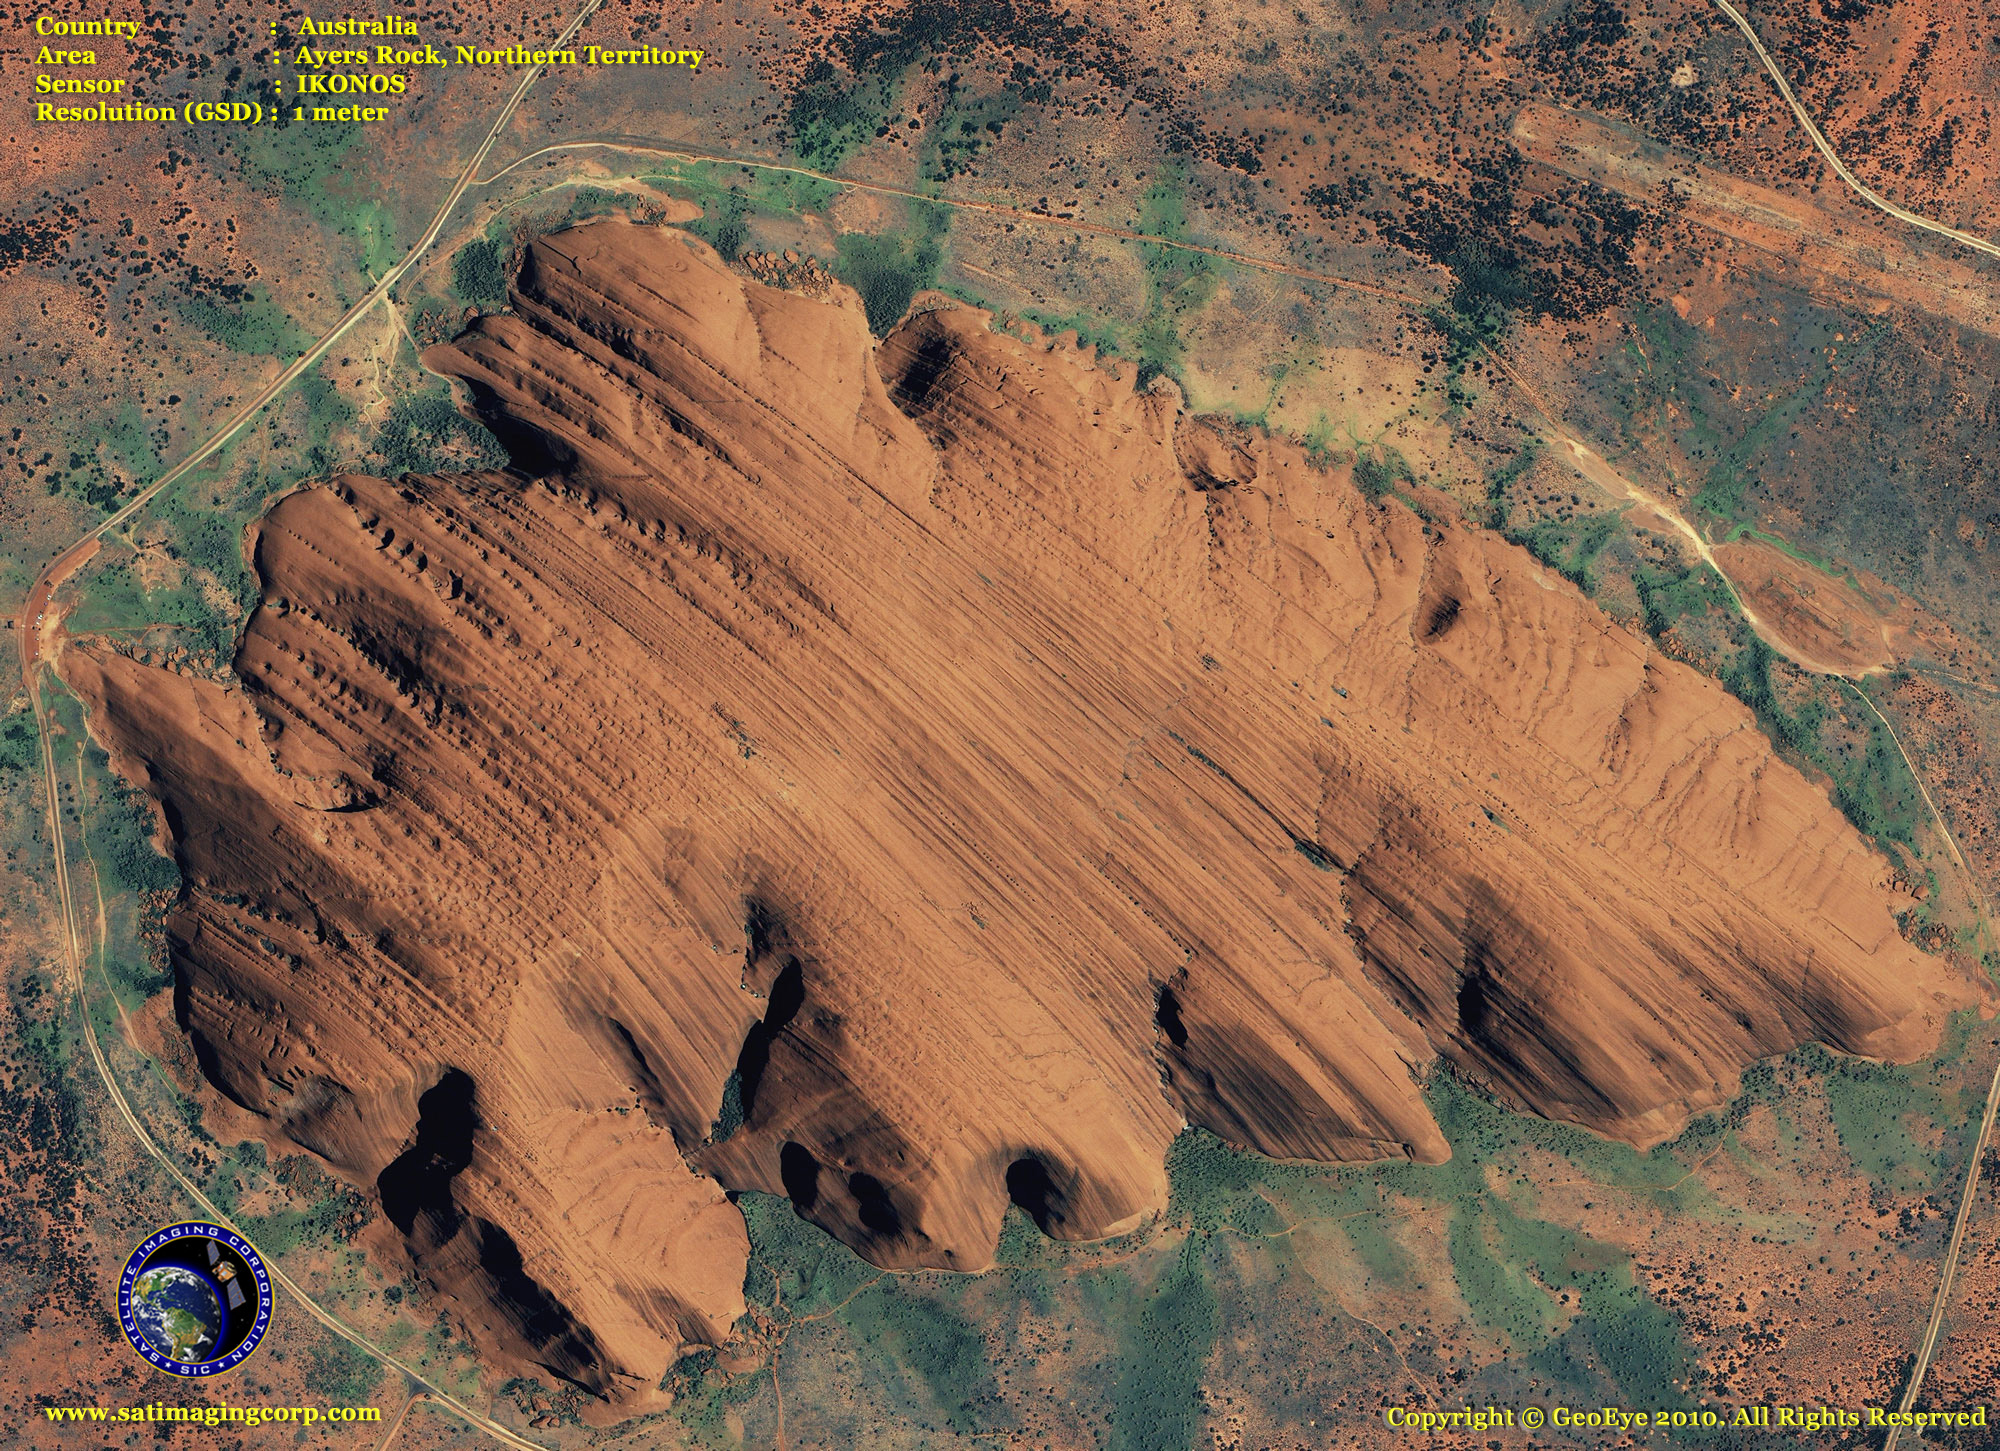
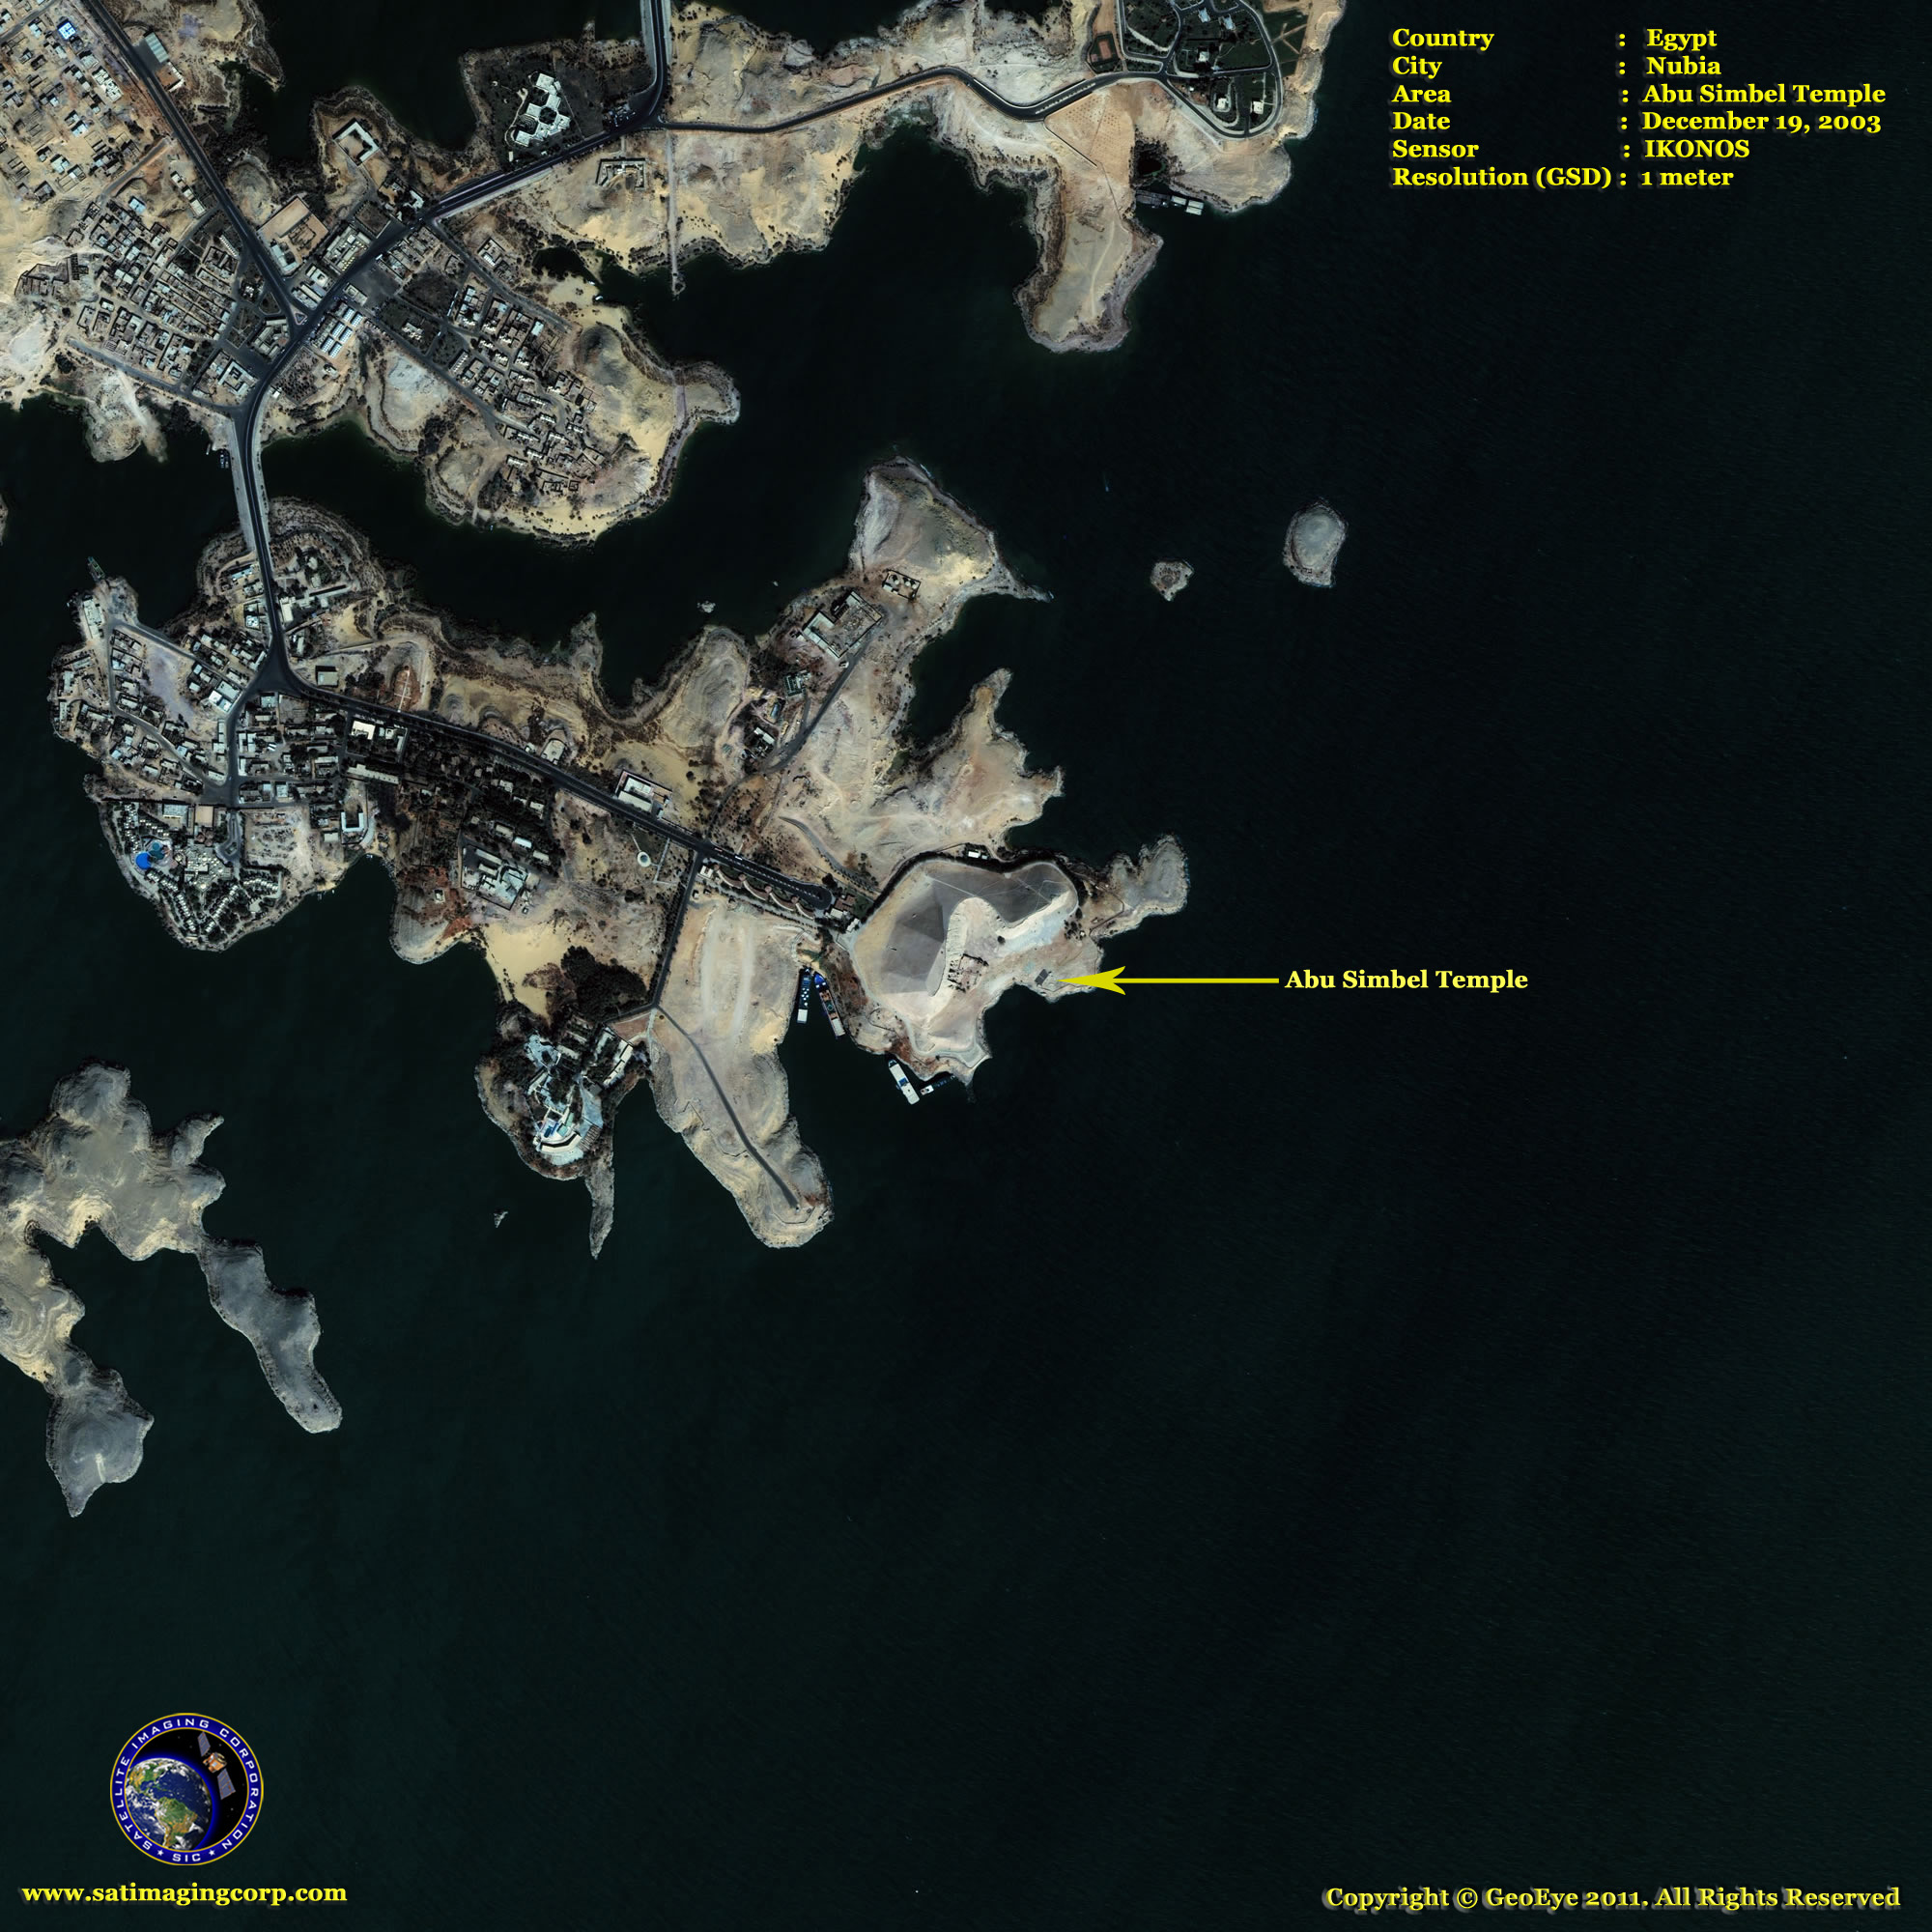
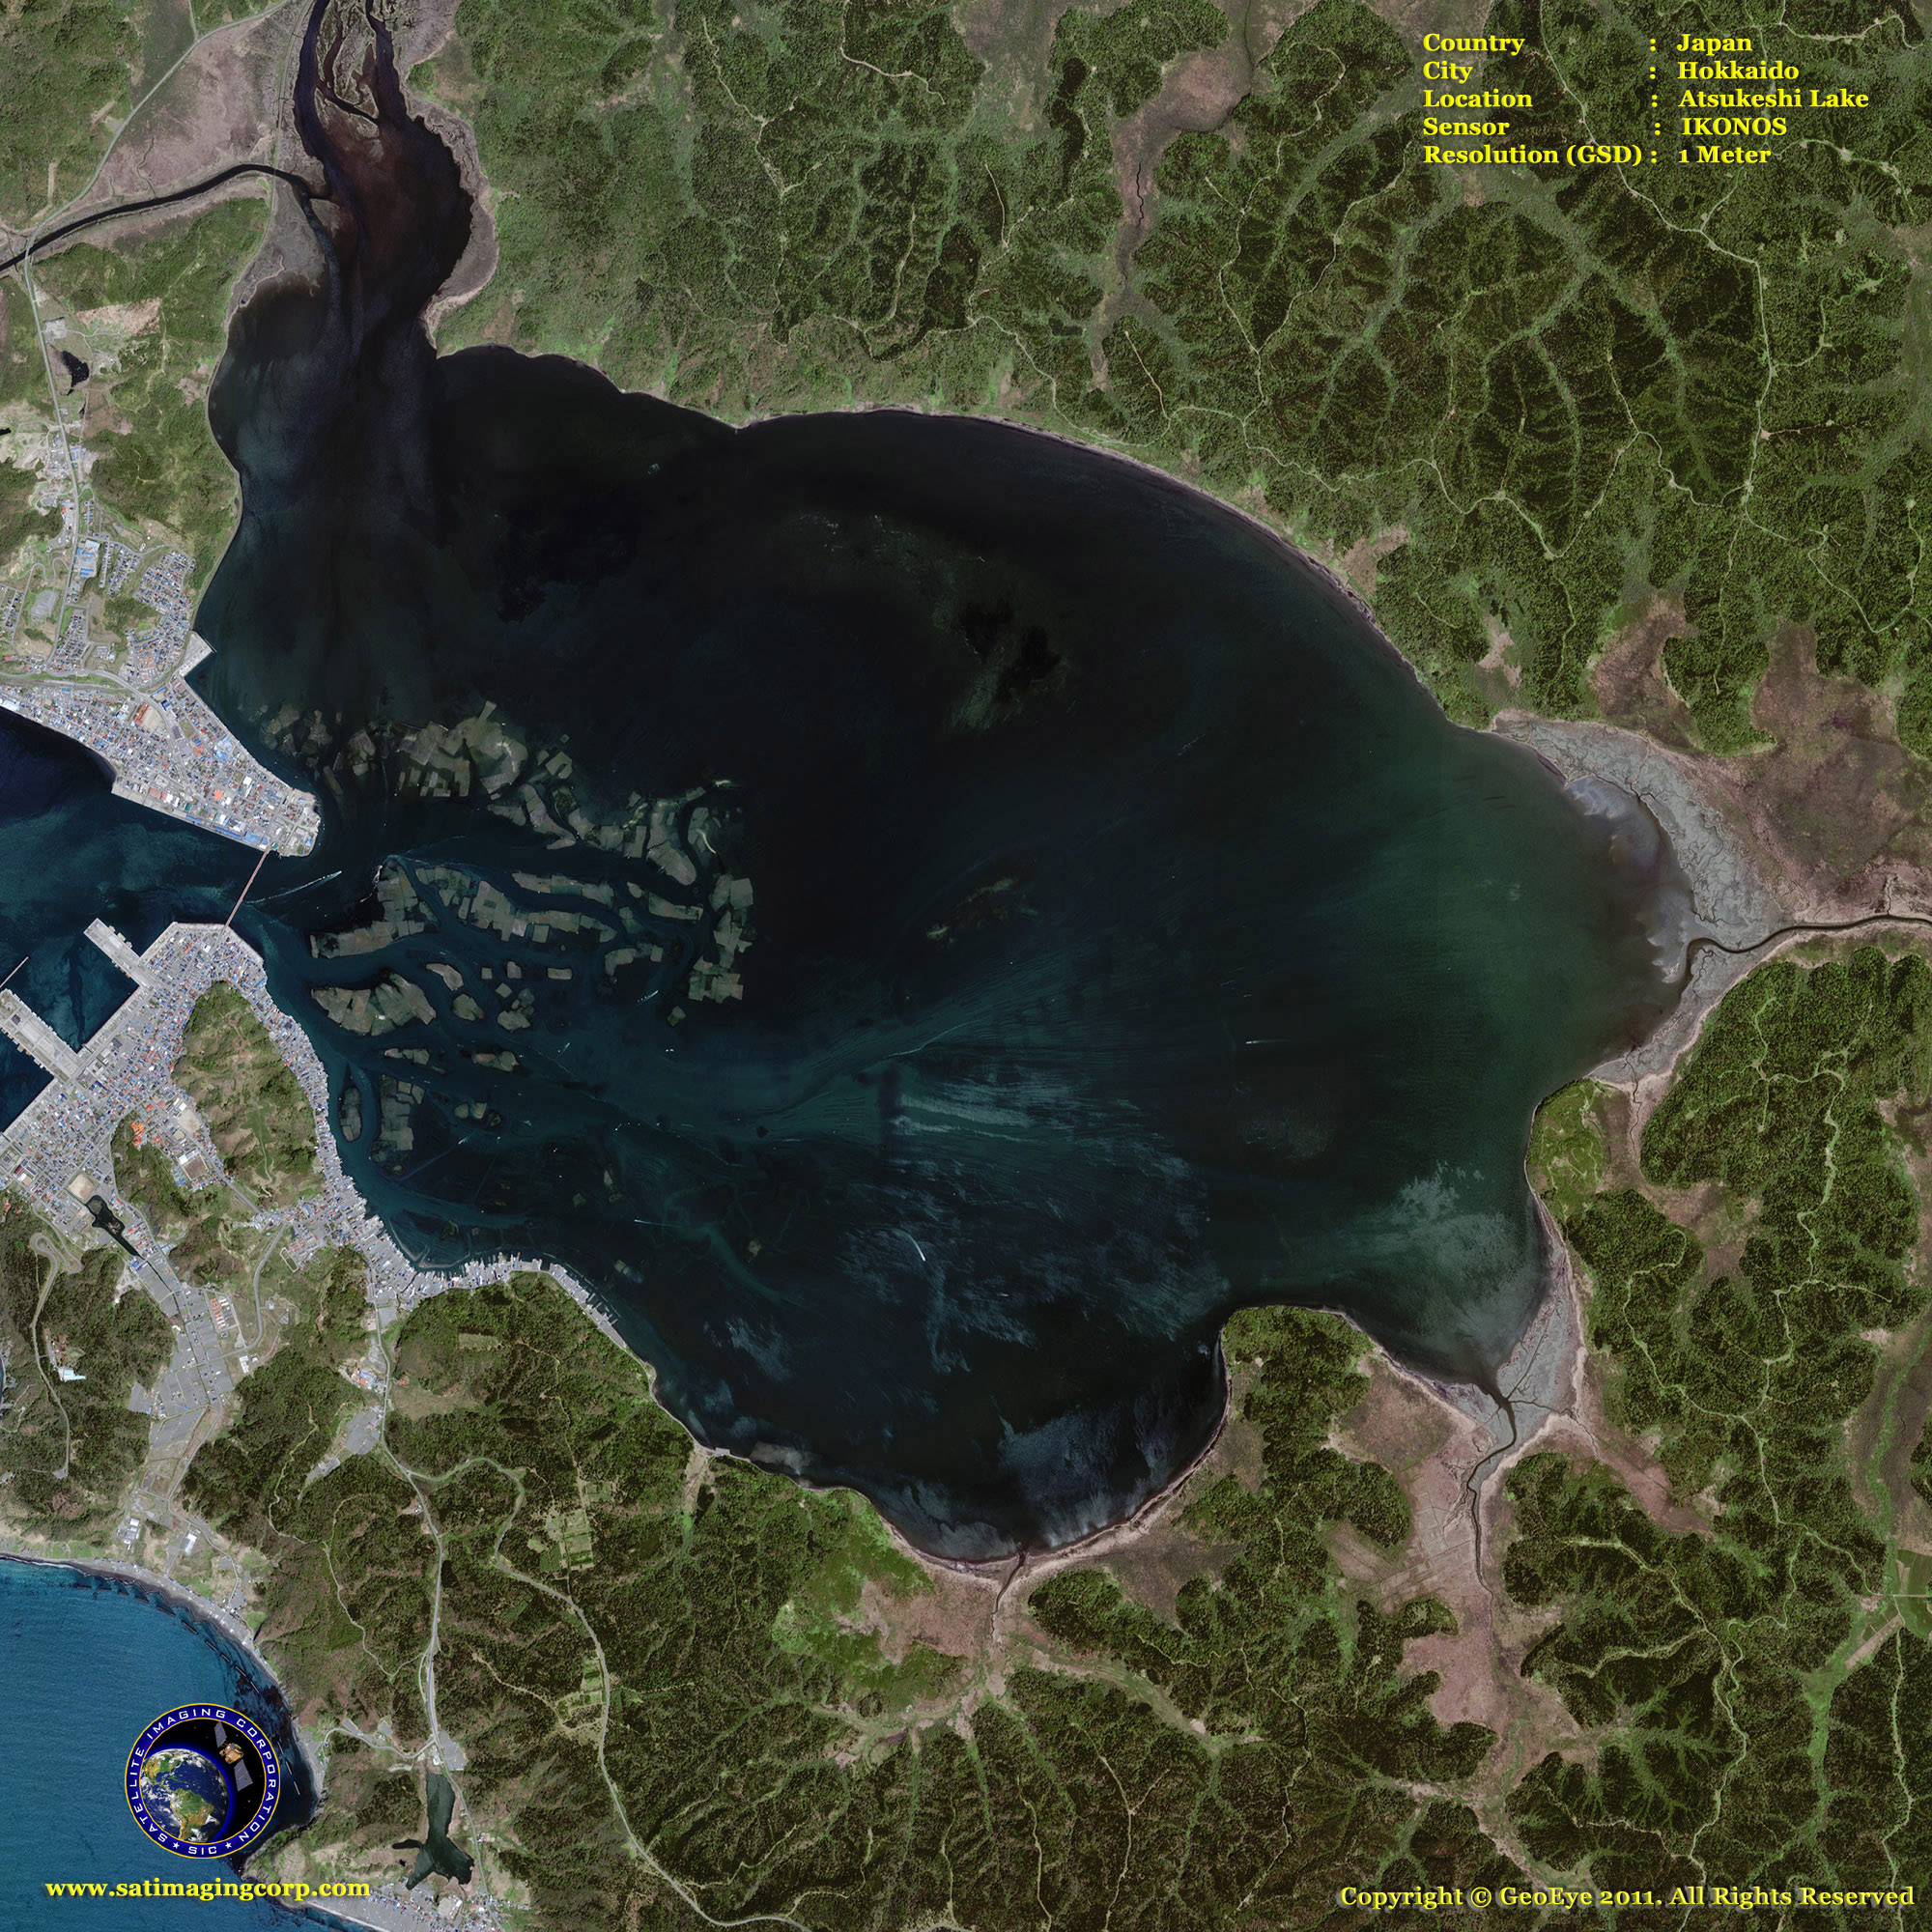
IKONOS Archived Satellite Image Gallery
* Click on thumbnail to view in full resolution.
For more information on any of our products and image processing services, please contact us for a complimentary consultation.
IKONOS Stereo Imagery Specifications
Product Name
Reference Stereo*
Precision**
Horizontal Accuracy
25m CE90
2m CE90
Vertical Accuracy
22m LE90
3m LE90
NMAS
1:50,000
1:4,800
* Without Ground Control Points (GCP’s)
** With Ground Control Points (GCP’s) – <0.25m GCP accuracy standards for X, Y, Z
Bands
Panchromatic at 0.82 meter at Nadir
526 – 928 nm (Pan)
Multispectral at 3.28 meter at Nadir
Blue, Green, Red, and NIR.
445 – 516 nm (Blue)
506 – 595 nm (Green)
632 – 698 nm (Red)
757 – 853 nm (NIR)
Projections
Map projected stereo products offer a choice of UTM, TM, State Plane, Lambert Conformal Conic products are produced in NITF or GeoTIFF format.
Resolution
0.8 to 1.0 meter resolution (Pansharpened). Resolution depends on the collection geometry of the satellite sensor when image data is acquired.
Sun Angle
Elevation angle from ground to sun > 15°, azimuth unrestricted.
Sensor Elevation
Sensor elevation angle > 72° for one image and > 60° for the other.
Cloud Cover
Less than or equal to 15 % Cloud Cover per AOI
Dynamic Range
11-bits per pixel
Image Bands
Panchromatic, blue, green, red, near IR


