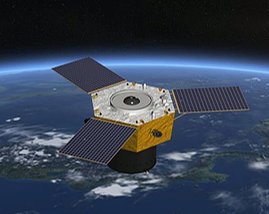
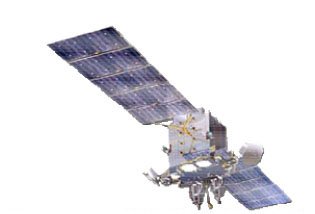
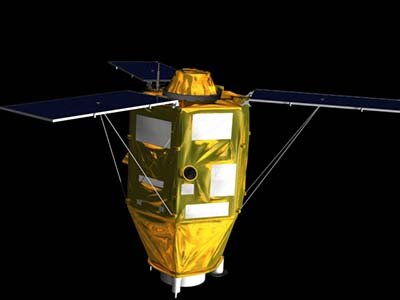
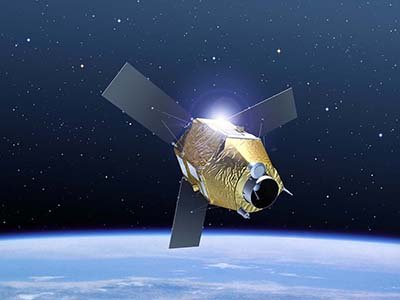
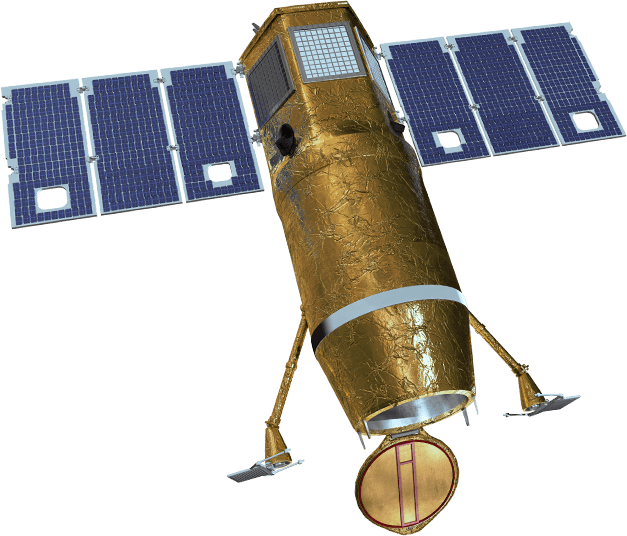
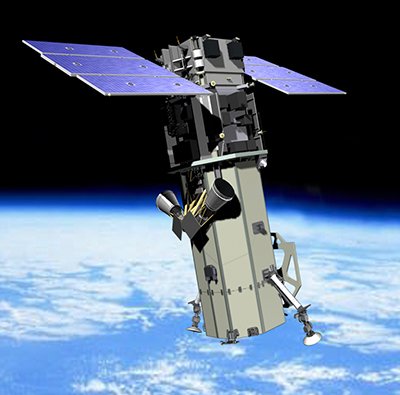
BlackSky Satellite Constellation
(0.55m)
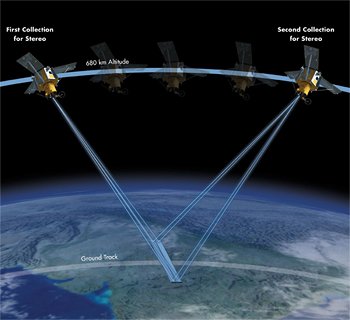
BlackSky is a U.S. space-based intelligence company headquartered in Herndon, Virginia and currently operates 16 satellites in its constellation including Gen-2 at 0.8cm -1m resolution and Gen-3 expected to launch in first quarter of 2026 with a 35cm resolution. BlackSky’s first satellite was launched in September 2016 and continues to add satellites. BlackSky satellite constellation operates 16 microsatellites and delivers high agility, capacity, and frequent revisit times with 0.8cm to 1m high-resolution imagery utilizing their software platform BlackSky Spectra®.
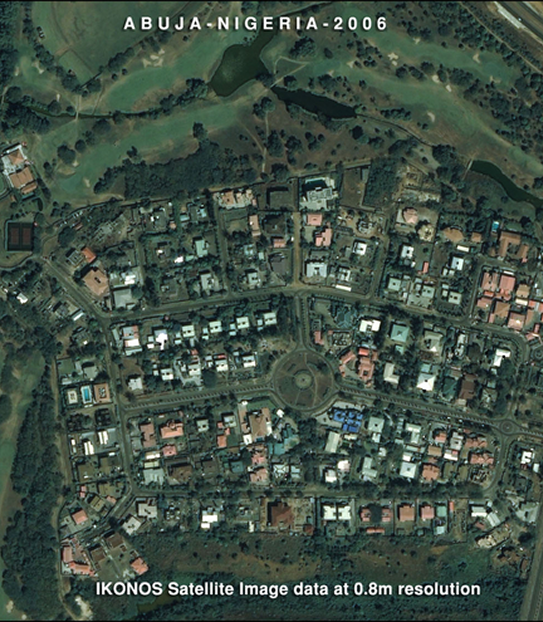
BlackSky satellite imagery is collected using an electro-optical camera to capture RGB wavelengths using a two-dimensional framing position to capture red, green, blue, and panchromatic data concurrently. The raw data produces high-resolution imagery using advanced algorithms to produce images for government agencies, commercial businesses, and organizations.
BlackSky Satellite Constellation

Copyright © BlackSky. All rights reserved.
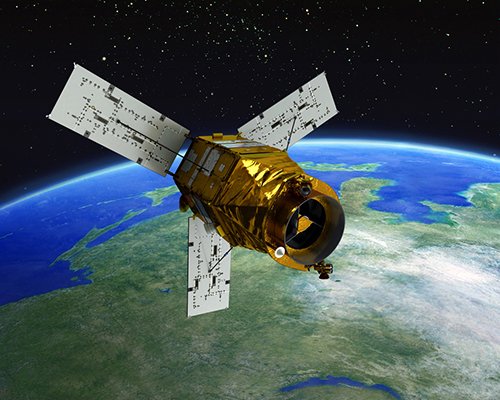
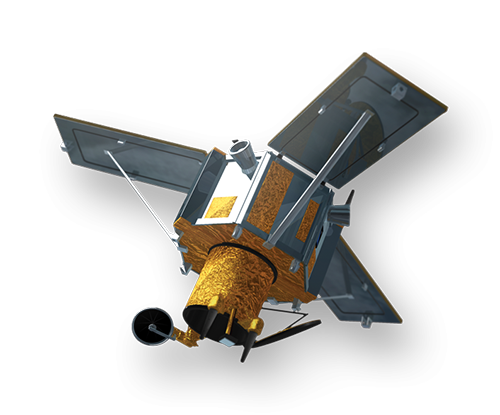
BlackSky operates Gen-2 and Gen-3 satellites, Gen-3 will work compatibly with Gen-2 after the launch in 2026. The Gen-2 satellite provides high-cadence satellite image data in large and remote areas with routine revisits and monitoring, and the Gen-3 satellite will capture on-demand high-resolution imagery for time-sensitive situations.
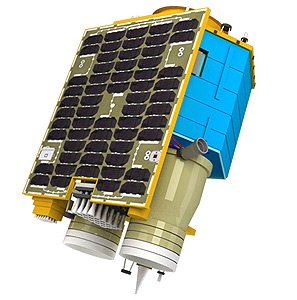
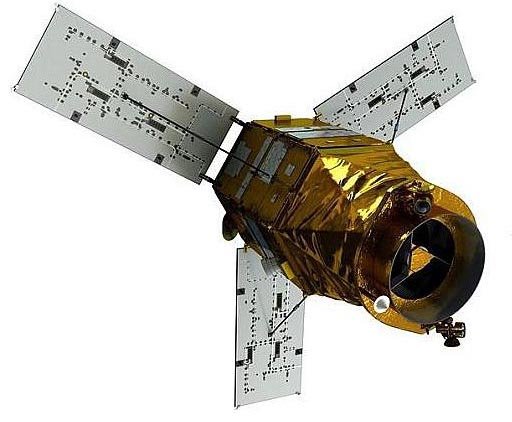
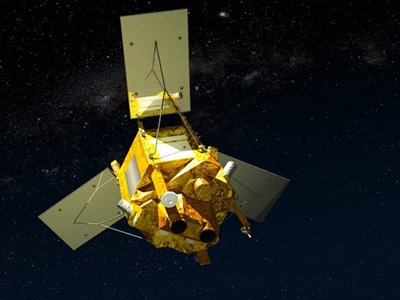
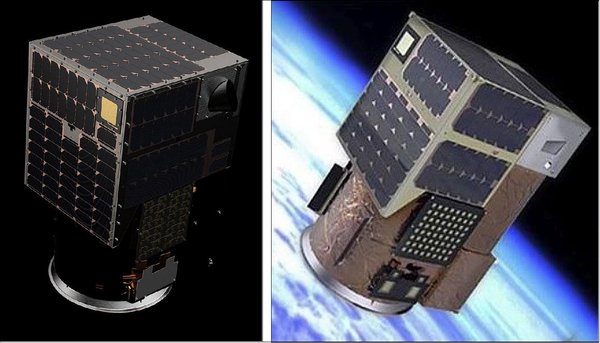
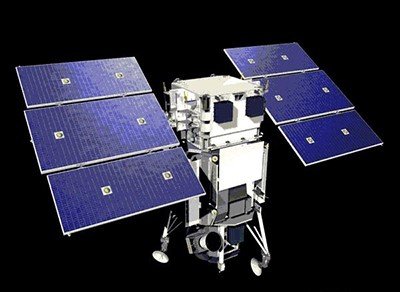
Gen-2 Satellite
Gen-2 satellite weighs about 55kg, based in low Earth orbit at roughly 450 km altitude in mid-inclination orbit with a spatial resolution of 0.8cm to 1m under nadir. Gen-2 has 15 revisits per day for some locations and is capable of capturing high-resolution details of roads, buildings, and other infrastructures. It allows for real-time monitoring of airports, air traffic, maritime tracking, vehicle and military troop movement, and environmental and land change detection.
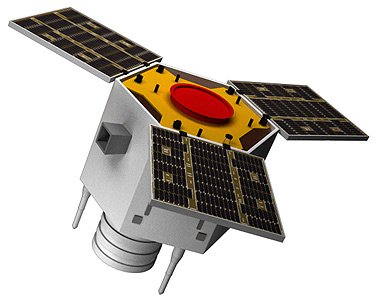
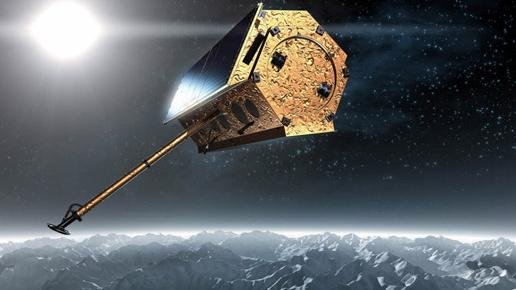
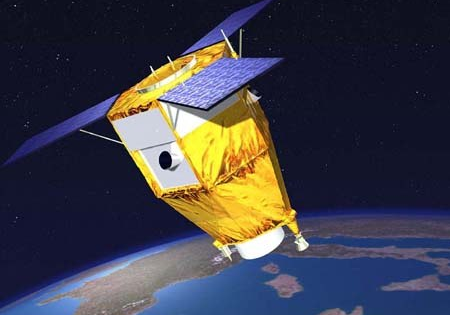
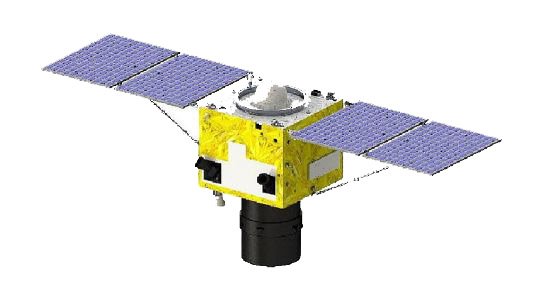
Gen-3 Satellite
Gen-3 satellite, similar to Gen-2, proposed to launch early 2026, will provide 35cm resolution under nadir and Short Wave Infrared (SWIR) at 1.2m resolution to aid in imaging to reduce haze, smoke, cloud coverage, and low-light and night conditions. Gen-3 satellite will provide rapid latency, frequent revisit at 60 minutes after collection, with multiple passes per day. Gen-3 imagery will be paired with AI algorithms that can automatically detect and classify objects to collect data rapidly for time-sensitive operations.