Satellite Images for Oil and Gas Exploration
“Accurate data that leads to accurate decisions….”
Accurate satellite imagery is the most cost-effective method of oil exploration available to petroleum experts today. Whether your project is in Alaska or Arabia, we are experienced in acquiring and processing images that will lower your exploration risk and decrease your project cost.
No matter how remote, Satellite Imaging Corporation (SIC) can retrieve satellite images from the most difficult-to-photograph areas of the world. For heavily forested areas, we provide medium-to-high resolution “Bare Earth” DEMs. This provides weather independency, allowing us to map large areas of terrain in limited timeframes, independent of the weather and solar illumination conditions. We are also familiar with specialized retrieval methods used for satellite imagery in remote areas, highly developed areas, and areas of persistent heavy cloud cover such as the tropics.
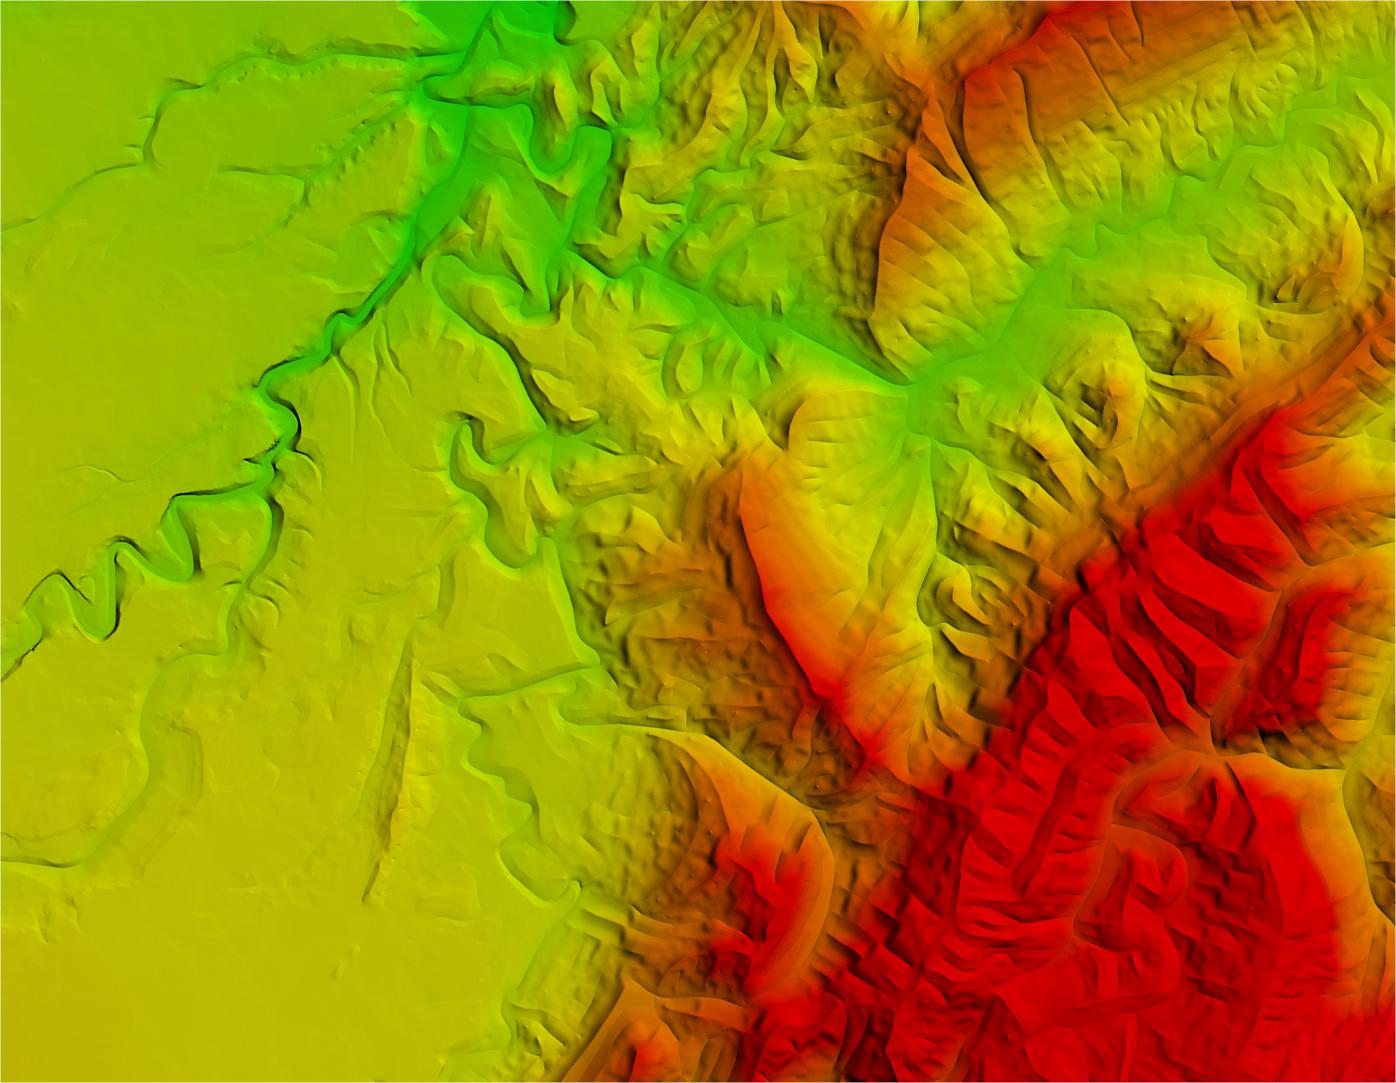
1M DEM Middle East Map of Sahara Desert, Southern Tunisia
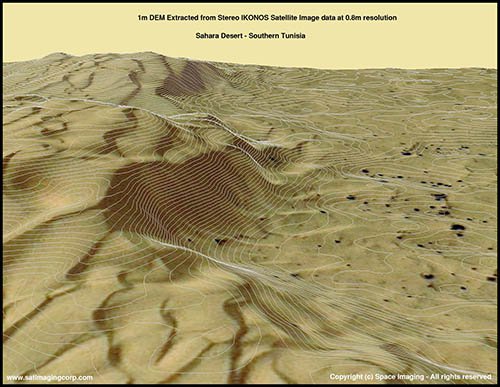
(Image Copyright © MAXAR and processed by Satellite Imaging Corporation)
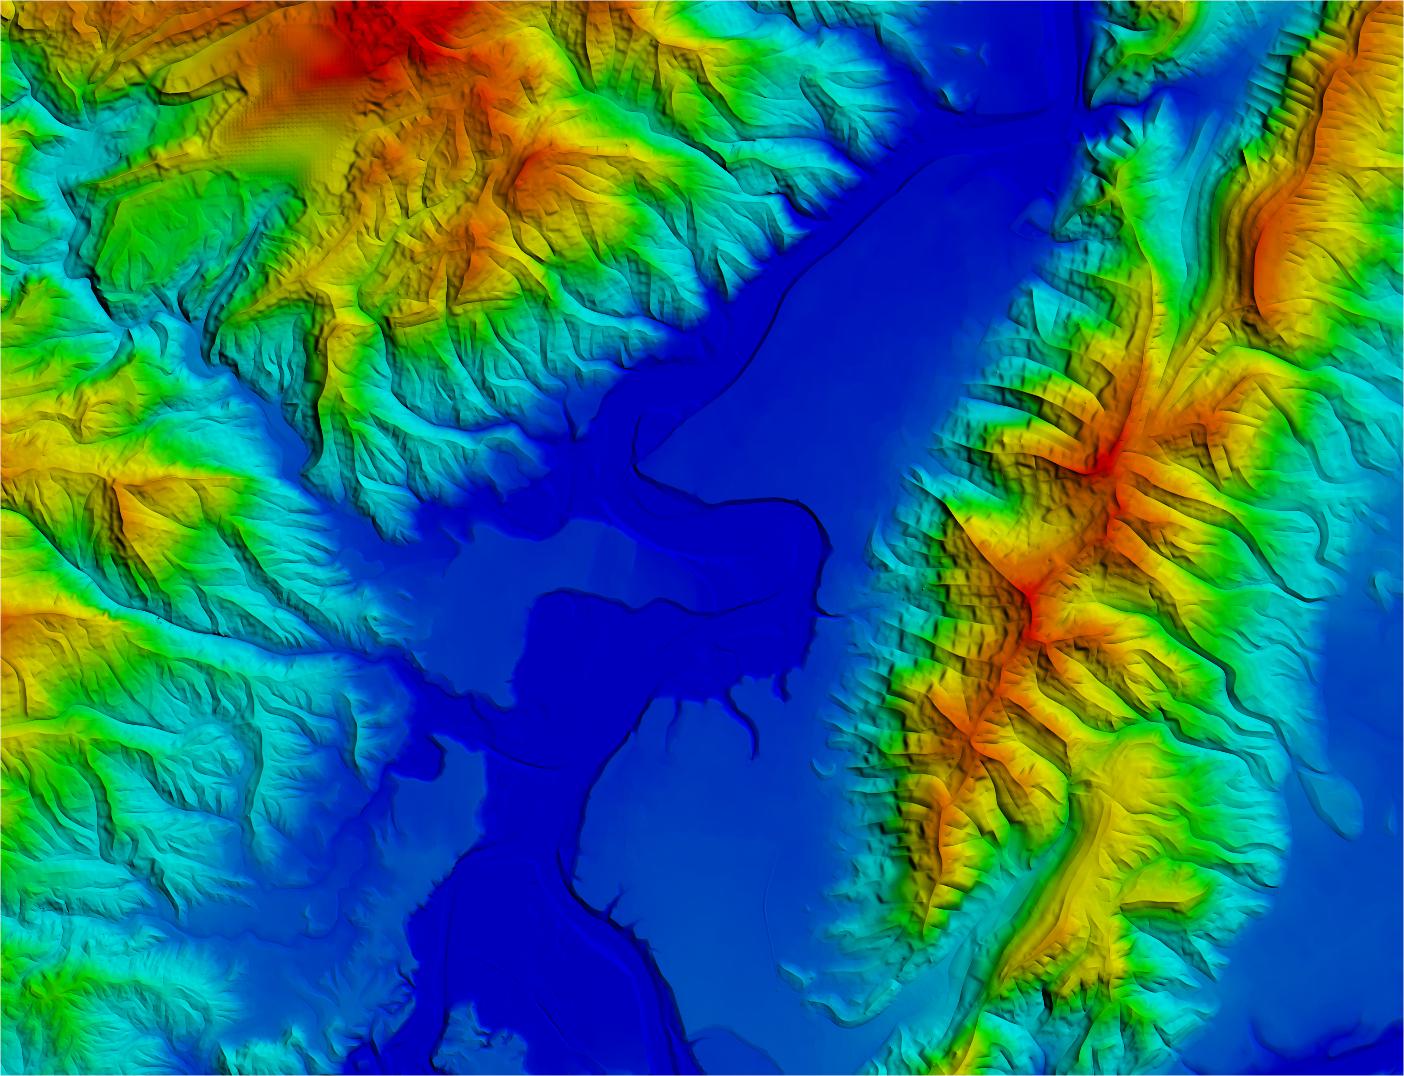
WorldView-2 DEM at 2m – Colombia
SIC provides specialized image processing by color balancing and utilizing the correct band combinations to isolate the terrain features and geological information needed for correct analysis of your petroleum project. The satellite map can be optimized to enhance a wide range of geological, manmade, and terrain features. For example, in jungle terrain in the Amazon basin (image below), we have recovered old well locations and heliports by filtering the correct band combinations for the Normalized Difference Vegetation Index (NDVI) mapping technique.
For a more complete picture, SIC creates 3D Terrain Visuals of your potential sites, allowing for a full analysis and comparison of your most promising options. Geological features affecting oil and gas exploration projects are identified with high-resolution Digital Terrain Models and viewed in 3D Terrain Visualization environments. The data can be further prepped for complex analysis such as hydrocarbon indications or fracture analysis to ensure the best decisions regarding drill sites.
Well Recovery - Amazon Basin, Peru
(Image Copyright © NASA and processed by Satellite Imaging Corporation)
Algeria

Seismic Vibrators – Sahara Desert
Argentina - IKONOS
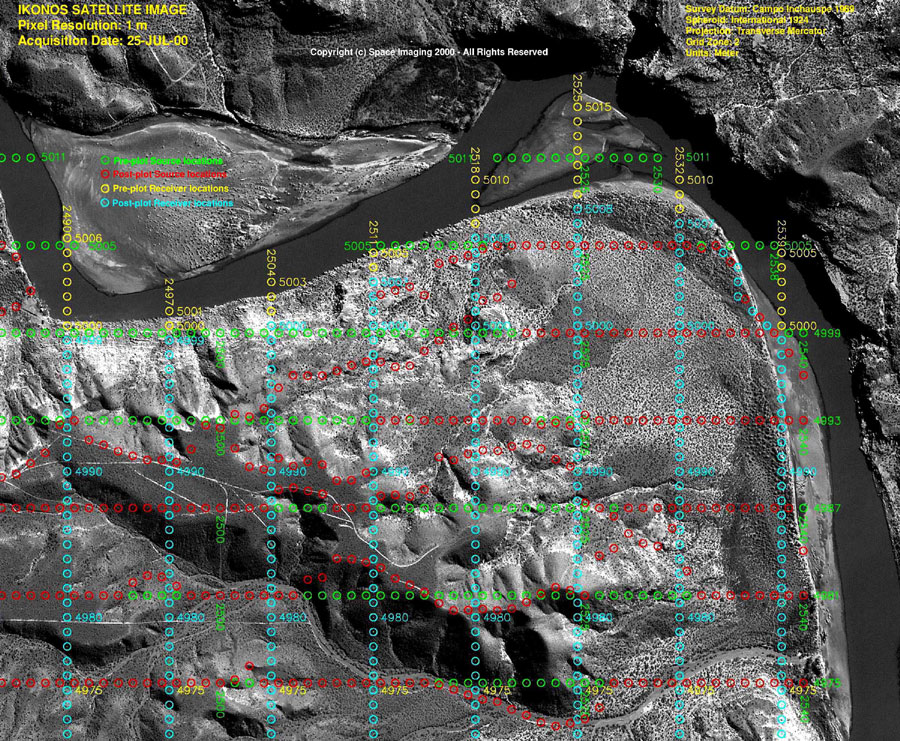
3D Seismic Survey Post Plot
Alaska - IKONOS
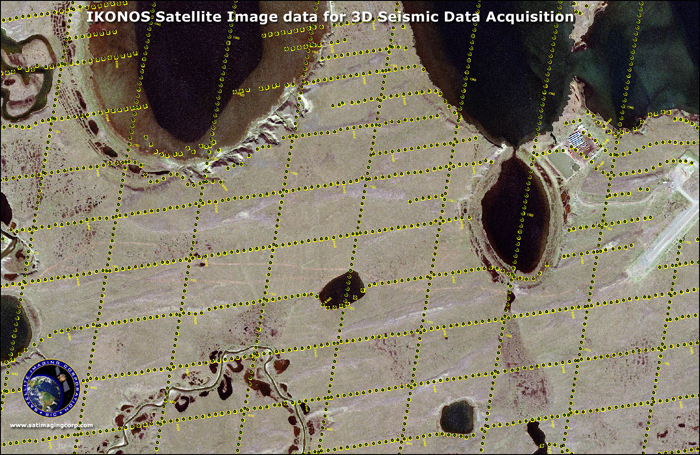
3D Seismic Survey Post Plot
Satellite images are used to:
- Detect seismic lines and well locations
- Document persistent offshore oil seepage
- Map rock formations, elevation, and major structures
- Update coordinates of old well locations
- Differentiate major rock types
- Identify barren and productive basin areas
- Perform noninvasive mapping to preserved areas
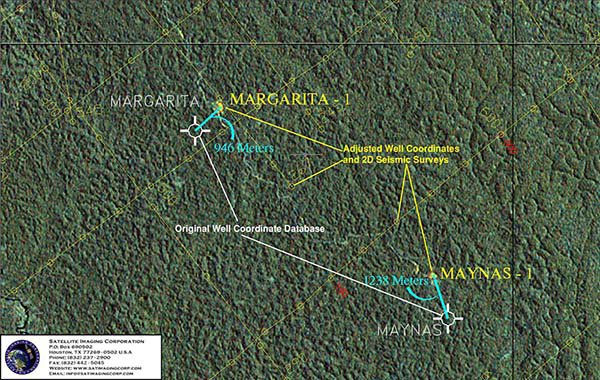
Satellite Imaging Corporation (SIC) provides ongoing quality control (QC) to our customers. By having access to reliable coordinate databases and various supporting geospatial data sets, orthorectified satellite imagery products can save millions of dollars on oil and gas ventures and
- Maximize competitive edge with more accurate information
- Confirm accuracy of 2D seismic and well coordinate databases
- Minimize time and cost of choosing new well locations and access roads
- Reduce the risk of unmonitored leakage
- Increase efficiency of pipeline planning utilizing 3D terrain models
- Predict and monitor environmental impact
- Mitigate business risk with reliable data


