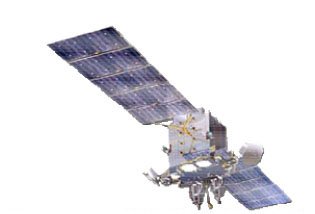
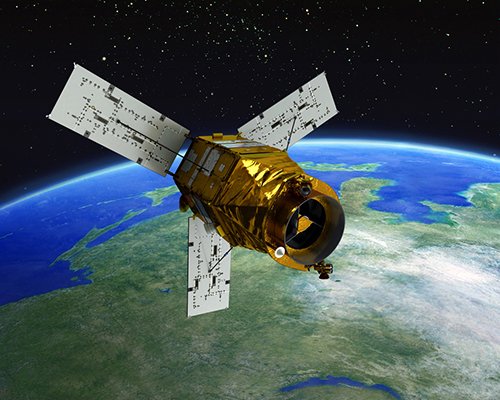
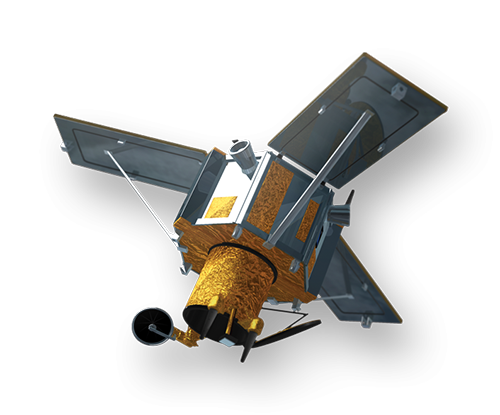
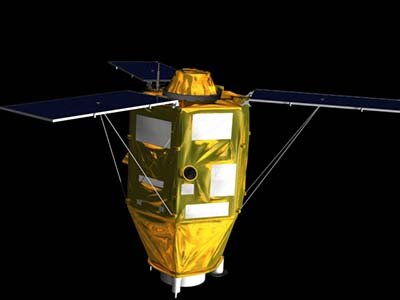
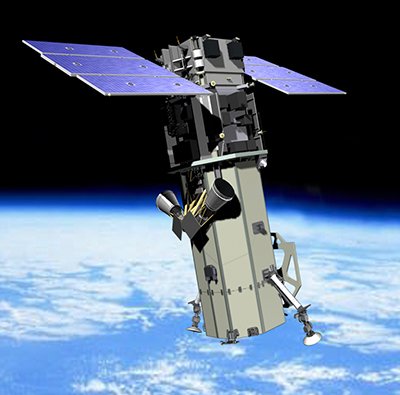
WorldView-3 Satellite Sensor
(30cm)
The WorldView-3 satellite sensor was licensed by the National Oceanic and Atmospheric Administration (NOAA) to collect in addition to the standard panchromatic and multispectral bands, eight-band short-wave infrared (SWIR) and 12 CAVIS imagery. The WorldView-3 satellite was successfully launched on August 13, 2014.
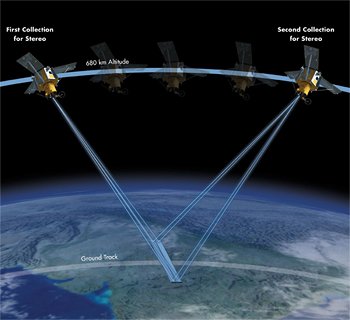
WorldView-3 is the first multi-payload, super-spectral, high-resolution commercial satellite sensor operating at an altitude of 617 km. WorldView-3 satellite provides 30cm panchromatic resolution, 1.24 m multispectral resolution, 3.7 m short wave infrared resolution (SWIR), and 30 m CAVIS resolution. The satellite has an average revisit time of <1 day and is capable of collecting up to 680,000 km2 per day.
WorldView-3 Satellite Sensor (30cm)

Copyright © VANTOR. All rights reserved.
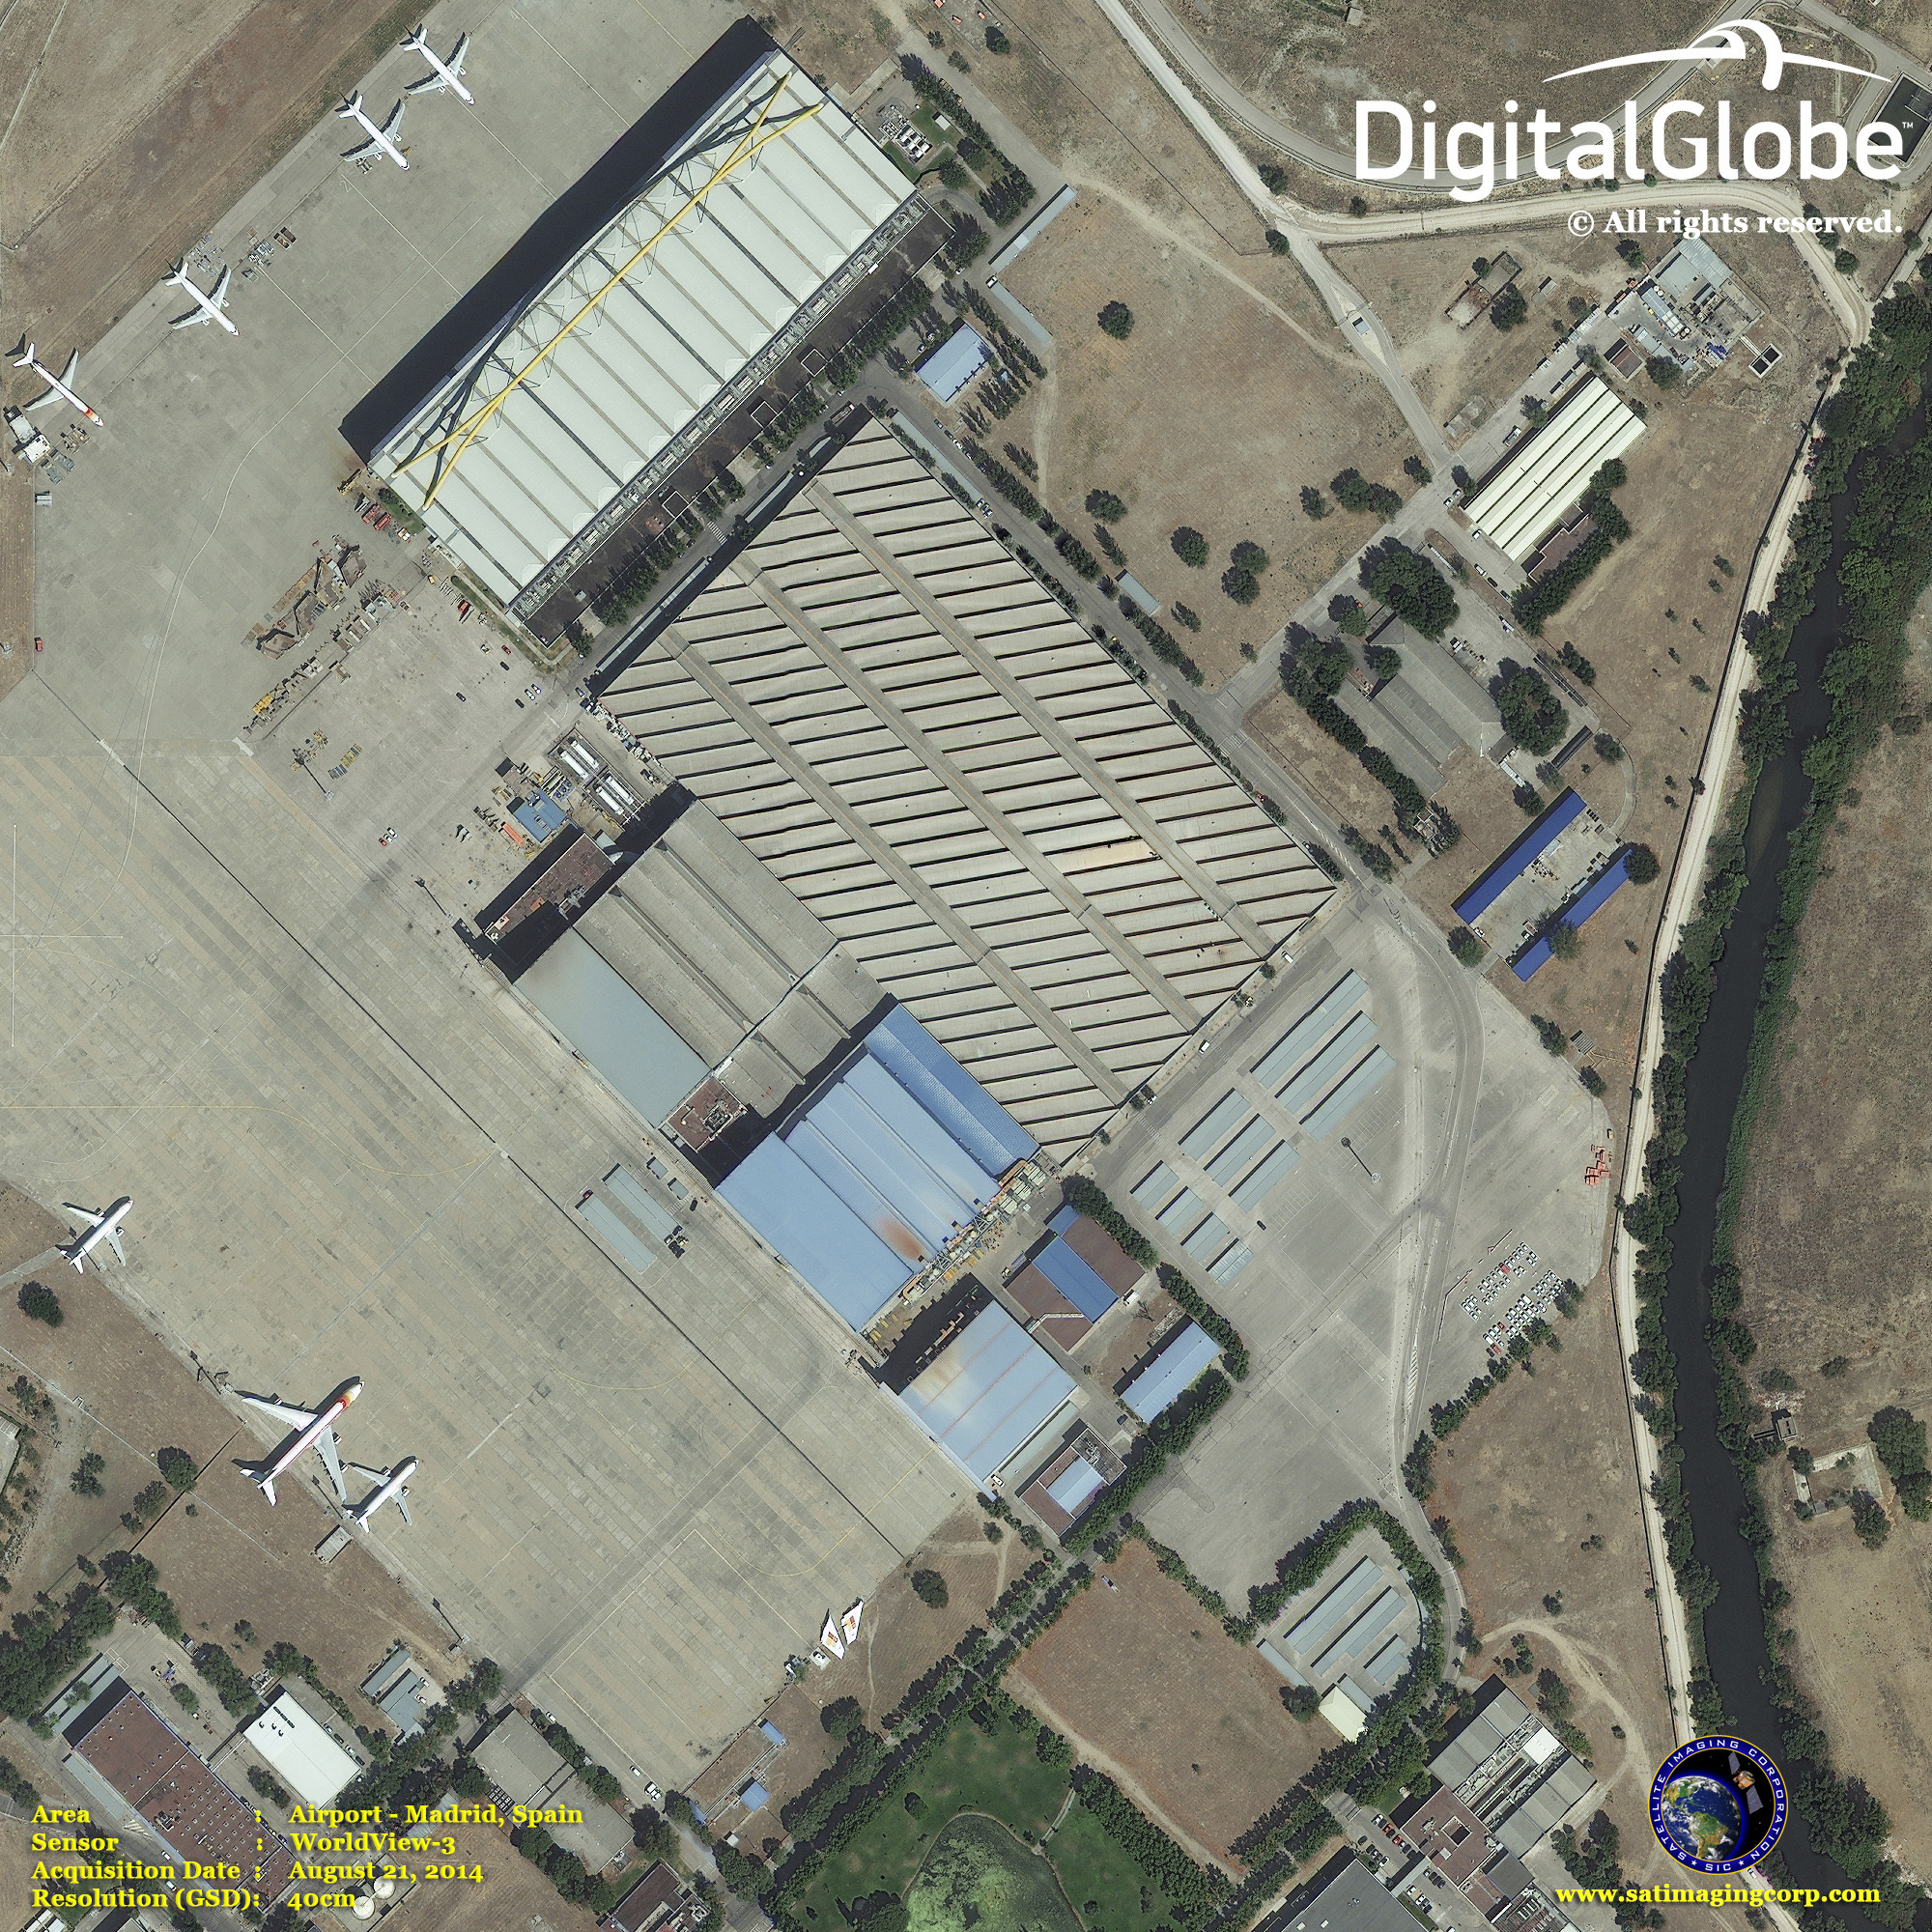
WorldView-3 30cm Resolution Data
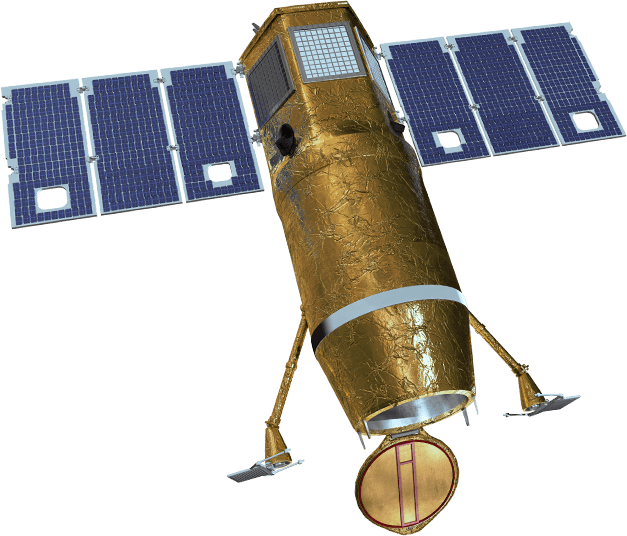
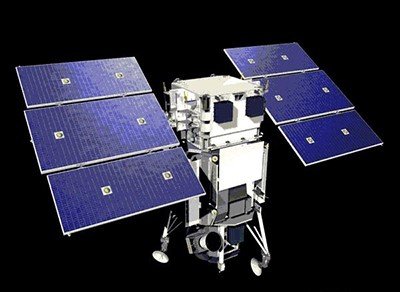
WorldView-3 satellite bears a strong resemblance to WorldView-2 launched on October 8, 2009, in terms of its performance characteristics. The WorldView-3 satellite sensor benefits from significant improvements including cost savings, risk reduction, and faster delivery for its customers.
Copyright © VANTOR. All rights reserved.
Wildlife Monitoring and Tracking - Caribou, Alaska
Click image to view animation.
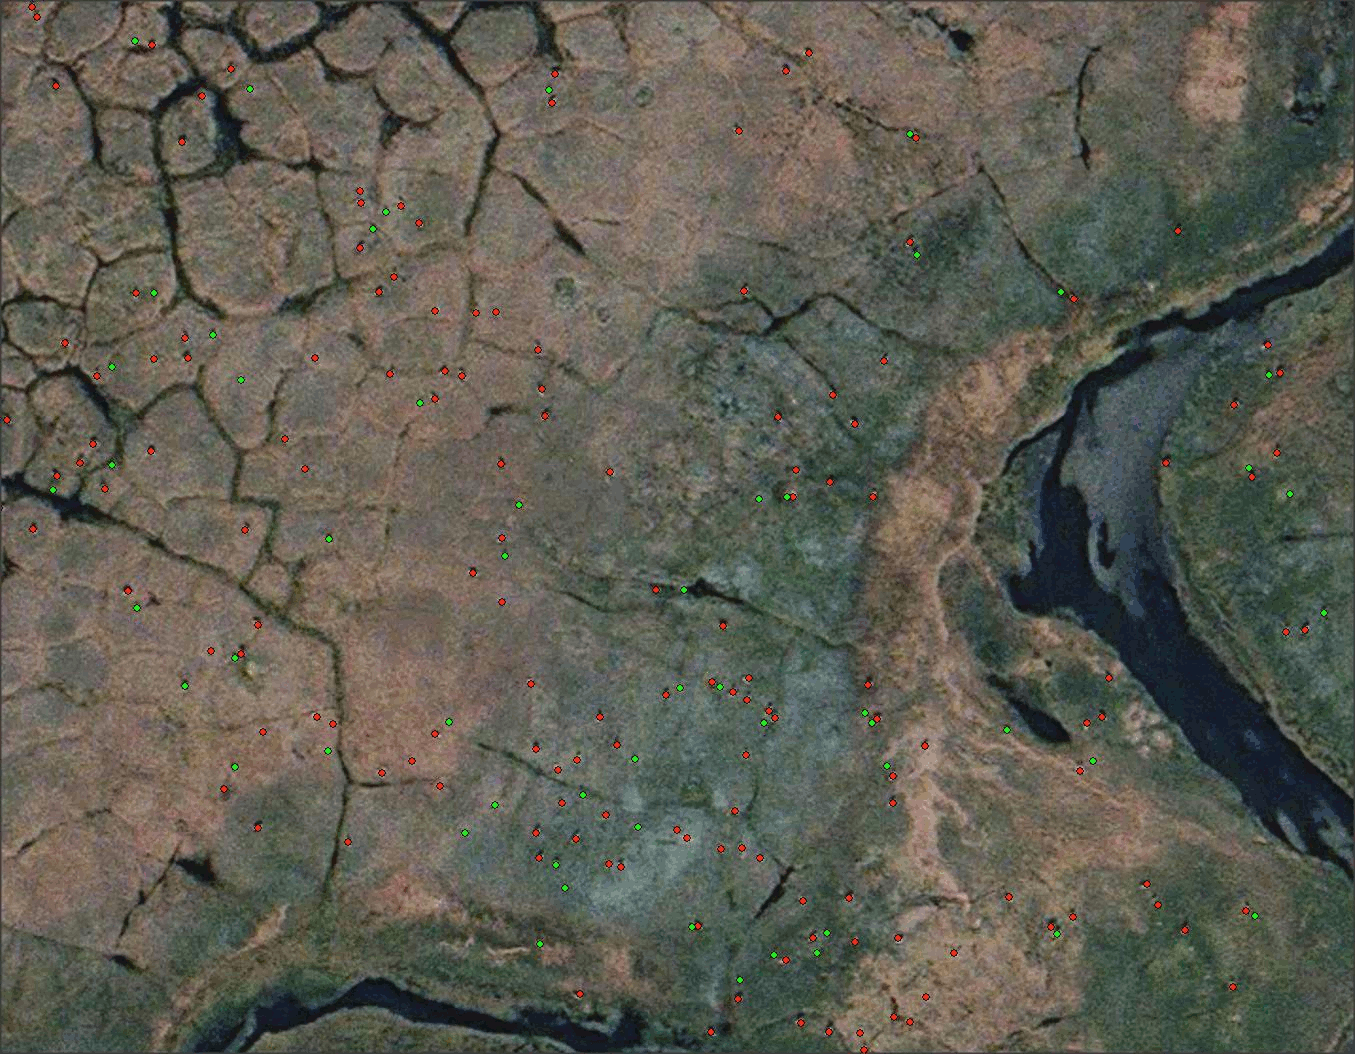
Copyright © VANTOR/processed by Satellite Imaging Corporation. All rights reserved.
WorldView-3 Satellite Map Forest Fires Animation - Canada
Click image to view animation.
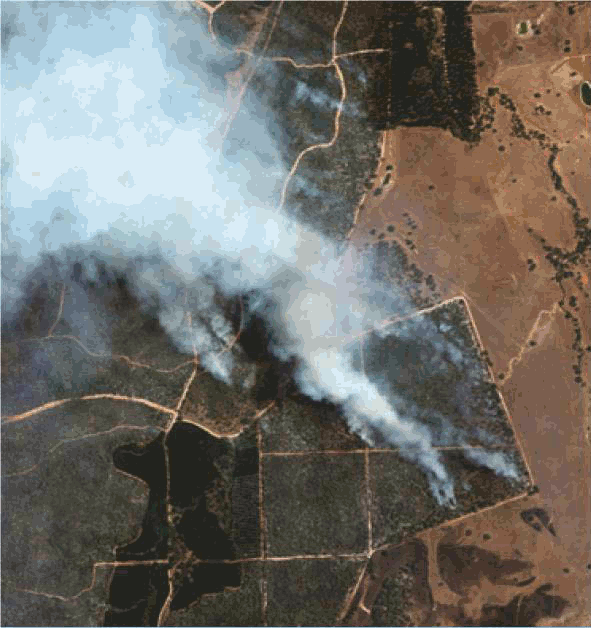
Copyright © VANTOR/processed by Satellite Imaging Corporation. All rights reserved.
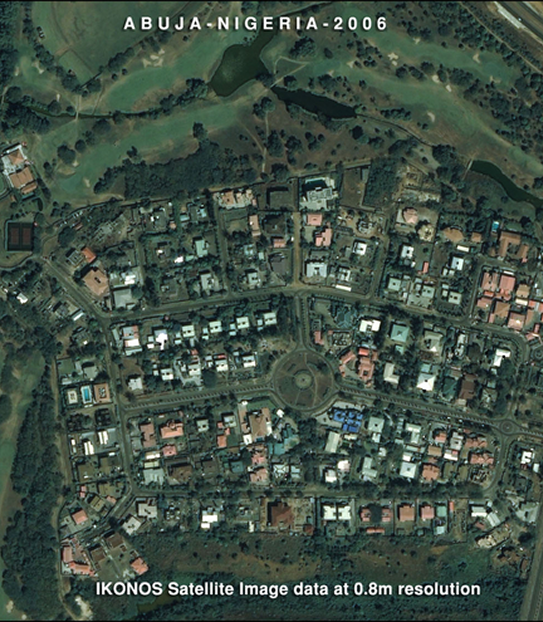
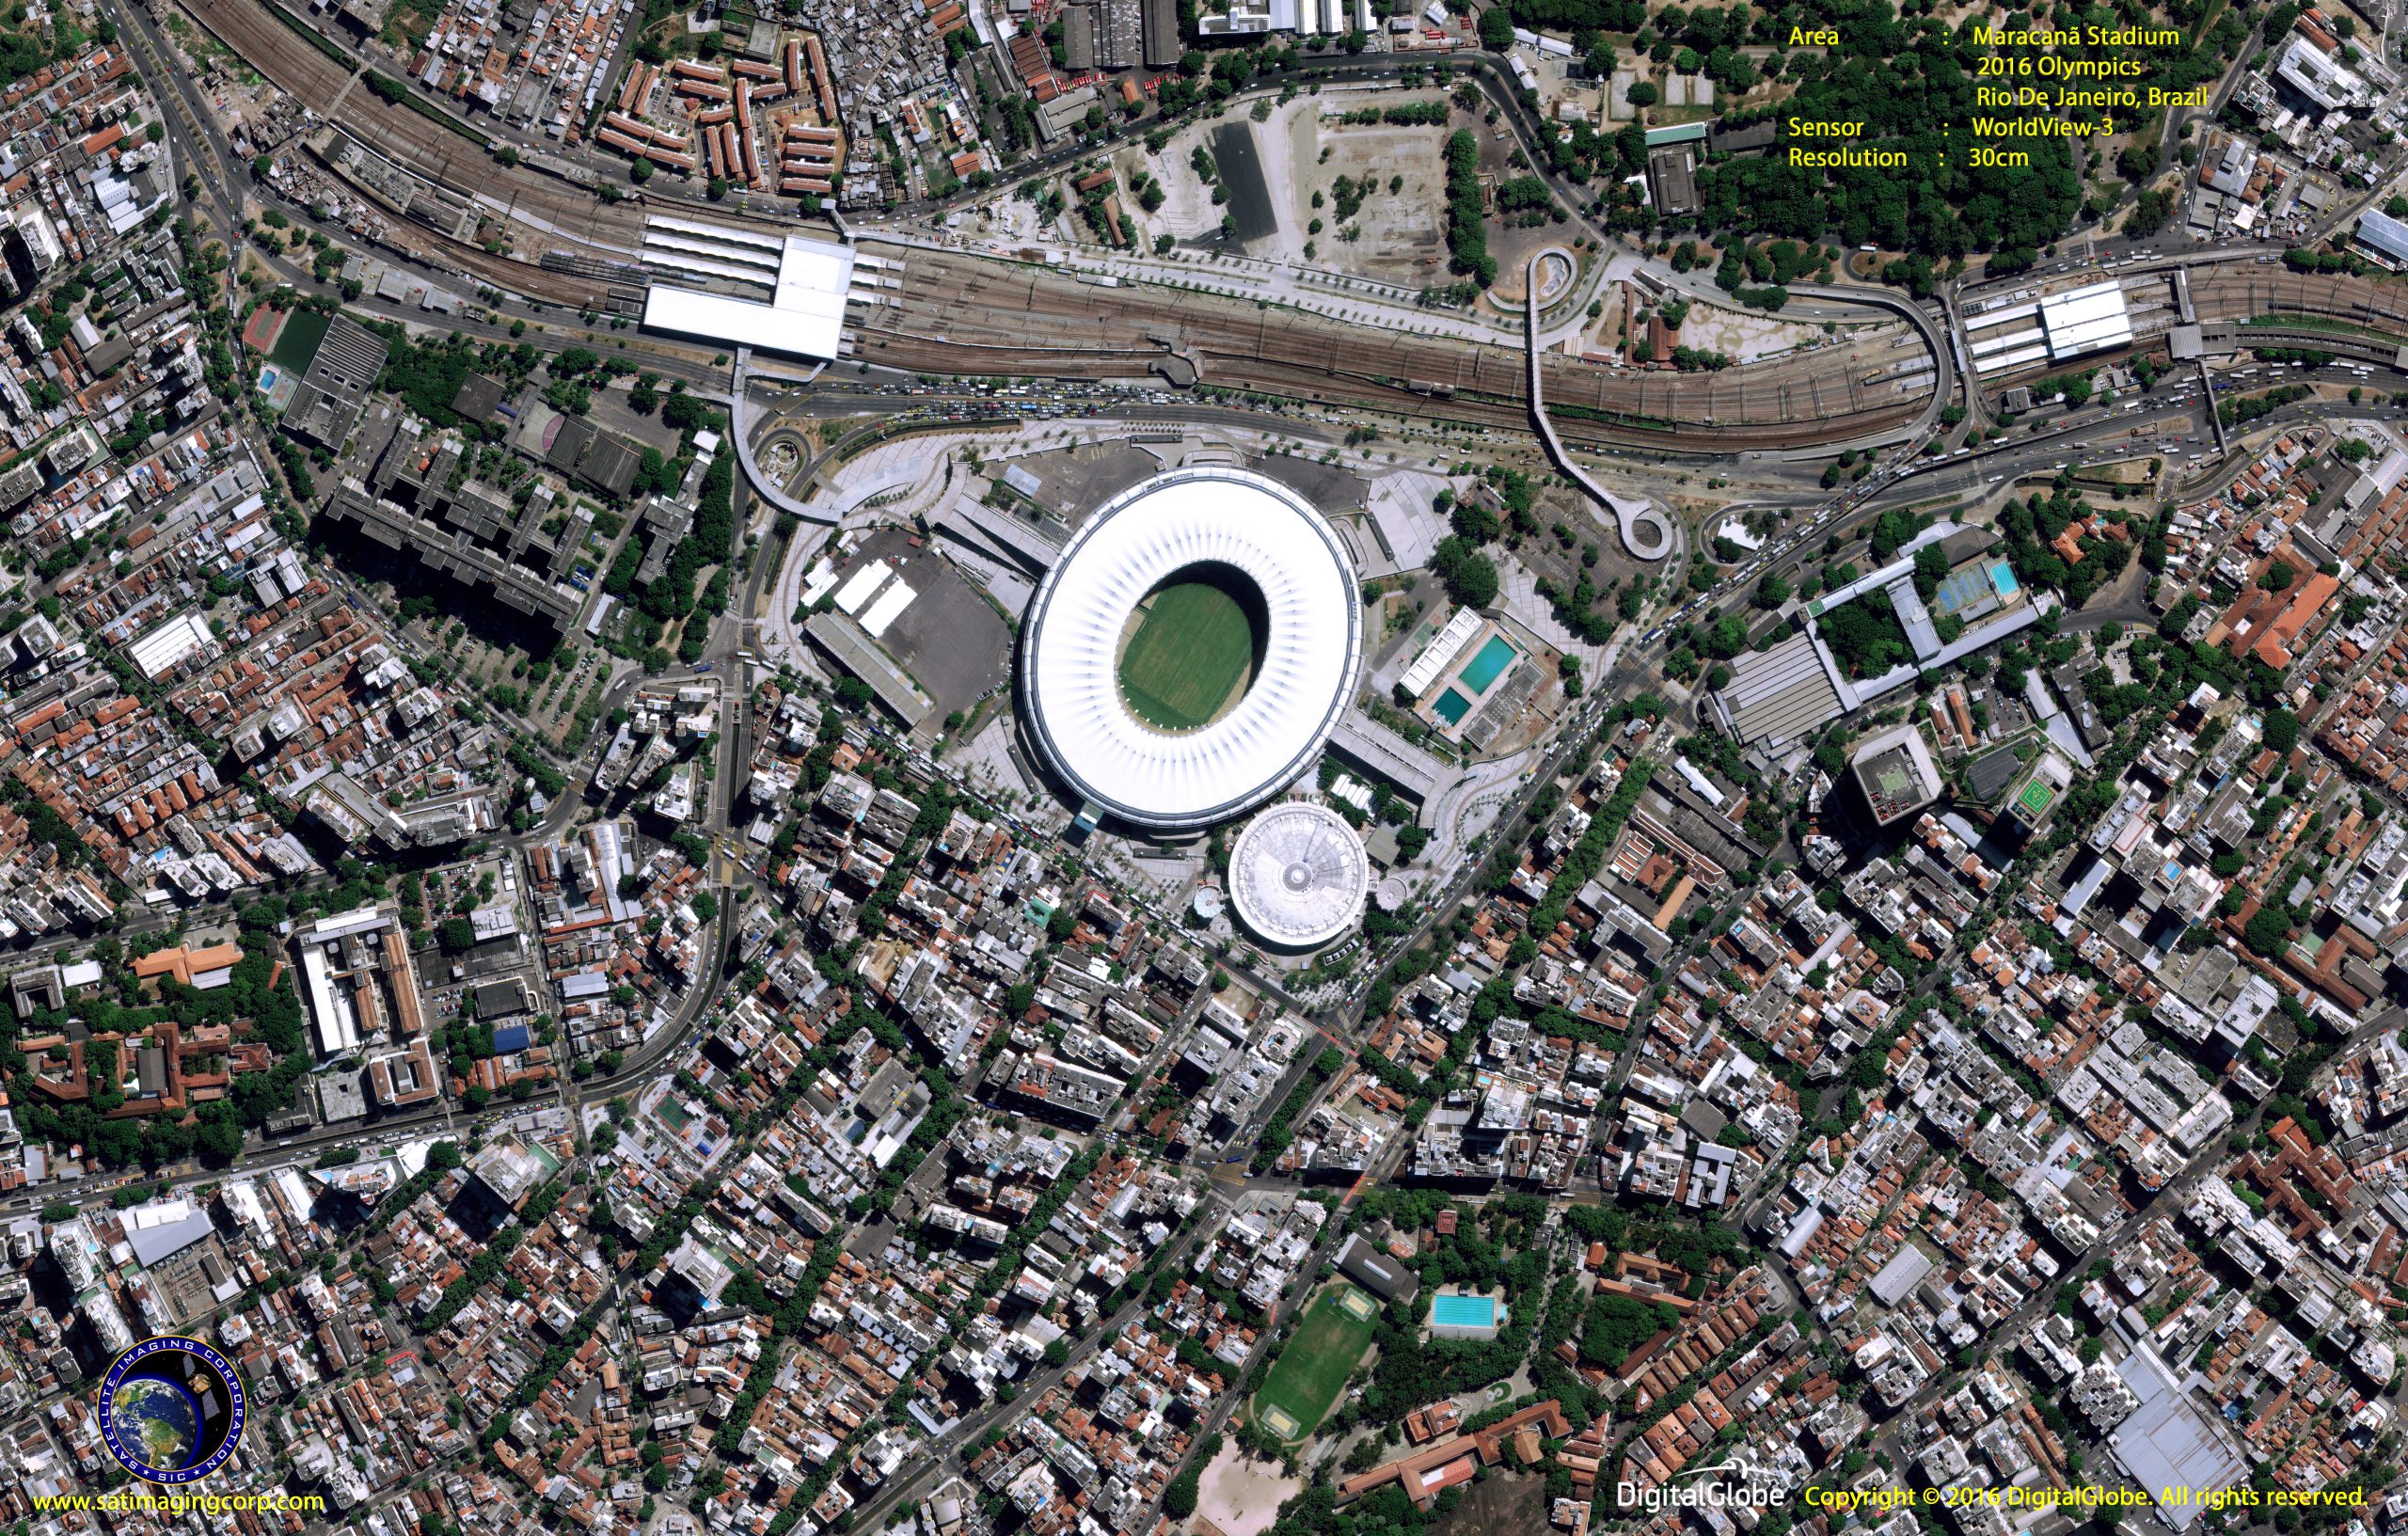
Sample Images
WorldView-3 Satellite Image Gallery
* Click on thumbnail to view in full resolution.
WorldView-3 Satellite Sensor Specifications
Launch Date
August 13, 2014
Orbit
Altitude: 617 km
Type: SunSync, 10:30 am descending node
Period: 97 min.
Life
Spec Mission Life; 7.25 years
Estimated Service Life: 10 to 12 years
Spacecraft Size, Mass and Power
Size: 5.7 m (18.7 feet) tall x 2.5 m (8 feet) across, 7.1 m (23 feet) across the deployed solar arrays
Mass: 2800 kilograms (6200 pounds)
Power: 3.1 kW solar array, 100 Ahr battery
Sensor Bands
Panchromatic: 450–800 nm
8 Multispectral:
Coastal: 397–454 nm Red: 626–696 nm
Blue: 445–517 nm Red Edge: 698–749 nm
Green: 507–586 nm Near-IR1: 765–899 nm
Yellow: 580–629 nm Near-IR2: 857–1039 nm
8 SWIR Bands:
SWIR-1: 1184–1235 nm SWIR-5: 2137–2191 nm
SWIR-2: 1546–1598 nm SWIR-6: 2174–2232 nm
SWIR-3: 1636–1686 nm SWIR-7: 2228–2292 nm
SWIR-4: 1702–1759 nm SWIR-8: 2285–2373 nm
12 CAVIS Bands:
Desert Clouds: 405–420 nm Water-3: 930–965 nm
Aerosol-1: 459–509 nm NDVI-SWIR: 1220–1252 nm
Green: 525–585 nm Cirrus: 1365–1405 nm
Aerosol-2: 635–685 nm Snow: 1620–1680 nm
Water-1: 845–885 nm Aerosol-3: 2105–2245 nm
Water-2: 897–927 nm Aerosol-3 P: 2105–2245 nm
Sensor Resolution (or GSD, Ground Sample Distance: off-nadir is geometric mean)
Panchromatic nadir: 0.31 m
20 degrees off-nadir: 0.34 m
Multispectral nadir: 1.24 m
20 degrees off-nadir: 1.38 m
SWIR nadir: 3.70 m
20 degrees off-nadir: 4.10 m
CAVIS nadir: 30.00 m
Dynamic Range
11-bits per pixel Pan and MS; 14-bits per pixel SWIR
Swath Width
At nadir: 13.1 km
Attitude Determination and Control
Type: 3-axis stabilized
Actuators: Control Moment Gyros (CMGs)
Sensors: Star trackers, precision, IRU, GPS
Pointing Accuracy and Knowledge
Accuracy: <500 m at image start/stop
Knowledge: Supports geolocation accuracy below
Retargeting Agility
Time to slew 200 km: 12 seconds
Onboard Storage
2199 Gb solid state with EDAC
Communications
Image & Ancillary: 800 & 1200 Mbps X-band
Housekeeping: 4, 16, 32 or 64 kbps real-time, 524 kbps stored, X-band
Command: 2 or 64 kbps S-band
Max Contiguous Area Collected in a Single Pass (30° off-nadir angle)
Mono: 66.5 km x 112 km (5 strips)
Stereo: 26.6 km x 112 km (2 pairs)
Revisit Frequency(at 40°N Latitude)
1 m GSD: <1.0 day
4.5 days at 20° off-nadir or less
Geolocation Accuracy(CE90)
Predicted Performance: <3.5 m CE90 without ground control
Capacity
680,000 km2 per day


