GIS Data
GIS (geographic information systems), GPS (global positioning system), and satellite remote sensing technology support environmental management for natural hazards and disasters, global climate change, natural resources, wildlife conservation, land cover, and many other applications. Satellite Imaging Corporation (SIC) integrates orthorectified satellite image mosaics to create single, data-rich images for intelligent GIS data to achieve a multi-layered result for many types of analysis.
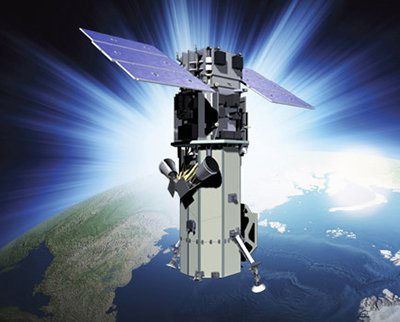
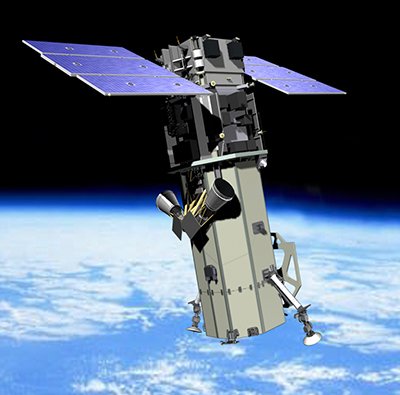
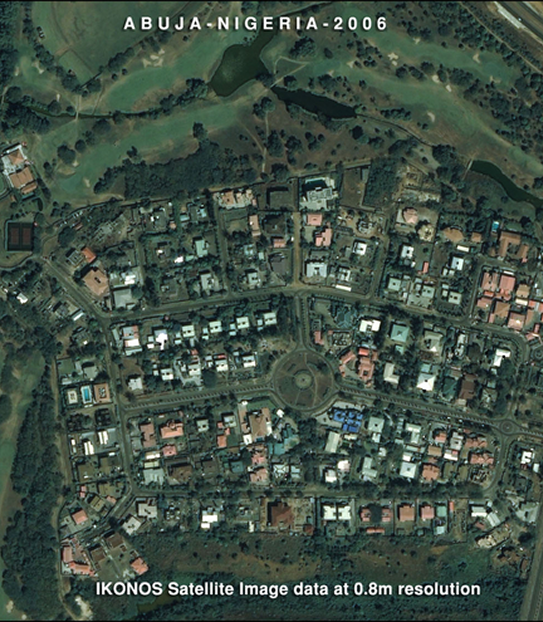
Satellite maps greatly enhances GIS data projects and serves as a source of information and data to support analysis and classification for geospatial assessment and modeling. The WorldView-4 satellite sensor with 30cm panchromatic and 1.2m 4-band multispectral imagery and the WorldView-3 satellite sensors with a resolution of 30cm panchromatic and 1.2m 8-band multispectral imagery is becoming a great resource for environmental management and wildlife monitoring and analysis.
SIC combines orthorectified satellite map mosaics with extracted vector and client-supplied attribute data to create single, data-rich images for GIS maps to achieve a multi-layered result for many types of analysis. SIC can also produce DEMs and 3D Digital Terrain Models (DTMs) for many industries GIS applications utilizing high and medium resolution mono and stereo satellite map data.
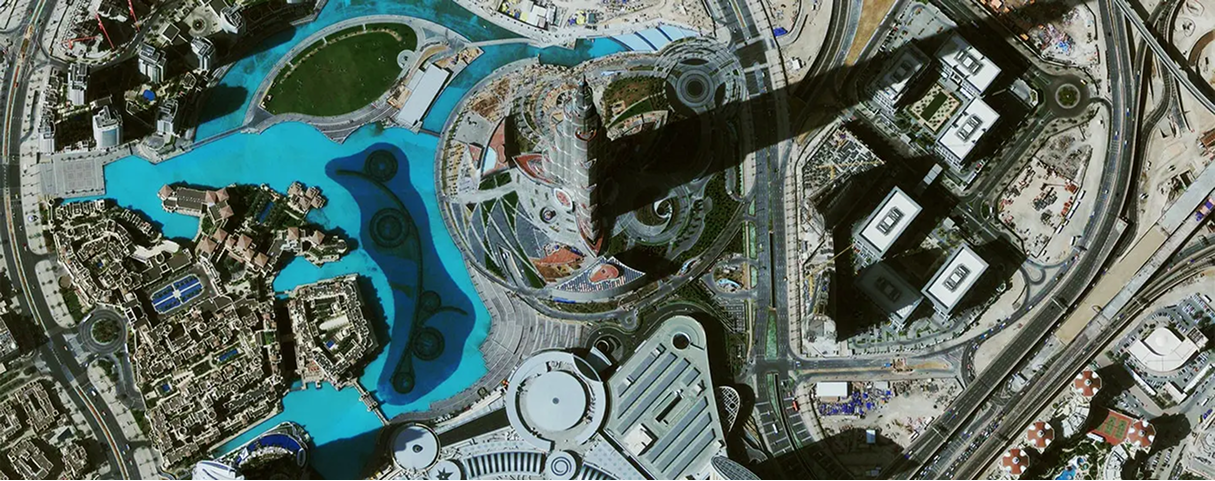
GIS Data Interrated with WorldView-2 DEM at 2m – Oil and Gas Exploration – Colombia, SA
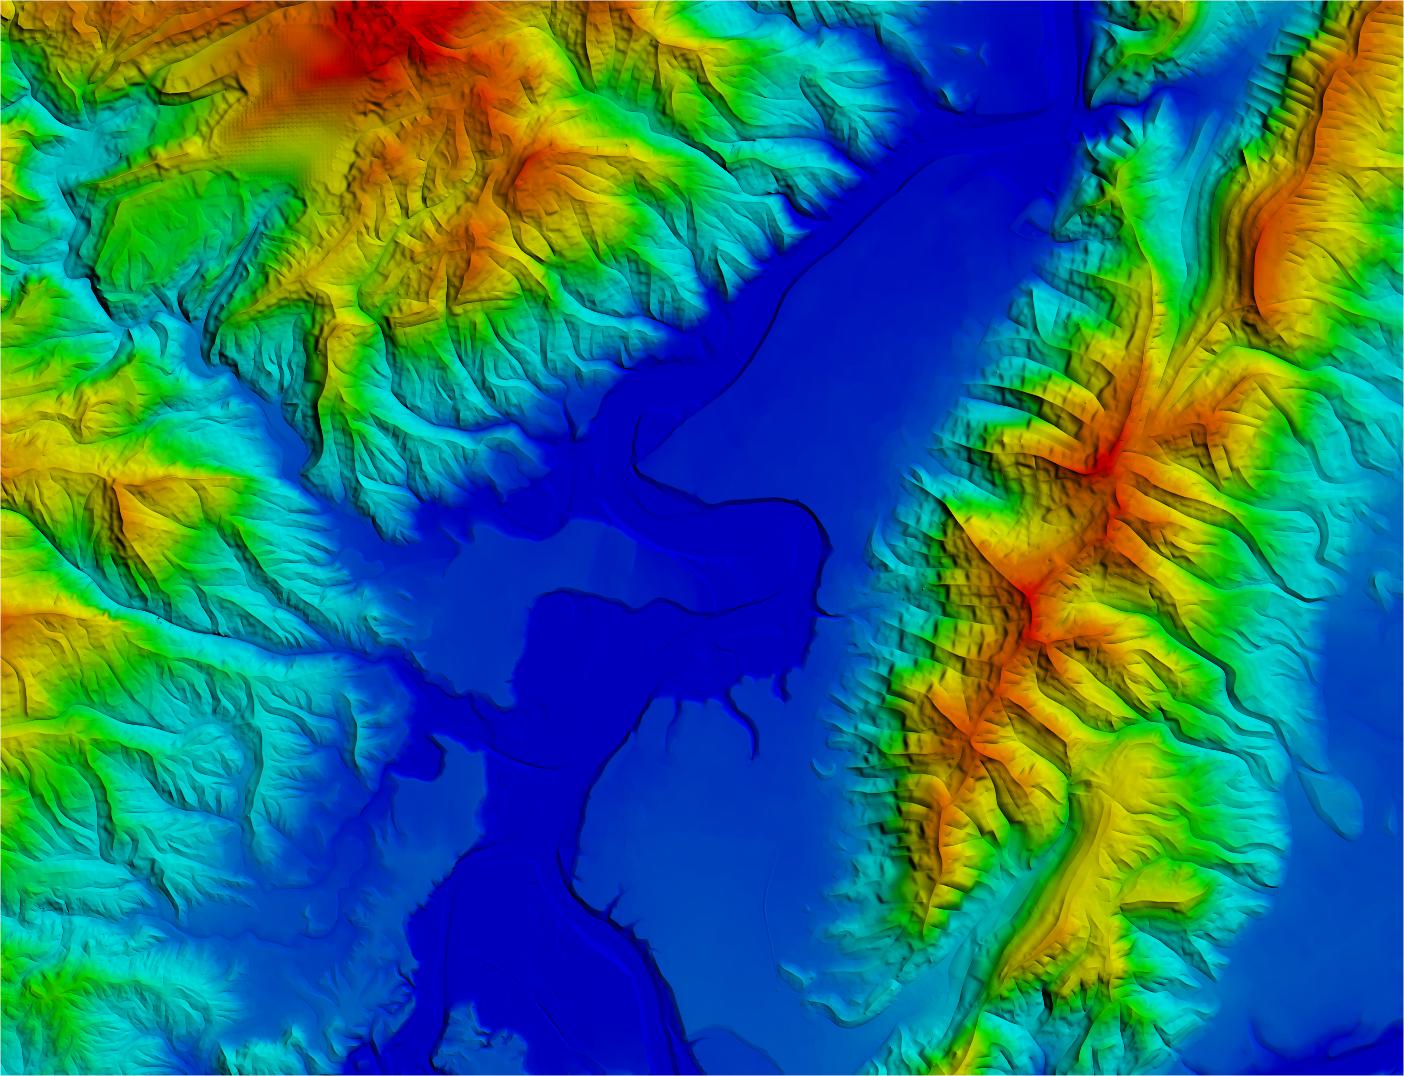
Copyright © MAXAR/processed by Satellite Imaging Corporation. All rights reserved.
GIS Data for Environmental Management
GIS has a very important role to play in environmental management. GIS, GPS, and remote sensing technologies provide tools to researchers to help them to understand, visualize, integrate, and quantify available data.
Land cover maps and databases can be created from satellite maps or aerial photography and are then stored and digitized (feature extraction) to create geospatial databases in a GIS environment.
Feature extraction services include extracting features such as structures and facilities (buildings, bridges, airports, etc.), land use, land cover, vegetation classification (agriculture, forestry, environmental, mineral), water bodies, well locations, soil types, pipelines, and more.
GIS data assists environmental managers in the production of GIS maps that can show how our natural resources respond to change over time including coastal, vegetation, and geological.
GIS Data integrated with Pleiades 3D ArcScene (0.5m) – Ditigal Terrain Model (DTM) 1 meter
Bingham Canyon Copper Mine, Utah, USA
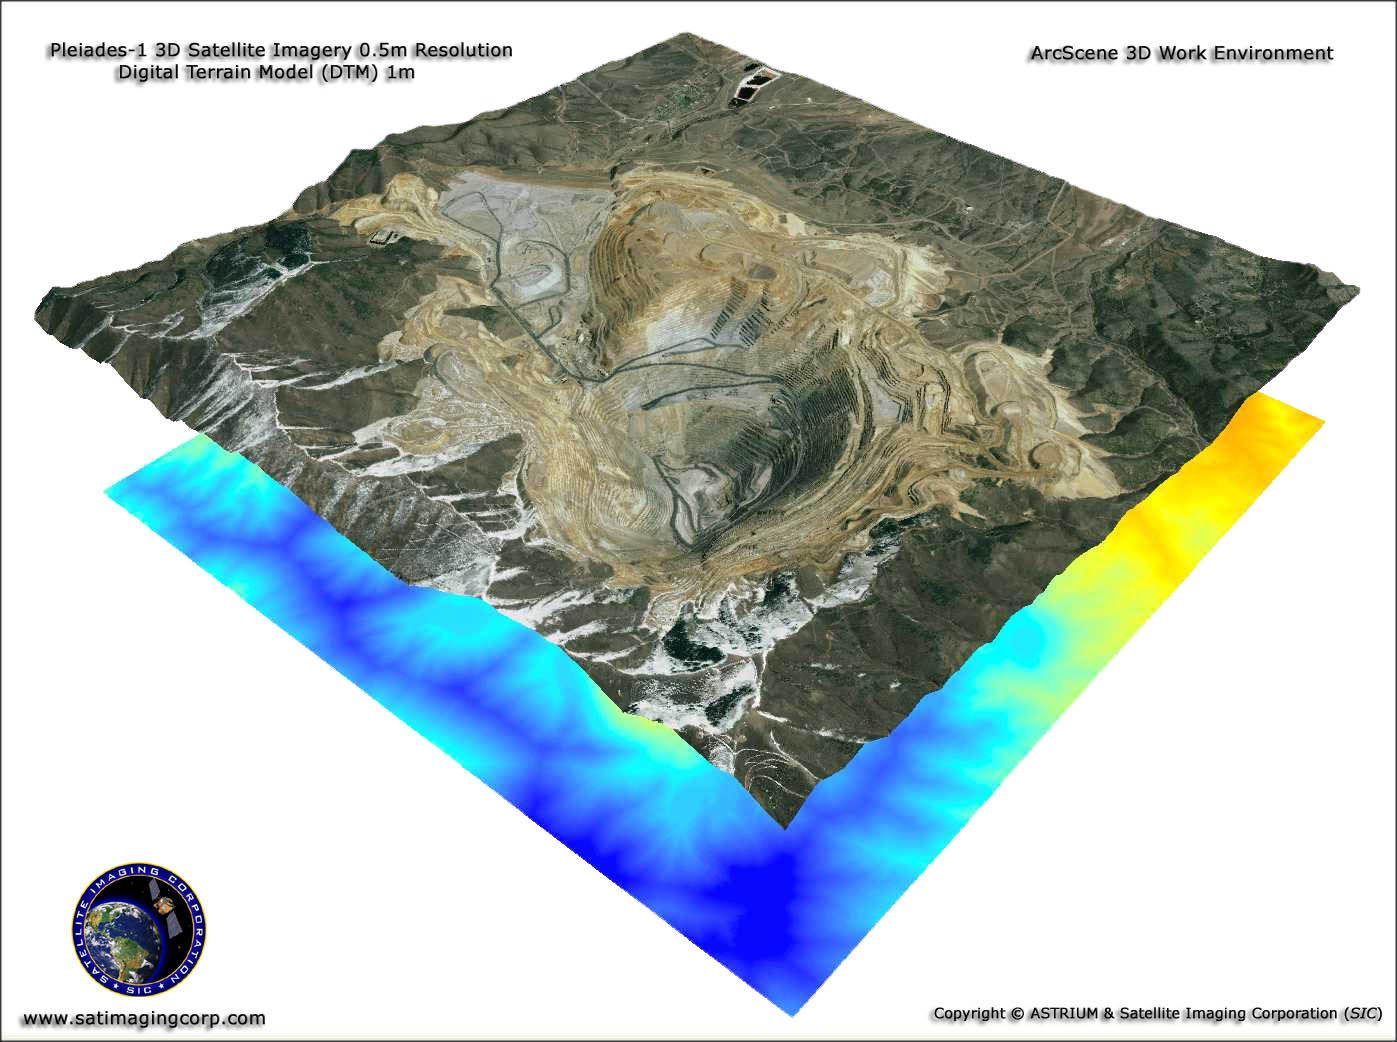
Copyright © AIRBUS Defence & Space/processed by Satellite Imaging Corporation. All rights reserved.
GIS Data for Wildlife Conservation
GIS, GPS, and remote sensing technology provides wildlife conservationists and researchers with informed management decisions to help identify habitats and protect species to assist in decision making where conservation efforts are needed the most.
High-resolution satellite maps can give researchers increasingly up-to-date geospatial data and information for monitoring wildlife migrations, poaching activities, habitat mapping and tracking endangered species in remote areas of the world to assist in management and conservation activities.
Wildlife Monitoring
GIS data allows researchers to track wildlife in remote areas of the world. The GIS data collected from GPS and high-resolution satellite maps or unmanned aerial systems allow researchers to identify and monitor wildlife movement, patterns, species numbers, behaviors, and to assist in the prevention of poaching.
Successful applications using GIS data for wildlife management has demonstrated how this tool can provide valuable information to researchers and conservationists.
WorldView-3 Satellite Image (30cm) Monitoring Alaskan Caribou
Click the image to view the animation.
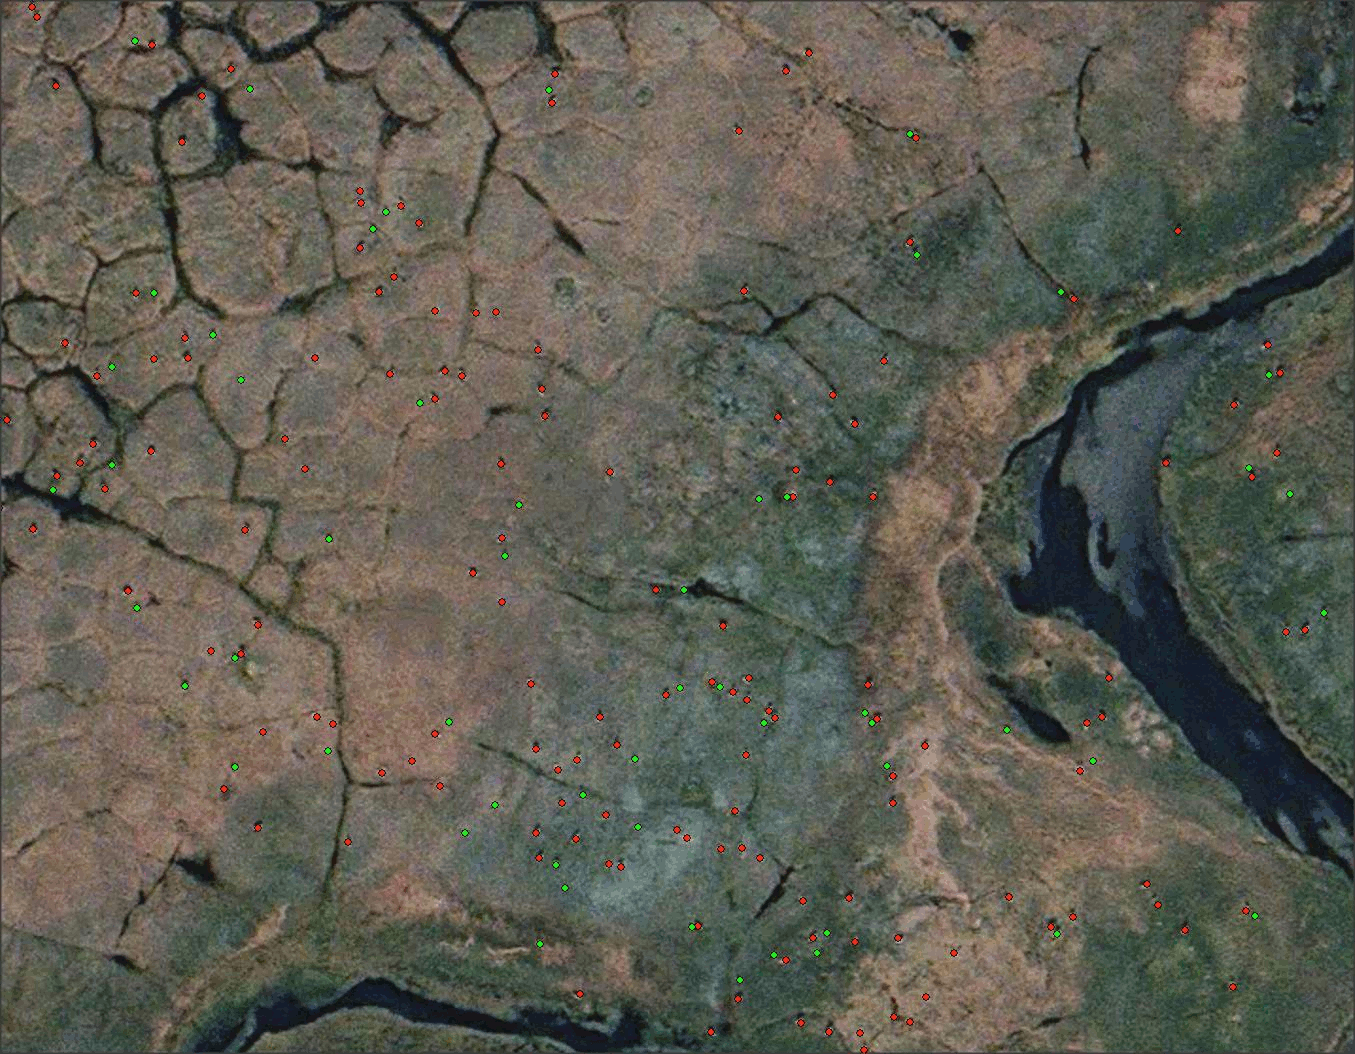
Image Copyright © MAXAR/processed by Satellite Imaging Corporation. All rights reserved.
Consultancy
For more information or for a consultation on any of our products or services, please contact us.